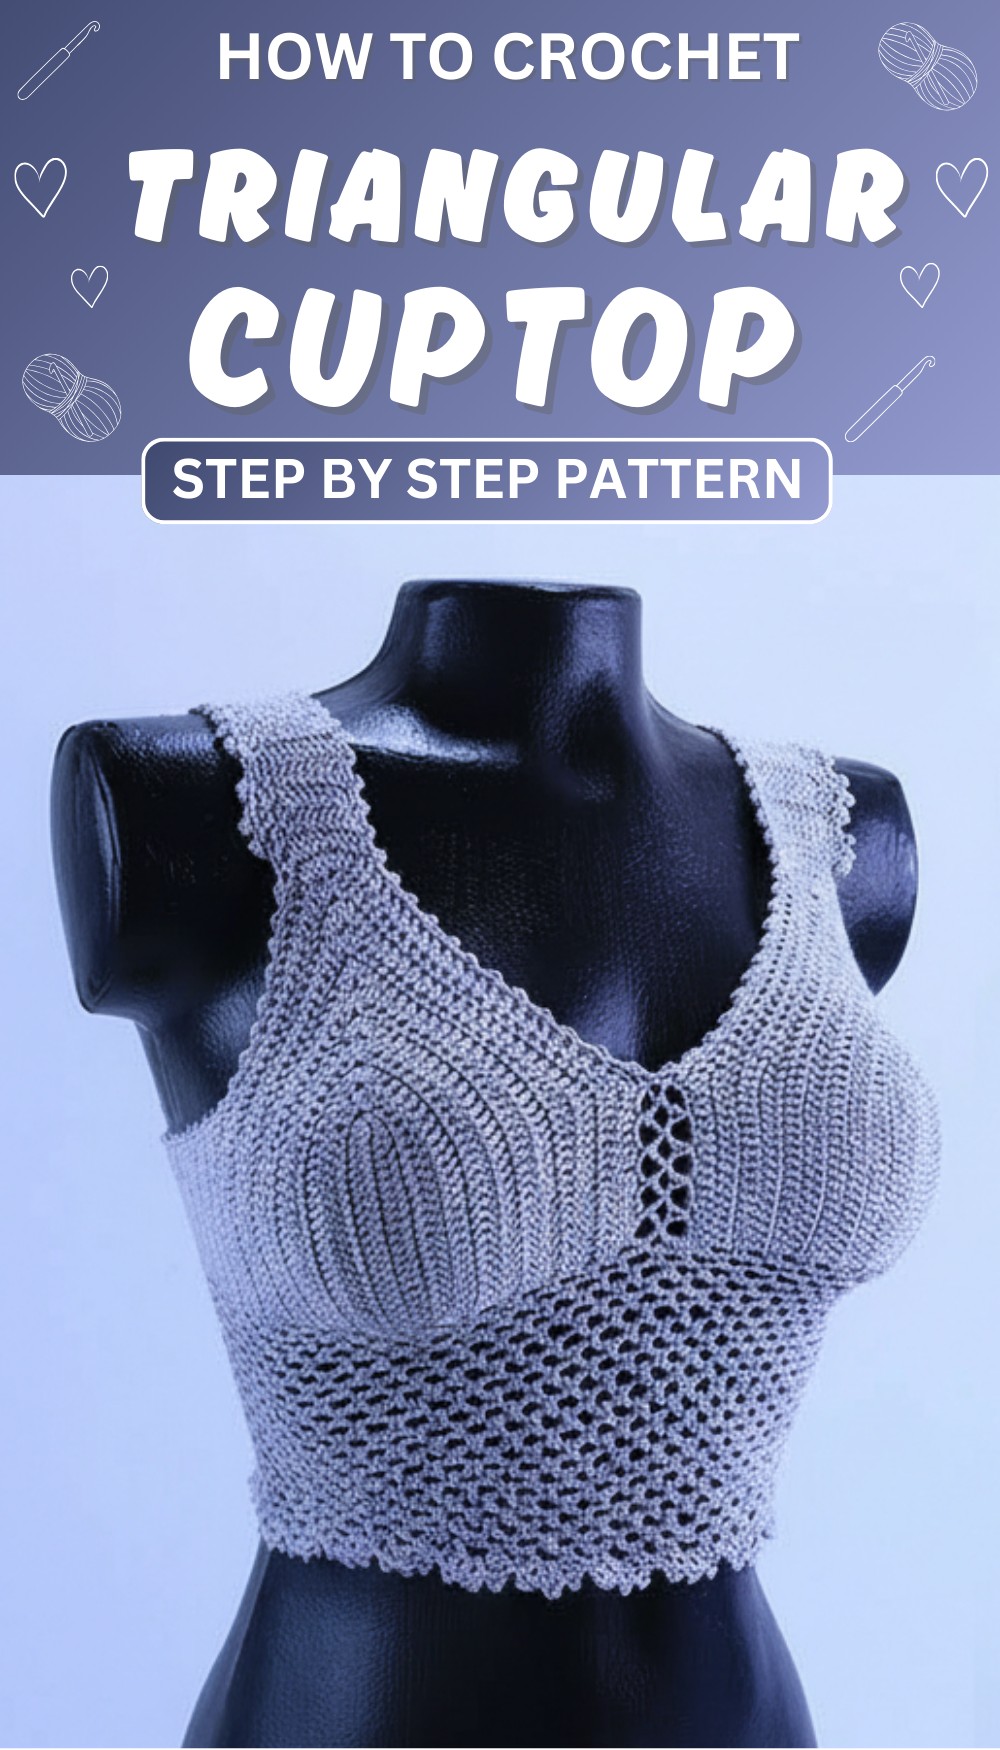
Catch everyone’s eye with this Crochet Triangular Cup Top Pattern that feels light, comfy, and perfect for sunny days or casual outings.
Stepping into the warm sunshine, wanting something light and pretty to wear that feels comfortable all day long. The crochet triangular cup top pattern is just the perfect choice. Made with soft yarn, it shapes gentle cups that fit just right, giving you support without feeling tight. The crochet triangular cup top pattern creates a lovely look with its handmade, textured design that is both simple and eye-catching.
Crochet Triangular Cup Top Pattern That Shines in the Sun
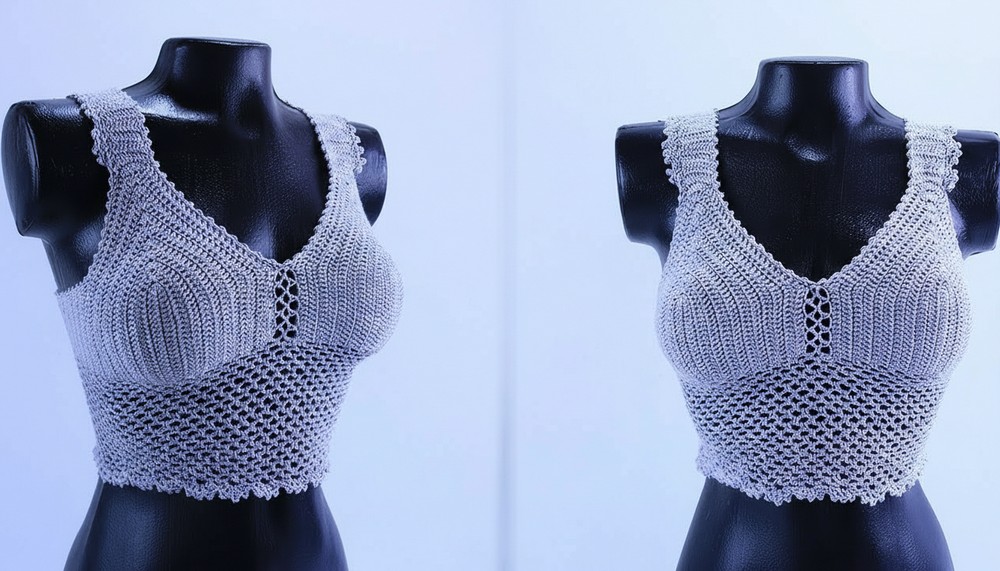
This top is great for hot days, beach trips, or casual outings, helping you stay cool while looking stylish. Because of its open weave, air flows easily, keeping you fresh and comfy wherever you go. The natural, cozy feel and charming shape make it easy to pair with jeans, skirts, or shorts. Whether alone or layered, this beautiful crochet piece adds a fun and relaxed touch to any outfit, making it a favorite for warm weather.
Crochet Microfiber Top Pattern
Materials Needed
- Worsted weight 100% acrylic microfiber yarn in your choice of colors
- 3mm crochet hook
- Tape measure
- Yarn/tapestry needle for sewing and weaving ends
- Scissors
- Stitch markers (optional)
Sizing & Measurements
- Initial chain length: Approx. 21 chains for size S equating to 7 cm
- Cup width: Aim for about 14.5 to 15 cm per cup for size S (adjust for larger sizes)
- Strap length: Approx. 31 cm for size S (adjust by height)
- Bust contour adjusted for ease: Subtract cup widths then divide by sides for side length approx. 37 cm (varies by size)
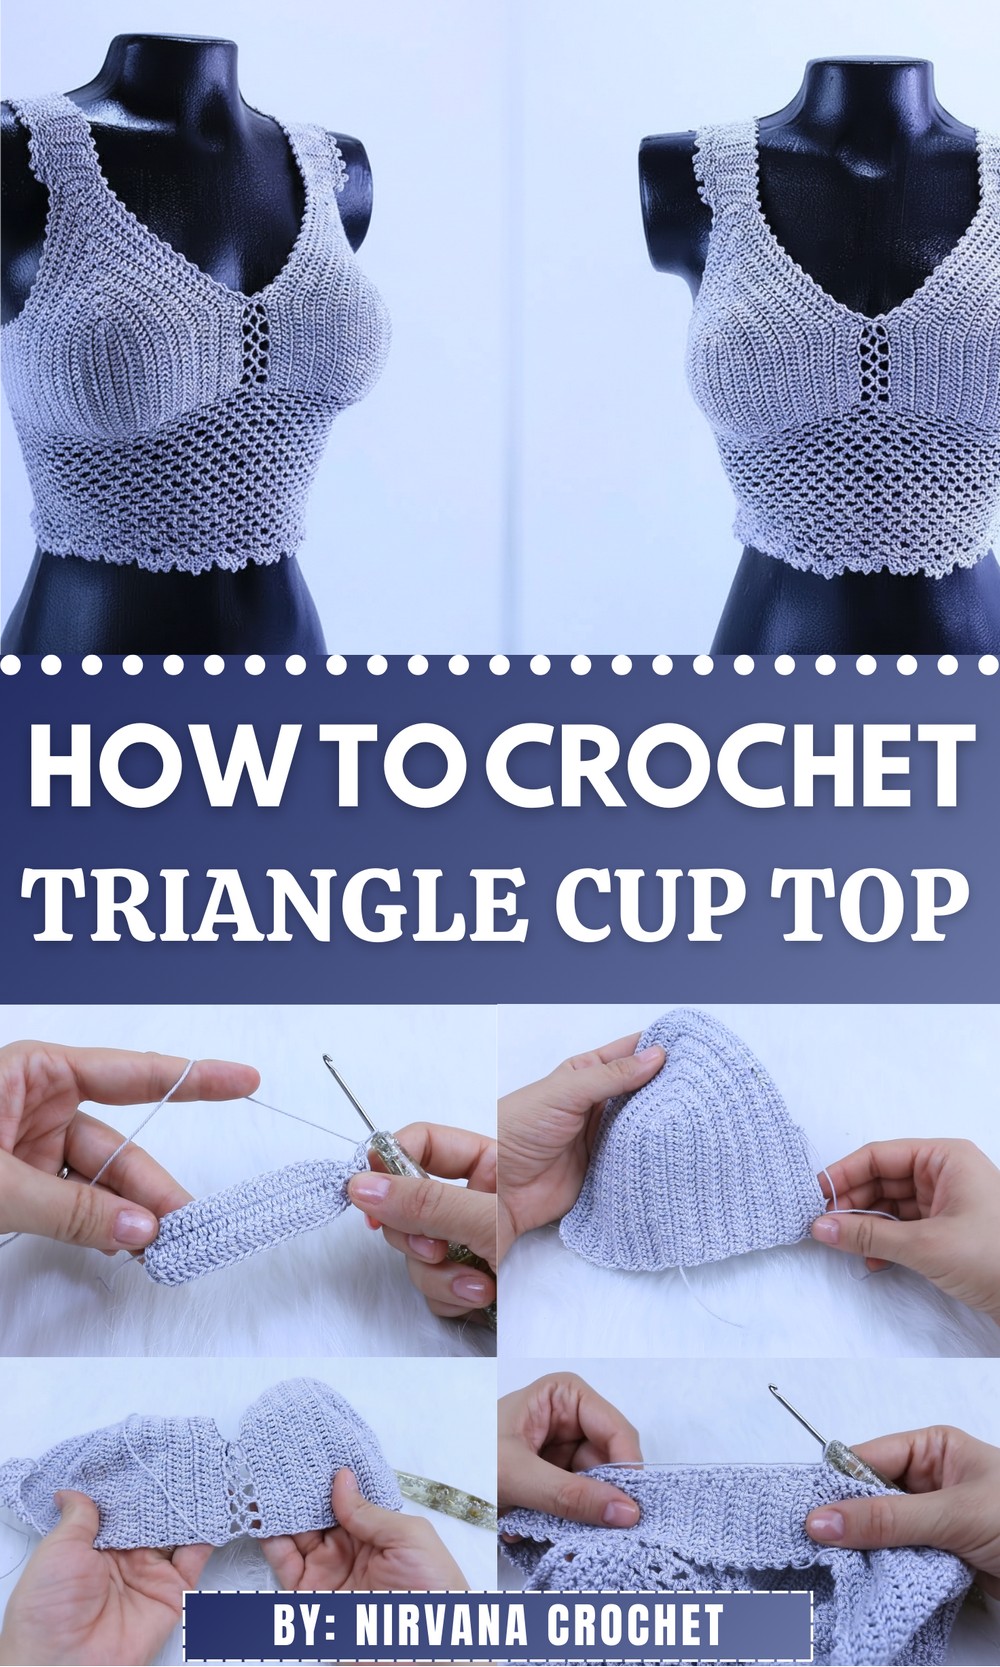
Step-by-Step Pattern
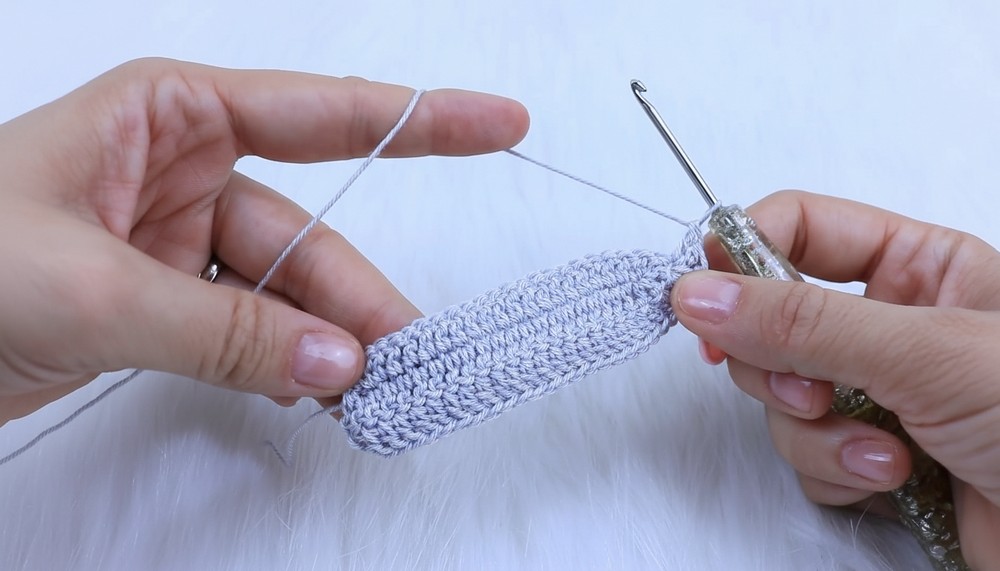
Step 1: Foundation Chain
- Chain 21 for size S (adjust chain count for your size according to bust measurement).
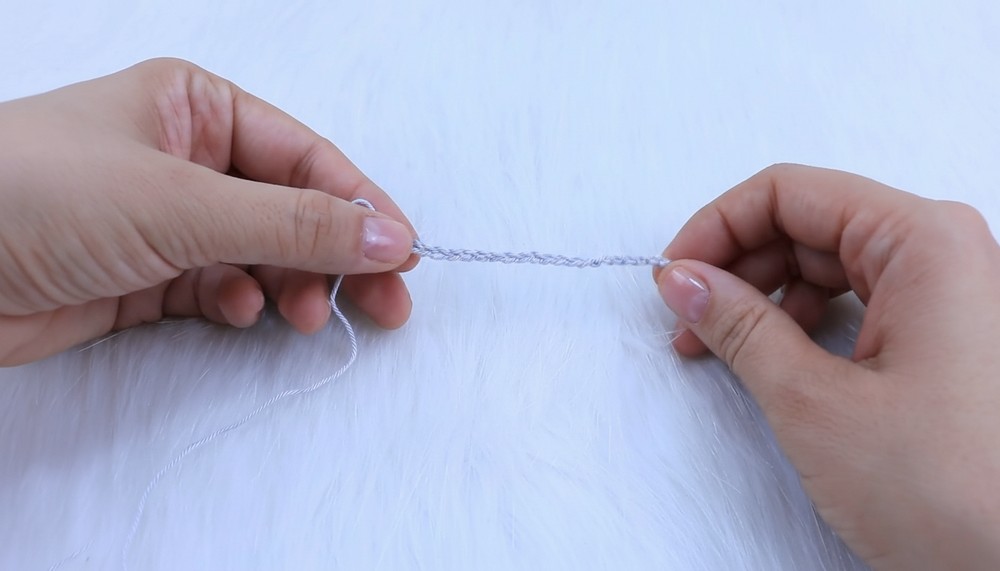
- This chain approximates the width of the bottom of the cup.
- Measure chain length without stretching to confirm.
Step 2: Row 1 – Double Crochet (dc) Across
- Chain 2 (counts as first dc).
- Dc in the 3rd chain from hook and in each chain across.
- End with a total of 21 dcs plus the 2 turning chains counting as first dc = 22 stitches total.
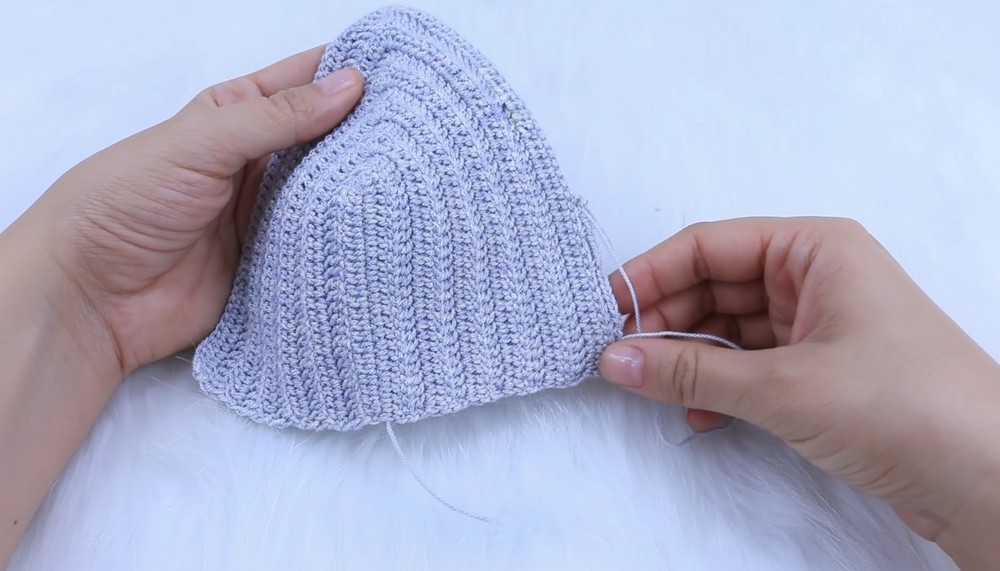
Step 3: Increase Row With 5 Dc Increase in Center
- Chain 2, turn.
- Dc in each stitch until center chain.
- Make an increase of 5 dcs into center chain to create shaping (mark center).
- Dc on remaining stitches on the row’s other side.
- This increases your total stitches by 4 (adding dk shaping per row).
Step 4: Subsequent Rows – Repeat Increase in Center
- Chain 2, turn.
- Dc in each stitch until center marker.
- Increase (5 dcs in one stitch) on center stitch.
- Continue dc on remaining stitches.
- This will gradually shape the cup with a triangular to rounded contour.
Step 5: Crochet Until Desired Width and Length
- Continue until cup measures approx. 14.5 to 15 cm width and 15-16 cm length for size S.
- Try on for fit; adjust by adding/removing rows as needed.
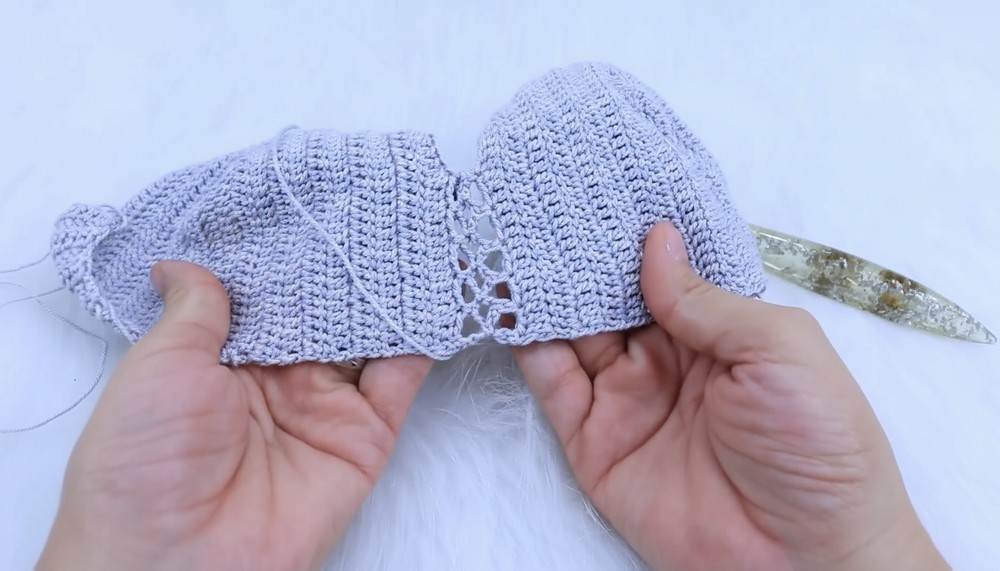
Step 6: Join Cups Using Chain Net Mesh
- Prepare second cup repeating steps 1–5 ensuring equal counts.
- With yarn tail from first cup, join edges with an open chain mesh:
- Single crochet, chain 3, skip one stitch, repeat across joining edges.
- Keep stitches and nodal points aligned for neat joining.
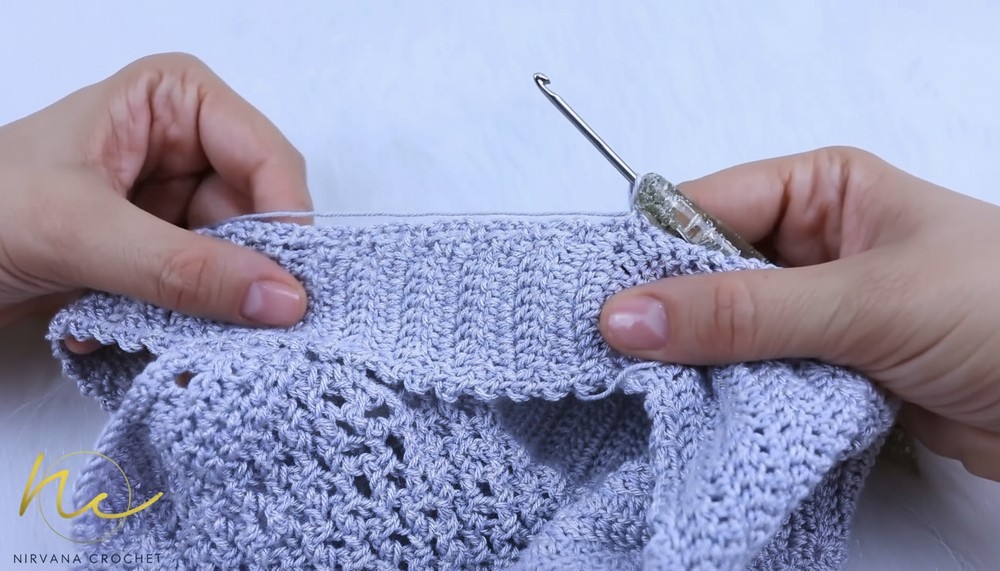
Step 7: Work Body Section
- Join yarn bottom of cups with main color.
- Chain 2 and work double crochet rows around under bust covering body.
- Repeat until length from under bust to desired top length minus finishing border (e.g., 10 cm).
Step 8: Crochet Side Panels
- Measure side from underarm opening to hip or desired length.
- Crochet granny stitch pattern for ventilation and style: 3 dc cluster, ch 2, skip 1 stitch repeat.
- Continue until side panel matches length.
Step 9: Begin Decreases to Shape Back
- Begin decrease rows at side edges: simple double crochet decrease (dc2tog) to narrow back at straps.
- Continue decreasing until about 5 to 6 stitches remain on edge.
- Work even stitches after decreases for neat strap attachment.
Step 10: Crochet and Attach Shoulder Straps
- Crochet strap strips of about 9 dc wide to match back strap width.
- Length approx 31 cm for size S, longer for bigger sizes.
- Sew or crochet straps connecting front and back pieces.
Step 11: Edge Finishing – Picot Fan Border
- Work single crochet around all edges (neckline, armholes, bottom).
- Create fan picot pattern:
- 3 dc, ch 3, slip stitch in 1st ch (picot), 3 dc, ch 3, slip stitch in 1st ch, sc in next stitch repeat.
- This delicate edge adds visual interest and structure.
Step 12: Weave in Ends and Block
- Weave long yarn tails securely.
- Gently block garment to shape and size with pins and steam or wet towel method.
Special Features
- Center 5-dc increases shape a comfortable bust cup.
- Color striping can be customized (not detailed here).
- Open chain mesh join for breathable construction.
- Granny stitches side panels for ventilation.
- Decorative picot fan edging for polished look.
Difficulty Level
Intermediate: Requires knowledge of double crochet, increases, joining pieces with chain mesh, decreases, and decorative edging.
Tutor’s Suggestions
- Use stitch markers to identify center stitch increases easily.
- Measure chest and cup width frequently for fit.
- Count stitches to avoid shaping errors.
- Hide yarn ends as you go for easier finishing.
- Keep stitch tension consistent for a balanced cup shape.
Uses
- Lightweight summer or layering crochet top.
- Customizable fit for different bust sizes.
- Stylish with practical ventilation.
- Suitable for casual or beachwear.
Final Tip
The tighter the stitches and thinner the yarn, the sharper the cup shape will be. For a softer, rounder look, choose yarn accordingly and loosen tension slightly.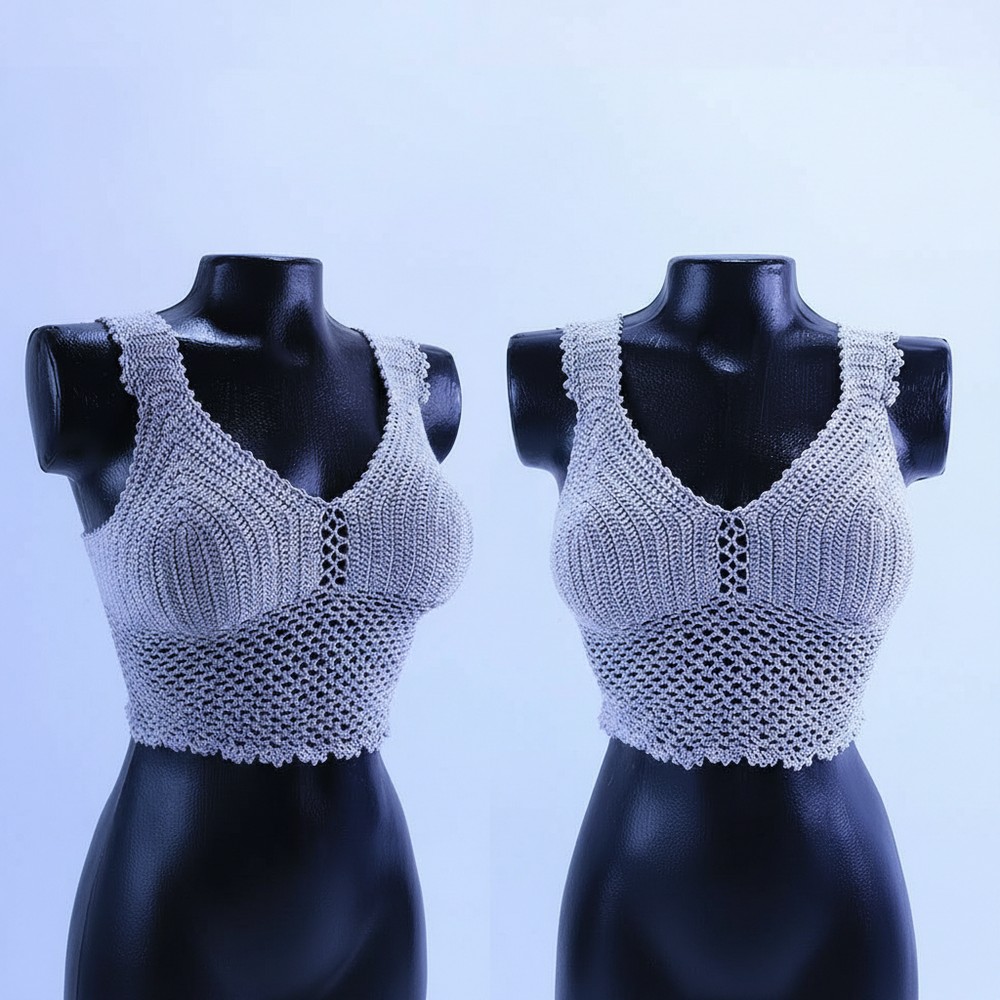
Conclusion
This microfiber crochet top pattern offers a flattering cup shape with stylish details and comfortable fit. With patience and attention to sizing, you can craft a garment that fits perfectly and looks elegant Enjoy making your customized crochet top!
Happy Crocheting!