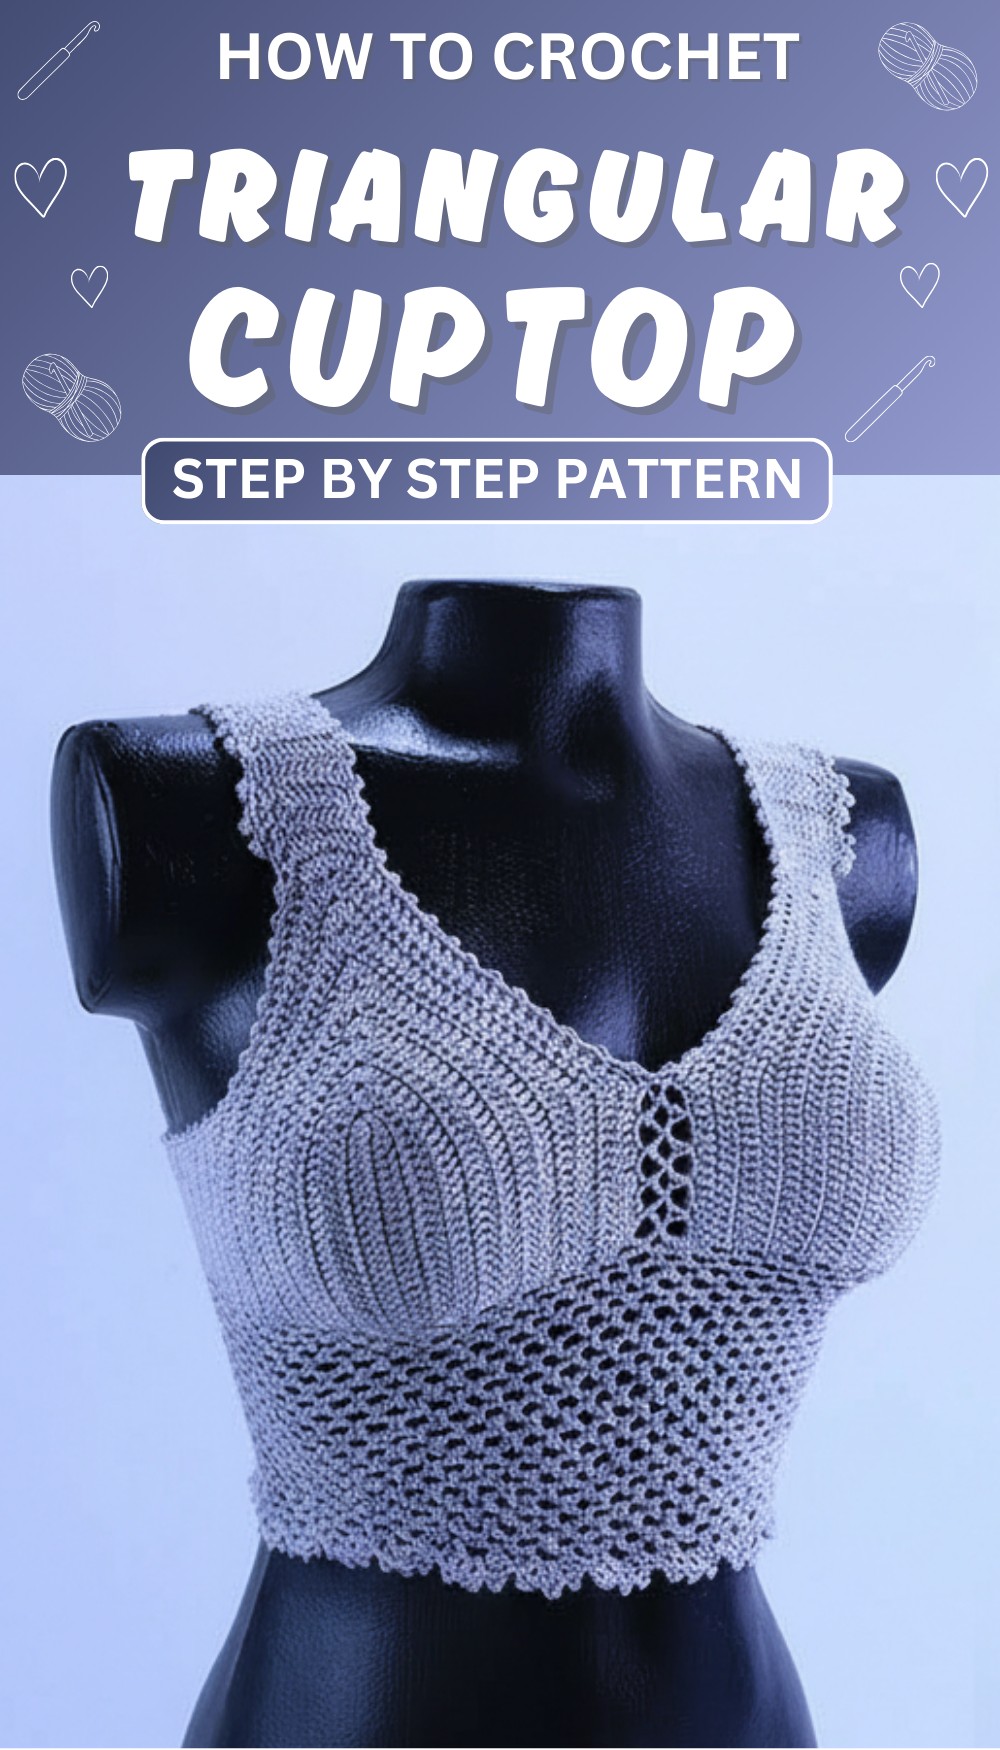
Unlock effortless summer style with this Crochet Triangular Bra Top Pattern that’s comfy, breathable, and perfect for sunny days and casual vibes.
A warm sunny day when you want to feel light and free, wearing something simple yet beautiful. That’s where the crochet triangular bra top pattern comes in handy. This top is made with soft yarn, carefully looped to form two triangle shapes that cover just enough while keeping you cool. The crochet triangular bra top pattern creates a piece that feels gentle on the skin and looks lovely with its delicate, handmade texture.
Crochet Triangular Bra Top Pattern That’s Simple and Chic
It’s perfect for summer days at the beach or casual outings, giving a fresh and natural vibe. You can wear it alone or under a loose shirt, making it a flexible choice for many styles. The unique, open weave makes it breathable and comfortable, while the simple design adds a charming, handmade touch to your outfit. It’s a perfect mix of comfort, style, and easy beauty anyone can enjoy.
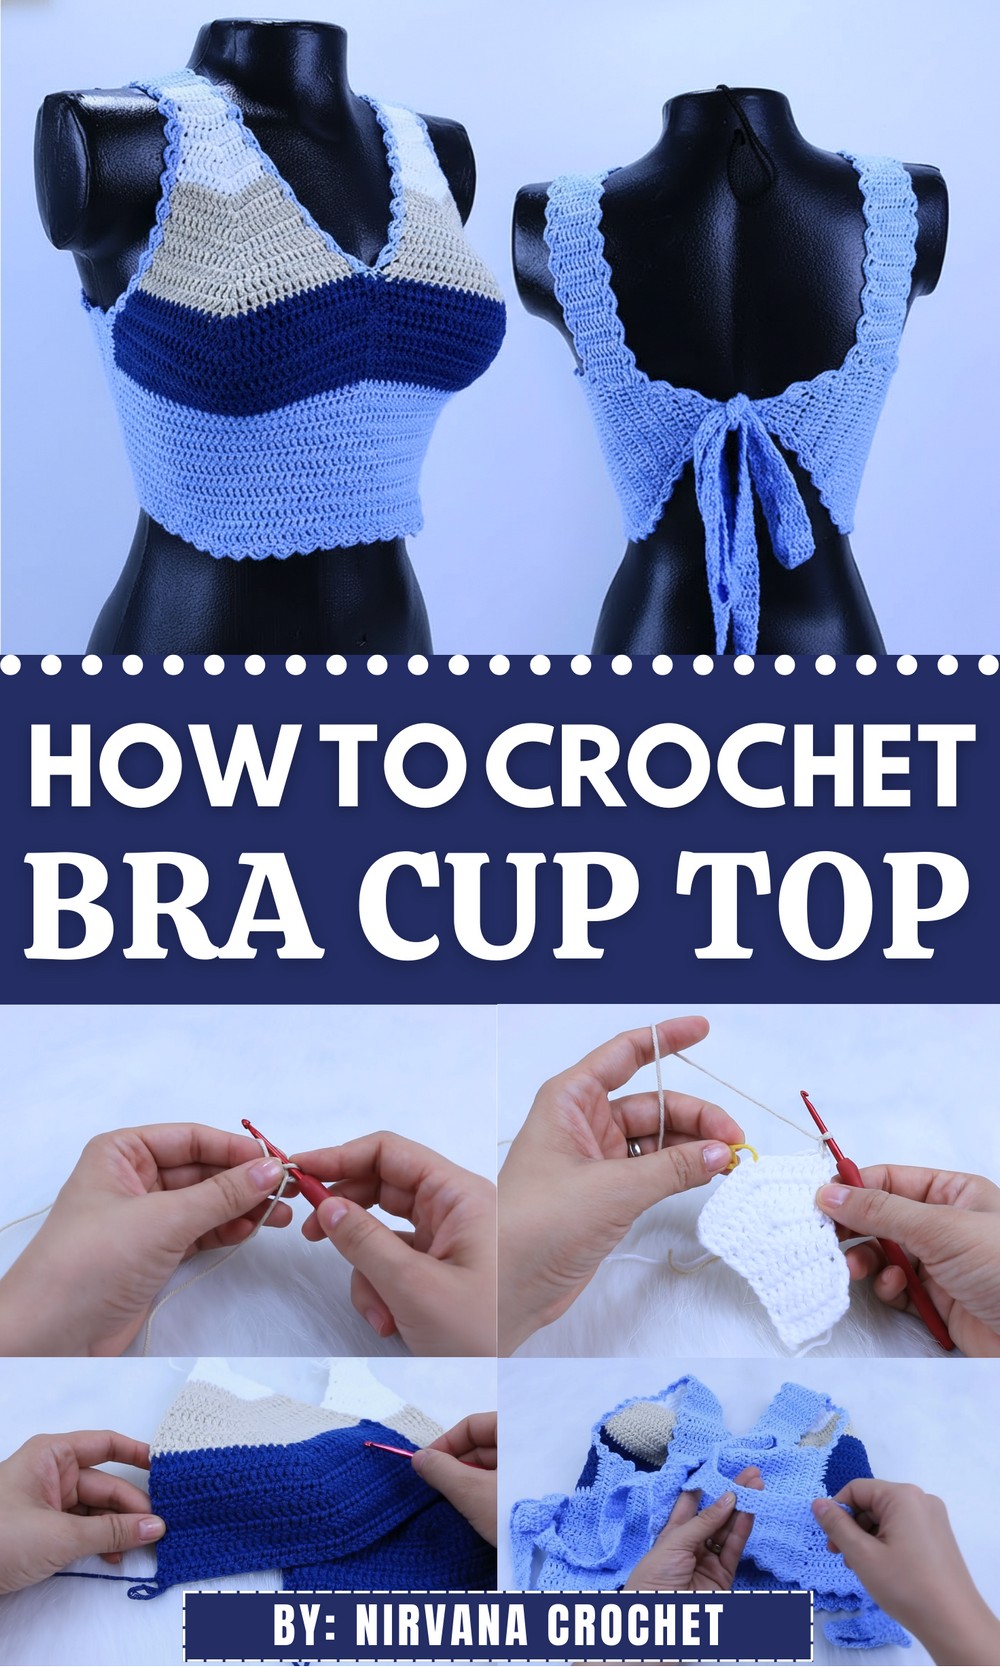
Crochet Color-Block Top Pattern
Materials Needed
- Worsted weight 100% acrylic microfiber yarn in 4 colors
- 3 mm crochet hook (or as recommended by yarn)
- Tape measure
- Yarn needle for sewing and weaving ends
- Scissors
- Stitch markers (optional)
Sizing & Measurements Reference
- Shoulder to underbust length (example: 28 cm for size S)
- Bust contour plus ease: add 3-4 cm for comfort
- Cup width objective: body width divided by 3 colors equally (e.g., 9.3 cm per color for size S)
- Strap length approx. 24 cm for size S (adjust per body height)
Step-by-Step Pattern
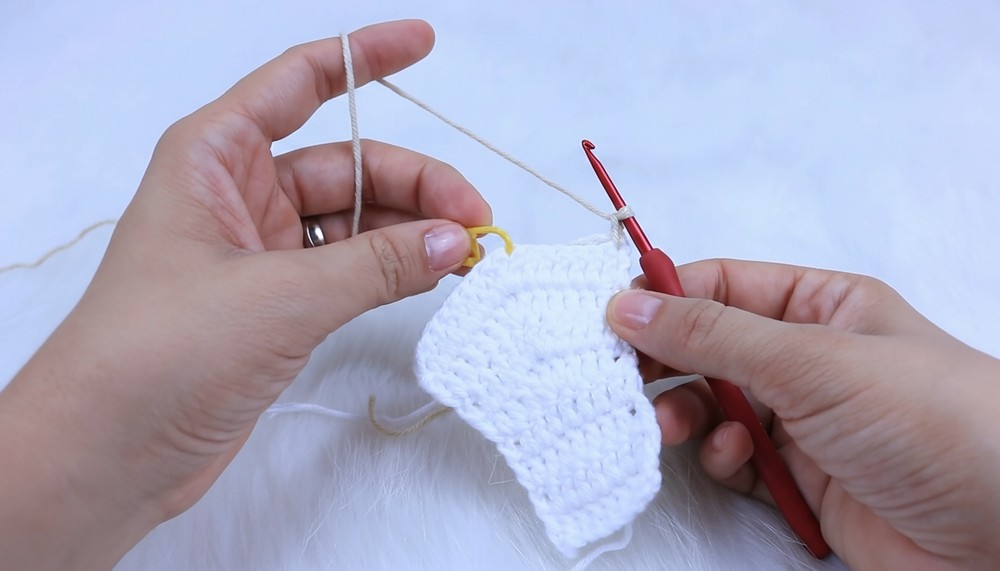
Step 1: Foundation Chain
- Chain 8 stitches to start (this creates the base width for the first strip).
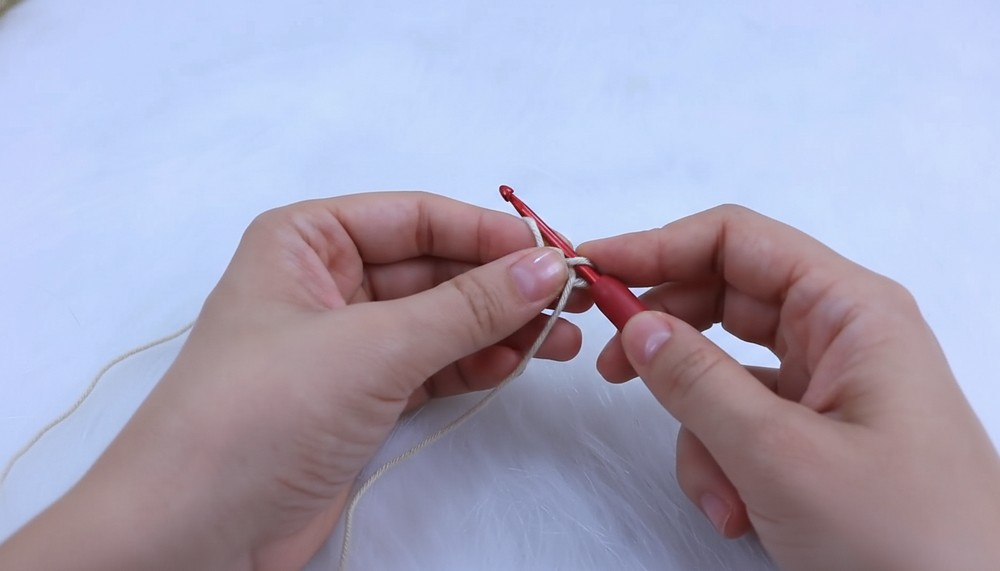
- Join with slip stitch if desired or chain up 2 (counts as first dc).
- Chain 2 more chains (these count as first dc in row).
Step 2: Row 1 – Double Crochet Across
- Double crochet (dc) into each of the 8 chains plus the 2 turning chains = 9 stitches total.
- At the end of the row, turn.
Step 3: Rows 2 to X – Build up to 5 cm (for size S) straight
- Chain 2 (counts as first dc).
- Dc in each stitch across, including the last dc at the edge.
- Repeat rows until strip measures approx. 5 cm (4-6 rows depending on yarn/hooks) for S and M. Use longer for L and XL as per guide.
Step 4: Start Cup Shaping – Center Increase
- Chain 2, turn.
- Dc until center stitch (stitch 5 in 9 stitches).
- In center stitch, make an increase with 3 dc into the same stitch.
- (Optionally place stitch marker on center stitch for easier count).
- Dc to end of row.
- Repeat rows increasing center stitch each row by replacing single dc with 3 dc in the center.
- Increases add 2 stitches per row (one on each side of center increase).
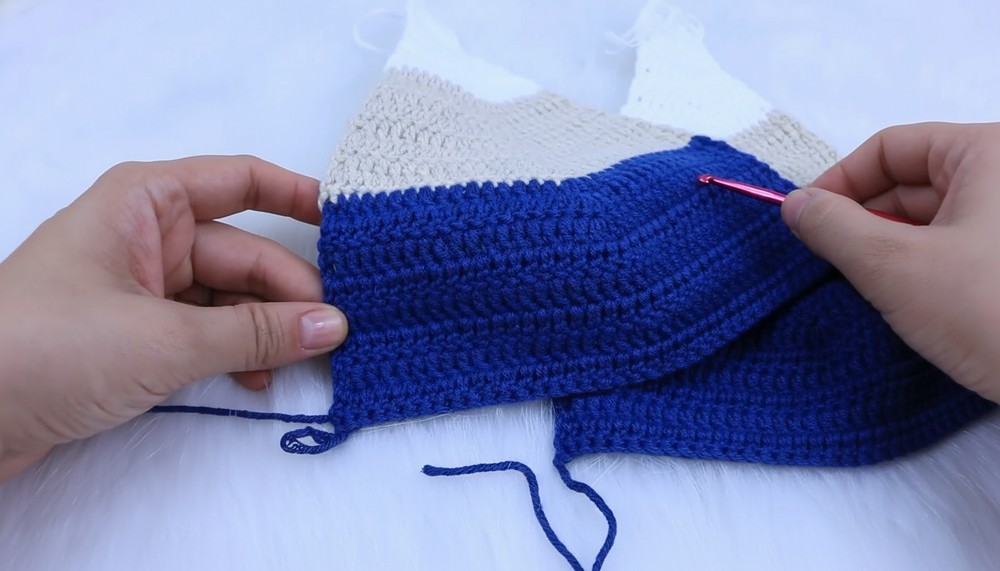
Step 5: Color Stripe Sections
- Work one color stripe (approx. 8 rows or 9.3 cm for size S).
- When finished stripe, cut yarn leaving long tail.
- Join new color with slip knot on next row, continuing increases at center.
- Repeat the color stripe and increase sequence until desired width and stripes are reached (usually 3 stripes).
Step 6: Width Measurement Check
- Measure width stretched for bust coverage.
- If more width needed for heavier bust, add side increases at the row edges (first and last stitch) by making 2 dc in same stitch at start and/or end of rows for faster widening.
- Continue increases in center and sides if required for fit.
Step 7: Finish Cup Sections
- When desired bust width reached, stop increasing.
- Continue uniform rows of dc until vertical length matches design.
Step 8: Work Second Cup
- Repeat steps 1-7 for second cup keeping exact stitch count for symmetry.
- Do not cut yarn on first cup to keep yarn for joining.
- Ensure color pattern matches.
Step 9: Attach Cups with Edge
- Add a single crochet edging along cup joining edges to prepare for seam.
- Use single crochet in every stitch along cup edges for neat seam line.
- Leave space for desired neckline opening.
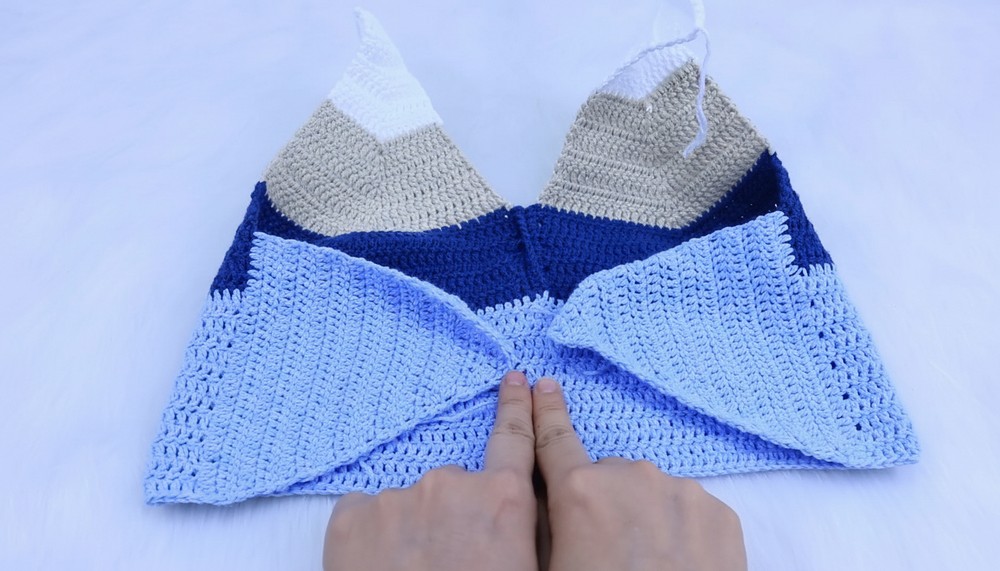
Step 10: Join Cups
- Position cups with right sides facing.
- Using yarn needle (or crochet hook), slip stitch or sew edges together evenly.
- Make sure to align stitches and colors exactly.
Step 11: Crochet Body Section
- Attach main color yarn at bottom edge of joined cups.
- Chain 2 and work dc rows around entire bottom of cups.
- Continue dc rounds repeating until length from underbust to desired length reached (example: 13 rows ~ 10 cm for size S).
Step 12: Side Panels and Shaping
- From underarms to hem, crochet side sections extending body width.
- Use granny-type stitch pattern for ventilation and style:
3 dc in one stitch, chain 2, skip 1 stitch, repeat. - Work rows until side panels reach desired length.
- Maintain matching stitch counts on both sides.
Step 13: Begin Decreases for Back Shape
- Start double crochet decreases on side edges at bottom:
- Dc two stitches together at neckline edge (simple double crochet decrease).
- Repeat decreases each row until you have about 5-6 stitches left at side edges.
- This shapes back and narrows to join shoulder strap.
Step 14: Finish Back and Shoulder Straps
- Crochet 5-6 dc stitches in strip to form long strap across top back.
- Length approx. 24 cm for size S; adjust per body measurements.
- Attach shoulder straps from front cup joins to back strip using yarn needle technique.
- Sew all seams on wrong side for neat finish.
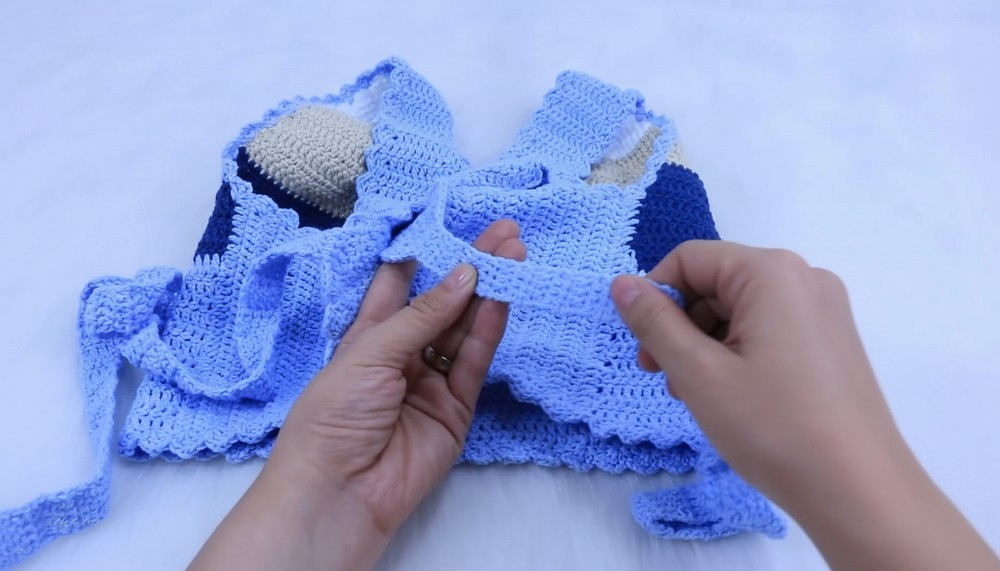
Step 15: Decorative Fan Edge Finishing Around Neckline and Armholes
- Use fan stitch edging:
- Single crochet, chain 3, 2 dc, chain 3, single crochet in alternating stitches around neckline and armholes for an elegant finish.
- Repeat edging rounds alternating yarn colors matching stripes for accent.
Step 16: Weave in All Ends and Block
- Weave all yarn tails securely.
- Block top to shape to size and flatten fabric for smooth finish.
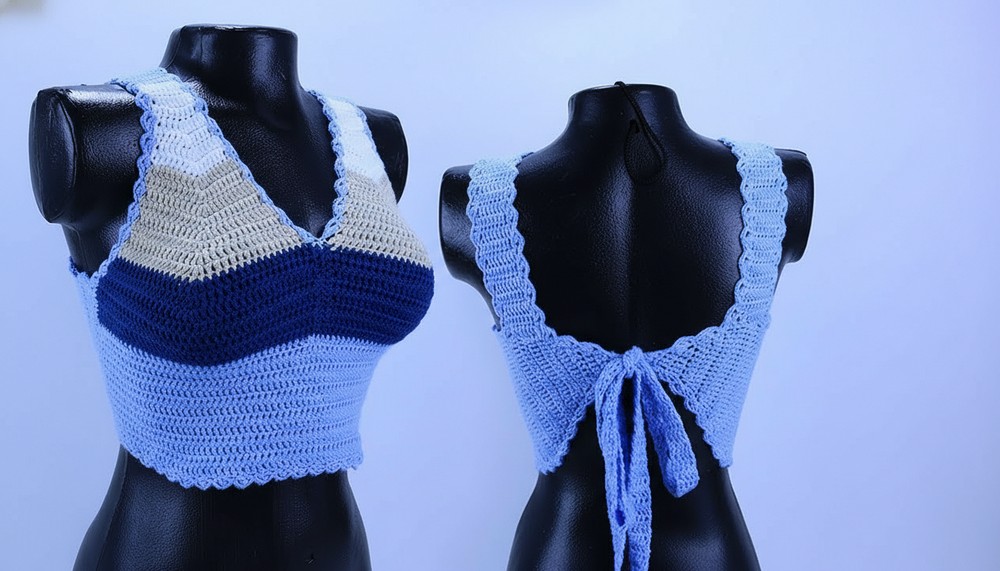
Special Features
- Color-block stripes with clean transitions.
- Cup shaping via center and side increases for custom bust fit.
- Ventilated side panels with granny stitch.
- Elegant fan edging around neck and arms.
- Adjustable length and width with stitch count and measurements.
Difficulty Level
Intermediate: Requires knowledge of double crochet, increases, decreases, slip stitches, joining pieces seamlessly and crafting decorative edges.
Tutor’s Suggestions
- Use stitch markers for center stitch increases to keep track easily.
- Try on top at various stages for fit adjustments.
- Keep turns consistent, chain 2 at beginning of rows, counting as first dc.
- Weave ends as you go to ease final finishing.
- Measure often to ensure proper bust and length coverage.
Uses
- Summer and spring tunic or crop top.
- Customizable for casual or dressy looks.
- Easy pattern to work with leftover yarn in stripes.
- Versatile layering piece.
Final Tip
When doubling increases at sides and center for larger bust, keep increases evenly spaced for balanced shape—avoid too rapid widening to maintain silhouette.
Conclusion
This crochet color-block top combines classic shaping with vibrant striped design for a beautiful, fitting garment. Intermediate crochet skills will bring this customizable pattern to life with flair and comfort.