Learn how to follow this simple crochet openwork vest pattern that is perfect for adding style comfort and uniqueness to any outfit effortlessly.
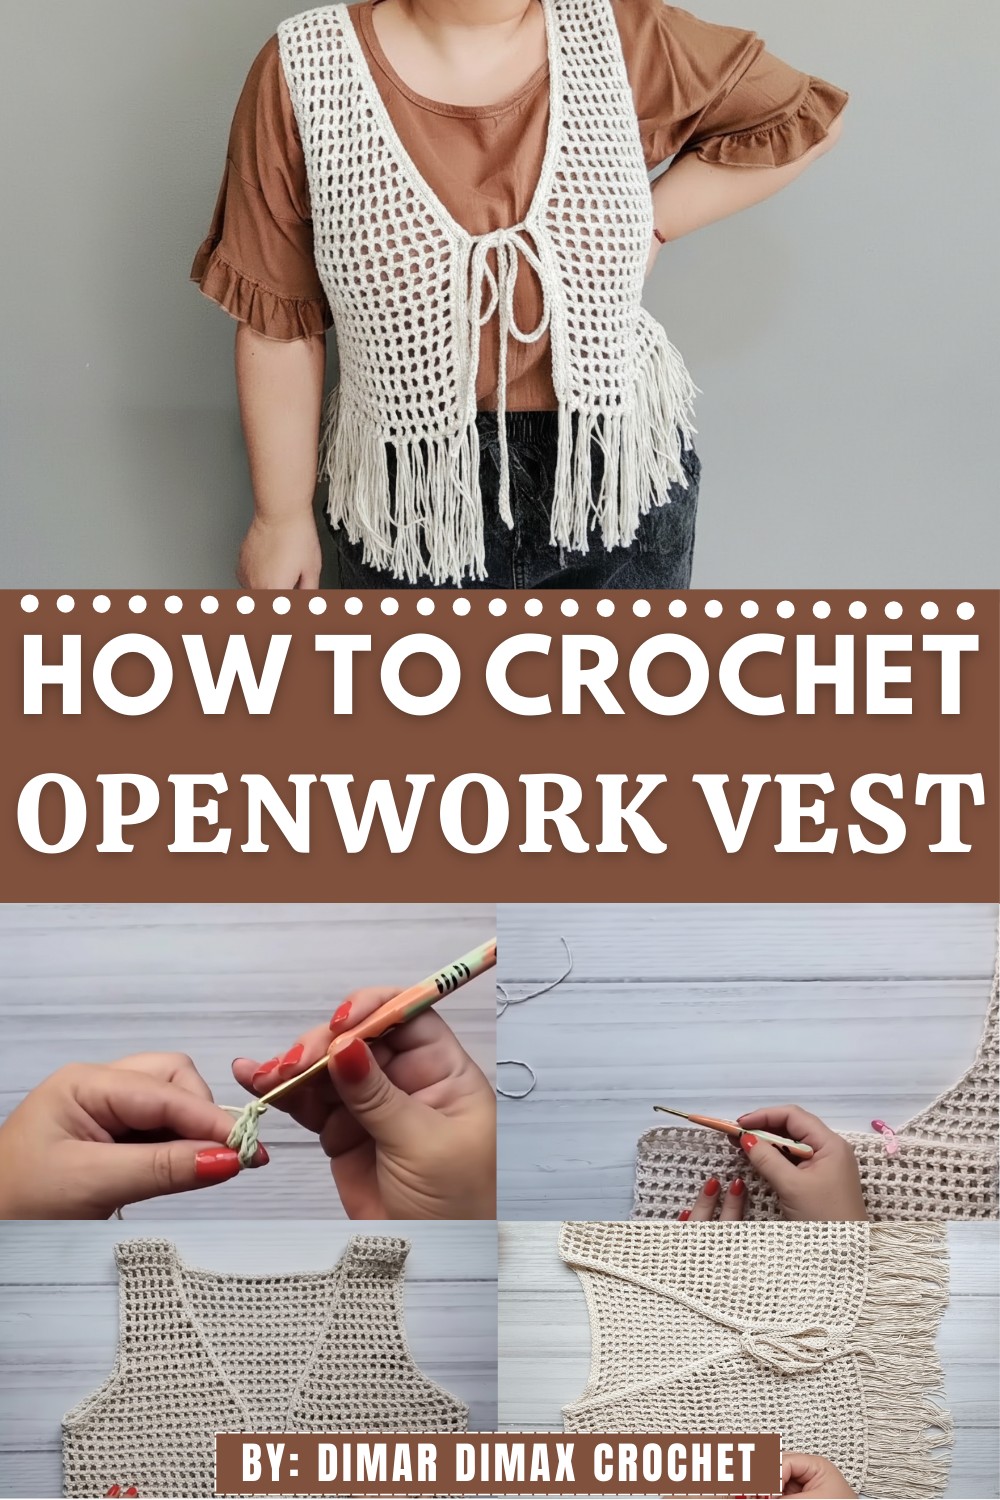
A lightweight and airy vest is the perfect way to add charm and elegance to any outfit. With a crochet openwork vest pattern, you can create a delicate piece of clothing that is both stylish and functional. This vest feature beautiful intricate pattern with open spaces, giving it a feminine and trendy look.
Stunning Crochet Openwork Vest Pattern for Any Occasion
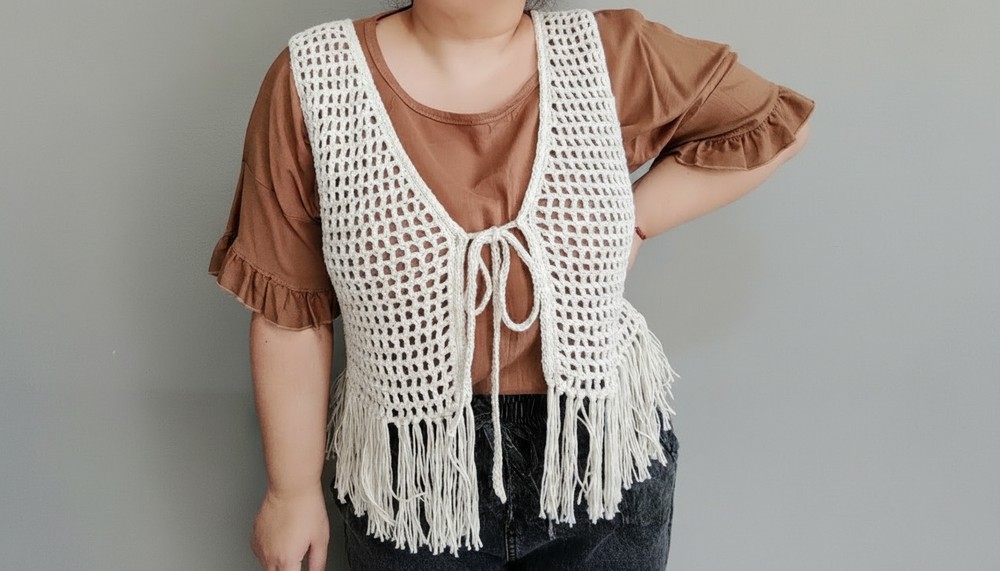
Perfect for layering, they can be worn over dresses, tops, or even paired with jeans for a casual vibe. You’ll love how versatile and comfortable they are, making them ideal for any season. The unique texture and design make these vests a standout addition to your wardrobe.
Materials Needed:
- Yarn: Medium weight yarn (size 4/worsted, approx. 450g depending on size & length).
- Hook: US Size G/6 (4.0 mm) or the size required to meet your gauge.
- Optional:
- Cardboard (to make fringes; select the size to match your desired fringe length).
- Stitch markers
- Tapestry needle (for weaving in ends)
- Measuring tape
- Scissors
Key Abbreviations:
All terms are in US Crochet Terminology.
- ch: Chain
- dc: Double Crochet
- sc: Single Crochet
- sl st: Slip Stitch
- yo: Yarn Over
- st(s): Stitch(es)
- sp: Space
Pattern Instructions
Foundation Rectangle (Front & Back Base)
- Foundation Row:
- Begin by making a slipknot.
- Chain a length matching the desired width measurement for the vest. Ensure the chain count is an odd number (e.g., 165 chains for the sample).
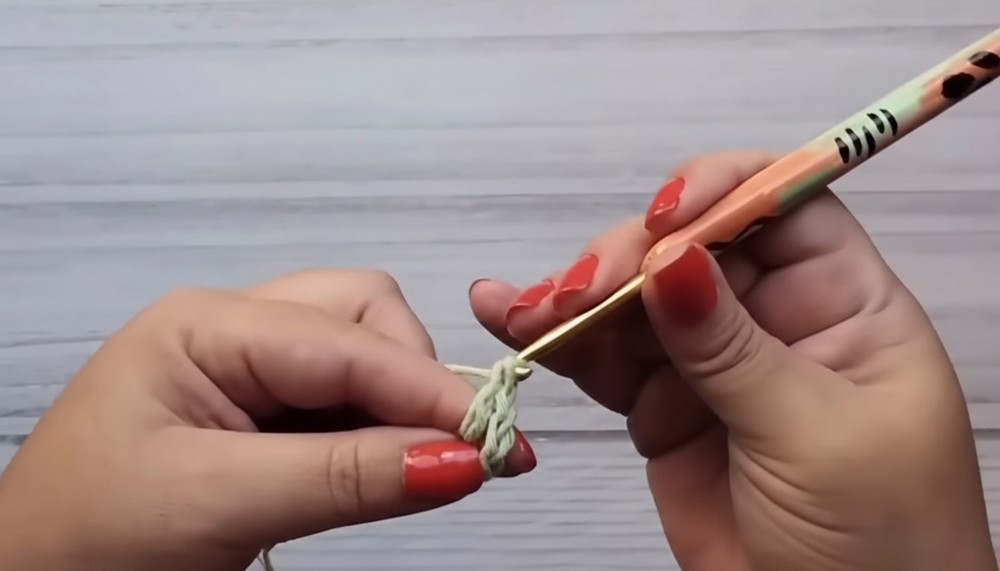
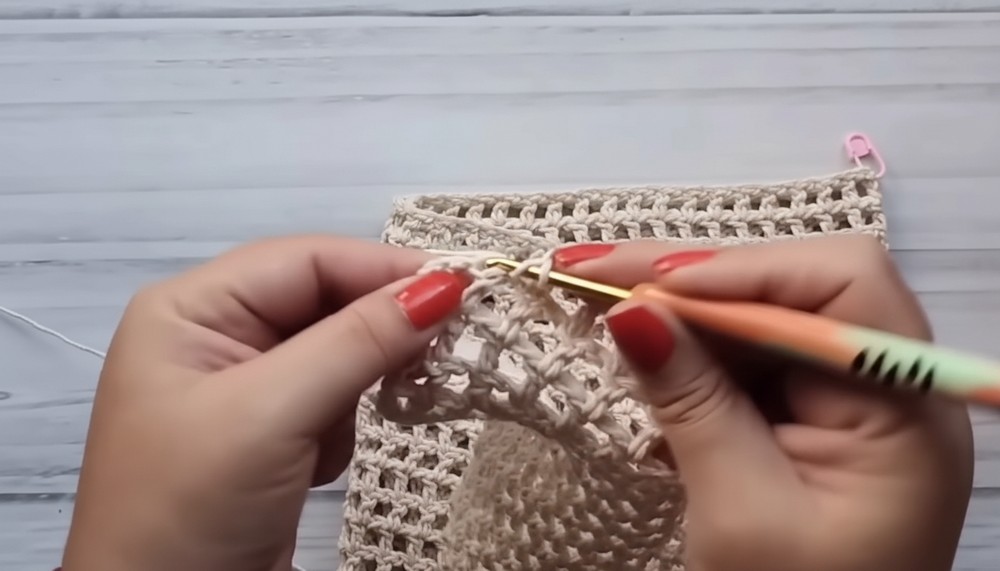
- Row 1:
- Skip the first 5 chains.
- Into the 6th chain, work 1 dc.
- Ch 1, skip 1 chain, dc into the next chain. Repeat from * to the end.
- This creates a square net stitch pattern.
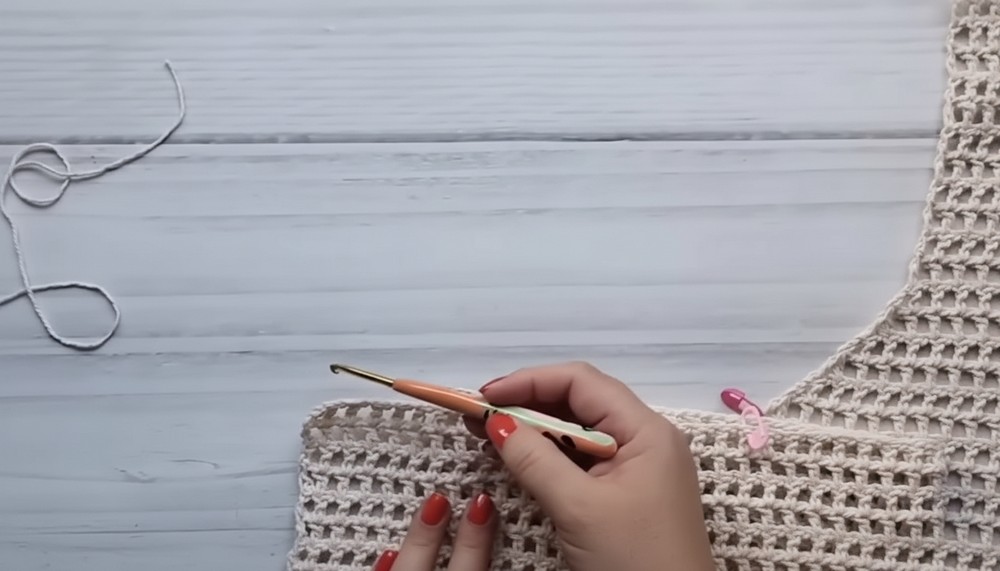
- Row 2:
- Ch 3 (counts as first dc + 1 turning chain). Turn.
- Dc in the first dc from the previous row.
- Ch 1, dc into the next dc. Repeat across the row.
- Repeat Row 2: Continue repeating Row 2 until the rectangle reaches the desired height (up to the armhole). The sample rectangle includes 14 rows and measures 17 cm in height.
- Dividing Panels:
- Mark the division between the back panel, front panels, and armholes using measuring tape and stitch markers. Create an opening of 6 cm for the back neckline.
- Mark the division between the back panel, front panels, and armholes using measuring tape and stitch markers. Create an opening of 6 cm for the back neckline.
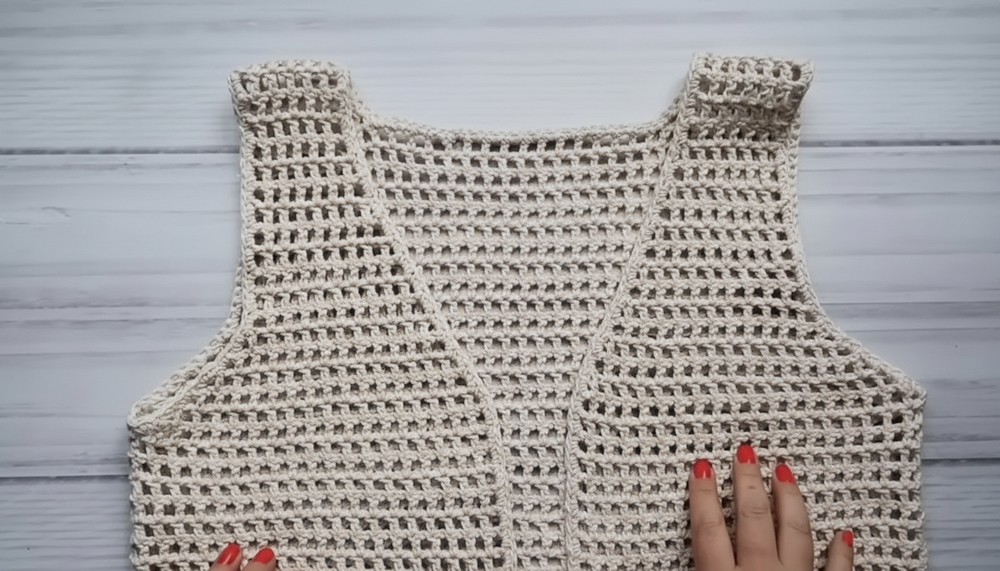
Front Panels (Make 2, Mirror Opposites)
Armhole & Neckline Shaping:
- Start at the marked edge and attach yarn.
- Row 1: (First row with armhole decrease):
- Work the square net stitch (ch 1, skip 1, dc into dc) until the edge.
- Make a decrease by working 2 incomplete dc (one in the last dc of the row, and one in the chain space), closing them together into 1 dc.
- Row 2 (Decrease at the beginning):
- Ch 2 (counts as a decrease). Turn.
- Dc into the second dc from the previous row. Continue working the square net stitch pattern to the end.
- Decreasing:
- Alternate rows with decreases at the neckline and armhole.
- For a smoother curve, alternate rows without decreases.
- Continue shaping until you reach the desired shoulder width, leaving 6 spaces/squares (approx. 7 cm wide).
- Once the shoulder width is reached, work straight rows (no decreases) until the desired shoulder height matches the back panel.
- Second Front Panel: Repeat the same steps as above but in mirror image.
Back Panel
Armhole Shaping:
- Start: Attach yarn on the marked stitch at the armhole edge.
- Row 1:
- Work the square net stitch pattern across the row (dc, ch 1, dc) while mirroring the armhole decreases from the front panels.
- Row 2 and Beyond: Continue working the decreases around the armholes as done for the front panels.
- Back Neckline:
- Stop armhole decreases three rows before the end.
- Shape a shallow neckline by working small decreases (same method as for the front neckline). Leave 6 spaces/squares for the shoulder width.
- Work straight rows of square net stitch to match the length of the front panels. Fasten off.
Joining Shoulder Seams
- Alignment: Place the front and back panels together with the wrong sides facing. Align the shoulder edges using stitch markers.
- Join:
- Using sc or sl st, join the panels at the shoulder seams. Work across each consecutive pair of double crochet stitches.
- Add a ch 1 between each pair to maintain neatness.
Edging
- Begin at a shoulder seam and work sc evenly around all open edges.
- For vertical rows of dc, work 2 sc per dc.
- In chain spaces, make 1 sc.
- Around decreases, work 2 sc per decrease for smooth transitions.
- Add a second round of sc around the edges for a polished look.
Neckline Finish
- Use a larger hook (US size H/8 5.0 mm).
- Begin with a slipknot and start working slip stitches (sl st) around the neckline edge.
- Only pick the back loop of the stitch for a ribbed texture.
- Repeat rows of sl sts until your desired width is achieved (the sample uses 3 rows of sl sts, resulting in a 2 cm neckline band).
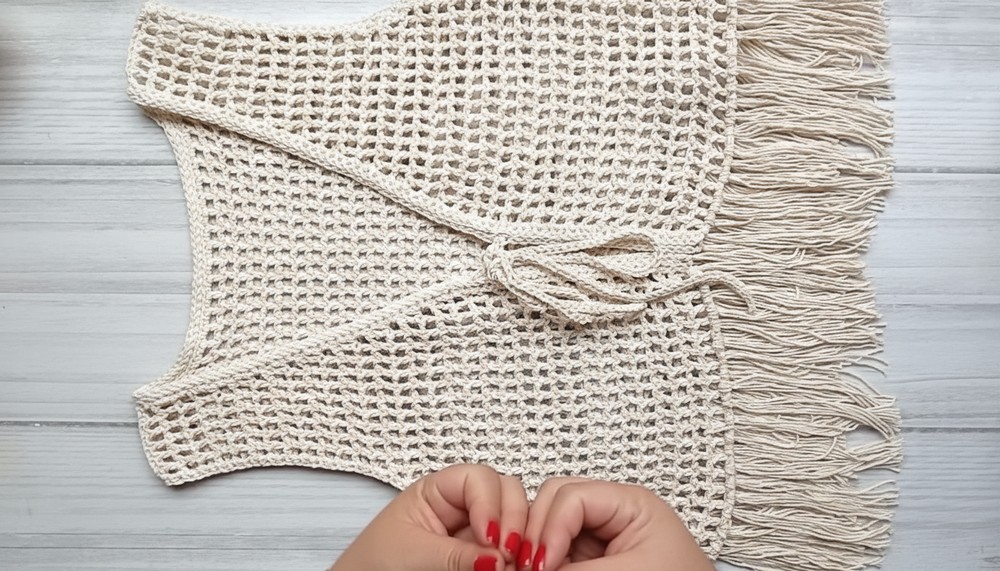
Optional: Bow Tie Closure
- Attach yarn about 2 cm below the armhole, where you want the ties to sit.
- Chains:
- Ch 85 (or adjust based on desired tie length).
- Slip Stitches:
- Work sl st into each chain, picking the back loop only.
- Attach both ends securely to the front panel and fasten off.
Optional: Fringes
- Wrap yarn around a piece of cardboard (length depends on desired fringe length).
- Cut along one edge to create uniform strands.
- Attach fringes:
- Fold 2-3 strands in half.
- Use your crochet hook to pull the folded end through the bottom edge of the vest.
- Pull the loose ends through the loop and tighten to form a knot.
- Repeat evenly along the bottom edge.
Conclusion
Your crochet lace vest with fringe is complete! This elegant, customizable vest is perfect for layering. The stylish fringe and bow detail make it both unique and functional. Adjust the length or stylistic elements based on your preference to make it truly personalized.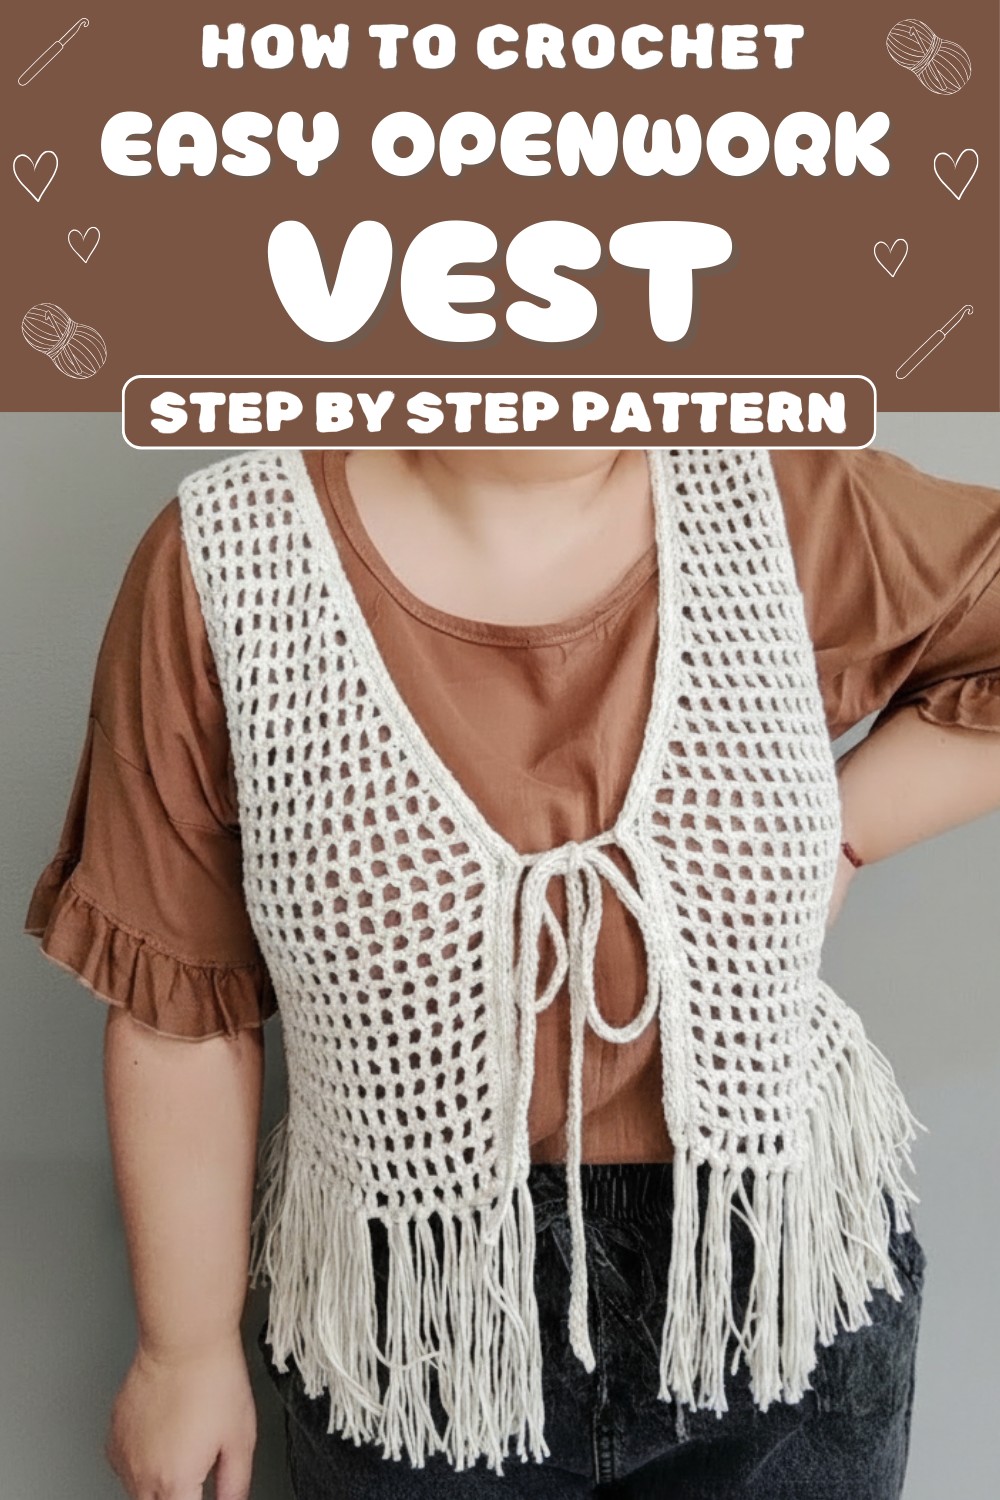
Special Notes:
- Create a gauge swatch before starting to ensure correct sizing.
- Chains at the beginning of rows count as a stitch unless otherwise stated.
- Adjust the initial chain length and row count for custom sizing.
- When shaping armholes and necklines, carefully count stitches for symmetry.
- Optional details like fringes and bow ties add personalization.
Pattern Correction
Double-check your chain counts (an odd number is essential for the square net stitch). Additionally, ensure the shoulder widths match symmetrically between the panels.
Tip
Use lightweight yarns for a flowy effect or gradient yarns for subtle color transitions. Block the finished piece for a professional appearance that enhances the lace texture.