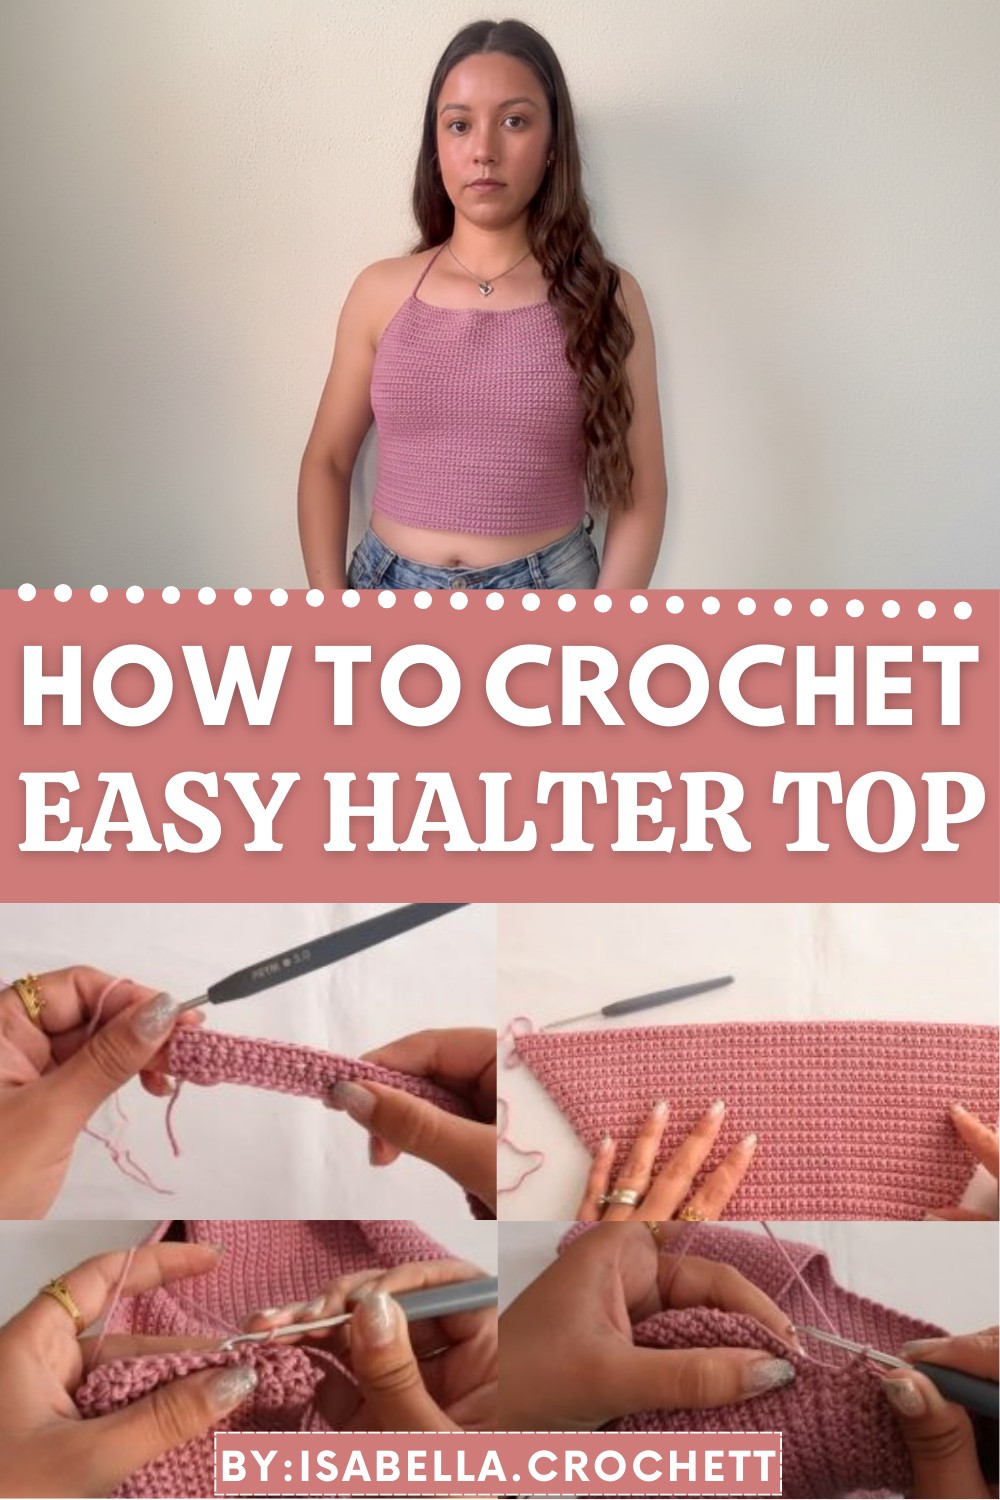
Revamp your style with a Crochet Halter Top Pattern that’s easy to make and beautifully chic, perfect for adding charm to your summer outfits.
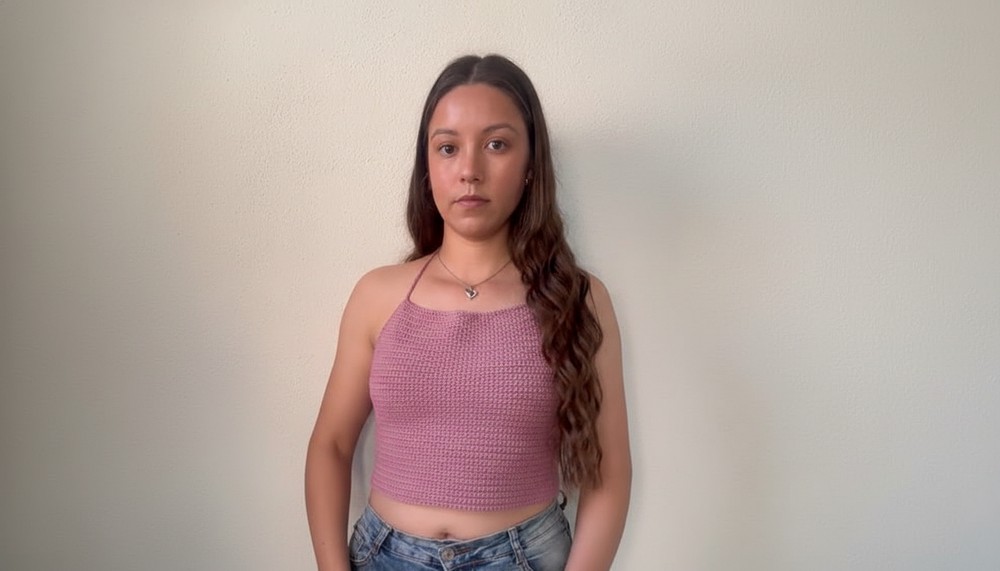
Creating a stylish piece that’s perfect for sunny days and adds a handmade touch to your wardrobe. The Crochet Halter Top pattern lets you craft a stunning and lightweight design that’s both fashionable and functional. Its beauty lies in the intricate stitches and unique shapes that make every piece one-of-a-kind. With its breezy appearance, this halter top is ideal for summer outings, beach trips, or even fun gatherings, giving you an effortlessly chic look.
Customizable Crochet Halter Top for a Unique Look
You can customize it by choosing bold, vibrant colors for a lively vibe or soft pastels for a gentle, elegant style. This pattern is versatile and can fit seamlessly with skirts, shorts, or jeans, making it a go-to addition for your handmade wardrobe. Whether you’re a crochet expert or just learning, the halter top’s design is fun, easy to make, and lets you express your creativity through wearable art.
Crochet Halter Top Pattern
Materials Required
- Yarn:
- Type: 100% mercerized cotton (lightweight yarn).
- Recommended Yarn: Omega Symphony (or similar cotton yarn).
- Color: Rosebush (or color of your choice).
- Amount: Approximately 150g for a small size. Adjust for larger sizes.
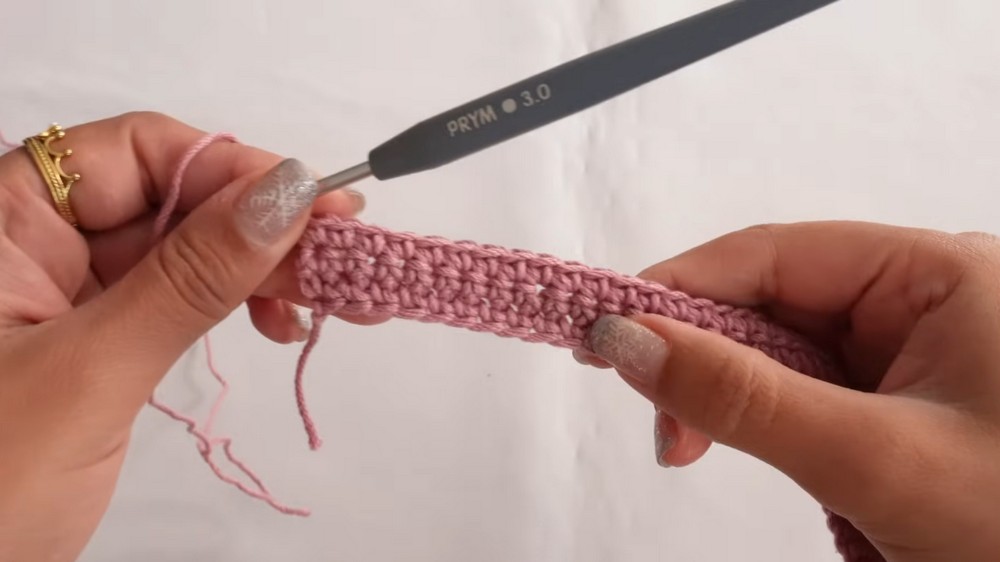
- Hook:
- Hook size 3 mm (recommended as per transcription).
- Additional Materials:
- Measuring tape to adjust size and rows as needed.
- Scissors for cutting yarn.
- A smaller crochet hook (optional) to tuck stray threads.
Finished Sizes
The pattern is written for multiple sizes:
- Small: 18 cm (top width).
- Medium: Add 2 cm (20 cm width).
- Large: Add 4 cm (22 cm width).
- Extra Large (XL): Add 6-7 cm (24 or 25 cm width).
Gauge
- 10 single crochets (sc) = ~5 cm, 15 rows = 10 cm.
Abbreviations and Special Techniques
| Abbreviation | Meaning |
|---|---|
| ch | Chain |
| sc | Single Crochet |
| sl st | Slip Stitch |
| inc | Increase (two sc in one stitch) |
| sp | Space |
| rep | Repeat |
Pattern Instructions
Step 1: Foundation Chain
- Create a slipknot and attach it to the hook.
- Chain a foundation:
- For a Small Size, chain 40 chains (~18 cm).
- Adjust as follows:
- Medium: 42 chains (~20 cm).
- Large: 46 chains (~22 cm).
- XL: 50 chains (~24-25 cm).
- Add 1 extra chain to act as a turning chain.
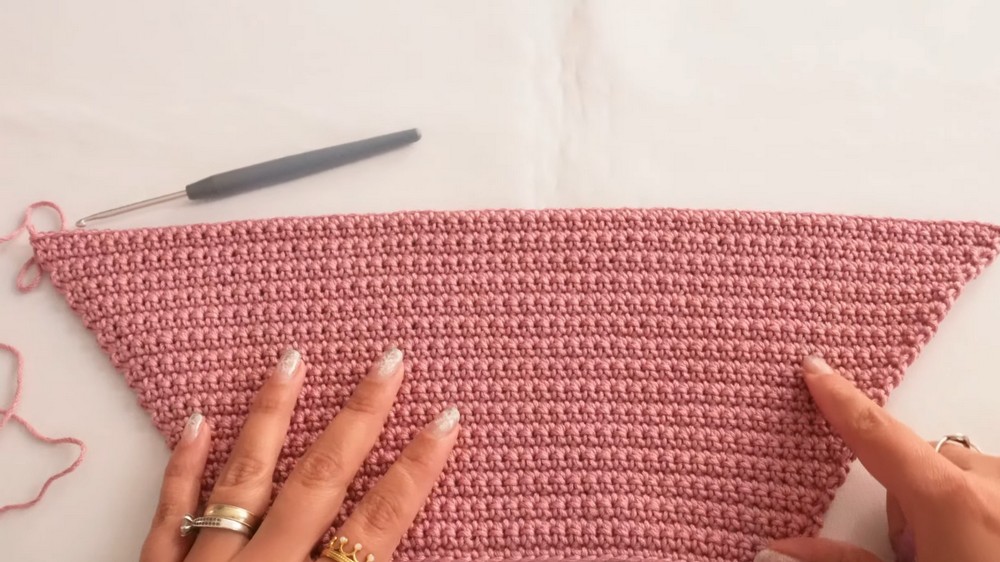
Step 2: Creating the Front Panel
Row 1:
- Start single crochet (sc) in the second chain from the hook.
- Work 1 sc into each chain along the foundation row.
- At the end of this row, you’ll have 40 sc for a small size.
- Turn your work.
Row 2:
- Ch 1 (turning chain).
- Work 1 sc into each sc from the previous row. Maintain 40 sc.
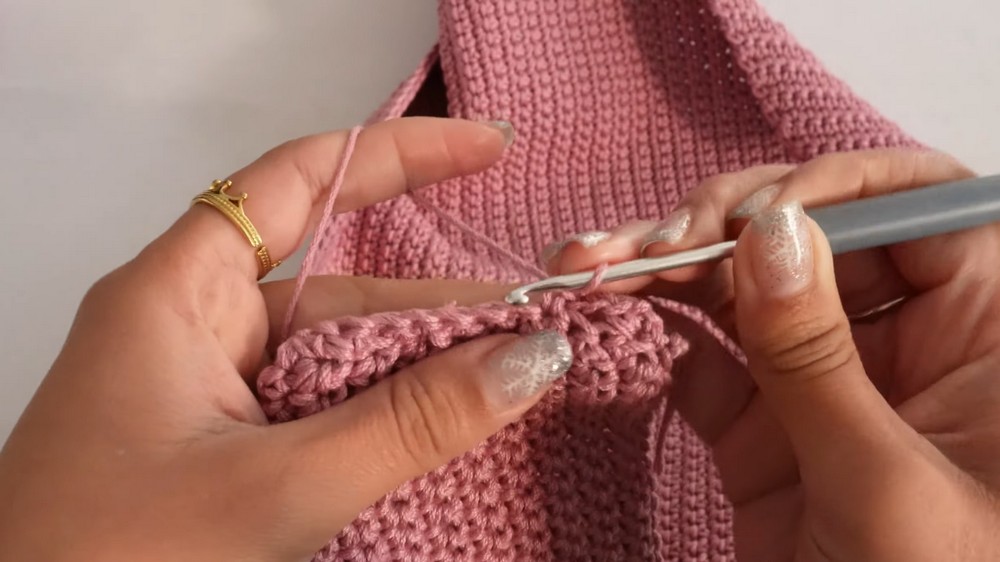
Step 3: Adding Increases
To shape the halter top and cover the bust area, increases are added at the beginning and end of every other row.
Row 3 (with increases):
- Ch 1, turn. In the first stitch, make 2 sc (increase).
- Work 1 sc in every sc across until the final stitch. In the last stitch, make 2 sc (increase).
- This row adds 2 extra stitches for a total of 42 sc.
Row 4 (no increases):
- Ch 1, turn. Work 1 sc in each sc (no increases). Maintain 42 sc.
Row 5 (with increases):
- Ch 1, turn. Work 2 sc in the first stitch, then 1 sc in every stitch until the last stitch.
- In the last stitch, work 2 sc (increase).
- Total: 44 sc.
Row 6 (no increases):
- Ch 1, turn. Maintain 44 sc, working 1 sc in each sc.
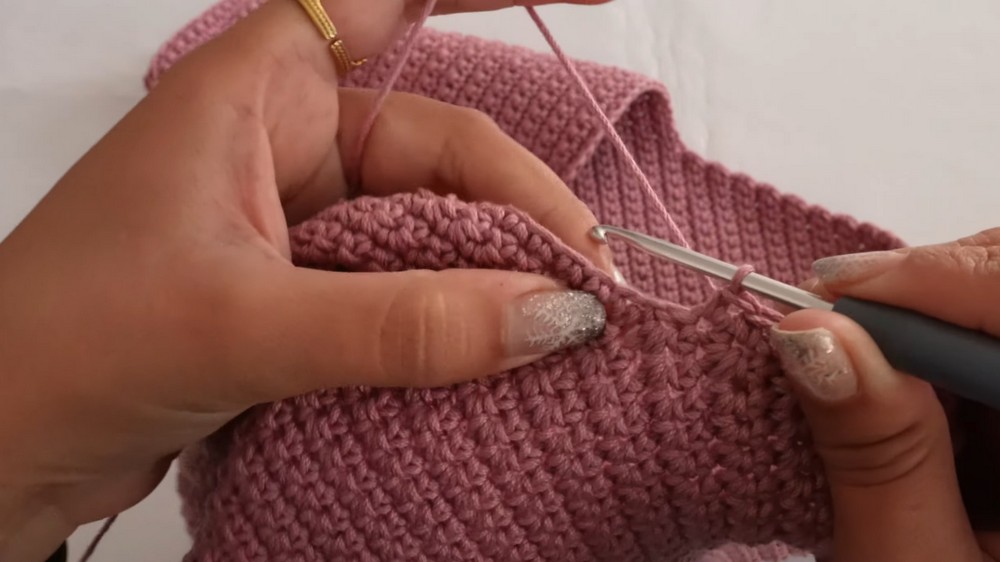
Step 4: Repeating the Increase Sequence
- Repeat the sequence:
- One row with increases at the start and end.
- Followed by one row with no increases.
- Continue this pattern until the front panel measures the desired length:
- For a small size: Work 30 rows or ~14 cm.
- If bust coverage is insufficient, you can work every row with increases for fuller coverage.
Step 5: Back Panel and Connections
- Chains for Sides:
- At the end of the front panel, add 26 chains on each side to extend towards the back.
- This creates space for laces.
- Work sc rows across the entire width, including the extended chain stitches, until the back panel measures the desired length (~28 cm for small sizes).
- For larger sizes: Adjust chain length and number of rows as per overall fit.
Step 6: Creating Lace Holes
- To add holes for back laces:
- Work 2 rows of sc along the edges (side seams).
- For the 3rd row:
- Ch 2, skip 2 sts, sc in the 3rd stitch. Repeat across to create evenly spaced “holes”.
- Ensure you create 4 holes per side for even lacing.
Step 7: Border
- Work a neat sc border around all edges (neckline, bottom hem, and sides).
- Add an extra sl st into corners for a polished finish.
Step 8: Straps
- For neck straps:
- Chain 300 chains and work sl st back along these chains.
- Attach to the neckline edge and repeat for the other side.
- For back straps:
- Chain 400 chains, sl st back along the chains, and attach them securely near the underarm edges.
Finishing the Top
- Weave in Ends: Use a darning needle or a smaller hook to hide all loose ends securely.
- Trim any excess yarn cleanly.
Final Words
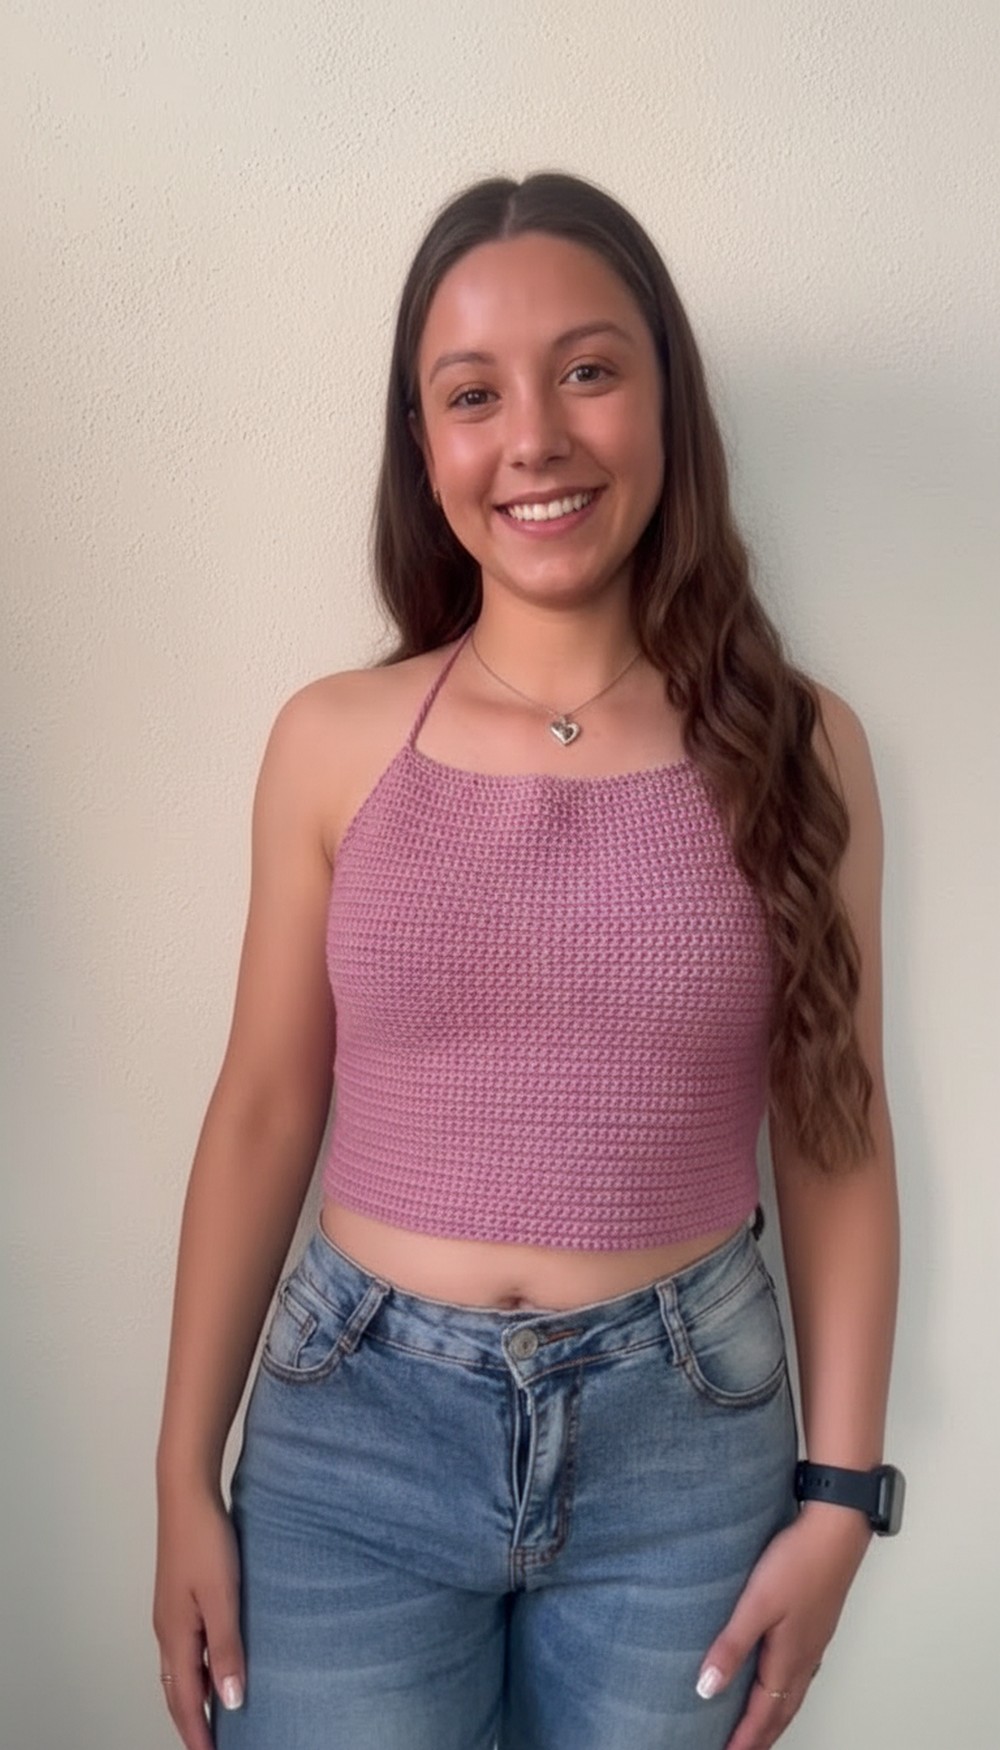
Congratulations! You’ve completed a stylish and versatile halter top perfect for warm weather. Its lightweight, breathable design and adjustable laces make it comfortable and customizable for any fit.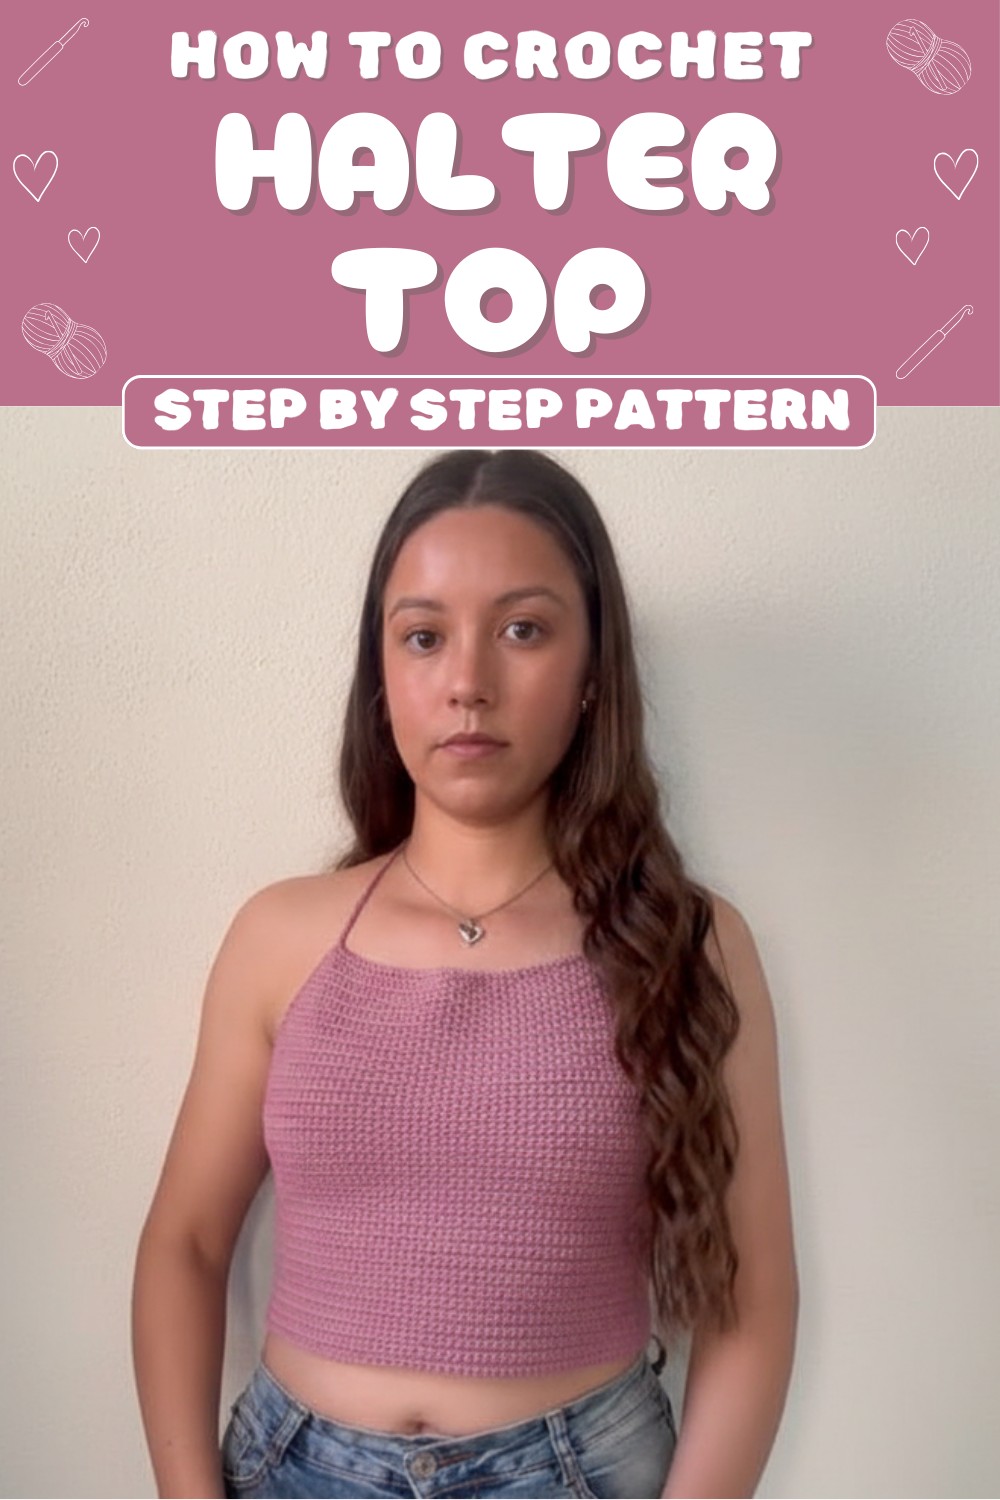
Tips to Maintain the Pattern
- Gauge Check: Test your gauge and ensure proper tension to match the size.
- Customization: Adjust rows, chain counts, or lace lengths for a perfect, tailored fit.
- Blocking: Steam block your finished piece to relax the stitches and improve shaping.
- Wash Care: Since this uses cotton, handwash or use a gentle machine cycle to prevent shrinking.