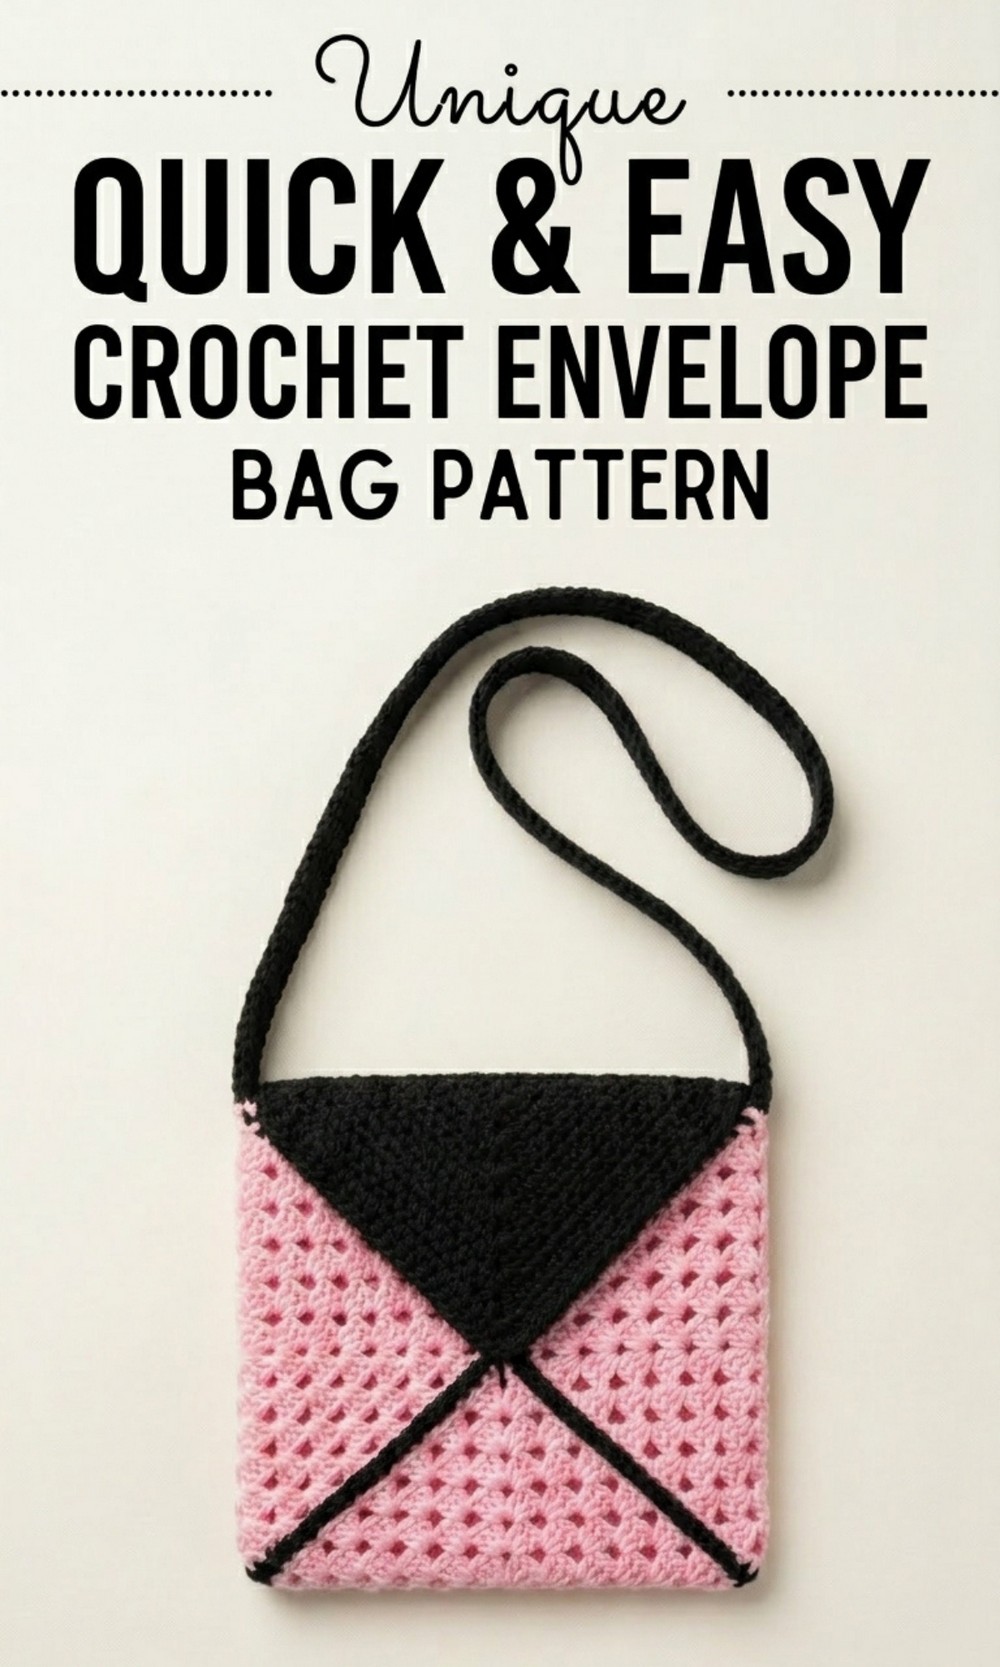
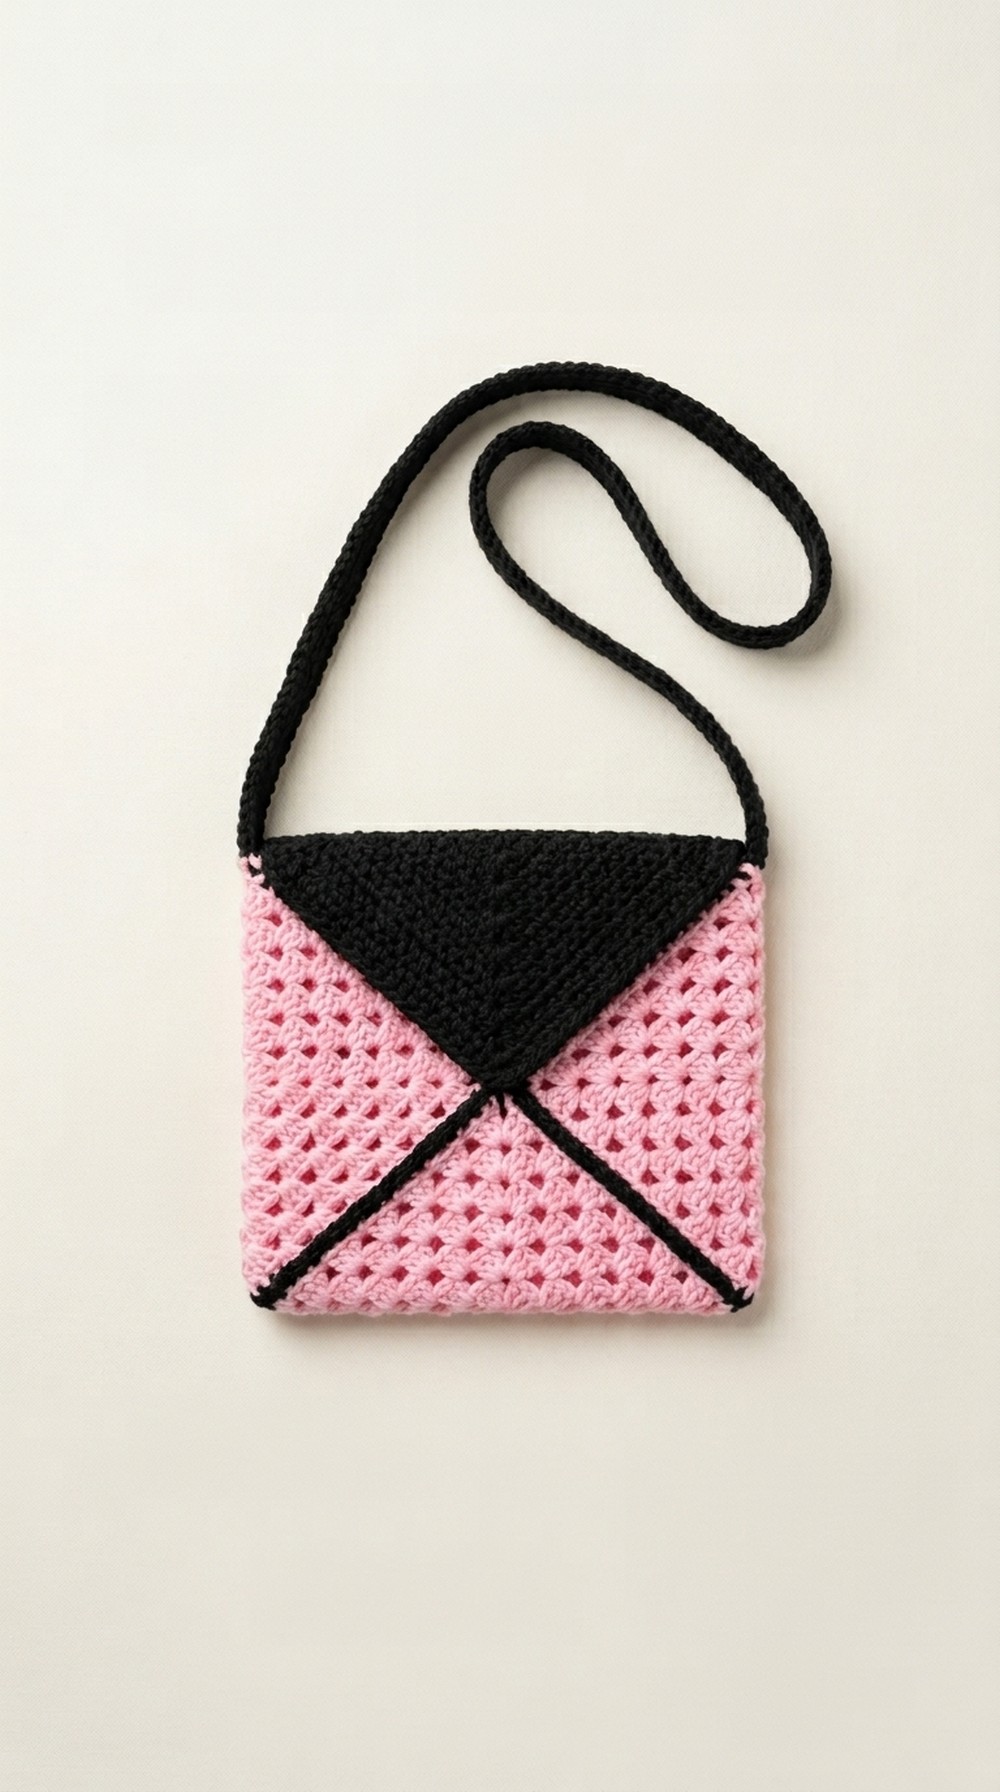
Carry your essentials in style with this free crochet envelope bag pattern that’s for customizing, gifting, and adding a touch of elegance to any outfit.
Stepping out with a chic yet practical bag that’s uniquely yours and turning heads wherever you go. A free crochet envelope bag pattern is your ticket to creating the perfect compact accessory for carrying essentials like your phone, wallet, or favorite lipstick. The sleek envelope design offers a sophisticated touch, making it ideal for everything from casual outings to special occasions.
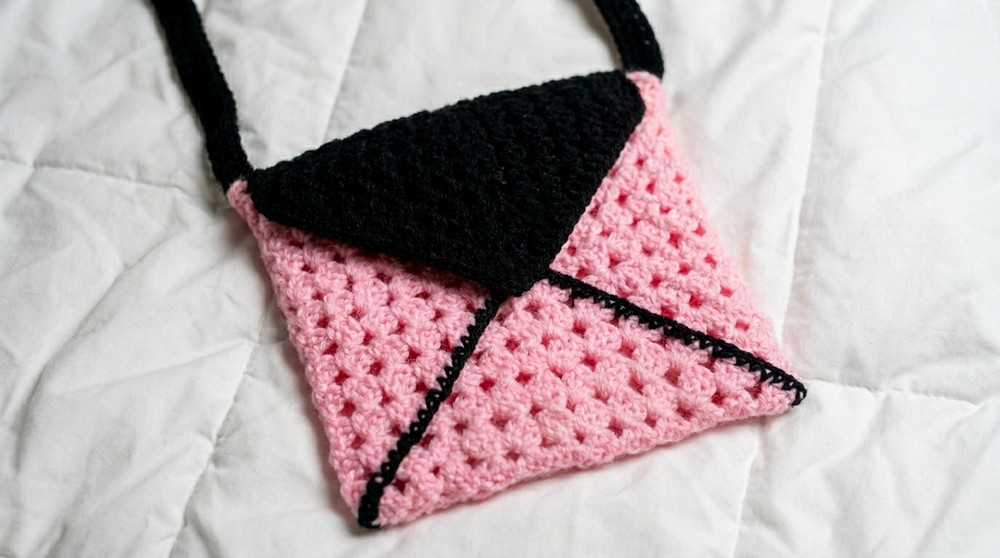
Free Crochet Envelope Bag Pattern That’s for Handmade Gifts
Pair it with a flowy dress for brunch or a tailored blazer for evening wear, it’s versatile and effortlessly stylish. The beauty of making an envelope bag lies in the customization; you can experiment with colors, textures, and stitch patterns to match your personal style. Plus, it’s a rewarding project that combines creativity with function while saving you money. Whether for yourself or as a thoughtful handmade gift, this crochet project will quickly become a favorite in your collection!

Free Crochet Granny Square Bag Pattern
Materials Needed
- Yarn:
- DK weight yarn (used in the tutorial: pink and black yarn, with an additional white strand held double to adjust thickness for the black square).
- You can choose two contrasting colors or multiple colors to match your style.
- Crochet Hook: 4mm (G-6) hook or size required to meet the gauge.
- Tapestry/Yarn Needle: For weaving in ends and attaching the strap.
- Optional: Sewing needle and thread (if not using yarn for the strap).
- Measuring Tape: For checking size and ensuring uniformity.
- Scissors: To cut yarn cleanly.
Gauge
Gauge ensures consistency in sizing. Use the following as a guide:
4 rounds of a granny square = 4” x 4” (10cm x 10cm).
Adjust your hook size if your gauge does not match.
Finished Size
The finished bag size is approximately 8” x 8” (20cm x 20cm), excluding the strap. You can customize the size by adjusting the number of rows on the granny squares or the length of the strap.
Abbreviations (US Terminology)
- ch: Chain
- sl st: Slip Stitch
- dc: Double Crochet
- sc: Single Crochet
- st(s): Stitch(es)
Instructions
Granny Square (make 4 total – 3 pink and 1 black)
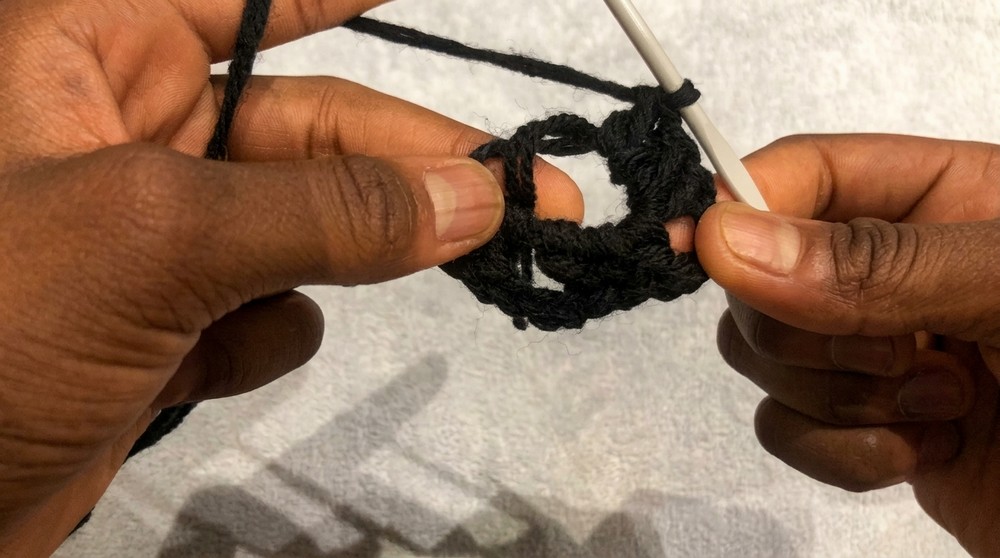
- Start with a Magic Ring:
- If you’re unfamiliar with the magic ring, look for tutorials online to guide you.
- Alternatively, chain 4 and join with a slip stitch to form a loop.
- Round 1:
- Ch 3 (counts as first dc).
- Work 2 dc into the ring.
- Ch 3 (corner), 3 dc into the ring.
- Repeat from * to * 2 more times.
- Ch 3 for the last corner and sl st to the top of the beginning ch-3 to close the round.
- Round 2 and Onward:
- Begin each round with a ch 3.
- In each corner space, work 3 dc, ch 3, 3 dc to expand the granny square.
- In each side space between clusters, work 3 dc, ch 1.
- Continue working until the square reaches the desired size.
- For this bag, work 6 total rounds for each granny square.
- After completing the last row, ch 1 and cut your yarn, leaving a tail to weave in.
- Customization Tip:
- To shrink the size of the bag, stop at fewer rounds (e.g., 4 or 5).
- For a larger bag, add more rounds.
Bag Construction
Step 1: Assembly of Squares (Front and Back)
- Arrange the Squares:
- Fold each square in half diagonally.
- Arrange them so that their corners meet, forming the outline of the bag.
- Place the black square on one side and the pink squares on the remaining sides.
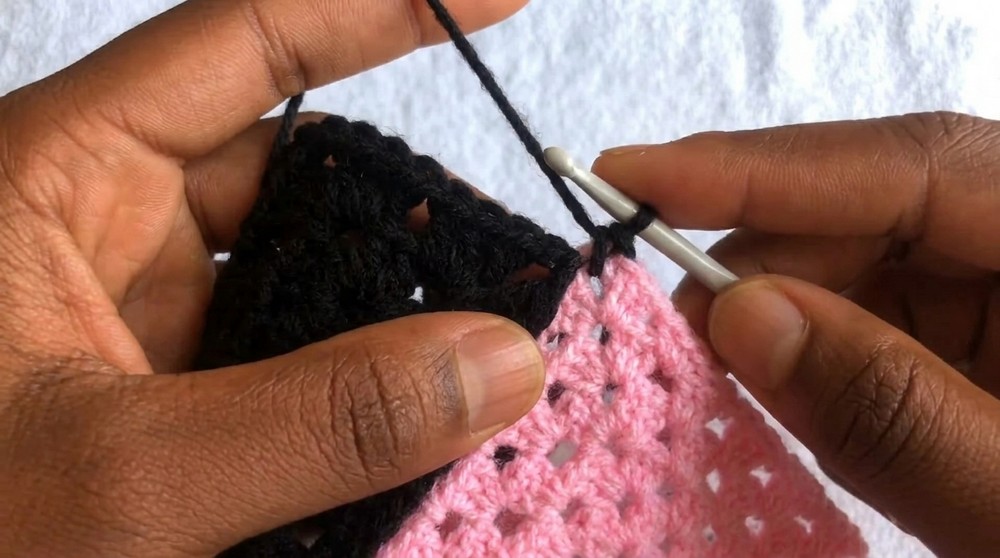
- Join the Squares:
- Use black yarn for joining, as it adds contrast and defines the seams.
- Align two squares at their edges. Insert your hook into the corner spaces of both squares, pull through black yarn, and tie a knot.
- Ch 1, sc into the corner, and continue single crocheting across the aligned edges:
- Sc into each corresponding dc of the two squares.
- For spaces, work 1 sc.
- When you reach the next corner, work 2 sc into the corner spaces of both squares for a secure join.
- Ch 1, cut the yarn, and weave in ends.
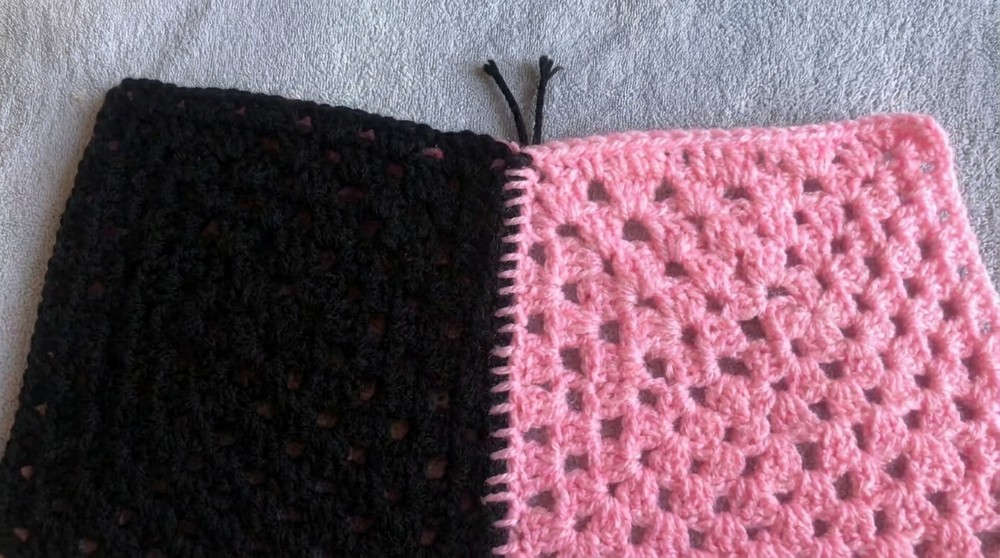
- Repeat Joining:
- Connect all four squares (three pink and one black) using the same method. Ensure the seams are visible on the outside for decorative contrast.
Step 2: Border the Flap
- With black yarn, single crochet around the flap edge for a neat finish.
- Work 3 sc into each corner to allow the border to turn smoothly.
- For a thicker border, repeat a second row of sc.
Strap
- Determine the Length:
- Ch 161 for a medium-length strap. Adjust the number of chains to make it shorter or longer.
- Work in Rows:
- Row 1: Sc in the 2nd ch from the hook and across. Turn.
- Row 2: Ch 1, sc in every sc from the previous row. Turn.
- Repeat until your strap reaches the desired width (approximately 4 rows).
- Finish:
- Ch 1, cut yarn, and weave in ends.
Attaching the Strap
- Align the strap with the bag (at the sides where the black and pink edges meet).
- Use a yarn needle and black yarn to sew the strap onto the bag securely.
- Tip: Reinforce by going over the attachment points twice.
- Optional: Use a sewing needle and thread for cleaner, smaller stitches.
Lining the Bag (Optional)
For better durability and functionality, line the bag with fabric:
- Cut fabric slightly larger than the interior of the bag.
- Fold and sew the edges to prevent fraying.
- Hand-stitch or machine stitch the fabric into the bag.
Tips and Customization Ideas
- Size Adjustment: Alter the size by creating larger or smaller granny squares.
- Colors: Experiment with multi-colored granny squares for a vibrant look.
- Decorative Edging: Add a scalloped or picot border for extra flair.
- Lining Options: Use a brightly colored or patterned fabric for added visual interest.
Conclusion
This crochet granny square bag is a rewarding yet straightforward project that combines timeless design with functionality. Whether you use it as a stylish accessory, a gift, or a fun personal project, the bag’s versatility and customization options make it a favorite among crocheters.
Take your time perfecting all parts of the bag construction, especially the joins and strap attachment, as they enhance the structure and durability of your creation. With a lined interior, this bag can hold various essentials while showcasing your skill and creativity.