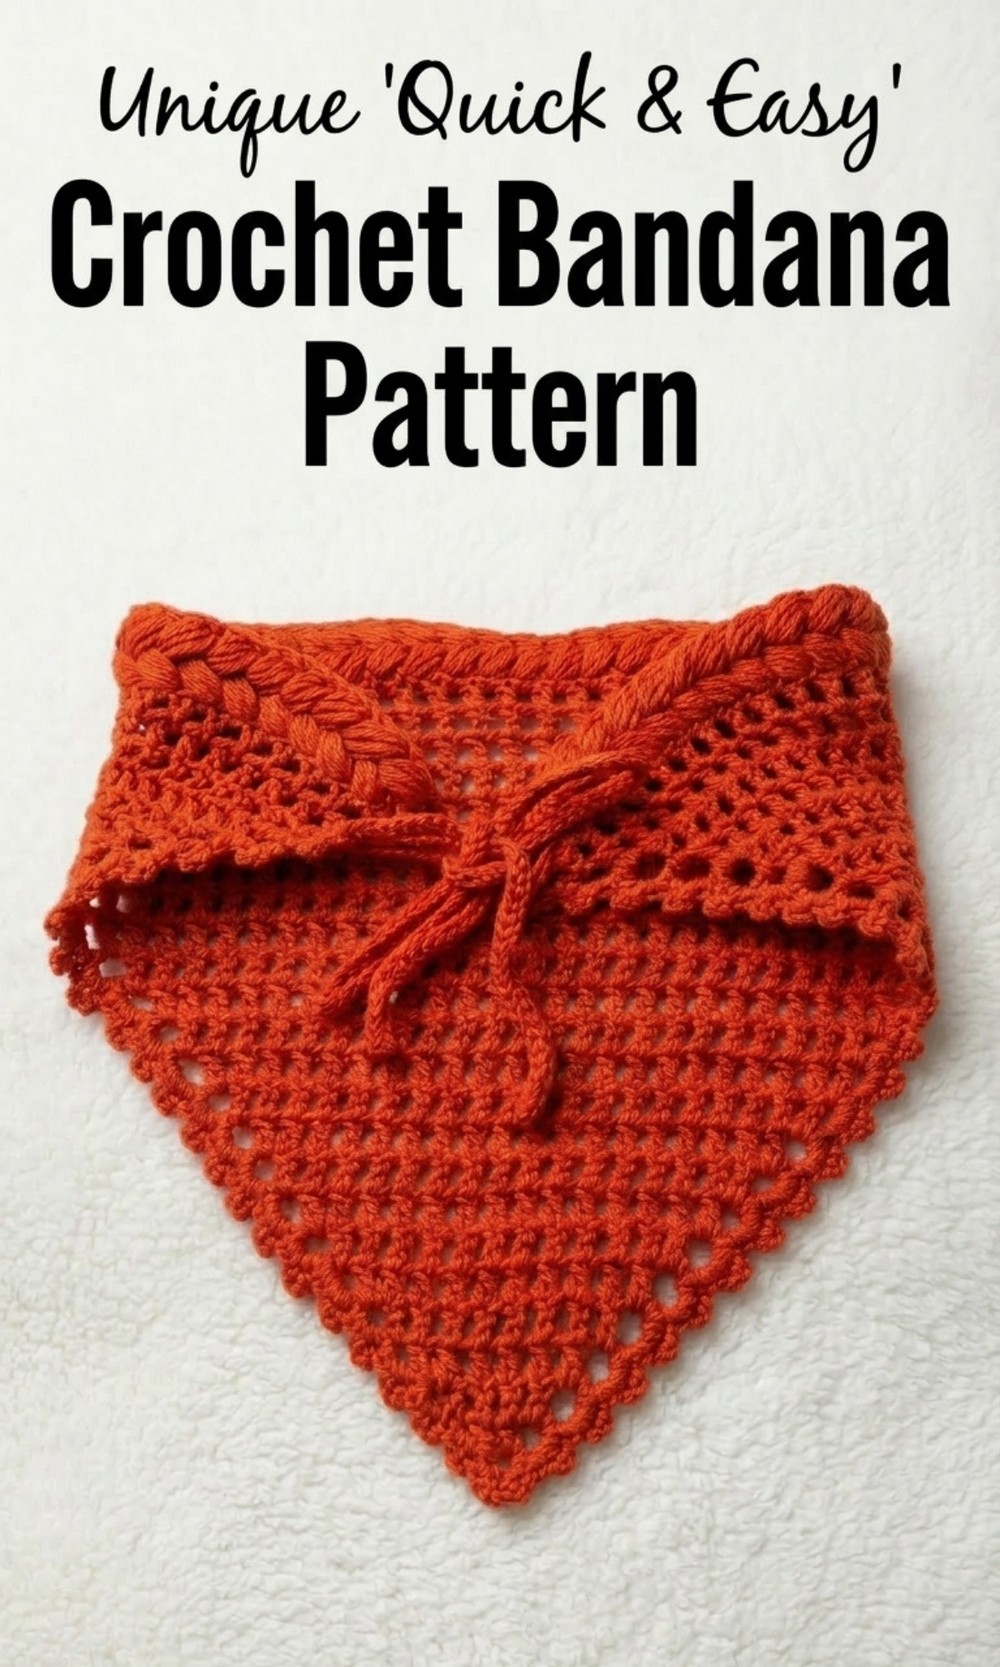
Style your outfits with a free crochet bandana pattern that offers versatility, comfort, and a unique way to express yourself with personalized colors and textures.
Nothing pulls together an outfit quite like an accessory that’s uniquely yours, both stylish and practical. A free crochet bandana pattern lets you stitch together a lightweight and versatile piece for any occasion. Perfect for tying up your hair or styling around your neck, it’s functional and effortlessly chic for beach days, casual outings, or festival season.
Free Crochet Bandana Pattern for All Ages
Pair it with breezy summer dresses, denim jackets, or even your favorite swimwear, and it instantly uplifts your look. The freedom to personalize its colors and textures makes it special, allowing you to match your personal taste or wardrobe seamlessly. Compact and simple to carry, it’s more than just a fashion statement, it’s a wearable charm. Whether as everyday wear or a carefully thought-out gift, this bandana easily becomes a staple, combining practicality with undeniable style.
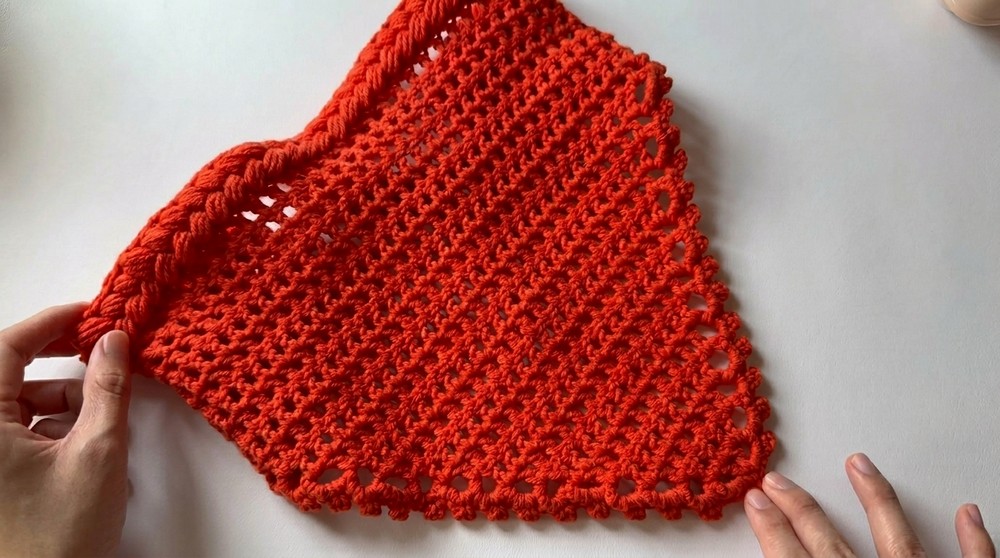
Free Crochet Bandana Pattern
Materials List
- Yarn:
- Lightweight or DK-weight yarn, approx. 100g in your chosen color.
- Yarn suggestion: Cotton or acrylic for lightweight and breathable texture.
- Crochet Hook: 3.5mm (E-4) hook.
- Additional Tools:
- Stitch markers for marking guide points.
- Darning/tapestry needle for weaving in ends.
- Scissors: For cutting yarn neatly.
Skill Level
- Intermediate to Advanced: Requires familiarity with basic stitches, puff stitches, picot edging, creating triangle shapes, and slip stitching.
Key Abbreviations (US Terminology)
- ch: Chain
- sl st: Slip Stitch
- sc: Single Crochet
- dc: Double Crochet
- tr: Treble Crochet
- puff: Puff Stitch
- ext sc: Extended Single Crochet
- sp: Space
- st(s): Stitch(es)
Special Notes
- Magic Ring: Used for starting the bandana’s triangular shape.
- Puff Stitch: A textural stitch involving consecutive loops to create a “puffy” appearance.
- Picot Edging: Used to add scalloped edges along the bandana.
- Sizing Adjustment:
- The number of rows can be adjusted for larger or smaller bandanas.
- Headband and strap lengths can also be customized by altering chain counts.
Pattern Instructions
Part 1: Bandana Base
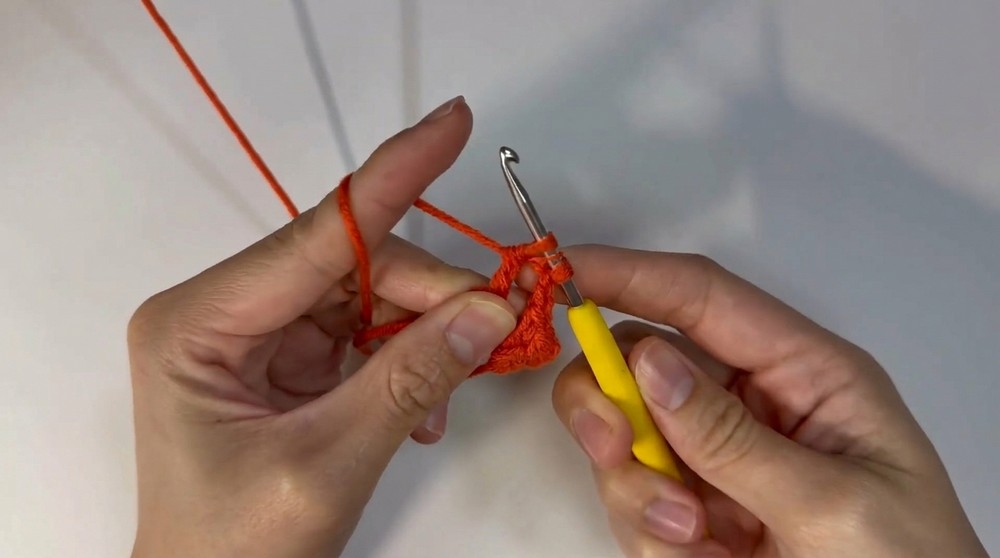
Row 1:
- Start with a magic ring: Wrap the yarn around your fingers to form a ring. Insert the hook under the ring, pull through the yarn, and secure with a slip knot.
- Ch 5 (counts as 1 dc + ch 2).
- Make 1 dc into the magic ring.
- Ch 1, make 1 dc into the magic ring.
- Ch 2, make 1 tr into the magic ring.
- Pull the tail of the ring to tighten it. (This completes Row 1.)
Row 2:
- Ch 5, turn your work (now working into Row 1 spaces).
- Make 1 dc into the first sp (the space formed by ch 2 in Row 1).
- Ch 1, make 1 dc on top of the previous dc.
- Ch 1, continue making 1 dc on top of each dc from the previous row.
- Ch 1, make 1 dc into the last space of the previous row.
- Ch 2, make 1 tr into the same space. (This completes Row 2.)
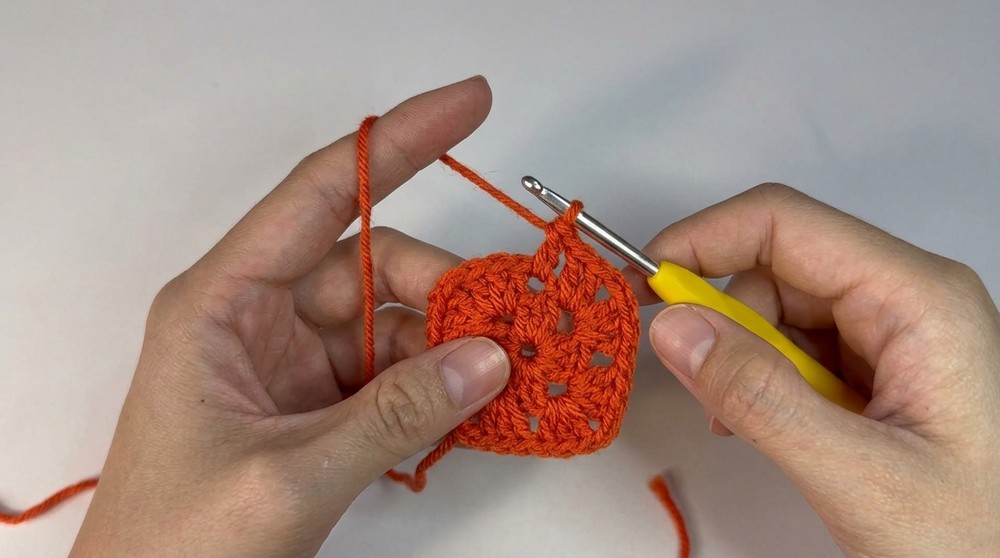
Row 3 – Row 23:
- Repeat the steps from Row 2 for each subsequent row.
- Alternate the work direction: Turn outward for odd rows, inward for even rows.
- Increase: Always make a ch 1, dc, ch 2, and tr at the end of each row’s space to maintain the triangular increase shape.
- Each row will grow by 2 additional squares as the triangle expands.
- Finish after completing Row 23, which completes the triangular bandana base.
Part 2: Tie Straps
First Strap:
- Attach yarn to the bottom left corner of the triangle.
- Ch 60 to create the tie strap.
- Turn and work sl st into each chain along the strap. Continue slip-stitching back to the starting point.
Single Crochet Along Edge:
- Make 1 sc in the first stitch where the strap ends.
- 2 sc in the corner space.
- 1 sc in each stitch and 2 sc in each space** across the bandana base edge.
Second Strap:
- When you reach the bottom right corner of the triangle, ch 60 to create the second tie strap.
- Slip stitch back along the chain and reattach to the corner.
Part 3: Picot Edge on the Bandana
- After completing the second tie strap, work a border along the bandana edges, adding picot stitches.
- Picot Pattern:
- 3 sc into each space.
- In the next stitch: ch 3, sl st into the base stitch (forms the picot).
- 2 sc in the next space, then repeat the picot.
- Continue this pattern: [3 sc + 1 picot] until the bandana’s edge is complete, including the top point and inner edges near the straps.
Part 4: Headband Section
Marking Placement:
- Fold the bandana in half to locate the center tip. Mark this point with a stitch marker.
- Count 42 sts to both the left and right of the center point, placing markers in the corresponding locations.
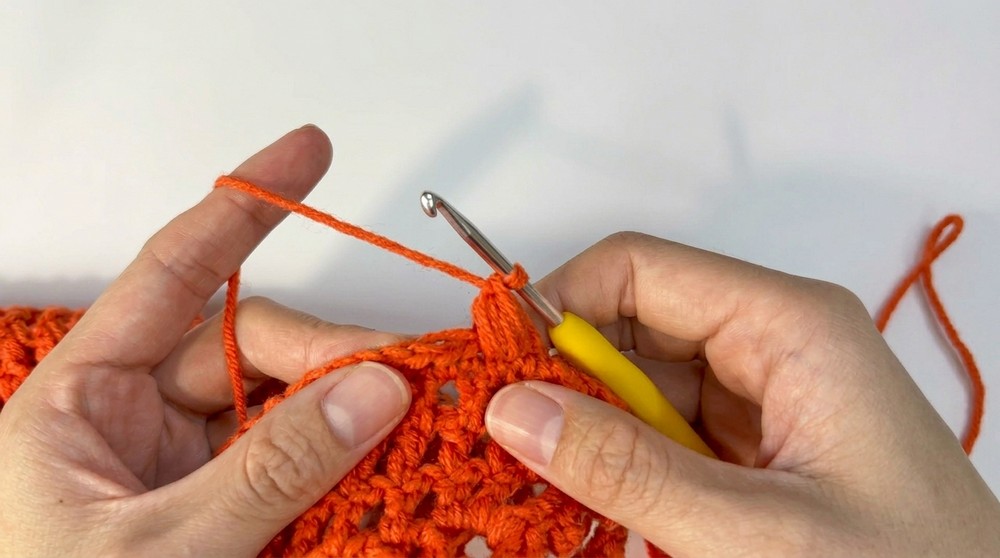
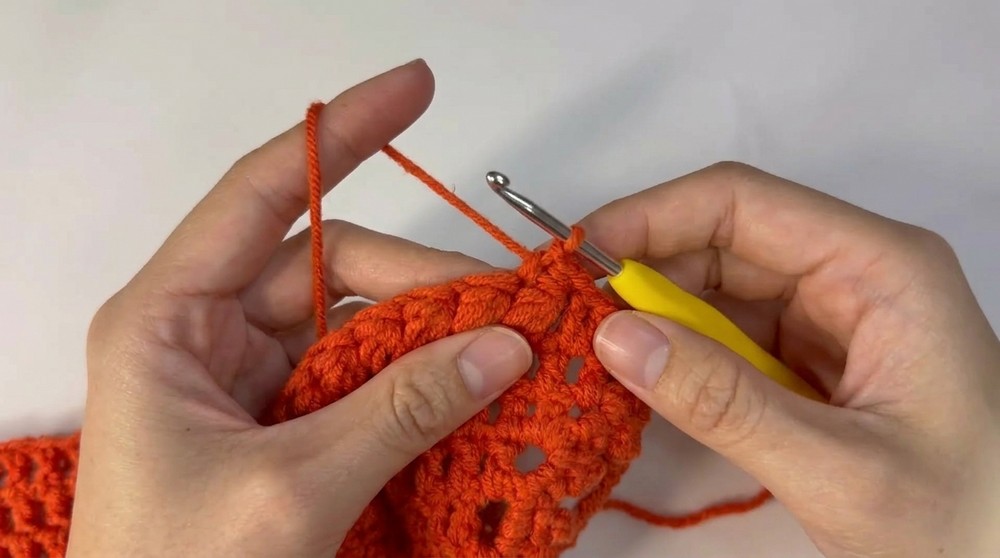
Headband Rows:
Row 1:
- Insert your hook into the first stitch next to the right marker and attach yarn with a slip stitch.
- Make 1 sc into the starting st, skip the next st, and 1 sc into the following st.
- Return to the skipped stitch and create the puff as follows:
- Pull up a loop (to puff height), yarn over, insert into skipped st, and pull up another loop.
- Repeat until there are 9 loops on hook, yarn over, and pull through all but the final loop.
- Close the puff with 1 sc.
- Continue this puff-stitch pattern across to the left marker.
Row 2:
- Ch 1, turn.
- Repeat Row 1, following the same puff-stitch pattern.
- After completing Row 2, sl st, ch 1, and cut the yarn.
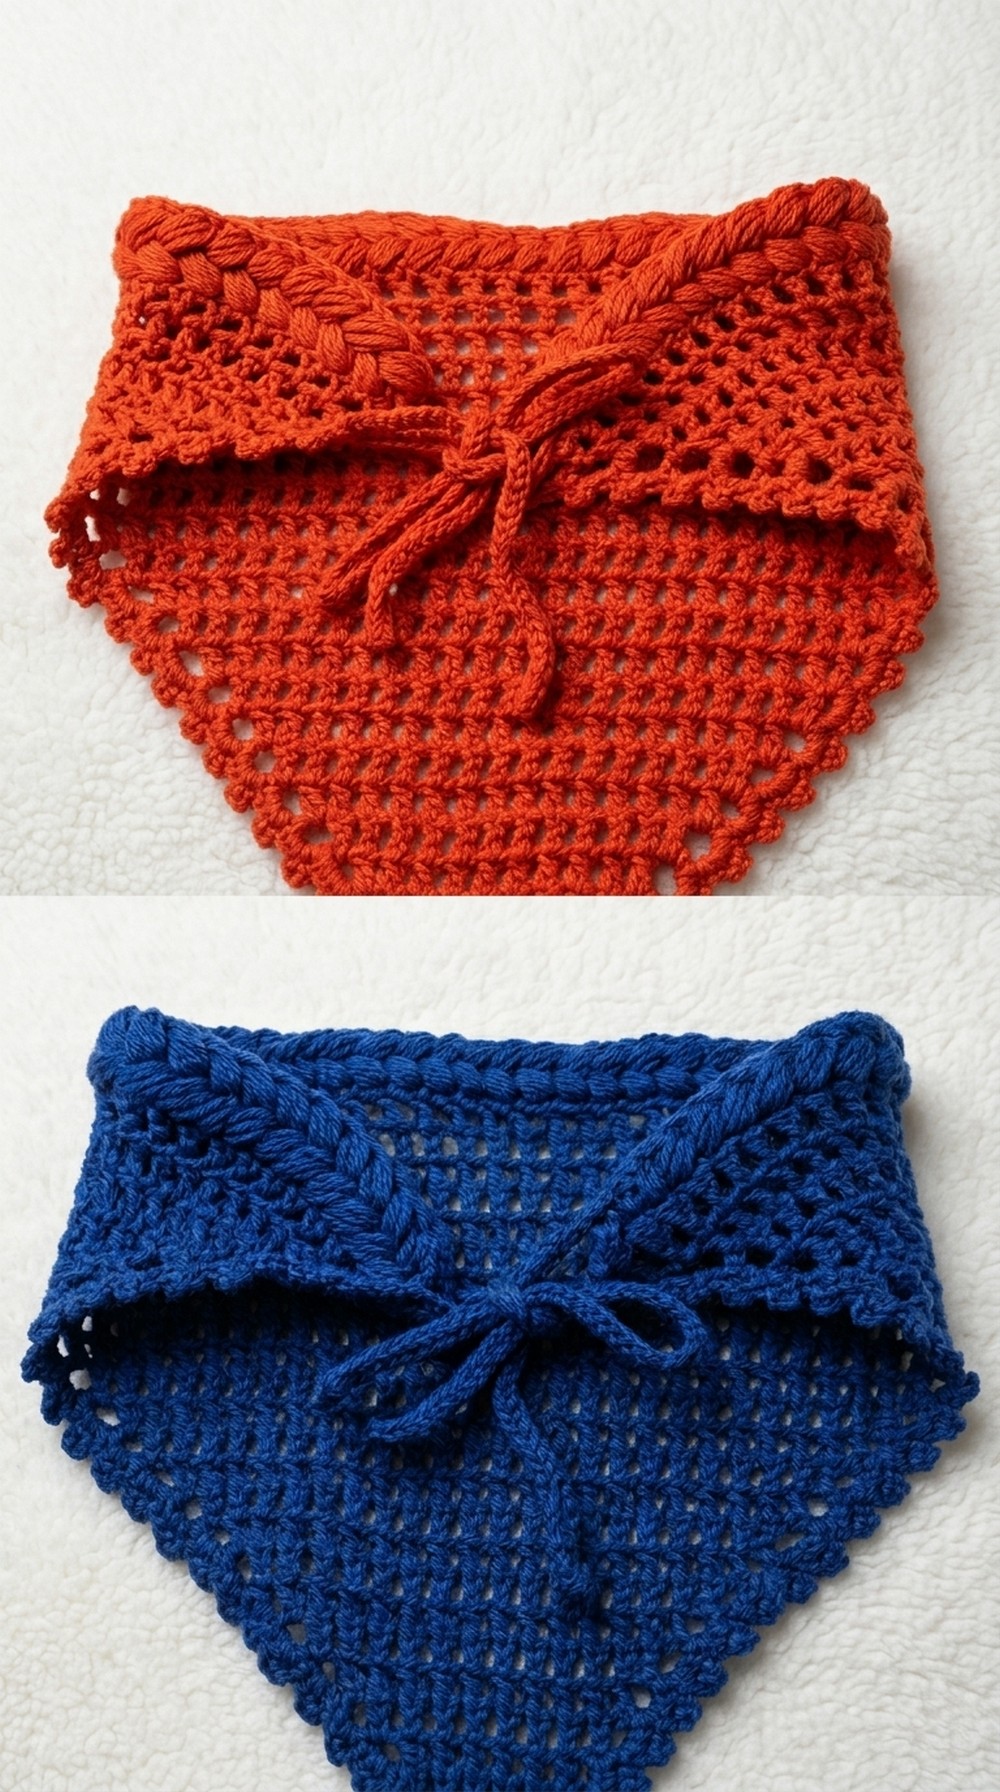
Conclusion
The BandaBand is a versatile, stylish accessory that is both practical and customizable. With its triangular base, fun picot edging, and intricate puff-stitch headband section, this piece offers modern elegance for any season or occasion.
Pattern Corrections
- Ensure you are consistent with the triangle shape by maintaining the increase pattern in every row.
- Adjust strap and headband lengths or widths to fit your specific needs.
Tips for Success
- Gauge Check: Work loosely to ensure the bandana drapes nicely.
- Customization: Consider alternations like color-stripes or adding beads to the picot edging for a unique touch.
- Blocking: Lightly block your finished piece to smooth any curling edges.