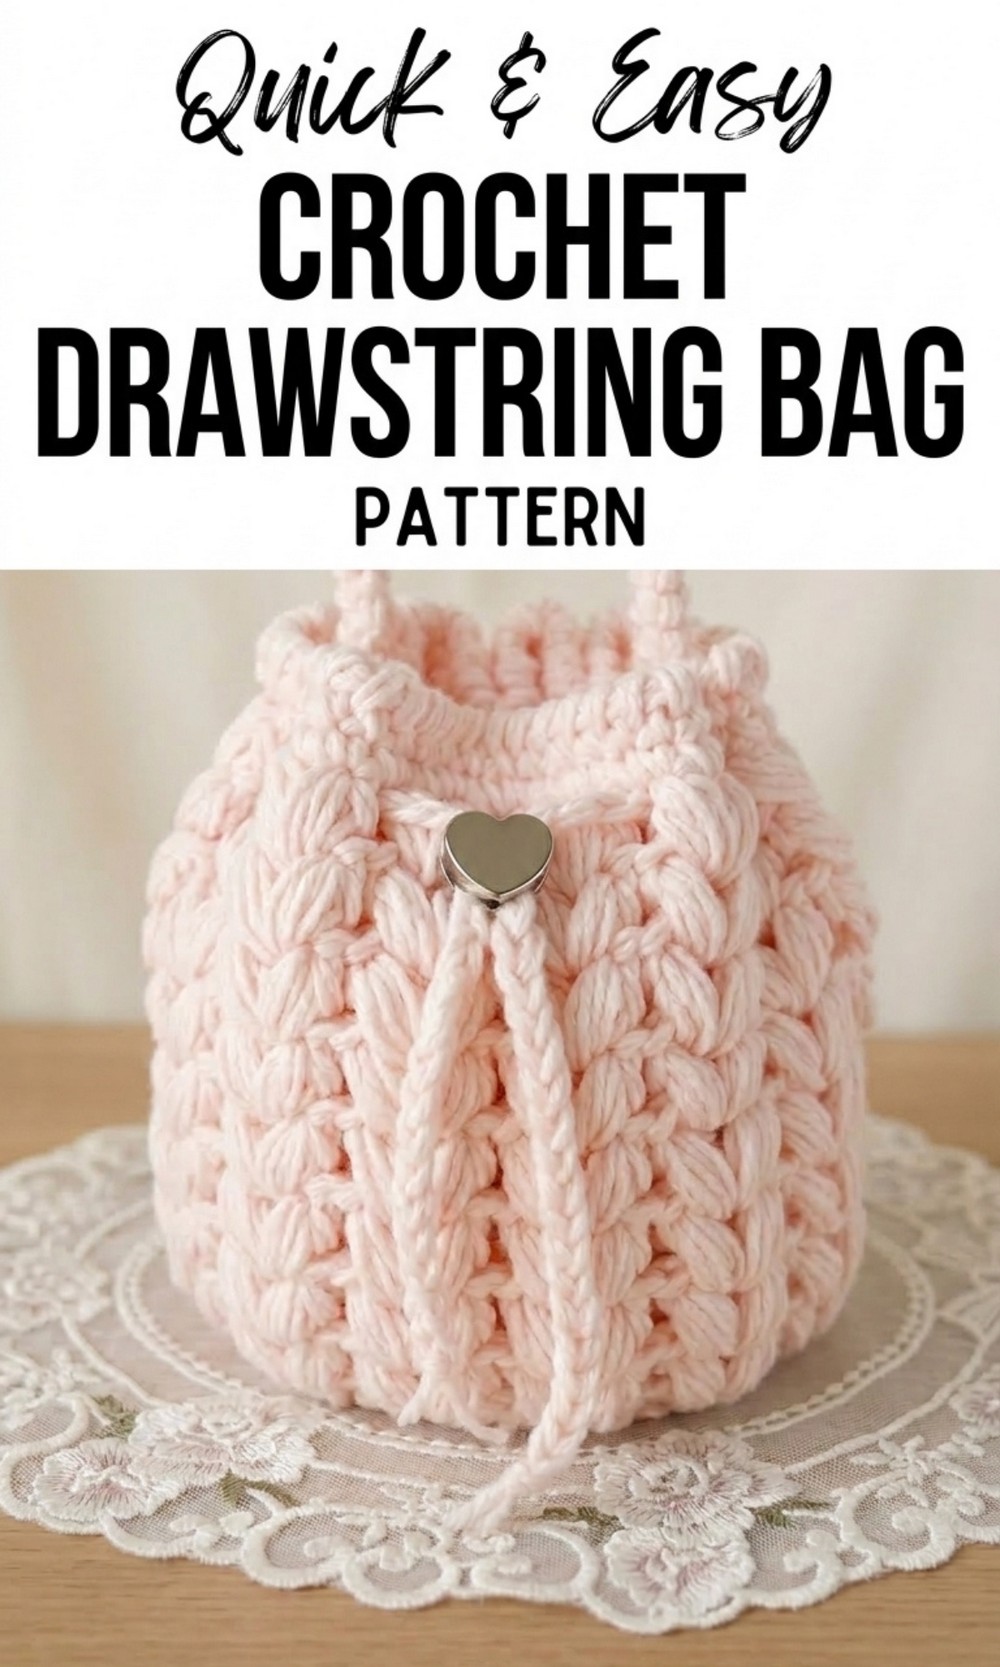
Find a free crochet drawstring bag pattern that’s perfect for effortlessly combining style and functionality to carry essentials or organize your space.
Who says functional can’t be fun? Let’s talk about the free crochet drawstring bag pattern that’s about to upgrade your crochet game! This little gem isn’t just another bag—it’s your ultimate go-to for style and practicality. Use it to stash your on-the-go essentials, like keys, snacks, or your favorite skincare must-haves. Pick vibrant colors, play with textures, and you’ve got yourself a trendy accessory that’ll turn heads.
Free Crochet Drawstring Bag for Any Use
Planning a thoughtful handmade gift? This bag screams “I made this for you!” in the best way possible. From casual outings to keeping your crochets organized, this bag fits right into your everyday life. The best part? You get to make it your own with customized details. Let’s skip the boring and crochet something that’s as fun as it is functional.
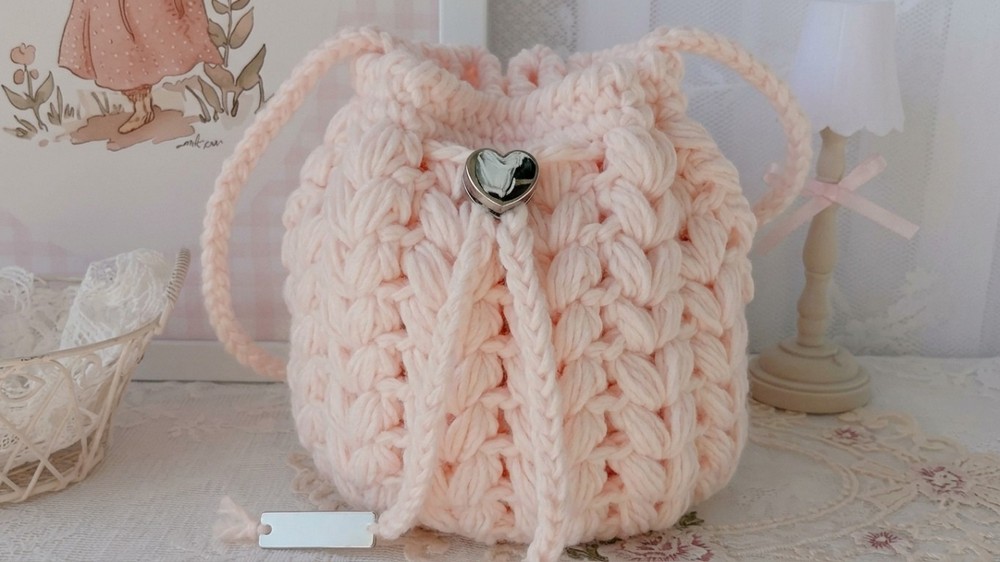
Heart-Puff Drawstring Bag Crochet Pattern
Materials Needed
- Yarn: Approx. 200g of DK-weight yarn in your desired color.
- Crochet Hook: 5mm hook.
- Scissors: To cut the yarn.
- Measuring Tape: For strap length and precision.
- Yarn Needle: To sew ends and attach the strap.
Special Techniques
- Magic Circle: Used for starting.
- Puff Stitch: Creates the textured heart-puff design.
- Single Crochet: Used throughout the strap and hem.
Pattern Instructions
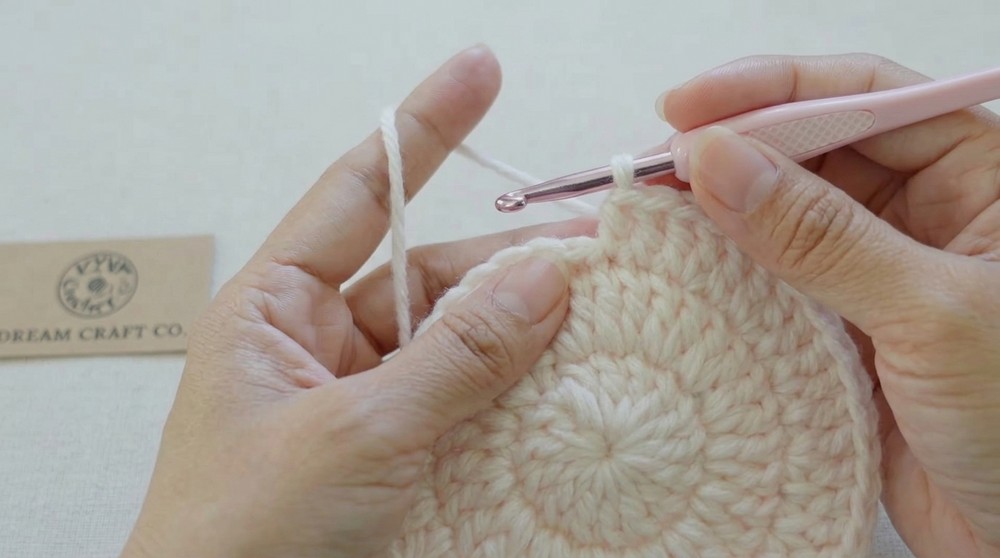
Part 1: Bottom of the Bag
Round 1:
- Start with a Magic Circle.
- Insert your hook into the loop, yarn over, pull through, and chain 2.
- Work 15 double crochets into the loop.
- Tighten the magic circle by pulling the tail.
- Slip stitch into the first stitch to finish the round. (Total stitches: 15)

Round 2:
- Chain 2.
- Work 2 double crochets in each stitch around.
- Slip stitch into the first stitch to join. (Total stitches: 30)
Round 3:
- Chain 2.
- Divide stitches into clusters:
- Work 1 double crochet into the first stitch.
- Work 2 double crochets into the second stitch.
- Repeat this sequence around the entire round.
- Slip stitch to the first stitch to close. (Total stitches: 45)
Finishing the Bottom: After Round 3, the bottom of the bag is complete.
Part 2: Body of the Bag
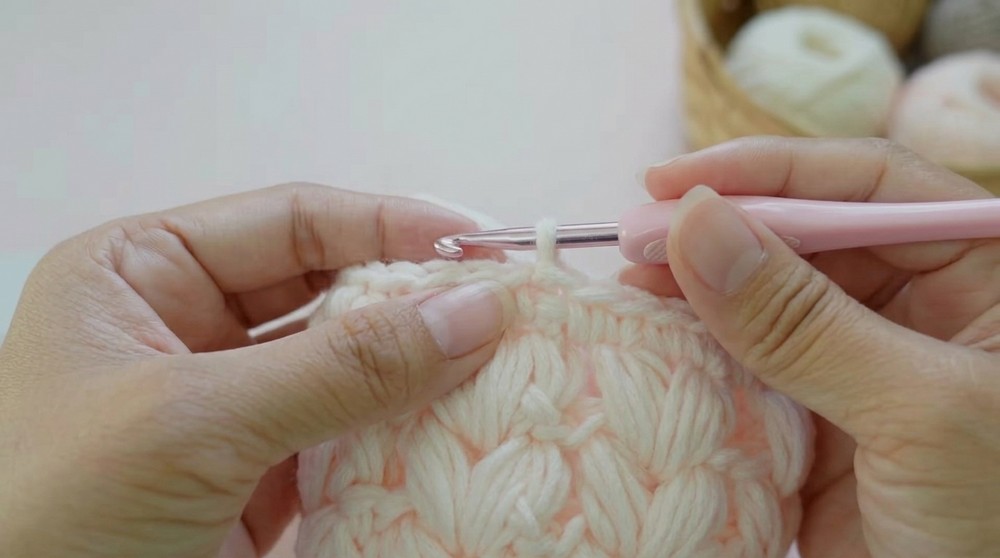
Heart-Puff Stitch Pattern:
- Round 4:
- Pull the yarn out slightly, yarn over, insert your hook into the first stitch, and pull the yarn through.
- Repeat this process two more times.
- With seven loops on your hook, yarn over and pull through all 7 loops to create the puff stitch.
- Chain 1 to secure.
- Skip two stitches, and repeat the puff stitch process in the fourth stitch. Continue until the end of the round.
- Slip stitch into the first stitch to close.
- Round 5:
- Slip stitch into the first space between puff stitches.
- Pull the yarn slightly, yarn over, and create the first puff stitch as in Round 4.
- Work a puff stitch in each space from the previous round and chain 1 between each puff stitch.
- Repeat until the round is complete.
- Rounds 6–12:
- Continue using the pattern from Round 5.
- Work puff stitches in each space and chain 1 between each stitch.
Part 3: Hem of the Bag
Round 13:
- Chain 1.
- Work 1 single crochet in each stitch and 1 single crochet in each space around.
- Slip stitch into the first stitch. (Total stitches: 60)
Round 14:
- Chain 1.
- Insert your hook into the first stitch, yarn over, pull through for a single crochet.
- Repeat single crochet in each stitch around.
- Slip stitch into the first stitch and cut the yarn.
Part 4: Strap
- Measure a 30cm yarn tail, then start by making a foundation chain: chain 2.
- Work single crochet in the second stitch.
- Continue working one single crochet per stitch for each row, turning after every row.
- Repeat until you create 40 rows (40 notches along the edge).
- Cut yarn, leaving a long tail for sewing.

Connecting Strap to Bag:
- Attach the strap to the body at specific locations:
- First Location: Between the 15th and 16th stitch of the bag’s hem.
- Second Location: Between the 45th and 46th stitch of the hem.
- Sew the strap securely using yarn and a yarn needle.
Part 5: Drawstring Rope
- Begin with a foundation chain and chain 60.
- Chain 1 and cut the yarn, leaving a tail.
- Thread the rope through Round 12 of the bag, weaving it in and out to create 8 spaces evenly distributed.
Finishing the Bag
After attaching the rope and strap, your Heart-Puff Drawstring Bag is complete! Ensure all ends are sewed and woven in neatly. Add lining or embellishments for extra durability and flair if desired.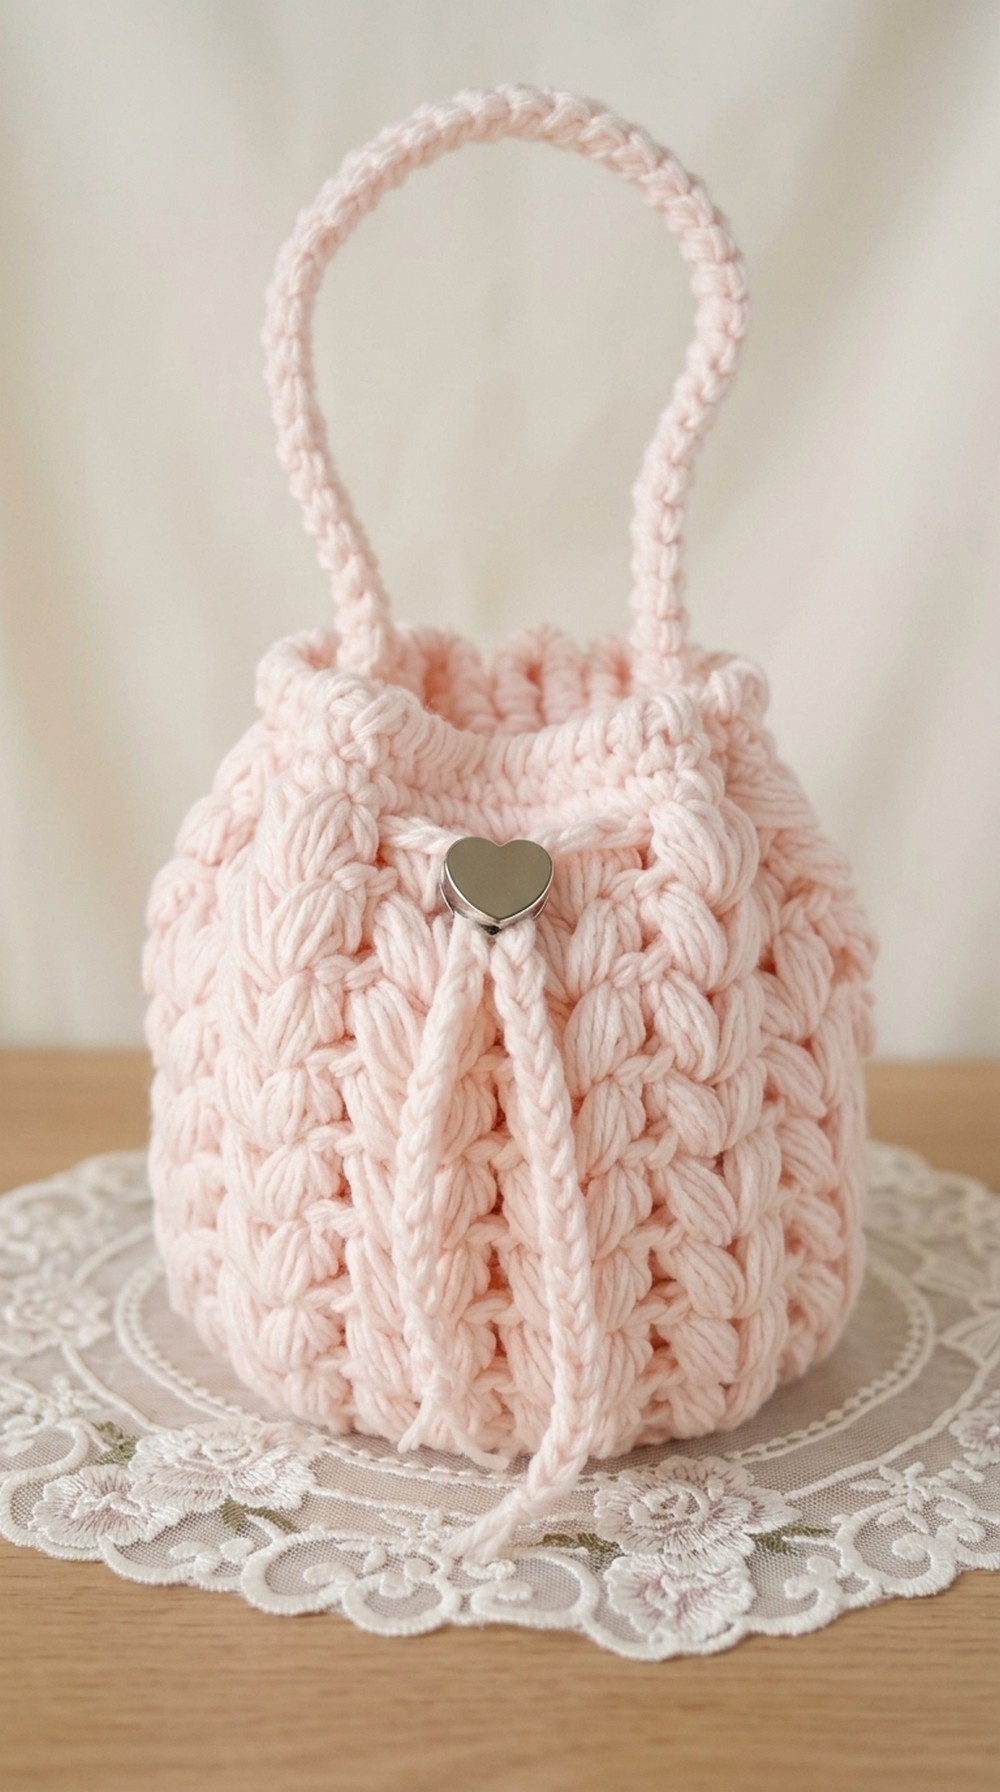
Final Words
This heart-puff stitch bag is a perfect blend of texture and function, making it a great accessory or gift. The puff stitch adds charm while the drawstring and strap provide practicality. The structure is customizable, allowing you to adjust the size, colors, and design details.
Tips for Maintaining the Bag
- Blocking: After finishing, block the bag to improve its shape and texture.
- Durability: Add lining for increased sturdiness and durability.
- Customization: Experiment with alternating colors or multi-colored puff stitches for a unique look.
- Cleaning: Wash gently by hand to prevent stretching or weakening the yarn.
Conclusion
Crocheting the Heart-Puff Drawstring Bag is both fun and rewarding. Whether you’re using it for day-to-day activities or gifting it to someone, this bag is sure to brighten your day with its charm.