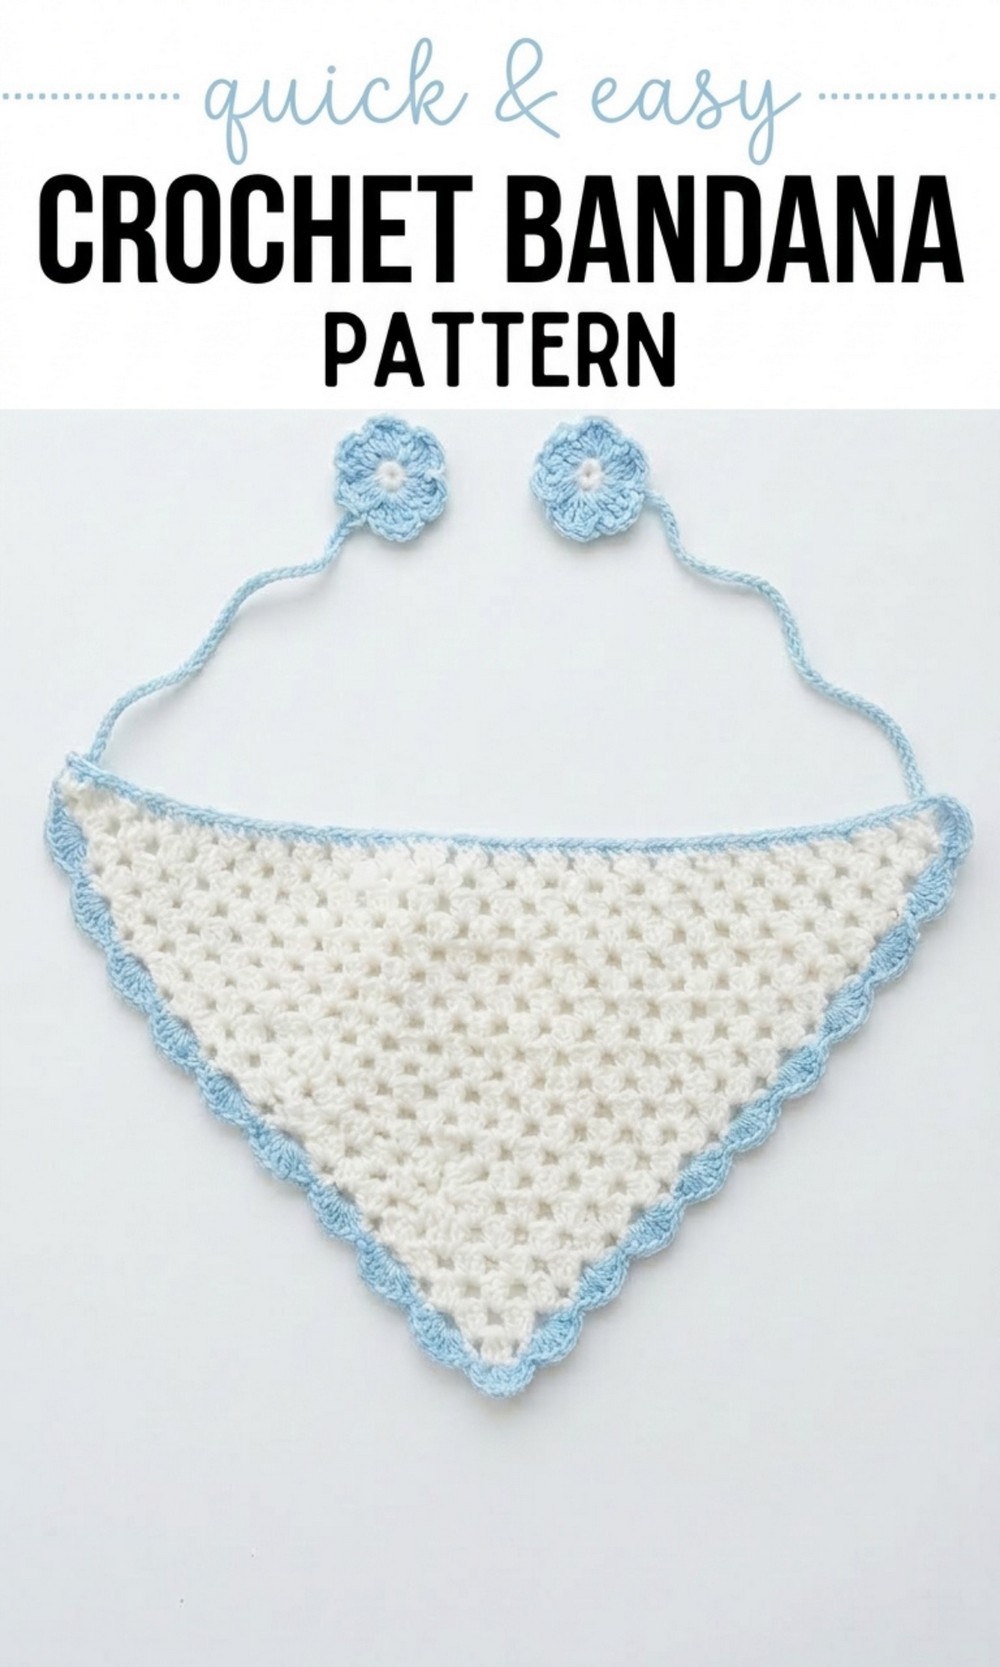
Cozy Free Crochet Bandana Pattern That’s Perfect for Outdoor Adventures
This crochet bandana is stylish, lightweight, and comfortable, making it perfect for daily use or special occasions. It has a unique triangle shape that grows elegantly as you follow the pattern, creating a charming design suitable for all seasons. The scalloped edging adds a decorative touch, making it stand out as a fashionable accessory. You can tie it around your head, wear it as a hair wrap, or use it as a neck scarf.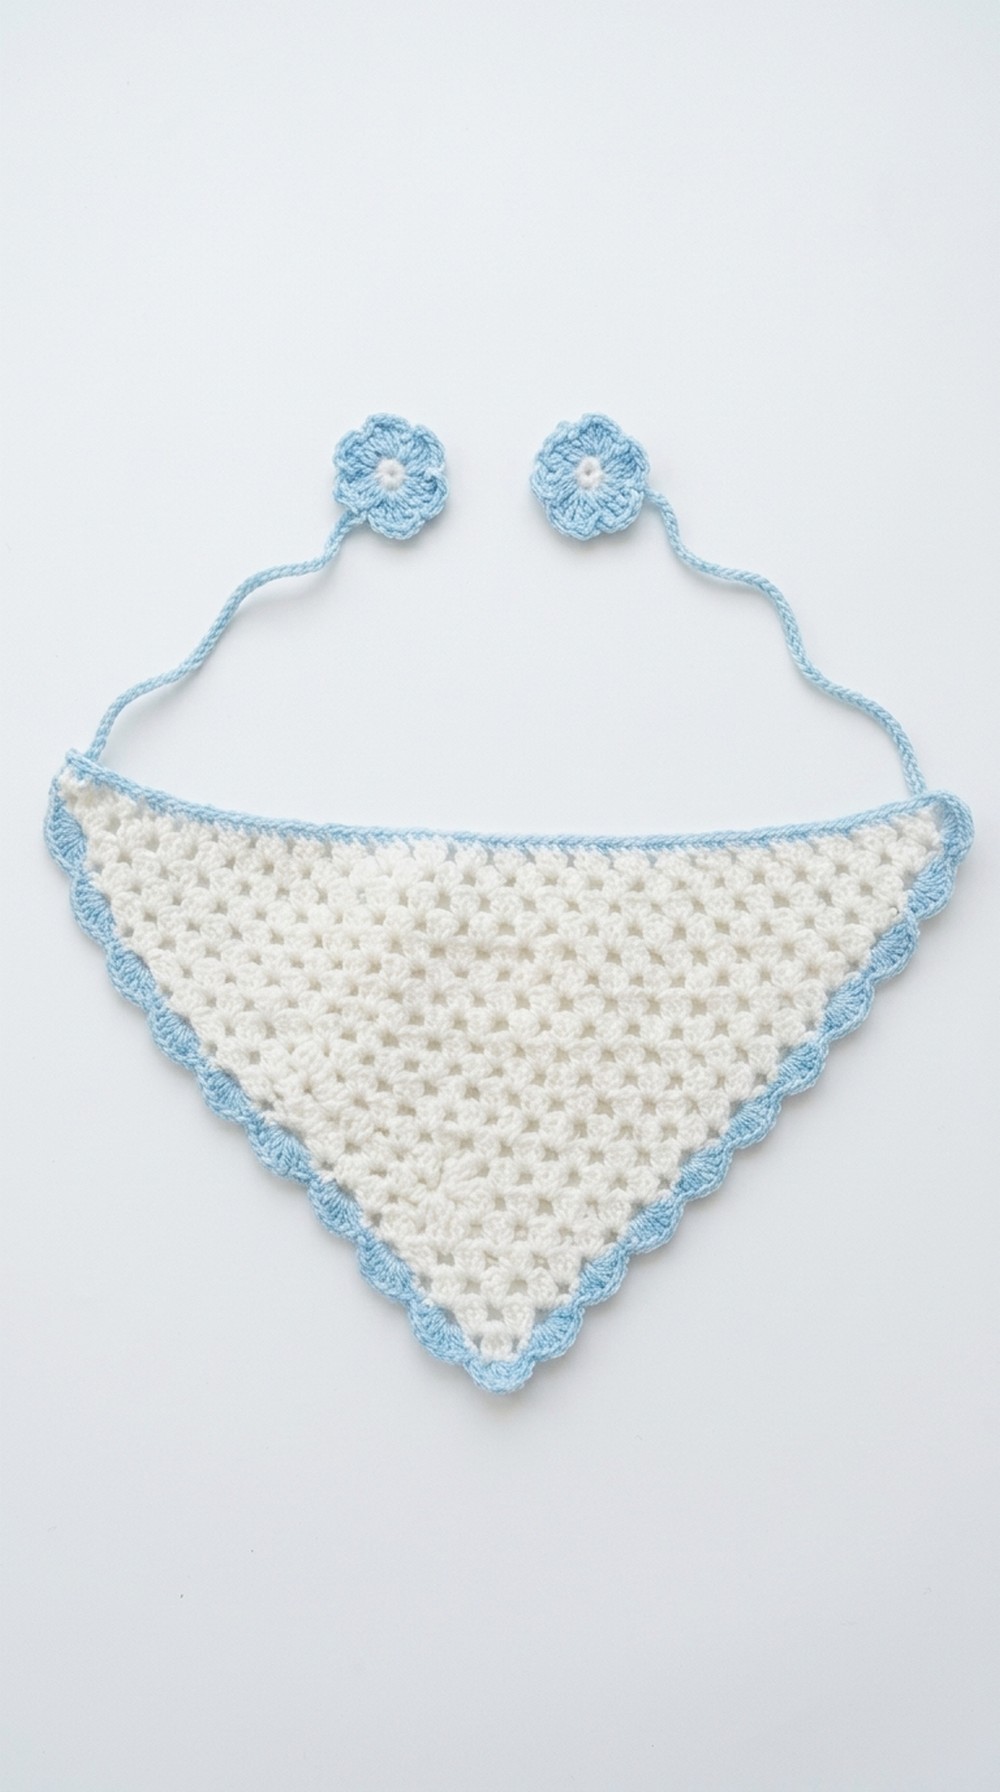
All you need is yarn, a crochet hook, and a bit of time to create a stunning bandana that’s completely customizable. Choose your favorite colors to match your style and enjoy creating something functional and beautiful. Start crocheting your bandana today and enjoy wearing your own handmade creation.
Crochet Bandana Pattern
Materials Required
- Yarn: Use any color of your choice. (In the video, the creator uses O2 M50 from her own yarn store, littlethingsworld.com.)
- Hook Size: 3mm crochet hook
- Additional Tools:
- Scissors
- Stitch markers
- Darning needle (for weaving in ends)
Gauge
While the video does not mention specific gauge requirements, gauge is not critical for this project, as it is size adjustable. For best results, verify sizing against your head as you crochet.
Finished Size
- The size of the headband can be customized to your liking. The finished pattern is adjustable, suited for various head sizes.
Pattern Overview
This pattern includes:
- A triangular main body
- Two straps for tying
- Scalloped edges for a decorative touch
- Optional floral decorations for embellishment
Pattern Instructions
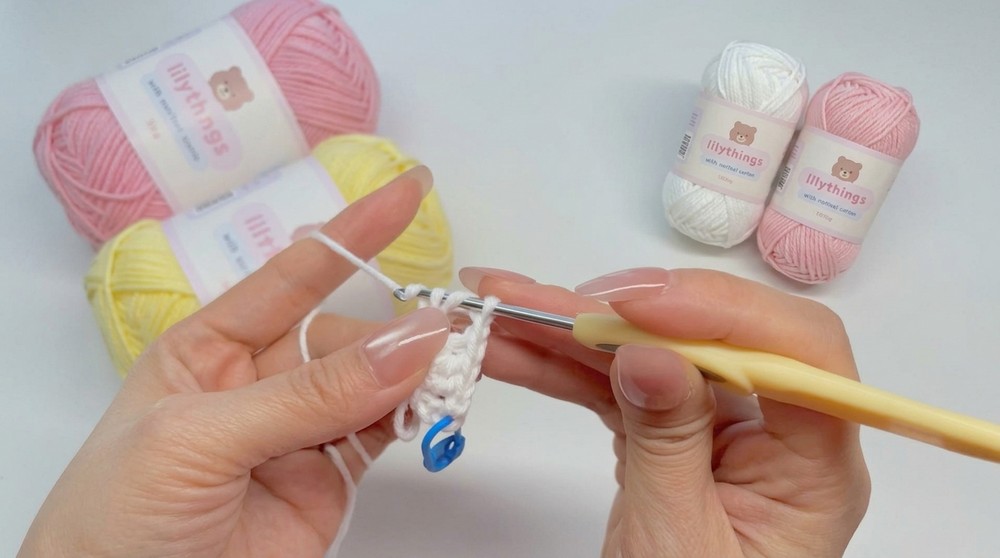
1. Starting the Main Triangle
- Begin with a slip knot:
- Wrap the yarn around your fingers and create a loop.
- Insert the hook, yarn over, and pull through the loop.
- Start chaining:
- Make 5 chains (or however many you need for a smaller/larger piece).
- Place a stitch marker in the 5th chain for easy identification later.
2. Row 1
- Double Crochet Cluster:
- Yarn over and insert the hook into the first chain.
- Pull up a loop — you should have 3 loops on the hook.
- Yarn over, pull through 2 loops, and then yarn over again to pull through the last 2 loops. This creates the first double crochet.
- Repeat these steps to make three double crochets in the first chain.
- Treble Crochet:
- Yarn over twice and insert the hook into the same space.
- Follow the same treble crochet technique to pull through loops in sets of two. This finishes Row 1.
3. Row 2 and Beyond
- Forming the Triangle:
- Begin each row by chaining 4 (or 5 if needed for height).
- Turn your work so the back side faces you.
- Insert three double crochets into each large space created in the previous row.
- After completing the last set of double crochets, chain one and finish with a treble crochet into the marked stitch.
- Continue this process for as many rows as required to form the desired triangle size.

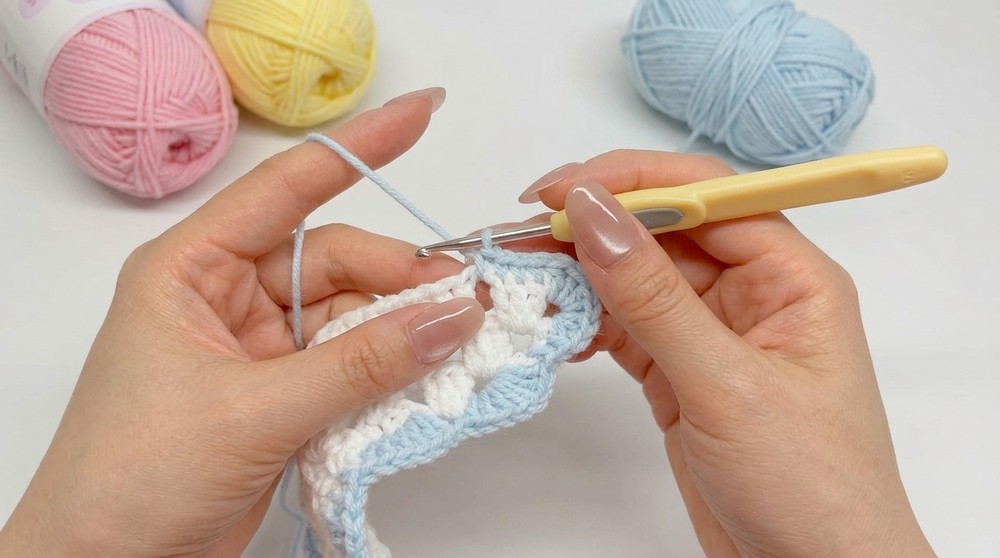
4. Scalloped Edging
Use a contrasting color yarn for an elegant touch.
- Start by attaching the new color yarn to the edge of the triangle.
- Fan Stitches:
- Insert your hook into the edge, make a chain, and crochet 6 double crochets in the same space to form a fan.
- Move to the next space and make 1 single crochet to anchor the fan.
- Alternate between fans and single crochets until you complete the edge.
- Corners:
- For corner spaces, reduce the fan to 5 or 6 stitches as needed to maintain a rounded appearance.
- For corner spaces, reduce the fan to 5 or 6 stitches as needed to maintain a rounded appearance.
5. Adding Straps
- Start at one corner of the triangle.
- Chain 70 stitches for the strap or adjust it to fit comfortably around your head.
- Attach the other end of the strap back to the edge using a slip stitch.
- Repeat the same steps for the other side.
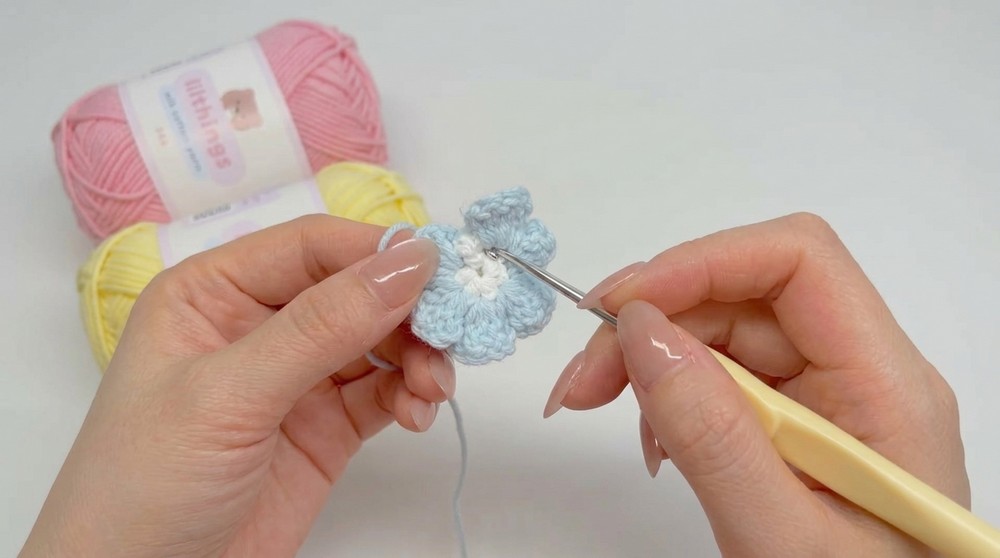
6. Decorative Flowers (Optional)
- Create a magic ring:
- Wrap the yarn around your fingers and form a loop.
- Insert the hook into the loop, yarn over, and pull up a loop. Secure by making one chain.
- Make 6 single crochets into the ring.
- Pull the yarn tail to tighten the circle.
- Form petals:
- Chain 3, make 3 double crochets in the same stitch, chain 3 again, and close it with a slip stitch.
- Repeat this process for all 6 stitches to create 6 petals.
- Attach the flower:
- Use the yarn tail and a needle to sew the flower onto the ends of each strap.
- Use the yarn tail and a needle to sew the flower onto the ends of each strap.
Customization Ideas
- Color Variations: Use gradient yarns or stripes for a unique look.
- Size Modifications: Adjust the triangle size to create a smaller headscarf, a larger kerchief, or even a shawl.
- Embellishments: Add beads or crochet smaller flowers for additional decoration.
Special Techniques
- Magic Ring: Creates a neat and adjustable starting circle, ideal for flowers.
- Treble Crochet: The additional yarn overs give an elegant height to the initial triangle edges.
- Scalloped Edging: Adds a lacy, decorative finish.
Conclusion and Remarks
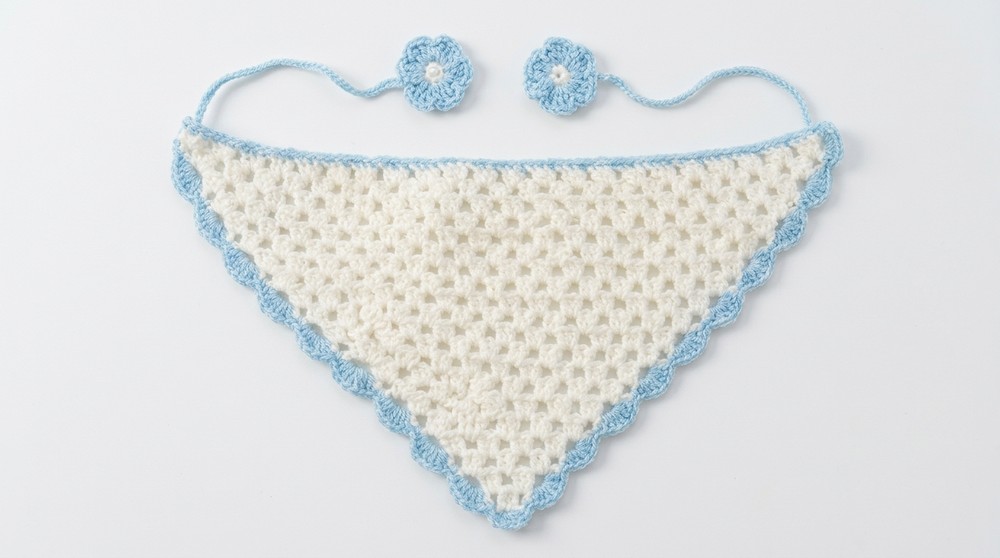
The finished headband bandana is a stylish and functional accessory, perfect for daily wear, beach outings, or even as a gift. Its triangle design, combined with scalloped edges and optional floral decorations, ensures a charming and custom made look. The project is beginner friendly yet provides advanced crocheters the opportunity to explore customization.
Feel free to adjust the size, colors, and embellishments to match your style. Take your time as the process grows repetitive, and remember to measure against your head for a perfect fit.