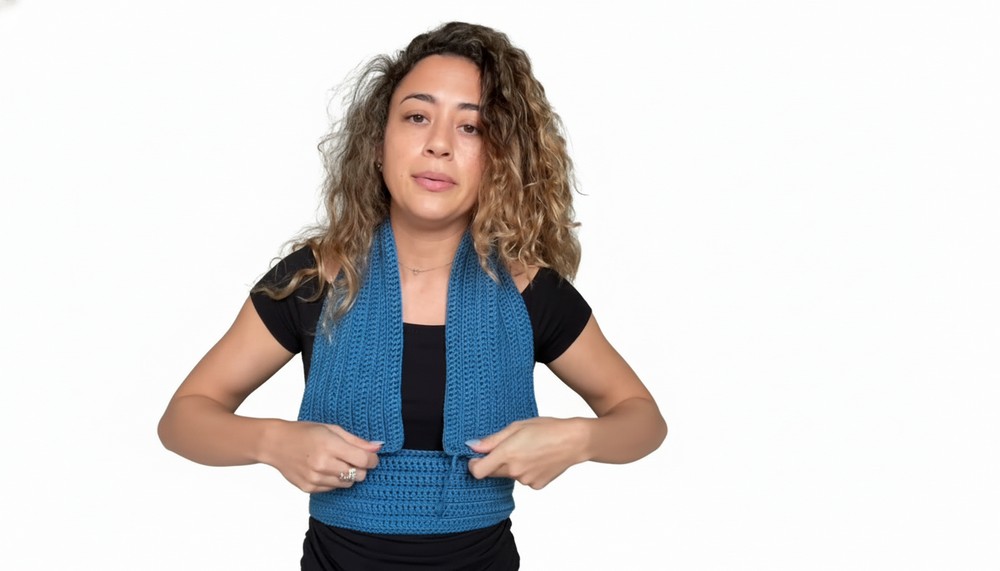
Use this free crochet halter top pattern to design a modern, and easy to make top that looks fresh, feels comfortable, and pairs perfectly with all your favorite outfits.
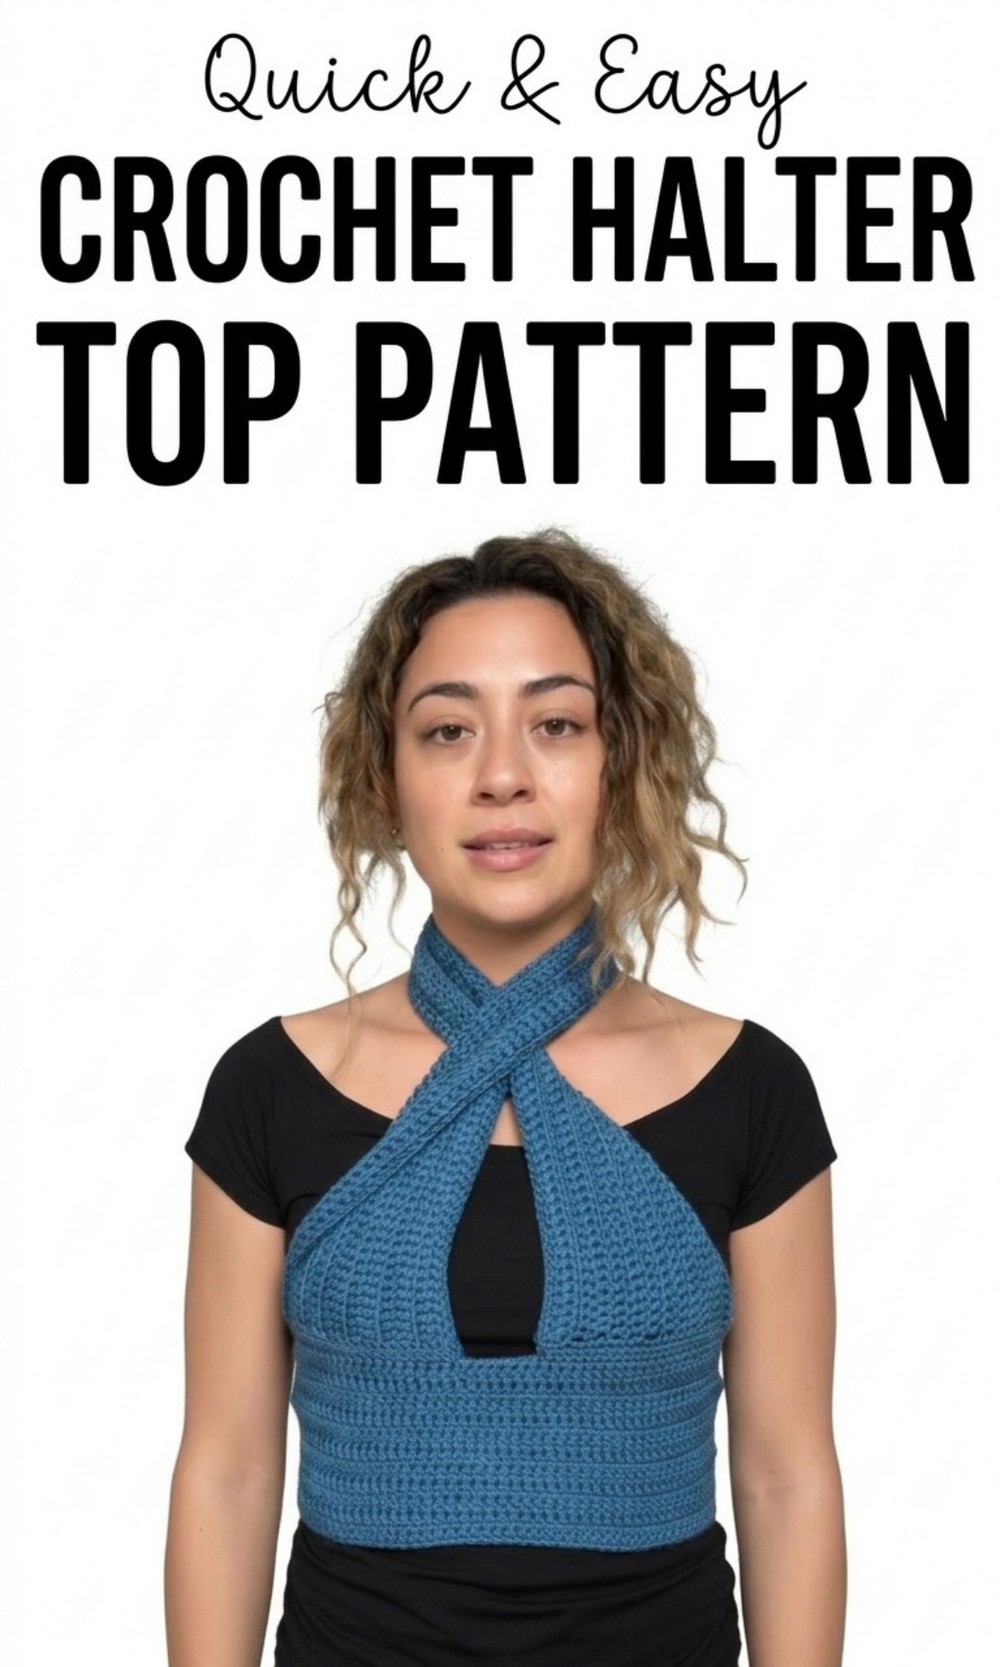
Enhance Your Summer Wardrobe with This Free Crochet Halter Pattern
Looking for a fun and simple summer project? This free crochet halter top pattern is your perfect choice. It’s easy to make, stylish to wear, and works for anyone who loves handmade clothing. The halter top is designed using two main panels—a neck piece and a waist piece—that you can fully customize to fit your body.
Its ribbed texture makes one side look neat and patterned, while the other side stays soft and smooth against your skin. You can wear it in different ways: as a halter wrap or styled into a crisscross look.
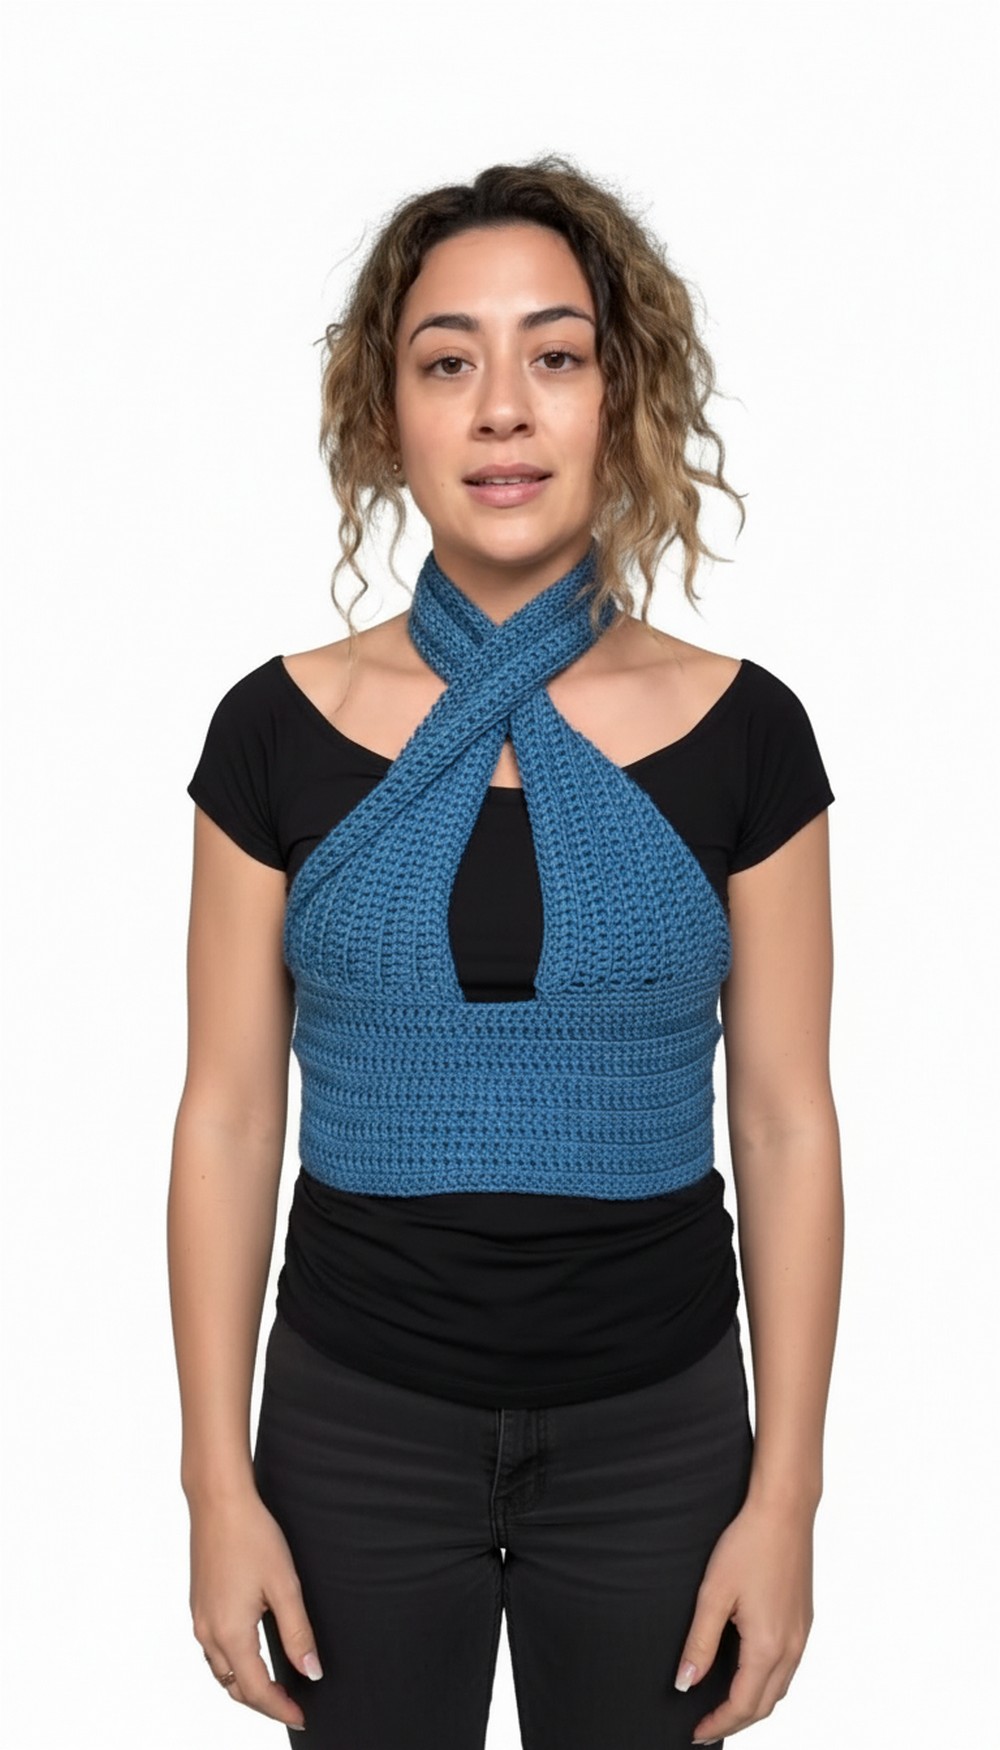
It’s perfect for summer days, beach outings, or pairing with your favorite skirts and jeans. The pattern is simple to repeat, and you only need basic crochet skills to create your own custom fit. It’s a creative and fun top that is sure to become a favorite in your wardrobe.
Crochet Halter Top Pattern
Finished Size
The final size will depend on individual customization. The top is made to fit based on your body measurements, so it is designed to provide a perfect fit for everyone.
Materials Needed
- Yarn: Soft, lightweight yarn with a pleasant texture for wearables. The demonstrator used yarn from Spotlight (Australia), but similar soft weight yarn from your local store will work.
- Hook Size: 4 mm crochet hook (or as needed to achieve the desired gauge).
- Tapestry Needle: For sewing in ends.
- Measuring Tape: For taking accurate body measurements.
- Safety Pins or Stitch Markers: To pin pieces and ensure placement during assembly.
- Scissors
Gauge
- 10 chains = approximately 2 inches (5 cm) in the pattern.
- Ensure the gauge matches your tension. Adjust your hook size if necessary to achieve the same measurements.
Customization Ideas
- Length: Adjust the panel lengths depending on how much coverage you prefer. For the halter panel, measure from underbust to underbust, passing around the neck. For the waist panel, measure around your underbust and rib cage, adding extra length for tying.
- Pattern Texture: The alternating front and back loop crochet creates a ribbed effect. Customize texture by experimenting with alternating rows more frequently.
- Styling Options: The crisscross halter neck style is an exciting variation to explore.
Pattern Instructions
Step 1: Take Measurements
- Halter Panel Chain: Measure from the center of your chest under your bust, around your neck, and back to the starting point under the other side of your bust.
- Waist Panel Chain: Measure around your rib cage and underbust, adding extra length to tie it comfortably in a knot or bow.
Step 2: Create the Foundation Chains
- Halter Panel:
- Make a slipknot.
- Chain a length that matches your measured halter panel (from underbust to underbust via the neck).
- Ensure the chain is long enough. Tie it around your neck to double check the fit.
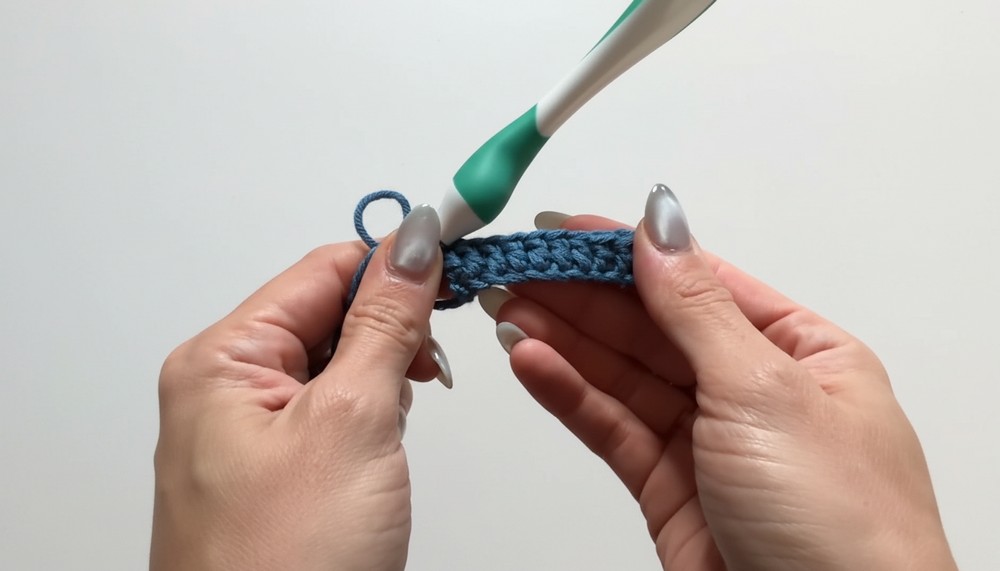
- Waist Panel:
- Repeat the process by chaining a length to wrap around your waist, including additional length for tying.
Tip: Double check measurements early in the project to avoid mistakes later.
Step 3: Pattern Instructions
Row 1: Double Crochet
- For your first panel, yarn over and insert your hook into the third chain from the hook.
- Work a double crochet (DC) in each chain across to the end of the row:
- Yarn over, pull up a loop (3 loops on your hook).
- Yarn over, pull through the first two loops (2 loops remain).
- Yarn over, pull through the final two loops.
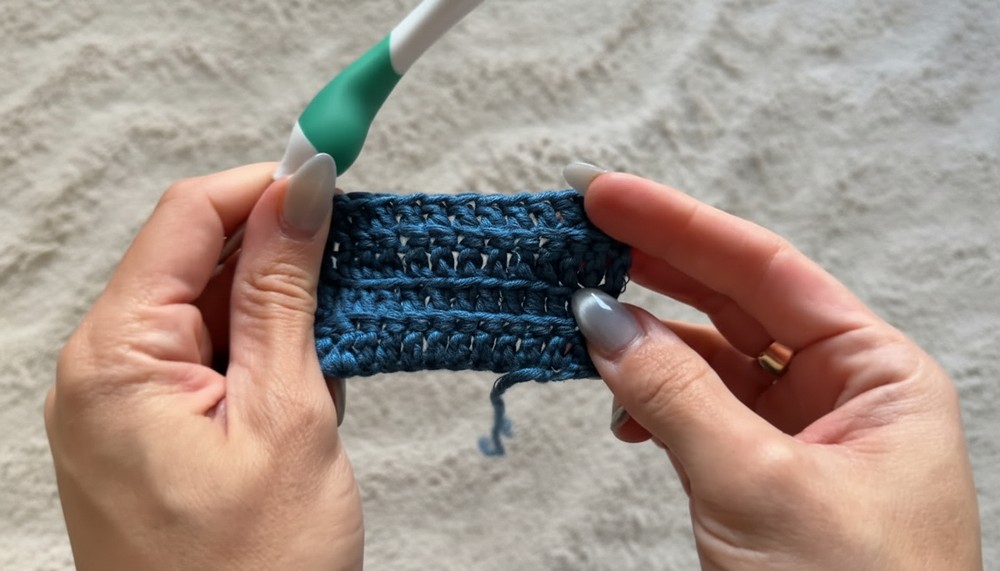
- Finish the row and measure again to ensure correct length.
- Optional: If needed, add length using additional double crochets as demonstrated in the video.
Row 2: Back Loop Only
- Chain 2, turn your work.
- Crochet into the back loop only of each stitch across the row. This creates the textured ribbing effect:
- Look for the “V” shape at the top of the stitch.
- Insert the hook into the back loop (the loop farthest from you) while working a double crochet.
Row 3: Front Loop Only
- Chain 2, turn your work.
- Crochet in the front loop only for this row:
- Insert the hook into the front loop (the loop closest to you) while working a double crochet.
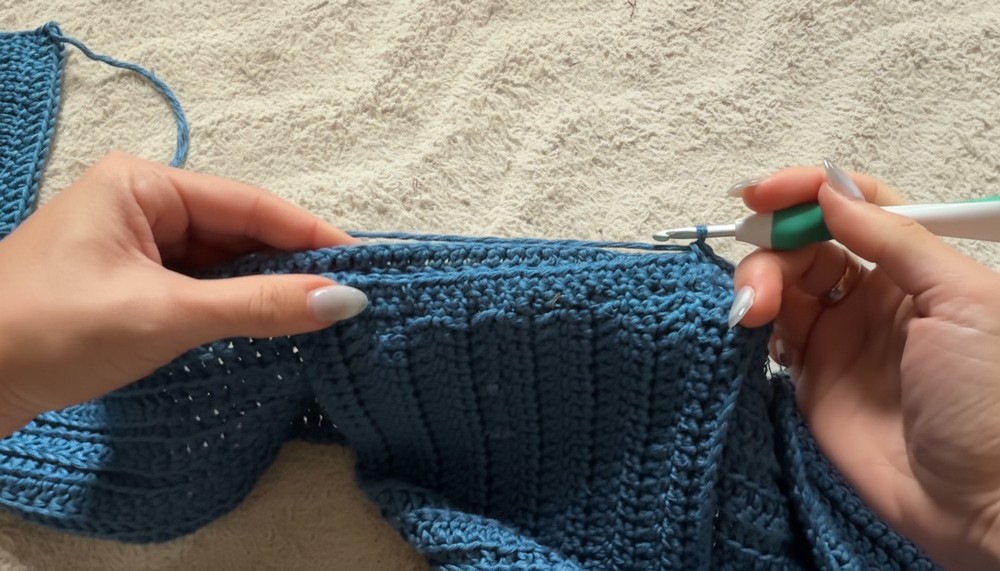
- Insert the hook into the front loop (the loop closest to you) while working a double crochet.
Continue Pattern Repeat
- Alternate between rows of back loop only and front loop only double crochets until the panel reaches the desired width:
- For the halter panel, ensure it covers your bust from underbust to neck.
- For the waist panel, adjust width for your preferred level of coverage.
Tip: Use stitch markers to track the start and end of rows, ensuring straight edges.
Step 4: Finishing the Panels
- Once both panels are at the desired size and length, finish off by chaining 1, cutting the yarn, and pulling the tail through the last loop.
- Use a tapestry needle to weave in all ends securely.
Step 5: Assembling the Top
Method 1: Using Pins to Secure Placement
- Tie the waist piece around your body, ensuring the ends are even and neatly tied at the back.
- Position the halter panel over your chest. Adjust for a balanced fit and pin in place.
- Crochet (single crochet or slip stitch) to join the halter panel to the waist piece along the edges where pinned.
Method 2: Using a Bralette as a Guide
- Fold both the waist piece and halter panel in half to find their centers.
- Align the center of both pieces, using a bralette as a guide for placement.
- Pin the two pieces together where they overlap. Stitch securely using single crochet.
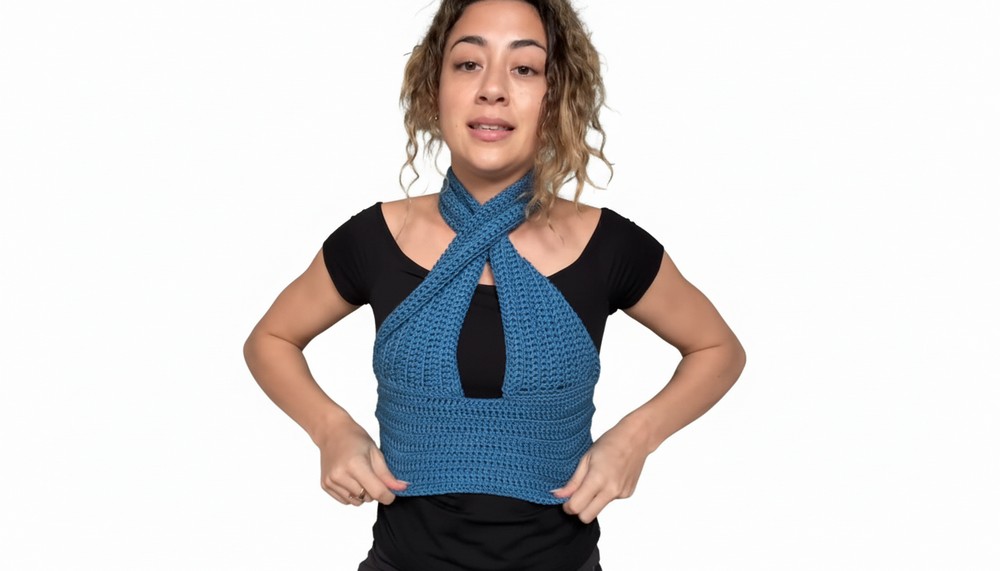
Step 6: Ways to Style the Top
- Simple Halter: Tie the halter panel around your neck and fasten the waist piece at the back for a clean, classic look.
- Crisscross Style: Flip the halter panel, cross it over the front, and tie it behind your back to create a stylish, crisscross neckline.
Special Techniques
- Back Loop Double Crochet: Creates the ribbed texture on one side.
- Front Loop Double Crochet: Adds a contrasting texture to balance the pattern.
- Adjusting Chain Length: Add double crochets at the end of the chain without unraveling to fix sizing errors.
Tips for Success
- Check Fit Frequently: Measure panels against your body to ensure proper sizing throughout.
- Use Markers: Stitch markers can help keep rows straight and maintain consistent edges.
- Experiment with Styling: Play around with different ways to tie the top for a unique look.
Conclusion and Important Remarks
Congratulations on completing your multi way wrap tie crochet crop top. This garment combines simplicity with elegance, making it both stylish and customizable. Whether you wear it as a casual summer top or a statement piece, this project showcases your creativity and crochet skills.