
Watch as a tiny turtle springs to life with this free crochet turtle pattern that brings you the joy of making a soft and adorable toy.
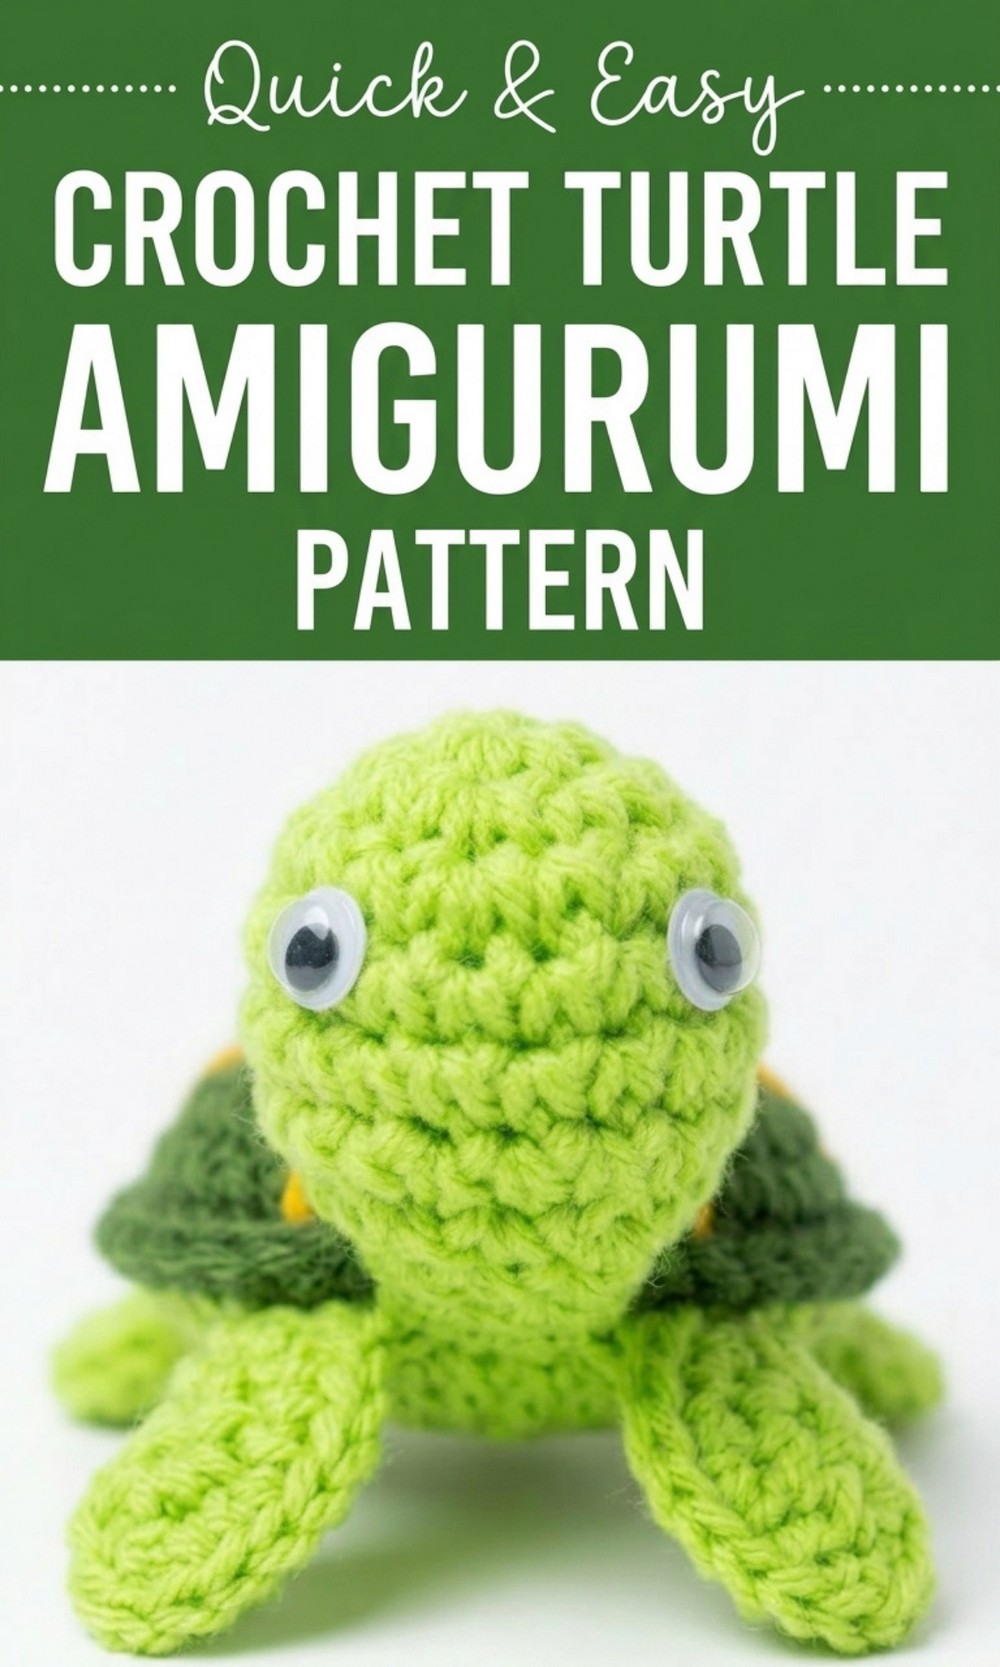
A Free Crochet Turtle Pattern That’s Pure Cuteness
This Free Crochet Turtle Pattern lets you make a super cute toy with a bright green shell and a warm, happy face. The turtle’s round shell, decorated with a pretty yellow design, makes it extra special. It has four little legs, a tiny tail, and big friendly eyes that make it look real and full of personality. You can use it as a fun keychain, a gift for someone special, or even as a decoration for your space. 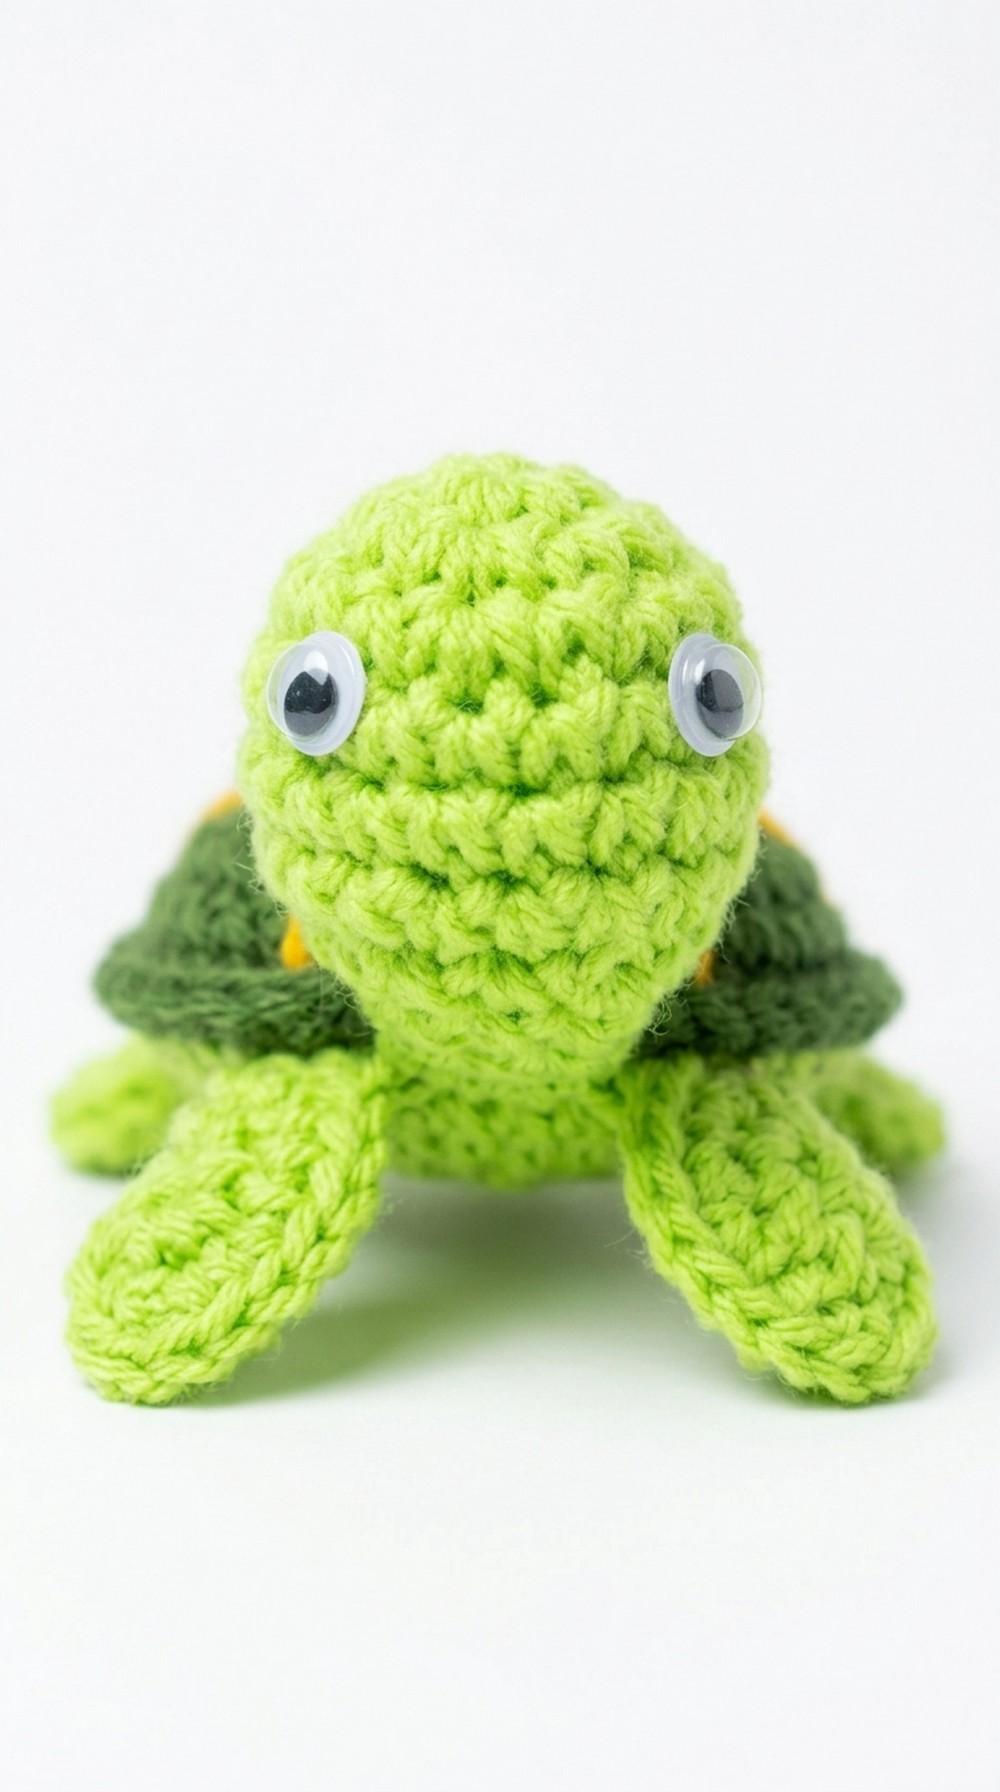
The best part is that it’s easy to make, even for beginners, and you can use yarn for the eyes if plastic ones aren’t available. Making this little turtle is a simple way to enjoy a beautiful project that will leave you smiling every time you see it.
Adorable Crochet Turtle Pattern
Materials Required
- Yarn:
- Acrylic 4 ply yarn:
- Green (shell)
- Beige (head, legs, and tail)
- Yellow (shell design details)
- Black (eyes and smile details)
- Optional: Contrast colored yarn (for marking rounds).
- Acrylic 4 ply yarn:
- Crochet Hook:
- 3 mm crochet hook (you can use 3.5 mm as an alternative).
- Eyes:
- Pre made safety eyes or beads.
- Alternatively, black yarn for creating handmade 3D eyes.
- Fiber:
- Synthetic fiber filling (polyfill).
- Additional Supplies:
- Stitch markers or U pins for marking rounds.
- Tapestry needle for sewing.
- Scissors.
- Fabric glue (optional, for fixing safety eyes).
Special Techniques Used
- Magic Ring:
- Wrap the yarn around your fingers, twist, and pull a loop to create a ring. Work stitches inside the ring.
- Invisible Decrease:
- Insert the hook through the front loops of two stitches, pull the yarn, and complete the stitch to reduce the stitch count seamlessly.
- Joining Rounds:
- Use slip stitches strategically to close rounds neatly and maintain the shape.
Step by Step Pattern
Part 1: Head
- Magic Ring Foundation:
- Form a magic ring and make 6 single crochet (SC) stitches inside the ring. Tighten the ring.
- Round 2:
- Work 2 SC in each stitch of the previous round. Total: 12 SC.
- Round 3:
- Alternate between: 1 SC, 2 SC in the next stitch. Total: 18 SC.
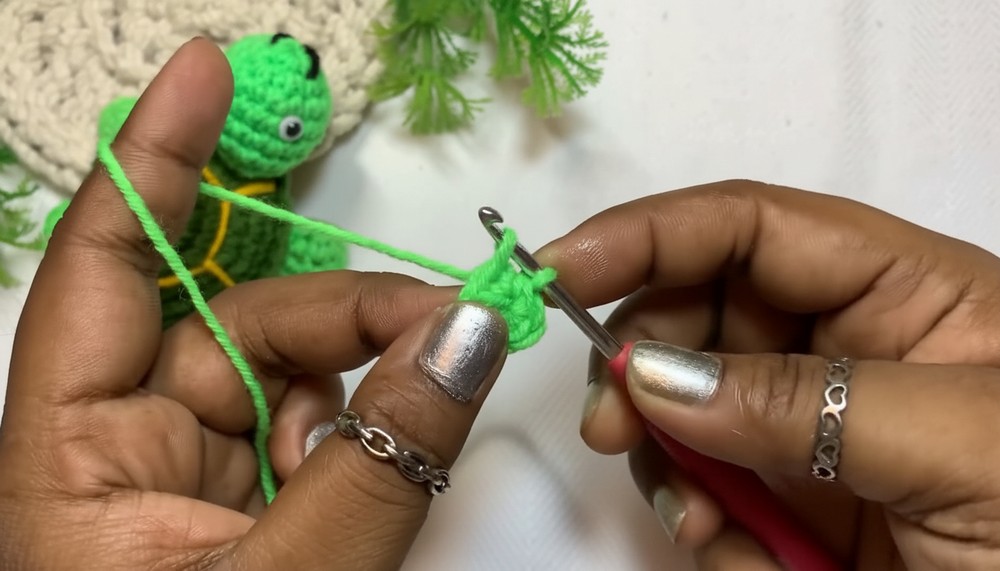
- Alternate between: 1 SC, 2 SC in the next stitch. Total: 18 SC.
- Round 4:
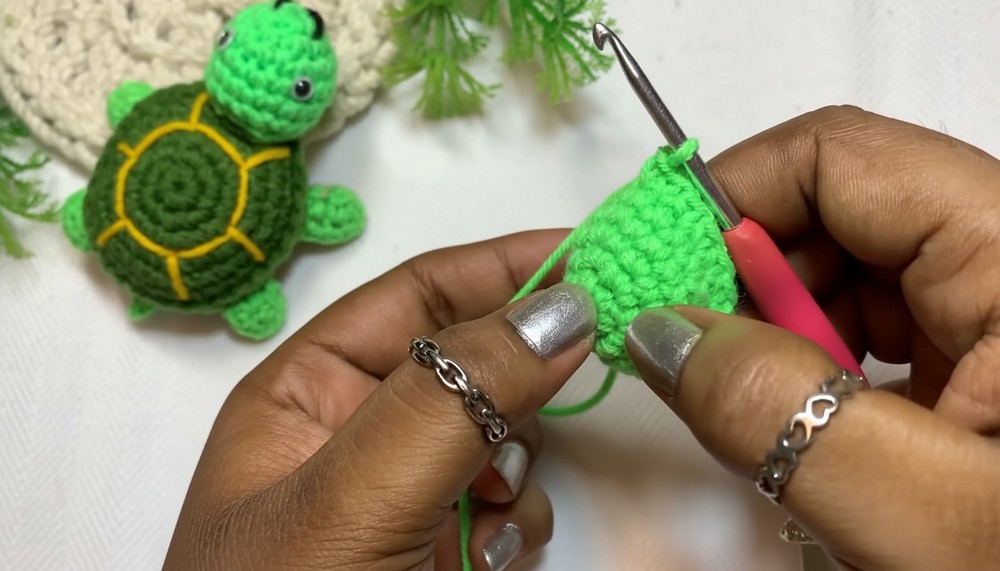
- Work 1 SC in each stitch. Total: 18 SC.
- Rounds 5 and 6:
- Repeat Round 4 (1 SC in every stitch).
- Round 7 (Decrease Round):
- Alternate between: 1 SC, invisible decrease. Total: 12 SC.
- Round 8 (Final Round):
- Work a slip stitch to finish the round neatly.
- Filling and Eyes:
- Fill the head with synthetic fiber before closing. Affix pre-made eyes or create handmade eyes using black yarn.
- Fill the head with synthetic fiber before closing. Affix pre-made eyes or create handmade eyes using black yarn.
Part 2: Shell
- Magic Ring Foundation:
- Form a magic ring and make 6 SC inside the ring. Tighten the ring.
- Round 2:
- Work 2 SC in each stitch of the previous round. Total: 12 SC.
- Round 3:
- Alternate between: 1 SC, 2 SC in the next stitch. Total: 18 SC.
- Round 4:
- Alternate between: 2 SC, 2 SC in the next stitch. Total: 24 SC.
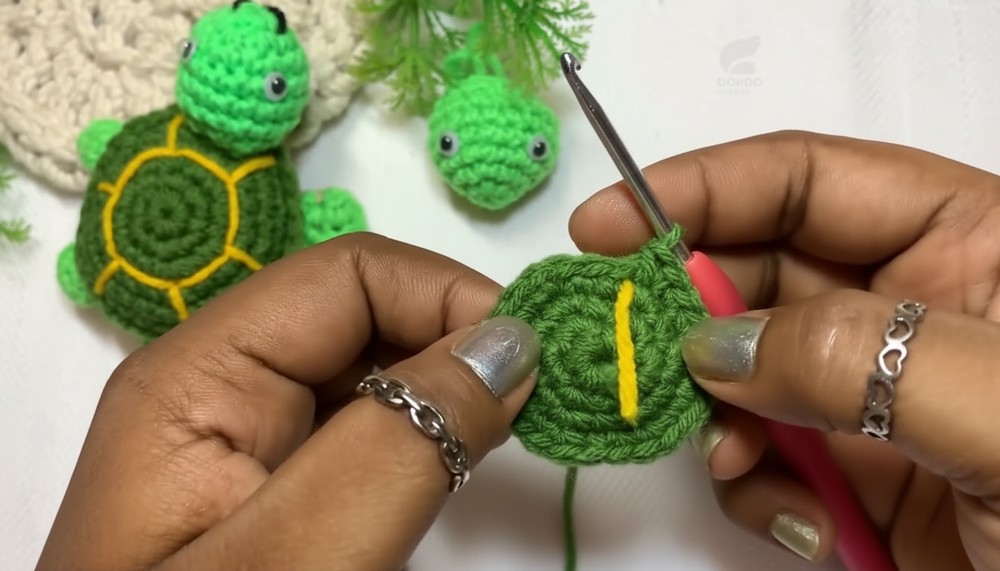
- Alternate between: 2 SC, 2 SC in the next stitch. Total: 24 SC.
- Round 5:
- Alternate between: 3 SC, 2 SC in the next stitch. Total: 30 SC.
- Round 6:
- Work 1 SC in each stitch. Total: 30 SC.
- Shell Design:
- Use yellow yarn to create hexagon patterns on the shell by pulling the yarn through selected stitches and tying at the back.
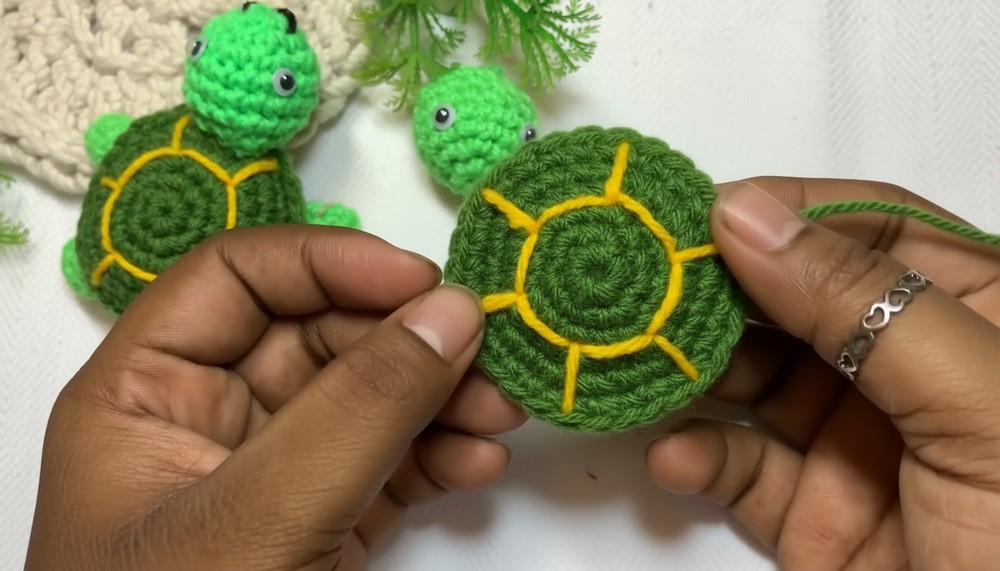
- Use yellow yarn to create hexagon patterns on the shell by pulling the yarn through selected stitches and tying at the back.
Part 3: Belly
- Follow the same pattern as the shell, but stop at Round 5 (30 SC total).
Part 4: Tail
- Foundation Chain:
- Create a slip knot and crochet a chain of 3 stitches.
- Row 1:
- Skip the first chain, work 1 slip stitch in the second chain, and 1 SC in the third chain.
- Finishing:
- Cut the yarn, leave a long tail for sewing, and stitch the tail to the belly.
Part 5: Legs
- Foundation Chain:
- Crochet 4 chains.
- Row 1:
- Skip the first chain, work 1 SC each into the next two chains. In the last chain, make 3 SC to curve around.
- Row 2:
- Continue along the opposite side of the foundation chain, making 1 SC each into the next two stitches.
- Finishing:
- Cut the yarn, leave a long tail for sewing, and stitch each leg to the sides of the belly.
Assembly
- Attach Head:
- Sew the head to the flat part of the shell using the same beige yarn. Position the smile and eyes appropriately.
- Attach Legs:
- Stitch the four legs evenly, ensuring the tortoise stands securely.
- Attach Tail:
- Sew the tail at the rear center of the belly.
- Finishing Touches:
- Check for loose threads, weave them into the project, and trim neatly.
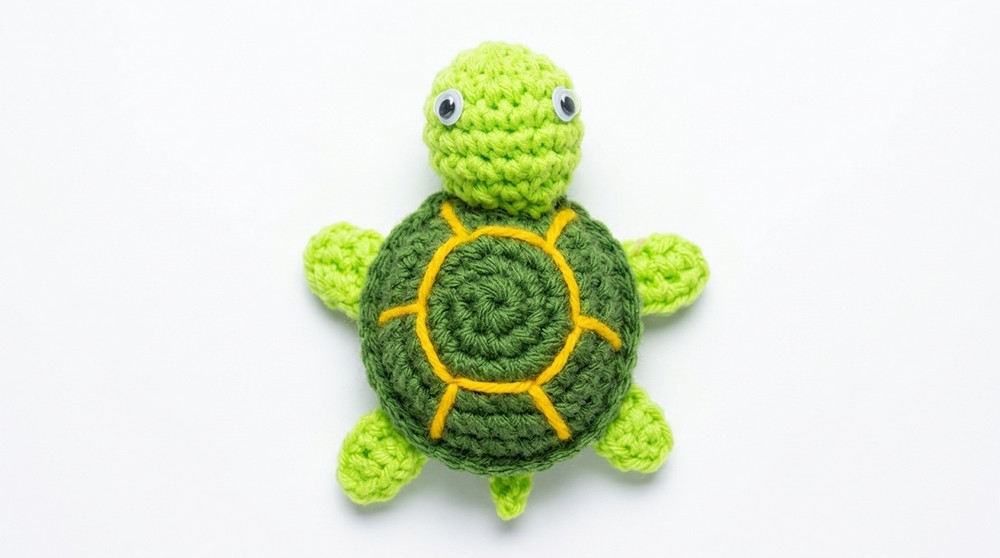
- Check for loose threads, weave them into the project, and trim neatly.
Final Words
Congratulations on completing your cute tortoise amigurumi. This project is versatile and makes a wonderful handmade gift for friends or family. You can personalize the colors to suit your preferences or theme.
Tips to Maintain the Pattern
- Hygiene:
- Hand wash the tortoise gently in lukewarm water, allowing it to air dry.
- Decorative Use:
- Display on shelves or desks as decor—keep it away from direct sunlight to prevent color fading.
- Gifting:
- Wrap the tortoise in tissue paper or place it in a small gift box for presentation.
Feel free to explore this pattern to create your own crochet creatures.
