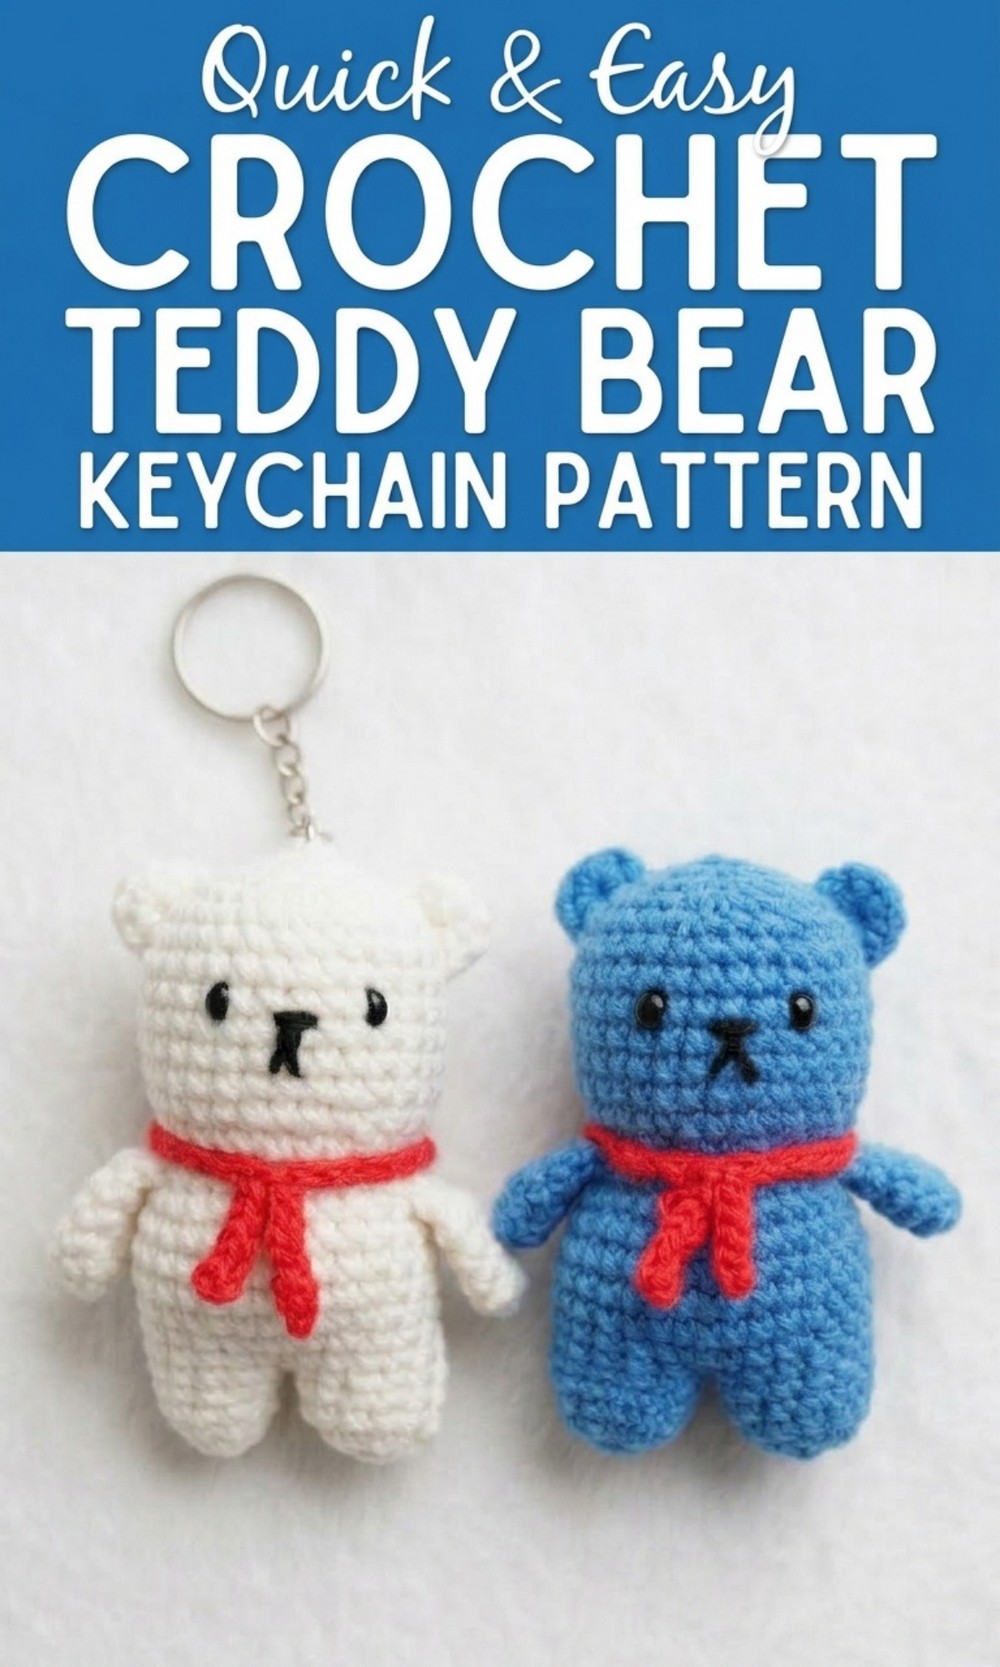
Start your crochet journey with this free Crochet Teddy Bear keychain pattern ideal for gifting or brightening up your daily accessories.
Turn This Free Crochet Teddy Bear Keychain Pattern into Backpack Buddy
Carry a tiny bundle of happiness wherever you go by creating your own forest friend with this Free Crochet Teddy Bear Keychain Pattern. This adorable little bear is soft, cuddly, and perfectly pocket sized, making it the ultimate companion for your keys, bags, or even as a cute charm.
Its round tummy, tiny ears, and stitched nose give it a sweet and friendly look that melts hearts instantly. The warm Muffler feels like a classic childhood memory, and the sturdy metal ring lets you attach it safely to your school bag, purse, or house keys. 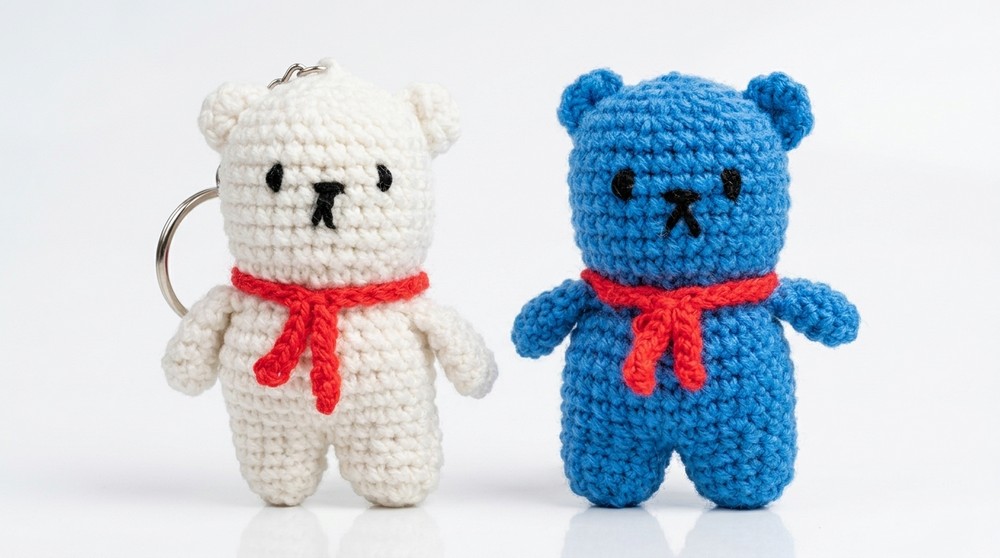
Whether you want to keep your keys organized or surprise someone special with a handmade treasure, this little bear is perfect. Show off your creativity and carry this one of a kind cute bear everywhere.
Lovely Crochet Teddy Bear Keychain Pattern
Materials Required
- Yarn:
- White yarn
- Red yarn
- Black yarn
- Tools & Accessories:
- Crochet hook (2.5mm)
- Yarn needle
- Scissors
- Stitch markers
- Cotton filling
Abbreviations
- SC: Single Crochet
- Inc: Increase (2 stitches in 1 stitch)
- Dec: Decrease (merge 2 stitches into 1 stitch)
- Ch: Chain
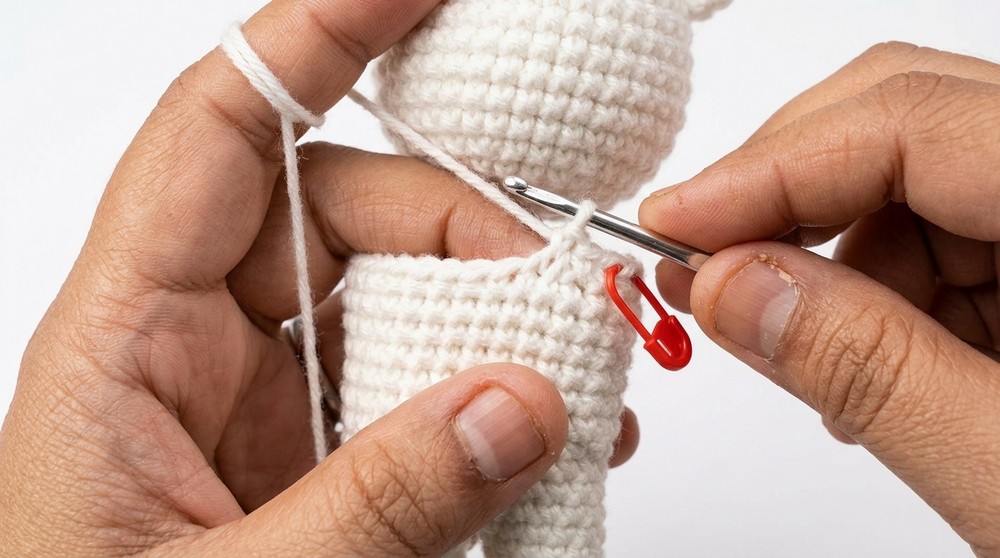
Pattern Instructions
Step 1: Teddy’s Arms (Make 2)
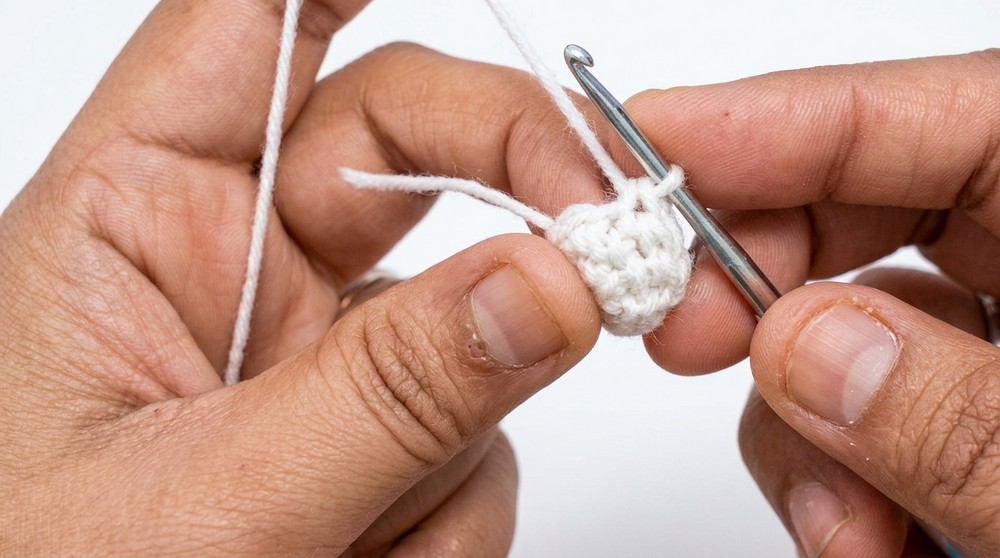
- Use white yarn and begin with a magic ring.
- Wrap the yarn around two fingers, cross it behind, and insert the hook. Pull through and secure with a chain.
- Round 1: Work 6 SC into the magic ring. Pull the tail to tighten the ring and join the round with a slip stitch.
- Round 2:
- Ch 1. Work 1 SC in the first stitch.
- SC in the next stitch.
- In the third stitch, increase by working 2 SC in the same stitch. Continue this pattern to complete the round (total: 8 SC).
- Rounds 3 to 5: Work 1 SC in each stitch around (total: 8 SC).
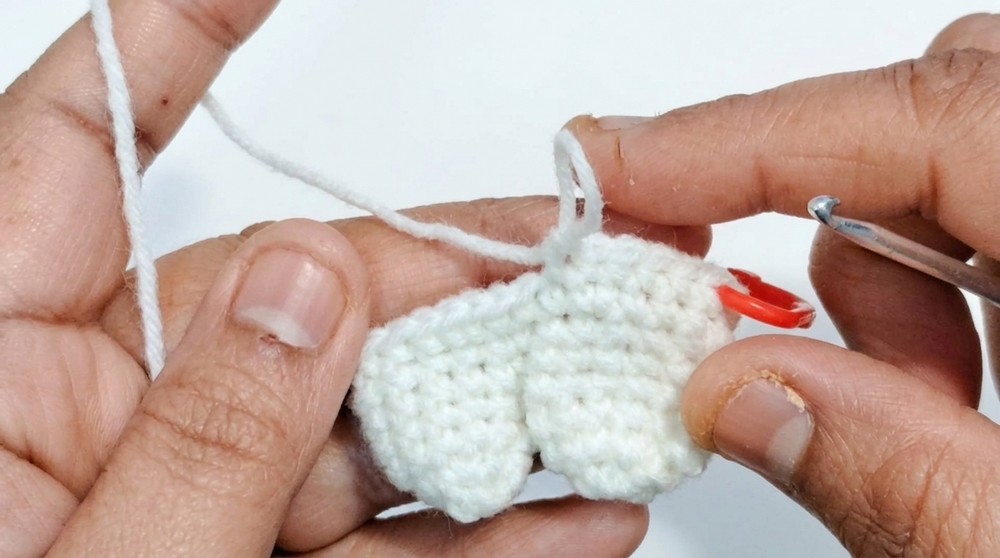
- Round 6: Fold the piece in half and join opposite stitches together using 4 SC to create a flat end.
- Fasten off and leave a long tail for sewing. Repeat to make the second arm.
Step 2: Teddy’s Ears (Make 2)
- Use black yarn and create a magic ring.
- Secure the magic ring with a chain stitch.
- Work 7 SC into the magic ring. Pull the tail to close the ring tight.
- Do not join the round with a slip stitch. Instead, fasten off directly and leave a long tail for sewing.
- Repeat to create the second ear.
Step 3: Teddy’s Legs (Make 2)
- Start with a magic ring using white yarn.
- Round 1: Work 6 SC into the magic ring. Tighten and join with a slip stitch.
- Round 2:
- Ch 1. Work 2 SC in each stitch around (Inc in every stitch). Total: 12 SC.
- Rounds 3 to 5: Work 1 SC in each stitch around (total: 12 SC).
- Fasten off one leg. For the second leg, do not fasten off; this will be used to join the legs.
- Joining the Legs:
- Continue working SC around the unfastened leg, then connect it to the first leg with SC stitches (total: 24 SC around both legs).
- Place a stitch marker at the joining point. This completes the base of the teddy.
Step 4: Teddy’s Body
- Continue working in rounds, incrementally increasing to create the body shape.
- Rounds 6 to 12: Work 1 SC in each stitch around, maintaining 24 SC.
- Round 13 (for neck):
- Work 3 SC, Dec around (total: 18 SC).
- Round 14 to 21: Continue without changes (1 SC in each stitch). Once all rounds are complete, fill the body with cotton.
Step 5: Teddy’s Head
- Start the head close to the neck.
- Round 22 (Increase): After a few rounds of 1 SC per stitch, increase by working every 4th stitch into 2 SC.
- Rounds 23 to 25 (Decrease): Gradually decrease by merging every few stitches into 1 SC to shape the head.
- Before completing the final round, add cotton filling to the head. Afterward, sew the head shut using a yarn needle.
Step 6: Assembly & Finishing
- Attach Arms: Using stitch markers, attach the arms to the 12th and 13th lines on either side of the body. Secure by sewing them neatly.
- Attach Ears: Sew each ear to the 21st to the 23rd line on the head. Ensure symmetry on both sides.
- Attach Legs: Adjust the legs in the lower body region and ensure firm attachment.
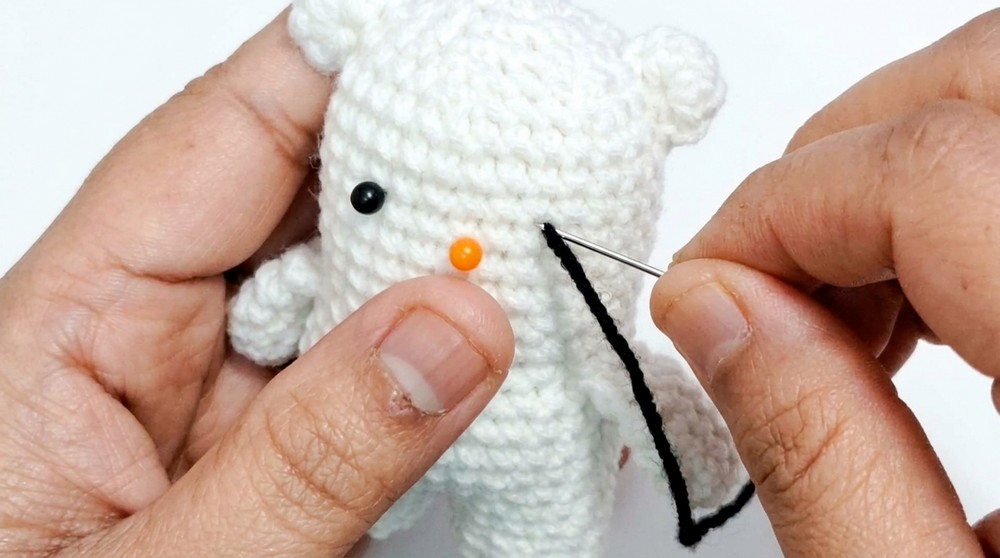
- Face Details:
- Eyes: Use black thread to embroider cartoon style oval shaped eyes on the 18th and 19th rows of the head. Leave a gap of 5 stitches between both eyes.
- Nose: Embroider a small oval nose below the eyes at the center.
- Add Mouth: Using black thread, embroider a smile starting right below the nose. Curve the smile slightly for a cheerful expression.
Bonus: Add Muffler (Optional)
- Use red yarn to make a muffler.
- Ch 40 to 50 (length depends on preference).
- Cut off the yarn and attach the muffler snugly around the teddy’s neck.
Final Words
Your adorable crochet teddy keychain is ready, This handmade creation makes an excellent gift, decoration, or accessory for your bag. Its fluffy body, thoughtful details, and vibrant muffler give it a unique charm.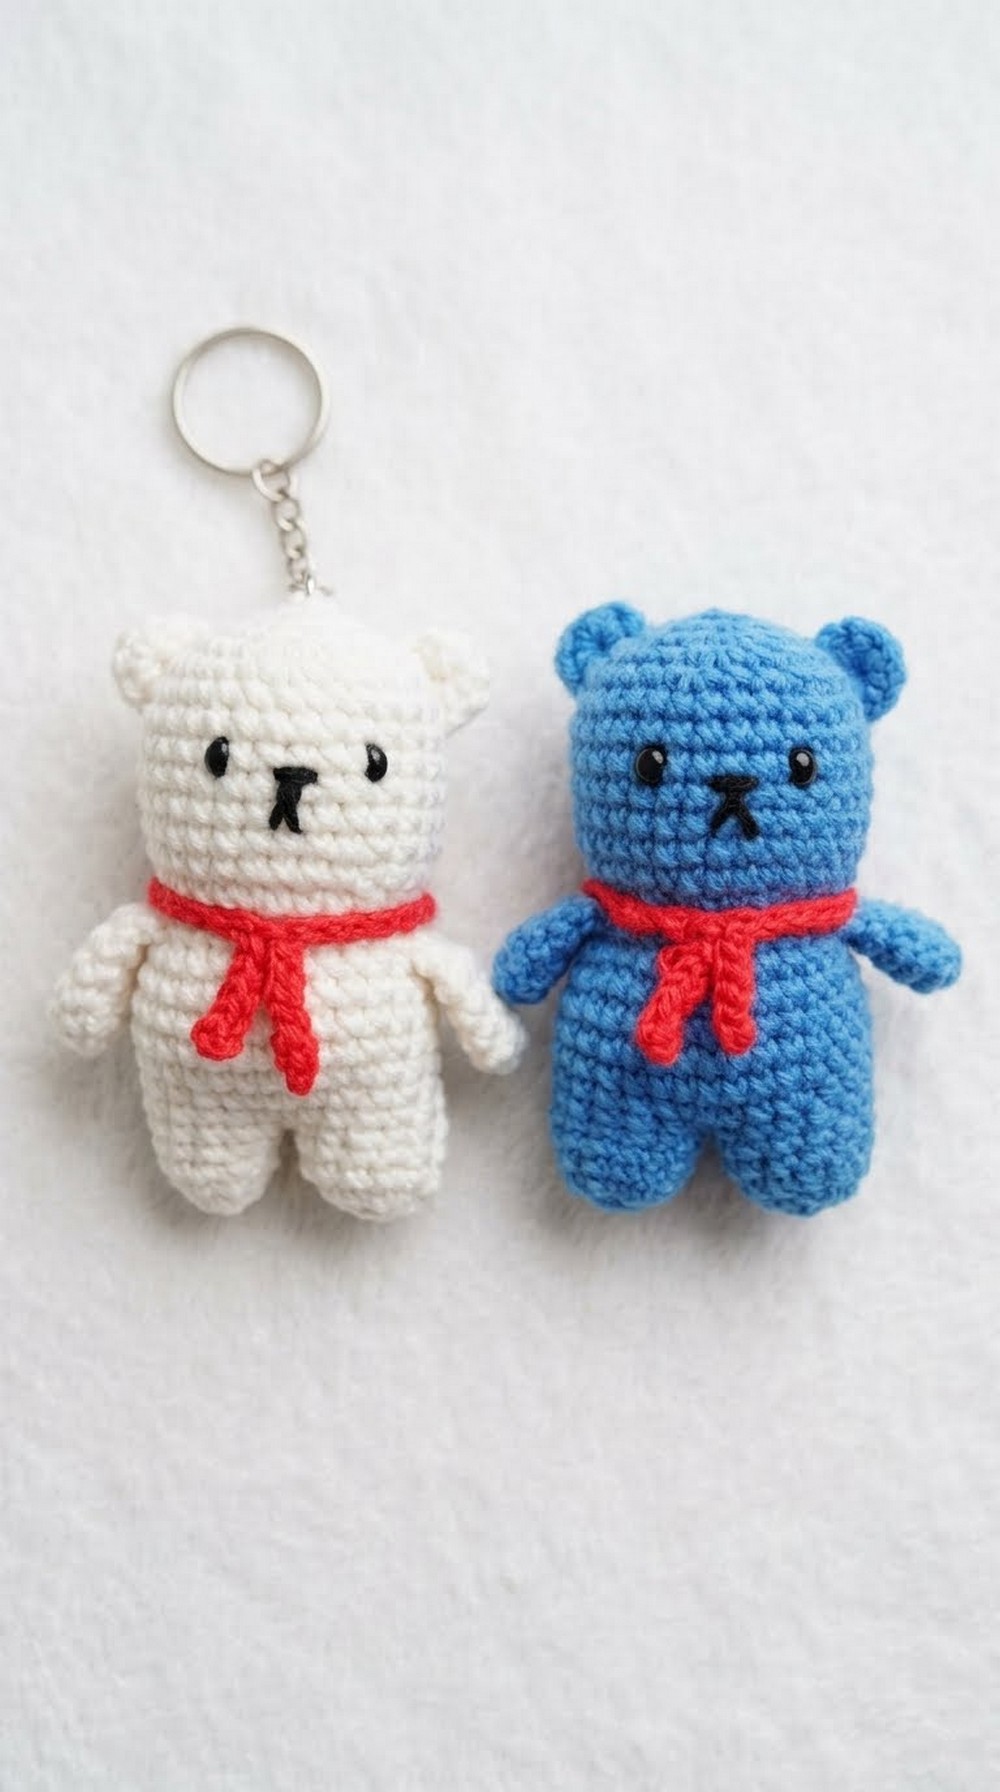
Tips for Maintanence
- Clean dust using a soft dry cloth; avoid water.
- Store in a dry, cool place to maintain its shape.
- Keep away from sharp objects that may damage the yarn.
Suggestion about the Pattern
This is a beginner friendly pattern, and you can customize the colors and sizes by adjusting the yarn thickness and hook size. Experiment with different facial expressions or accessories to personalize your teddy even more.