Hydrate in style by crocheting a colorful and eye catching crochet bottle holder that is fun to use, and perfect for all your daily adventures.
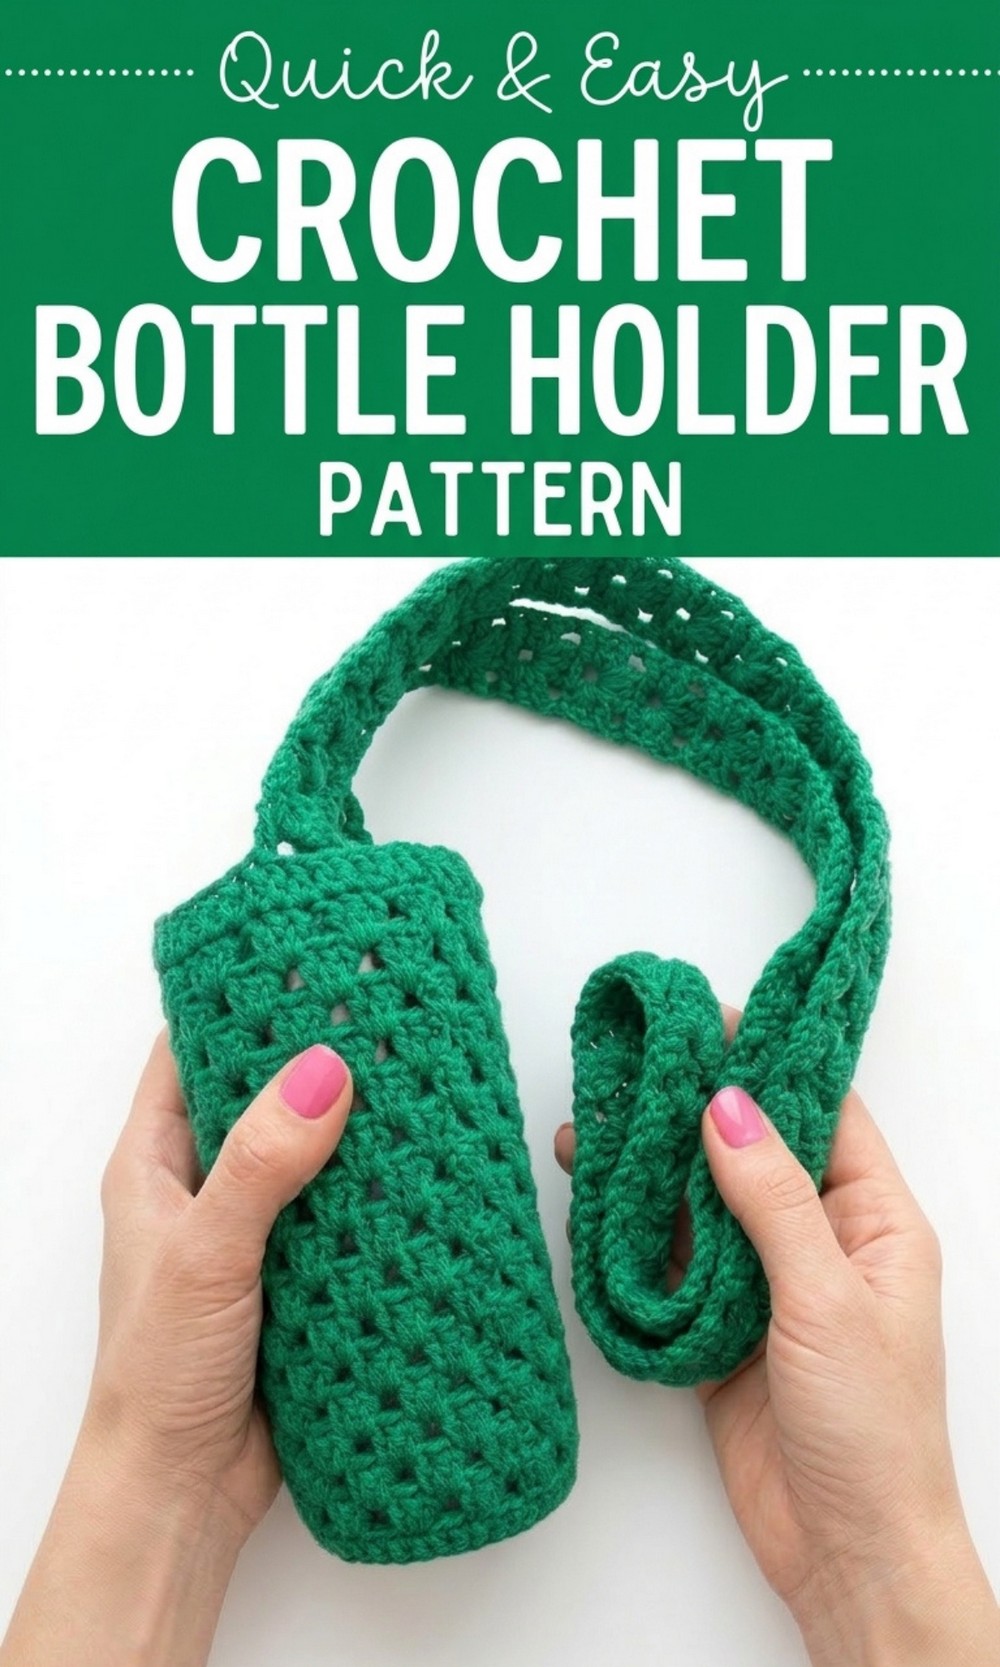
Easy Free Crochet Bottle Holder Pattern with Daily Use
Bring a spark of creativity to your daily routine with this Free Crochet Water Bottle Holder Pattern. With just a small hook and some colorful thread, you can create a stylish and super handy bottle carrier that fits perfectly with your favorite bottle. Imagine turning a simple piece of string into a charming accessory as you crochet step by step.
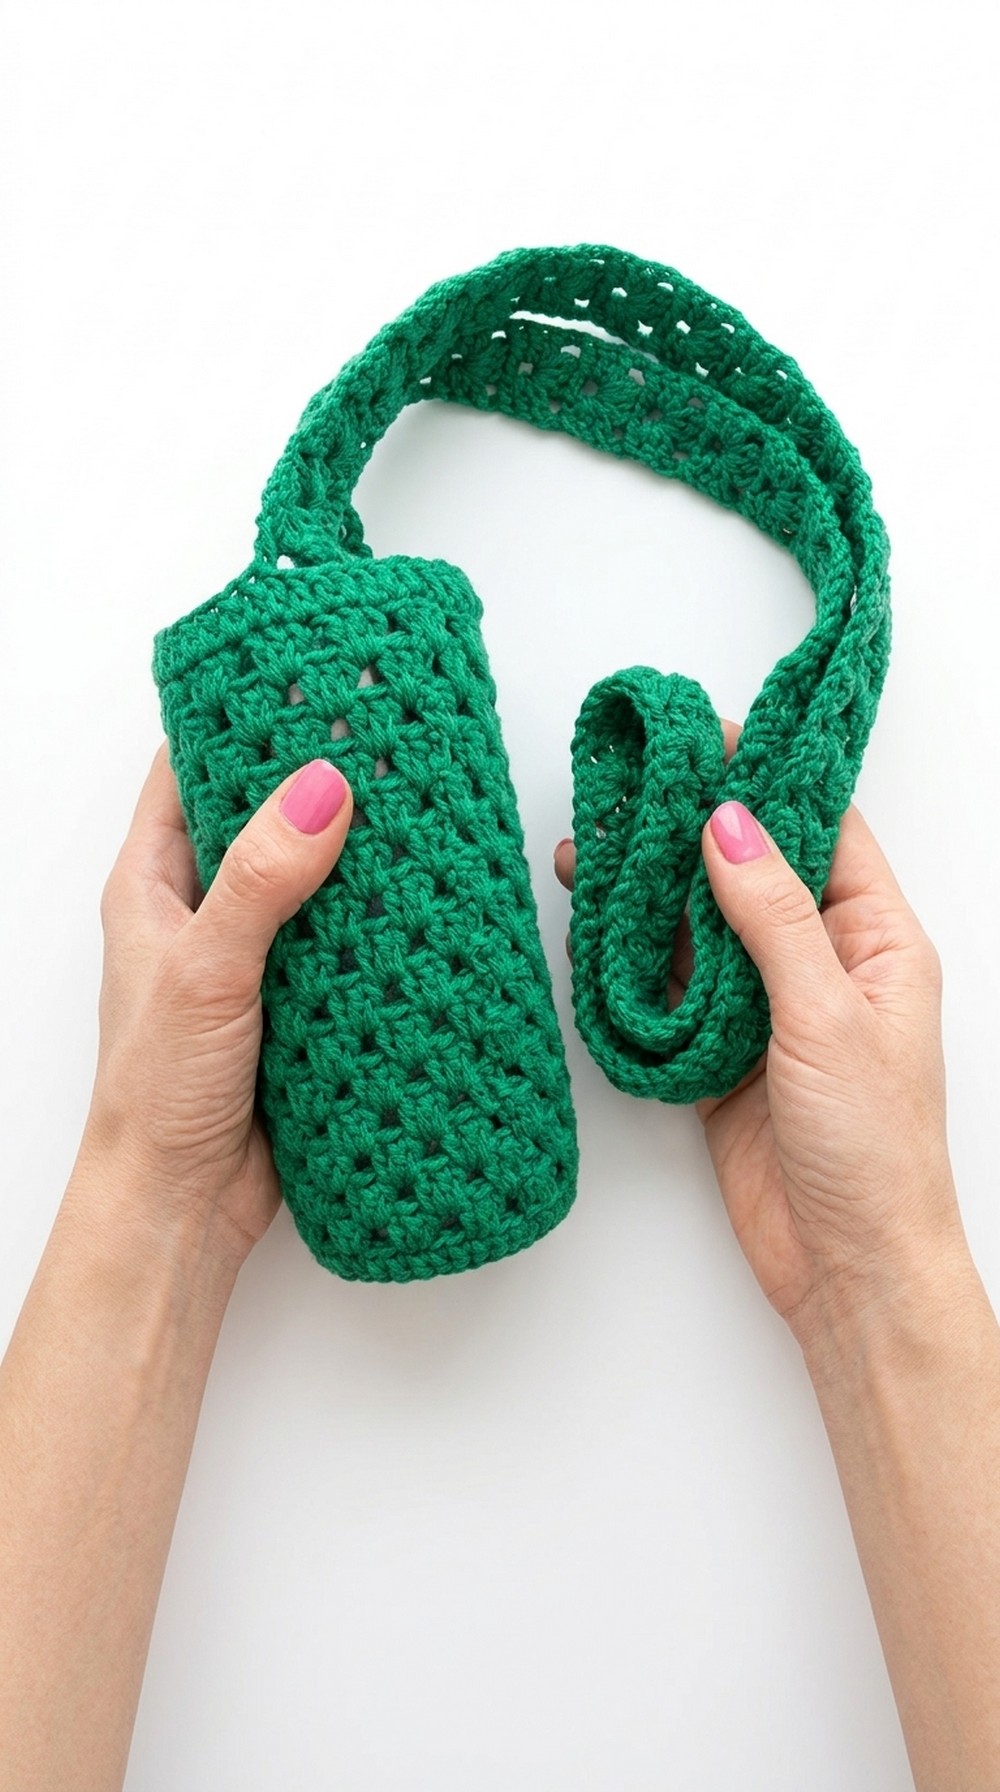
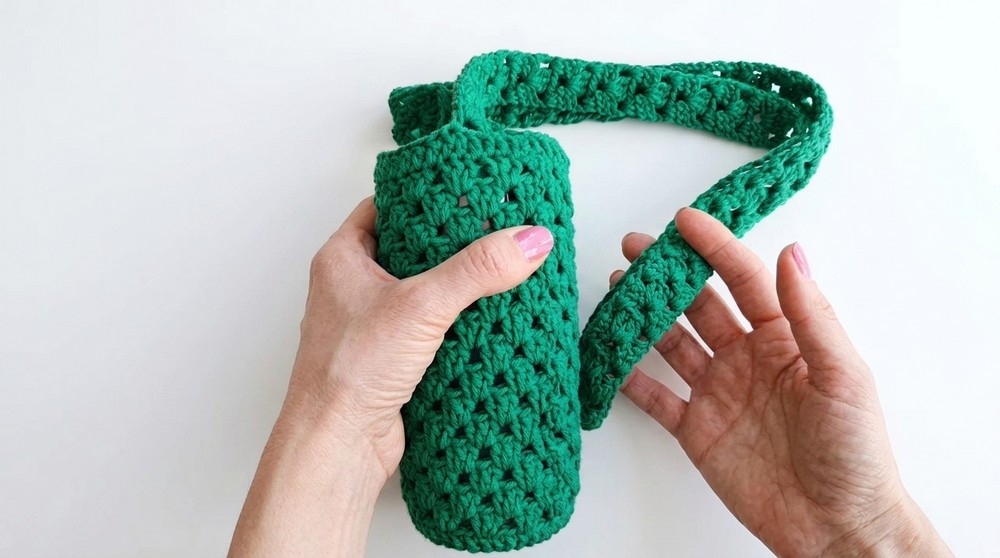
The design is beautifully crocheted, featuring a stretchy mesh body, a sturdy round bottom, and a long strap that makes it perfect for carrying on outdoor adventures. The vibrant colors and elegant pattern make it look like a high end product you’d find at a sports store. Lightweight, soft, yet strong, this holder keeps your bottle safe while adding a pop of style to your outfit.
 Whether for yourself or as a thoughtful gift for a friend, this handmade water bottle holder is a unique way to stay hydrated and fashionable. It’s a truly magical project that lets you create something useful, beautiful, and long lasting. Give it a try and turn simple stitches into a treasure you’ll love for years.
Beautiful Crochet Bottle Holder Pattern
Materials Needed
- Yarn: 100% cotton yarn (like Spagetti Yarn Cotton Plus)
- Weight: Approximately 150 meters/100 grams
- Non pilling and durable for daily use
- Hook Size: Recommended crochet hook size is 3.5mm for a tight and neat finish.
- Other Tools:
- Yarn needle for sewing and weaving ends.
- Measuring tape to check your dimensions.
- Optional: Stitch markers for tracking rows.
- Gauge (for reference):
- 16.5 stitches x 8 rows = 10cm in double crochet (DC).
Finished Size
- Height: 16.5 cm (you can adjust to suit your thermos size).
- Strap Length: Customize as needed. The long strap in the video measures approximately 102 cm.
Special Tips for Success
- Yarn: Ensure you’re using cotton yarn for durability and ease of washing.
- Tension: Maintain an even tension throughout to achieve clean and uniform stitches.
- Customization Ideas:
- Use different colors for a striped design.
- Adjust strap length for carrying preferences (hand held or shoulder strap).
- Testing Fit: Measure the sleeve against your thermos after completing 3–4 rounds of the base to ensure the fit.
Pattern Instructions
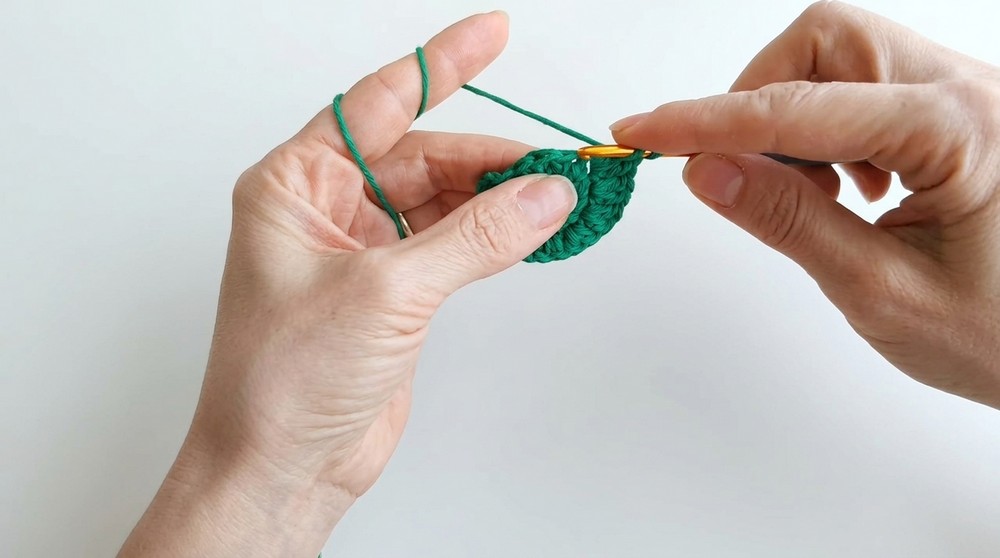
Step 1: Base (Circle)
- Start with a magic ring.
- Round 1: Chain 3 (counts as 1 DC), make 11 double crochets (DC) into the ring. Tighten the ring and join with a slip stitch into the top of the starting chain. (12 DC total)
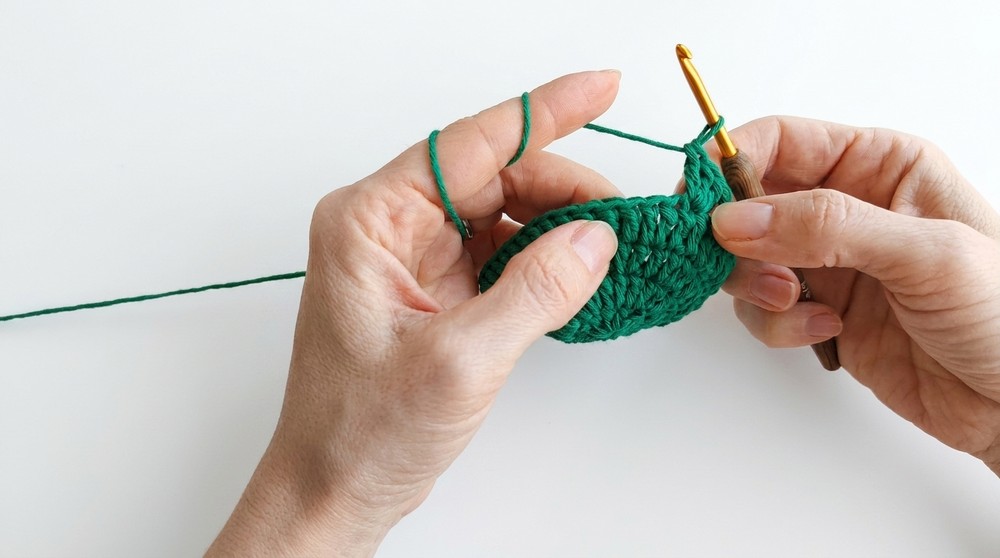
- Round 2: Chain 2. Make 2 DC in each stitch around. Join with a slip stitch. (24 DC total)
- Round 3: Chain 2. Work the following pattern:
- 1 DC in the first stitch, 2 DC in the next stitch. Repeat around. (36 DC total)
- 1 DC in the first stitch, 2 DC in the next stitch. Repeat around. (36 DC total)
- Keep increasing in this manner until the base circle matches the diameter of your thermos.
Step 2: Sleeve Body
- Round 1 (Start Body):
- Chain 3. Skip 2 stitches, and in the third stitch, make 3 DC into the same space.
- Skip 2 stitches and repeat (3 DC clusters in every 3rd stitch) till the end of the round.
- Join with a slip stitch.
- Round 2:
- Chain 3. In every gap created between the 3 DC clusters, make another 3 DC cluster. Continue till the end of the round.
- Repeat Round 2 until the sleeve reaches your desired height (approximately 15–16 cm).
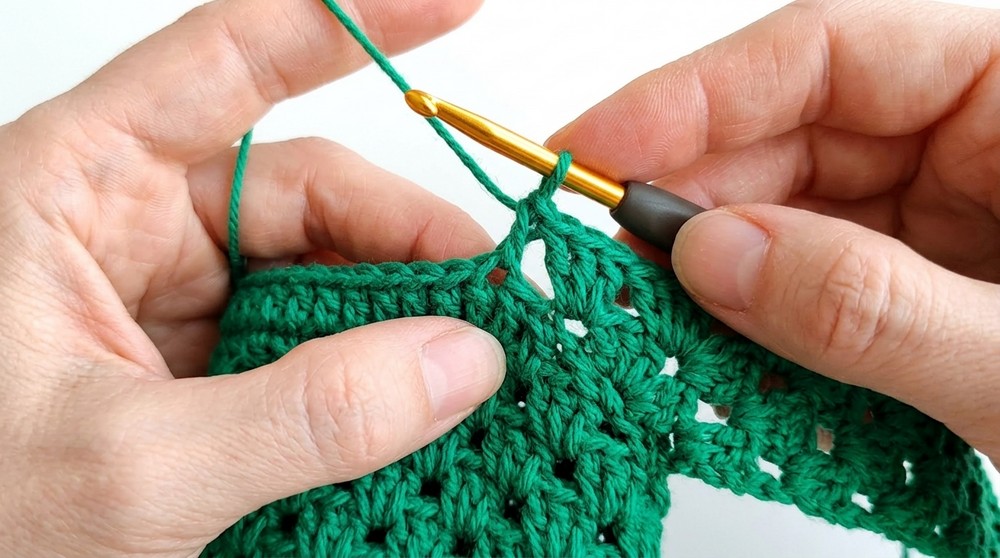
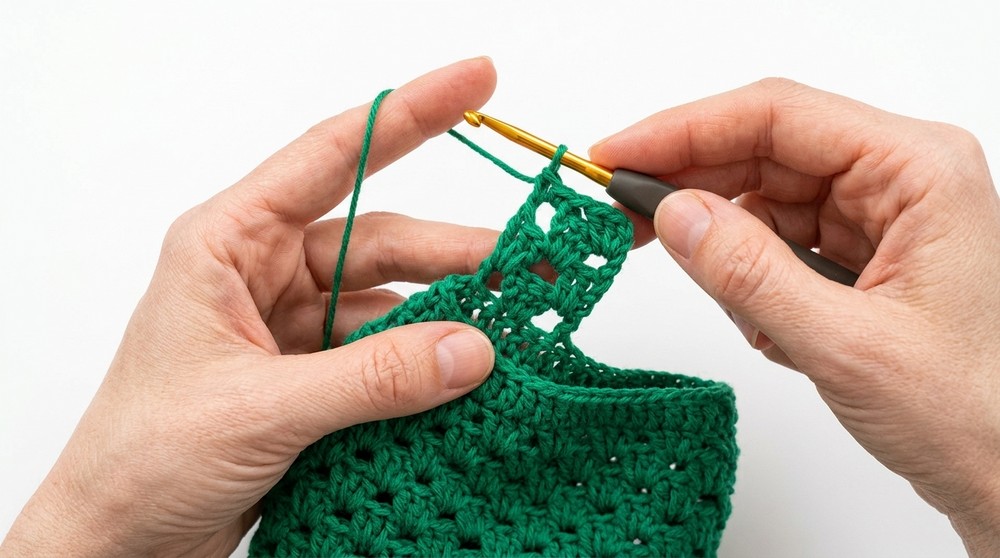
Step 3: Strap Creation
- For Long Strap (Shoulder Strap):
- Attach the yarn at the top of the sleeve. Chain 3 and skip 2 stitches. Make 3 DC into the next gap.
- Turn and continue making 3 DC clusters until the strap reaches your desired length (measuring approximately 102 cm for the long strap).
- Attach the other end to the opposite side of the sleeve securely using a needle.
- For Short Strap (Hand held):
- Follow the same technique but make a shorter strap (approximately 20 rows of clusters).
Finishing
- Weave in all loose ends using a yarn needle.
- Test the fit by placing your thermos inside the sleeve.
- For a multi color design, follow the same pattern with different yarn colors, joining the new color with eachrow.
Customization Ideas
- Striped Pattern: Switch yarn colors every two rows to create vertical stripes.
- Decorative Elements: Add buttons, embroidery, or small charms for a personalized touch.
- Advanced Stitch Techniques: Try working the second loop of the stitch for added texture.
Conclusion
This Free Crochet Bottle Holder Pattern is an excellent opportunity to practice a variety of simple crochet techniques while creating something practical and stylish. Whether for personal use, as a gift, or even for sale, this project is versatile and perfect for crochet enthusiasts of all levels. By using the suggested materials and following the detailed steps, you’ll have a durable, washable, and aesthetically pleasing sleeve that adds charm to your daily routine.
Important Remarks
- The final look of the holder is neat, snug, and lightweight, with a practical strap for easy carrying.
- Adapt the size and colors according to the recipient’s preferences, ensuring it suits all ages.
- Always block your finished project if using cotton yarn for a crisp and polished appearance.