Turn old t shirts into treasure with this Free Crochet T Shirt Yarn Bag Pattern for a unique and durable bag that is perfect for everyday use.
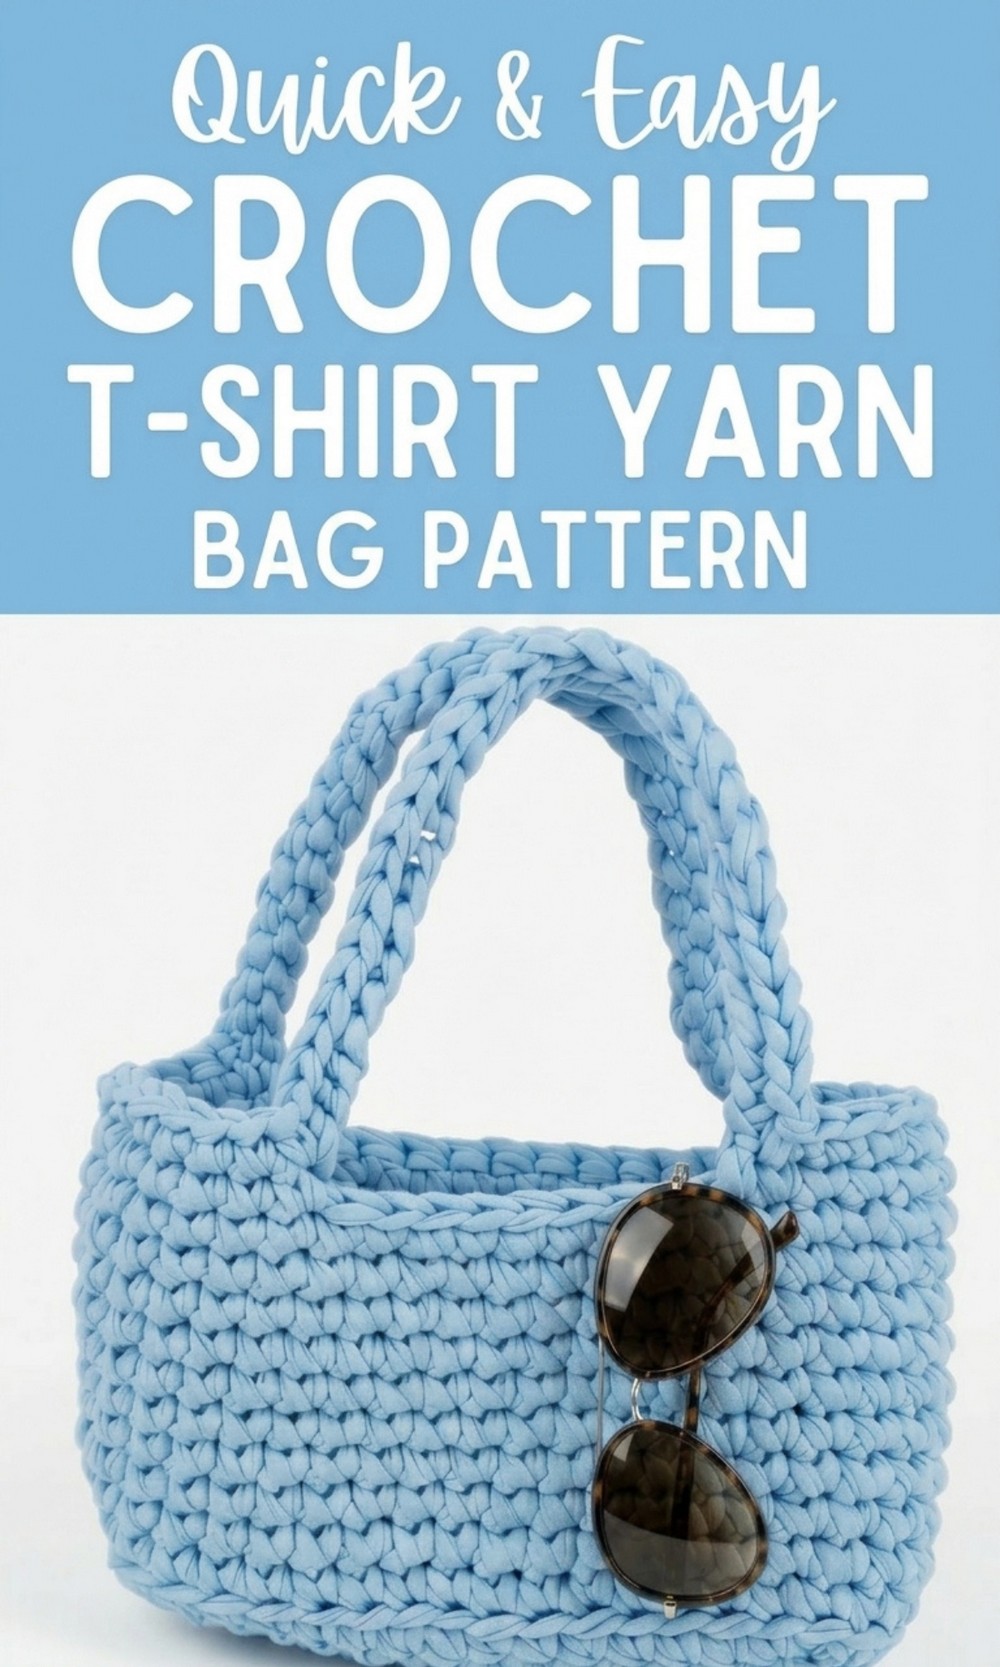
Super Fun and Free Crochet T-Shirt Yarn Bag Pattern
Crocheting a bag with t-shirt yarn is easy, fun, and creates something truly beautiful. This free crochet pattern lets you make a chunky tote bag that is sturdy, stylish, and perfect for carrying all your favorite things. The bag has a soft, textured look and can be made using thick or thin t-shirt yarn depending on your preference. Its unique appearance makes it a great accessory for everyday use or gifting.
The pattern uses simple single crochet stitches, making it beginner-friendly and great for anyone who wants to start crocheting. The handles are firm and comfortable to hold, built from chain stitches reinforced with slip stitches. 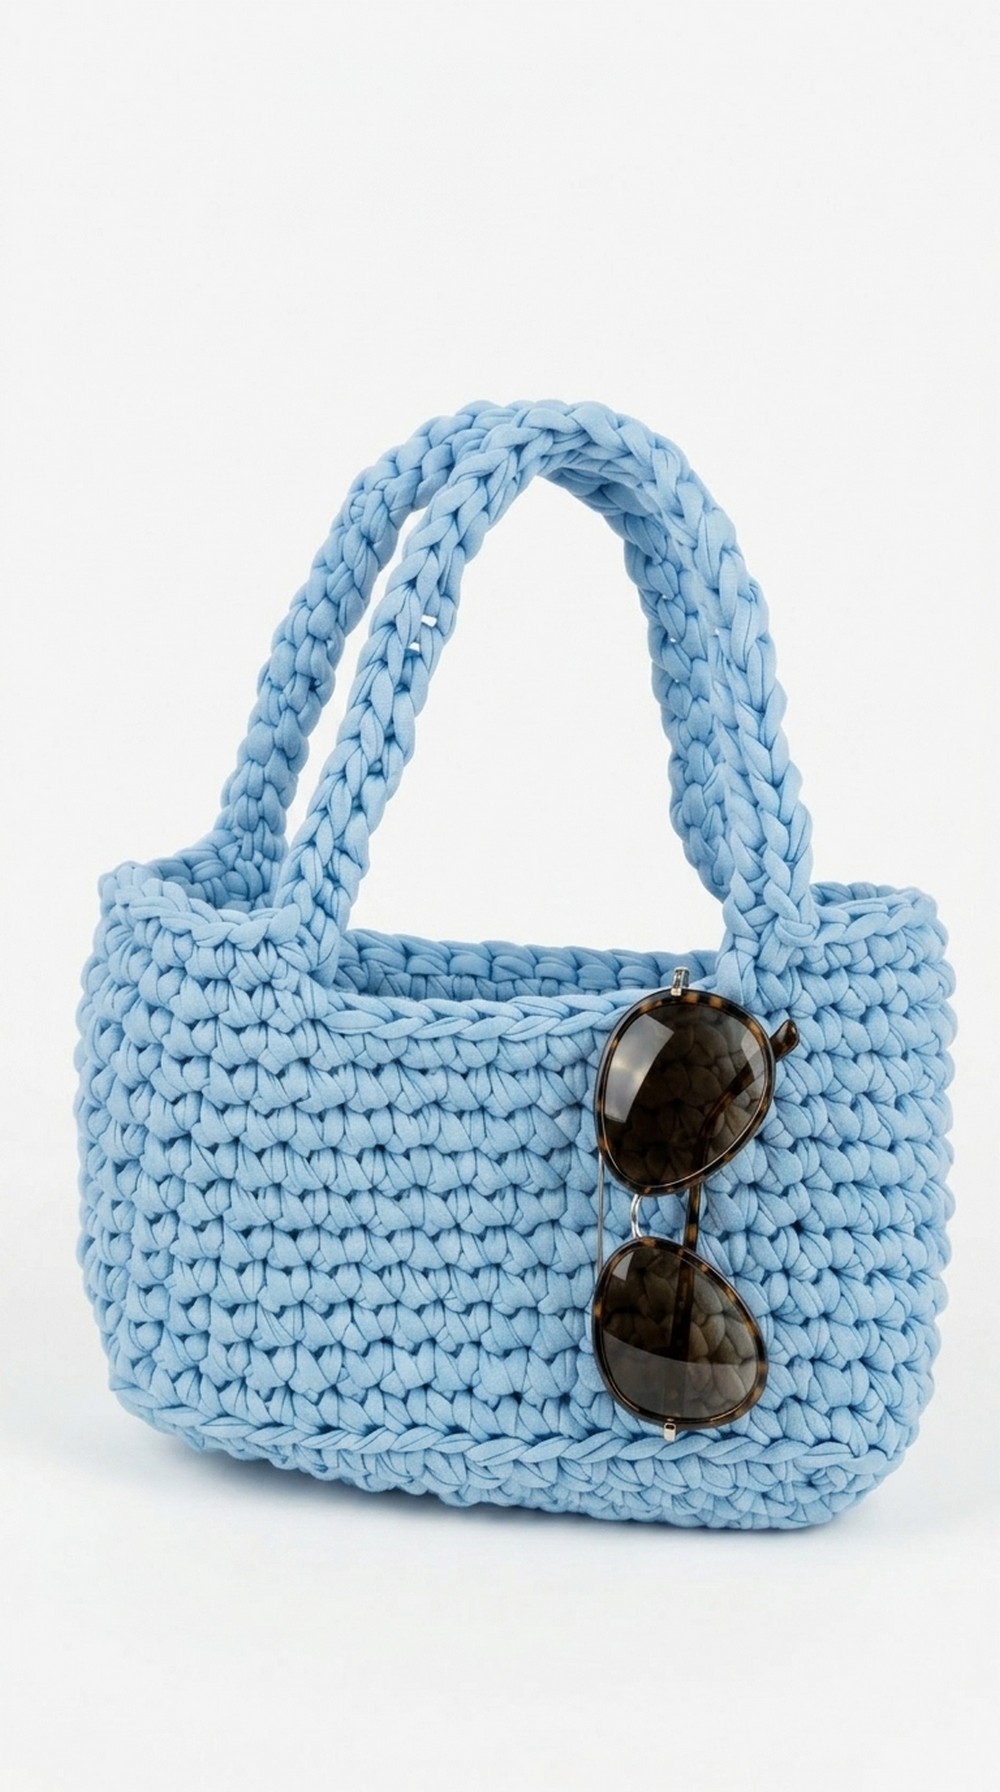 You can customize the height, color, and size to make it your own. This bag is not just practical but also a fun way to show your creativity.
Crochet T Shirt Yarn Bag Pattern
Finished Size
- Approximately height: 10–12 inches
- Approximately width: 12–14 inches
(The dimensions will vary based on your yarn thickness and tension.)
Materials Needed
- T shirt yarn:
- Weight range: 650–800 grams in Baby Blue color
- Type: Sturdy and wide yarn is recommended for durability.
- Crochet hook:
- Size: 10 mm (or adjust based on yarn thickness).
- Tape measure:
- To check dimensions.
- Scissors:
- For cutting yarn tails.
- Stitch markers:
- To mark rows or handle placement.
- Tapestry needle:
- For weaving in ends.
Gauge
Making a test swatch is recommended to match tension:
- 10 stitches and 8 rows = 4 inches in single crochet (depending on yarn thickness).
Special Techniques
- Slip knot: Basic slip knot for starting your chain.
- Single crochet (SC): Used throughout the project for simplicity and durability.
- Back loop single crochet: Worked in the back loop to start the bag’s height section.
- Slip stitch: Used for finishing edges neatly on chains.
Pattern Instructions
Follow these steps for crafting your chunky tote bag:
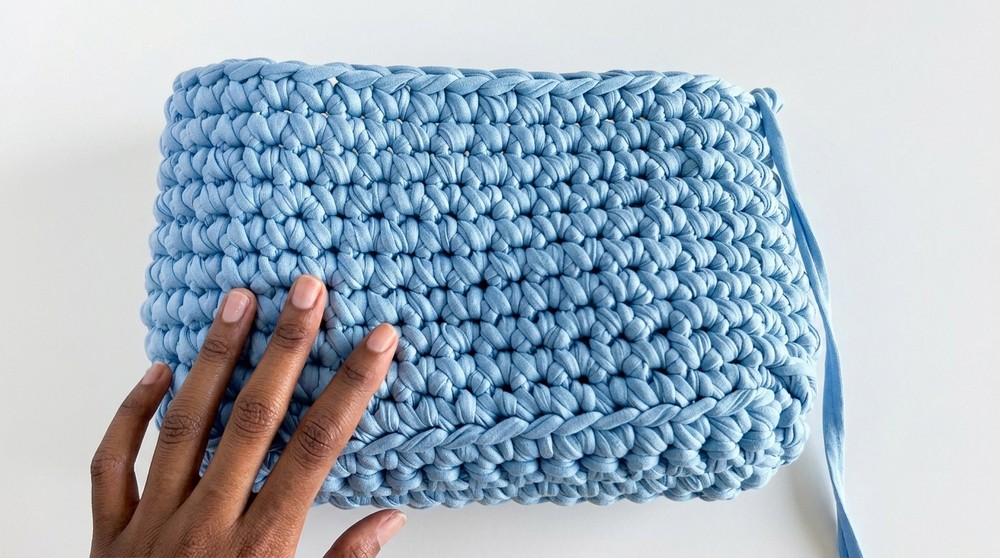
Step 1: Base of the Bag
- Foundation Chain:
- Make a slip knot and insert your crochet hook.
- Chain 17 loops to form the foundation chain.
- Row 1 Single Crochet:
- Skip the first chain and make a single crochet in the second chain from the hook.
- Continue working single crochets (SC) across the rest of the chains.
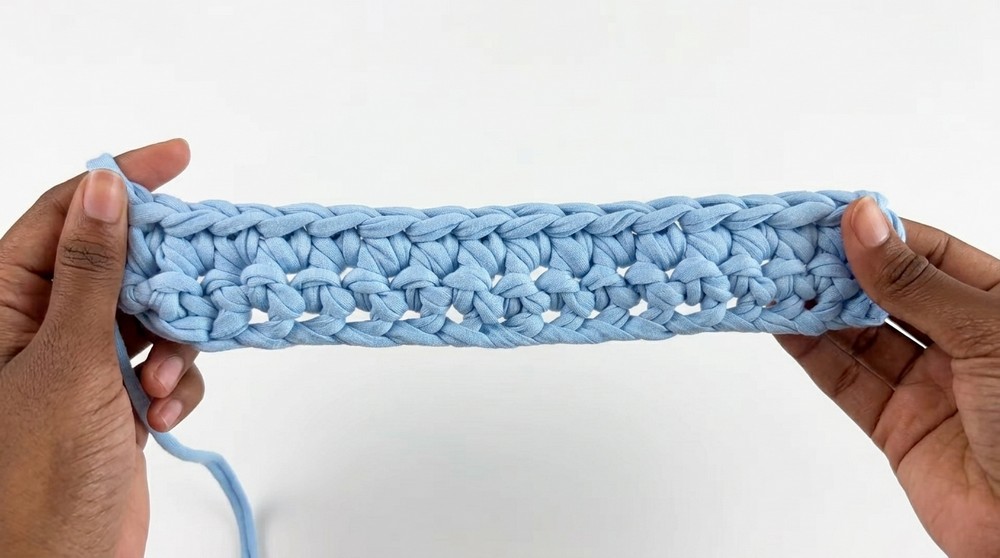
- Row 2–5 Building the Base:
- Chain 1. Turn your work.
- Make single crochets (SC) across each stitch. Repeat this for a total of 5 rows.
- This will create a solid rectangular base for your tote bag.
- Side Stitches:
- Begin working single crochets along the bumpy side edges of the base. Insert the crochet hook wherever it fits to secure a clean edge.
- Begin working single crochets along the bumpy side edges of the base. Insert the crochet hook wherever it fits to secure a clean edge.
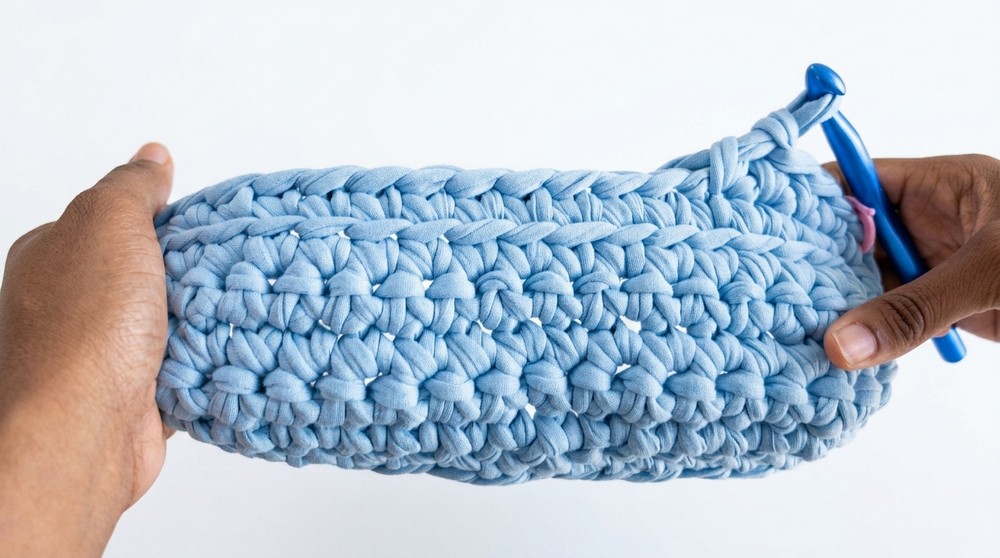
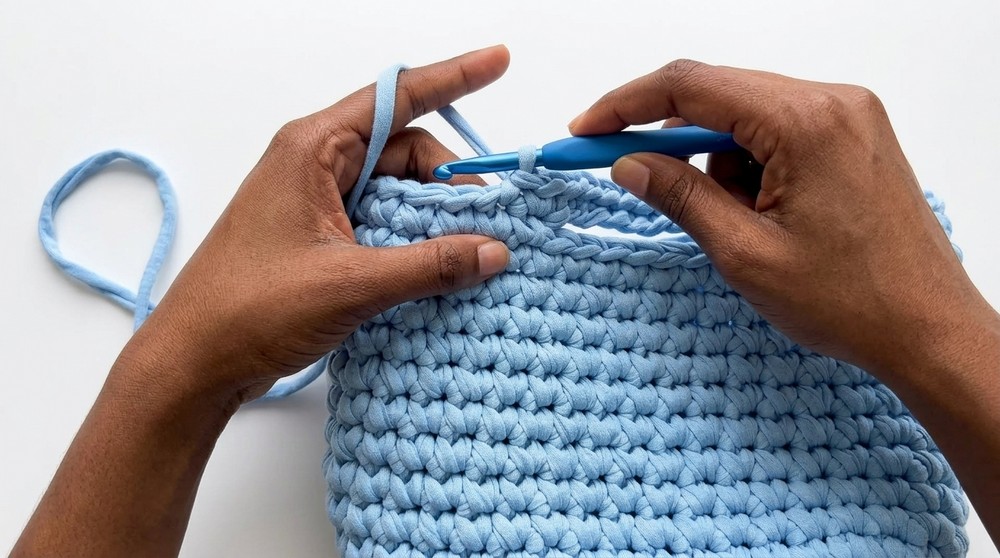
Step 2: Starting the Bag Height
- Back Loop Single Crochets:
- Work one row of single crochets in the back loop of each stitch around the base. This creates a distinct ridge at the bottom and helps the bag stand upright.
- Use stitch markers to track row beginnings and ends.
- Regular Single Crochet Rounds:
- Continue working single crochets through both loops in each stitch around the bag.
- Use the stitch marker to identify the start point of each round.
- Building Height:
- Repeat single crochet rounds until the bag reaches your desired height (approximately 10 rounds for a standard tote size).
- Repeat single crochet rounds until the bag reaches your desired height (approximately 10 rounds for a standard tote size).
Tip: You can turn your bag inside out for a cleaner outward appearance, though it is optional.
Step 3: Adding Handles
- Determining Handle Placement:
- Lay the bag flat and identify the center points for the handles. Use stitch markers on both sides to mark the starting points of the handle straps.
- On each side, count 6 stitches from the stitch marker and align the handles symmetrically.
- Creating Handles (Chain Method):
- Attach the yarn with a single crochet at the marked stitch.
- Chain 30 for the handle strap length.
- Attach the chain back to the bag with a single crochet on the 6th stitch of the marked section.
- Work slip stitches across the chain to reinforce the handle.
- Repeat for the second handle on the opposite side of the bag.
Step 4: Finishing
- Slip Stitch Rounds:
- To reinforce and smoothen edges, work slip stitches across the tote bag’s rim.
- This ensures stability and a clean finish.
- Weaving in Ends:
- Use a tapestry needle to weave in all yarn tails securely.
- Pay close attention to handle attachments to ensure they are durable.
Customization Ideas
- Color Options:
- Use multicolored t-shirt yarn for a striped or variegated effect.
- Alternate yarn colors for aesthetic contrast in rows or handles.
- Handle Length:
- Adjust the chain length for shorter or longer straps depending on preference.
- Size Variations:
- Use more chains in the foundation (increase from 17 to 25) for a larger tote.
- Add extra rows to the height for increased storage capacity.
- Decorative Addons:
- Attach crocheted flowers, tassels, or beads for personalized embellishments.
Conclusion
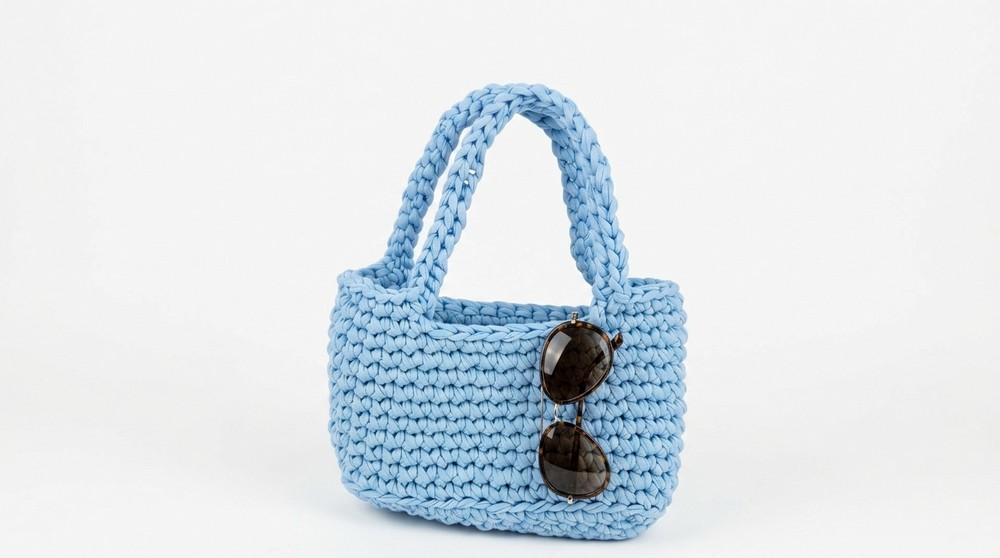
Crafting this chunky tote bag is a satisfying project, perfect for beginners and experienced crocheters alike. The use of sturdy t shirt yarn ensures a durable finished product, ideal for casual outings or market trips. With plenty of room for customization, this tote can be adapted to match your preferred style or serve specific functions.
Important Remarks
- This project relies on the variable thickness of t shirt yarn; adjustments may be necessary depending on personal tension and materials.
- Ensure all ends are woven in securely to prevent unraveling over time.
Final Look: The completed tote bag features a sturdy rectangular base, smooth single crochet sides, and strong handles reinforced with slip stitches. It is both fashionable and functional—your new go to accessory.