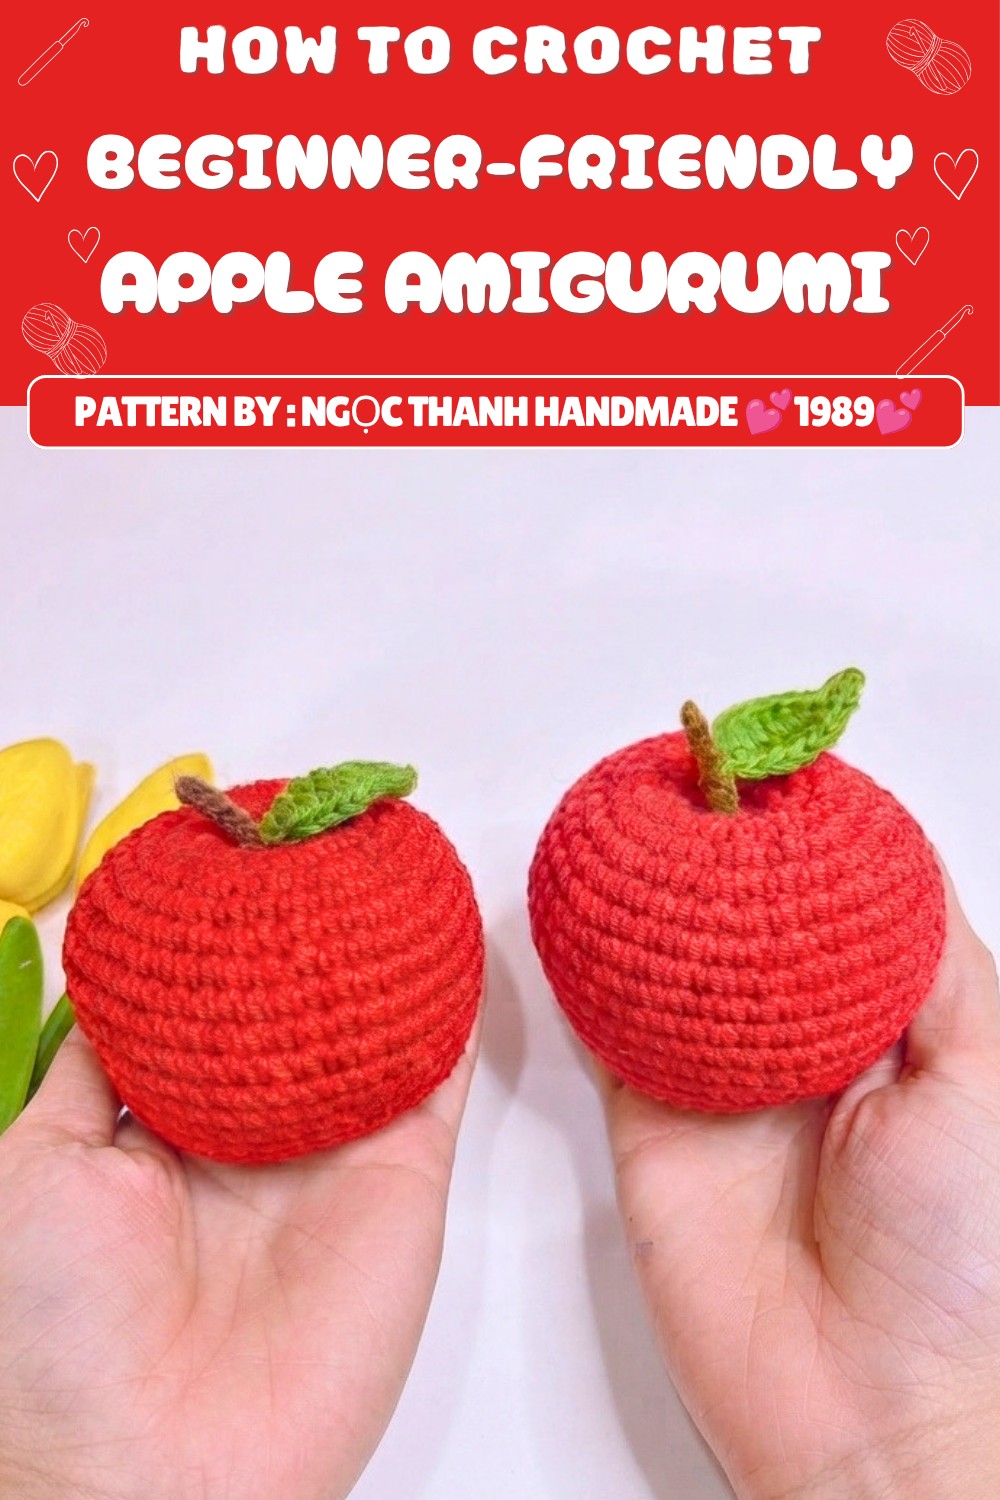
Lovely Crochet Apple Amigurumi Free Pattern For Kitchen Decor
The amigurumi apple features a perfectly round shape with a soft, smooth texture that feels great to hold. Its standout details include a tiny green leaf and a short brown stem that add a touch of realism and character. The overall style is cute and playful, making it a versatile piece that fits beautifully on shelves, desks, or even as a keychain charm.
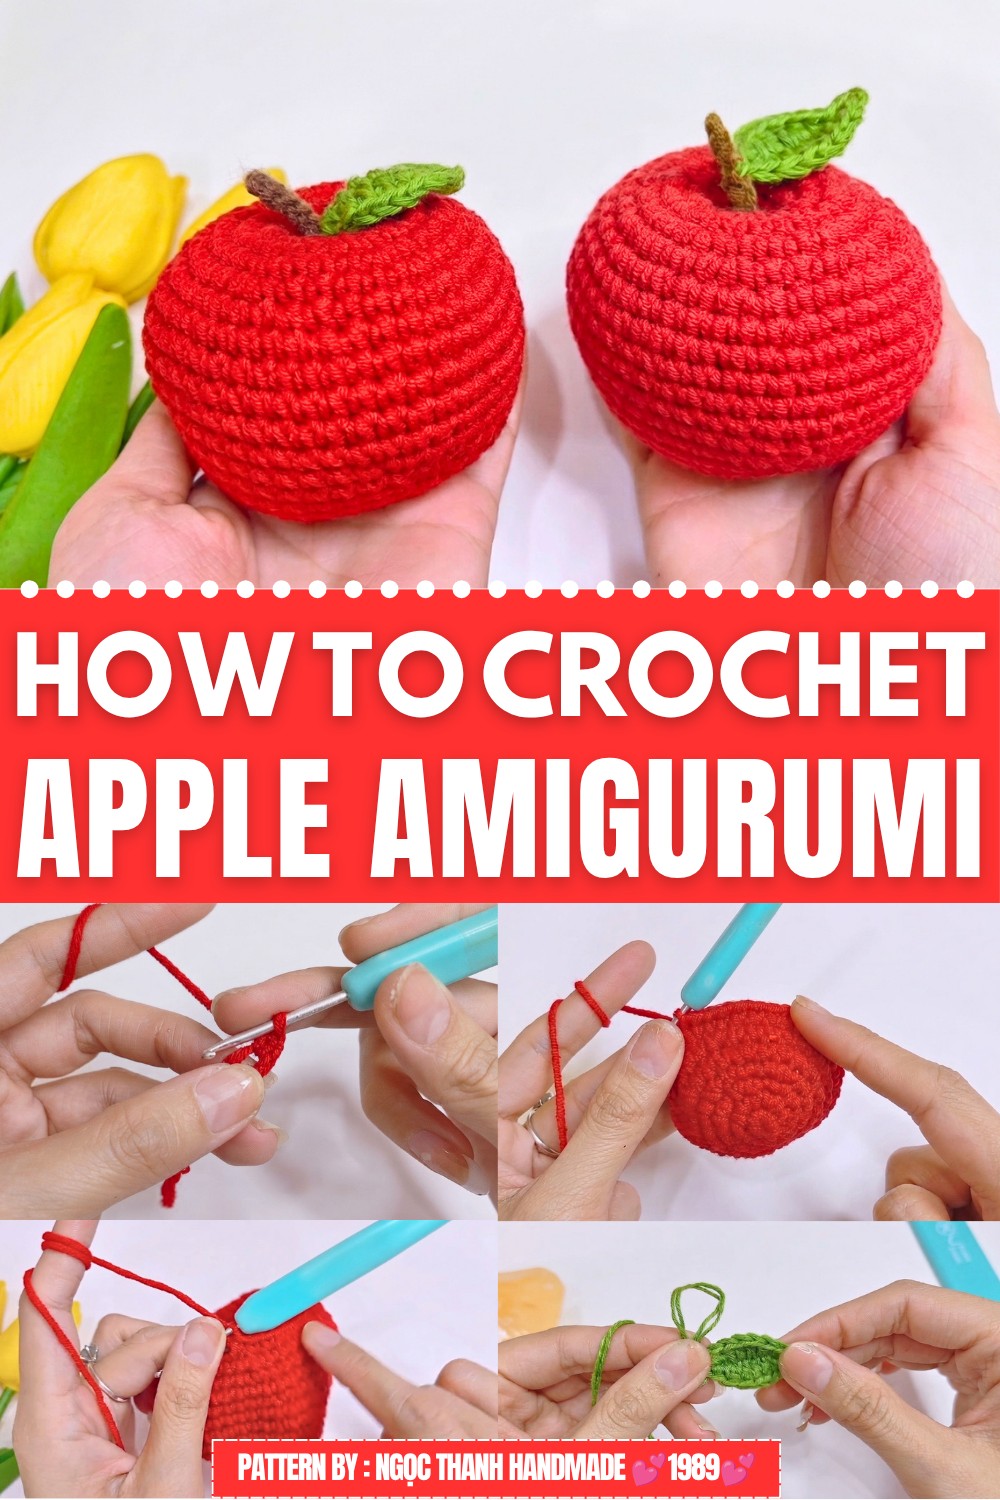
What makes this project even more enjoyable is how useful and meaningful it can be. Apples often symbolize health and warmth, so this item makes a thoughtful gift for friends, family, or teachers. Besides being a lovely decoration or keepsake, it’s also quick and satisfying to make, making it a great choice for crocheters looking for a small, rewarding project.
The pattern is approachable and perfect for beginners wanting to try their hand at amigurumi, or for anyone looking to practice basic shaping and stitch work. Creating this apple is a great way to build confidence while ending up with a truly adorable result. If you’re ready to add a touch of handmade charm to your collection, don’t miss the free Crochet Apple Amigurumi pattern.
Crochet Apple Amigurumi Pattern
This guide details how to crochet a life-like plush apple, focusing on realistic shaping, vibrant leaf, and textured stem. Each stage of construction is explained step by step — from forming the body with precise increases and decreases, to sculpting natural indentations at the apple’s top and bottom. Materials, skill level, stitches, and gauge are clearly listed for clarity. Whether for a desk accent or a playful toy, this apple harnesses both form and function. Moderately loose stitch tension, strategic stuffing, and attention to sculpting techniques will help produce a soft, rounded apple that stands out visually and tactilely.
Quick Overview of Pattern
- Base Creation: Start with a magic ring of single crochets, increasing each round.
- Midsection Expansion: Even rounds add height for a spherical shape.
- Top Shaping & Contouring: Execute decrease rounds to narrow the apple’s top.
- Leaf & Stem Details: Double-stranded leaf and structured brown stem made separately.
- Final Sculpting & Finishing: Use internal needle pulling to form deep dimples at the top and bottom.
Skill Level
Intermediate (You should know: magic ring, continuous rounds, invisible decrease, double-stranding, and basic needle sculpting.)
Materials
- Main Body Yarn: Red Milk Cotton Yarn (125g weight)
- Leaf Yarn: 1mm Green Vietnamese Cotton Yarn (double strand for stiffness)
- Stem Yarn: Brown Cotton or Milk Yarn
- Hook: 2.5 mm crochet hook
- Stuffing: Premium polyester fiberfill
- Notions: Tapestry needle, scissors, stitch markers
Measurements / Sizing
- Finished apple: Approx. 7–8 cm (2.7–3.1″) tall x 8 cm (3.1″) wide
Gauge
- 22 stitches x 20 rounds = 10 cm x 10 cm in single crochet with a 2.5 mm hook
Stitch Abbreviations
| Abbreviation | Meaning |
|---|---|
| MR | Magic Ring |
| sc | Single Crochet |
| inc | Increase (2 sc in the same stitch) |
| dec | Invisible Decrease (crochet 2 front loops together) |
| hdc | Half Double Crochet |
| dc | Double Crochet |
| sl st | Slip Stitch |
| ch | Chain |
| st(s) | Stitch(es) |
Special Stitches
Invisible Decrease (dec)
Insert hook into front loops only of the next two stitches, yarn over, pull through, yarn over again, pull through both.
Let’s Start Crocheting
Part 1: Main Apple Body
Use Red Milk Cotton Yarn and a 2.5 mm hook
Rounds
- Round 1: Create a MR,
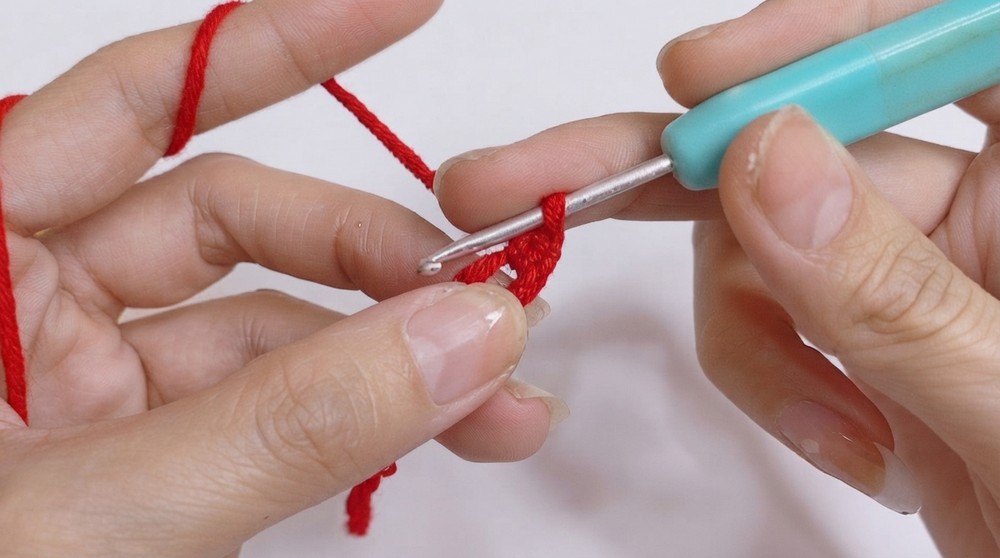
- work 6 sc into the ring. Pull the tail tight to close the ring. (6 sts)
- Round 2: 6 inc around (2 sc in each st). (12 sts)
- Round 3: [1 sc, 1 inc] – Repeat 6 times. (18 sts)
- Round 4: [2 sc, 1 inc] – Repeat 6 times. (24 sts)
- Round 5: [3 sc, 1 inc] – Repeat 6 times. (30 sts)
- Round 6: [4 sc, 1 inc] – Repeat 6 times. (36 sts)
- Round 7: [5 sc, 1 inc] – Repeat 6 times. (42 sts)
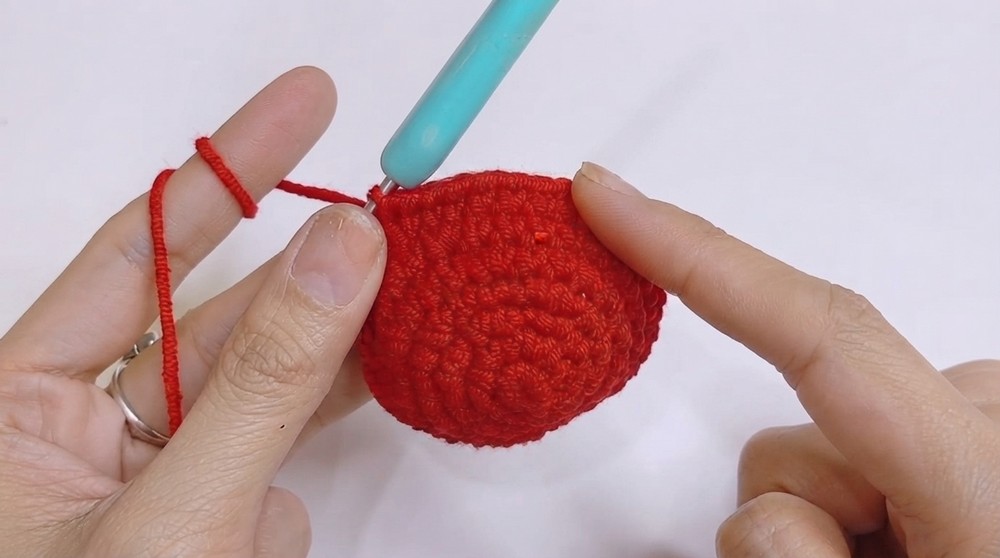
- Round 8: [6 sc, 1 inc] – Repeat 6 times. (48 sts)
- Round 9: 48 sc evenly around. (48 sts)
- Round 10: 48 sc evenly around. (48 sts)
- Round 11: 48 sc evenly around. (48 sts)
- Round 12: 48 sc evenly around. (48 sts)
- Round 13: [10 sc, 1 dec] – Repeat 4 times. (44 sts)
- Round 14: 44 sc evenly around. (44 sts)
- Round 15: [9 sc, 1 dec] – Repeat 4 times. (40 sts)
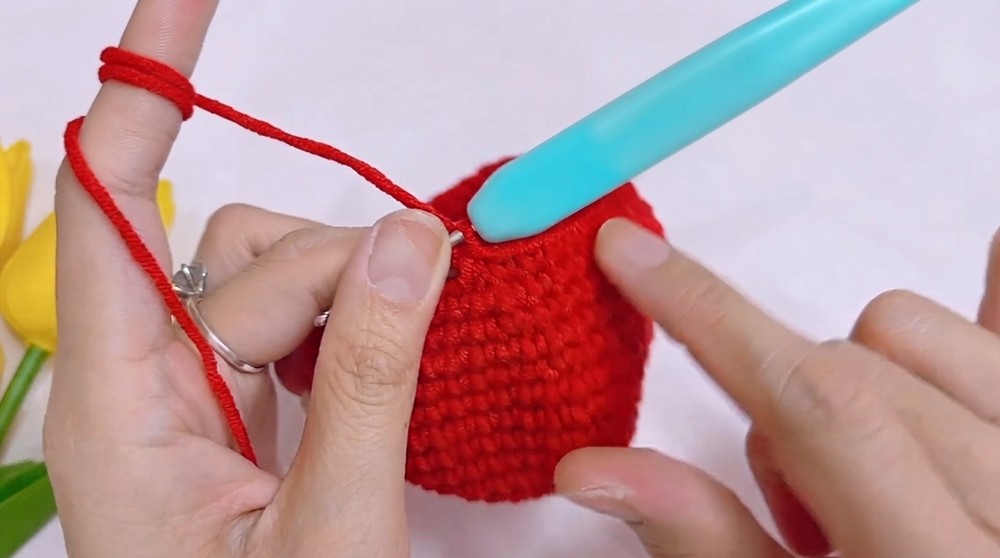
- Round 16: 40 sc evenly around. (40 sts)
- Round 17: [8 sc, 1 dec] – Repeat 4 times. (36 sts)
- Round 18: [4 sc, 1 dec] – Repeat 6 times. (30 sts)
- Round 19: [3 sc, 1 dec] – Repeat 6 times. (24 sts)
- Round 20: [2 sc, 1 dec] – Repeat 6 times. (18 sts)
Stuffing Phase
Pause here. Stuff the apple with fiberfill so it is soft but holds a round shape. Don’t pack too hard or sculpting will be difficult.
- Round 21: 9 dec (inv dec in each pair) (9 sts)
Part 2: The Leaf
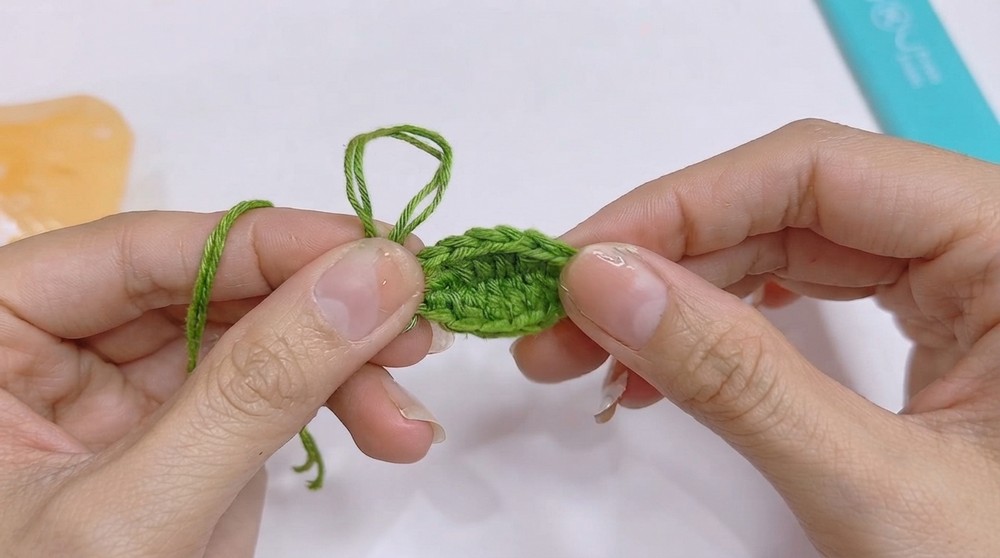
Use double-stranded 1mm Green Vietnamese Cotton Yarn
- Foundation Chain: Ch 9
- First Side: Skip the first ch from hook, 1 sc in next, 1 hdc in next, 3 dc across next 3, 1 hdc in next, 1 sc in next, 1 sl st in last ch.
- Point Detail: Ch 2, sl st back into the same end st (to make the tip).
- Second Side: Along the other side of the foundation chain: 1 sc, 1 hdc, 3 dc, 1 hdc, 1 sc.
- Finish: Fasten off, leaving a tail for sewing.
Part 3: The Apple Stem
Use Brown Yarn
- Start with a short tail, make a slip knot.
- Ch 6.
- Wrap yarn over the hook 6 times for a thick, twisted look.
- Fasten off, leaving a tail to attach.
Assembly & Finished Size
Step 1: Closing & Needle Sculpting
- Thread the long red tail on your needle.
- Weave needle through the outer loops of the 9 remaining sts, pull tightly and close the top.
- Insert needle down through the bottom center of the apple (MR center), up through the top center.
- Pull yarn to create a deep top indentation.
- Push needle back down from top to bottom, pull again to form dimples on both sides.
- Repeat (up and down) 2–3 times until shaped.
- Secure and hide the yarn tail inside.
Step 2: Attaching Stem & Leaf
- Place the brown stem in the center top dimple, stitch firmly into place with its tail.
- Sew the green leaf next to the stem, attaching it to both the stem base and the apple top.
- Weave in all other yarn tails inside the apple to hide.
Finished Size: About 8 cm wide x 7 cm tall
Conclusion
Your wool apple now stands as a testament to methodical stitching and sculpting. Structured decreases at the top, detailed leaf, and a twisted stem join seamlessly for an authentic finish. Each step, from the magic ring foundation to the final yarn tail weaving, guides the process toward a realistic apple form ready for display or gifting. Stitch markers, appropriate yarn choice, and careful stuffing ensure both durability and softness. Finished in vibrant red, green, and brown, this plush is sized just right for display or gentle play. Use this guide for future fruit-themed plush projects or personal decorative pieces.