
Fill a small vase with the Crochet Lavender Free Pattern, a soft purple flower that looks sweet on desks, shelves, and sunny window ledges.
A wonderful tutorial by Кристина Богданова brings to life a charming and fragrant crochet project inspired by nature. The Crochet Lavender project captures the delicate beauty of lavender flowers in a soft, handmade form. Perfect as a decorative piece or a thoughtful gift, this creation mimics the look of lavender sprigs, adding a touch of calm and elegance wherever it is displayed.
Simple Crochet Lavender Free Pattern With Beautiful Purple Blooms
This project is ideal for those with basic to intermediate crochet skills. The finished size is small and manageable, usually around a few inches in length, making it perfect for arrangements, bouquets, or even as a pincushion. Main features include textured petals and slender stems, all crocheted using simple stitches that build up gradually to form the characteristic lavender shape.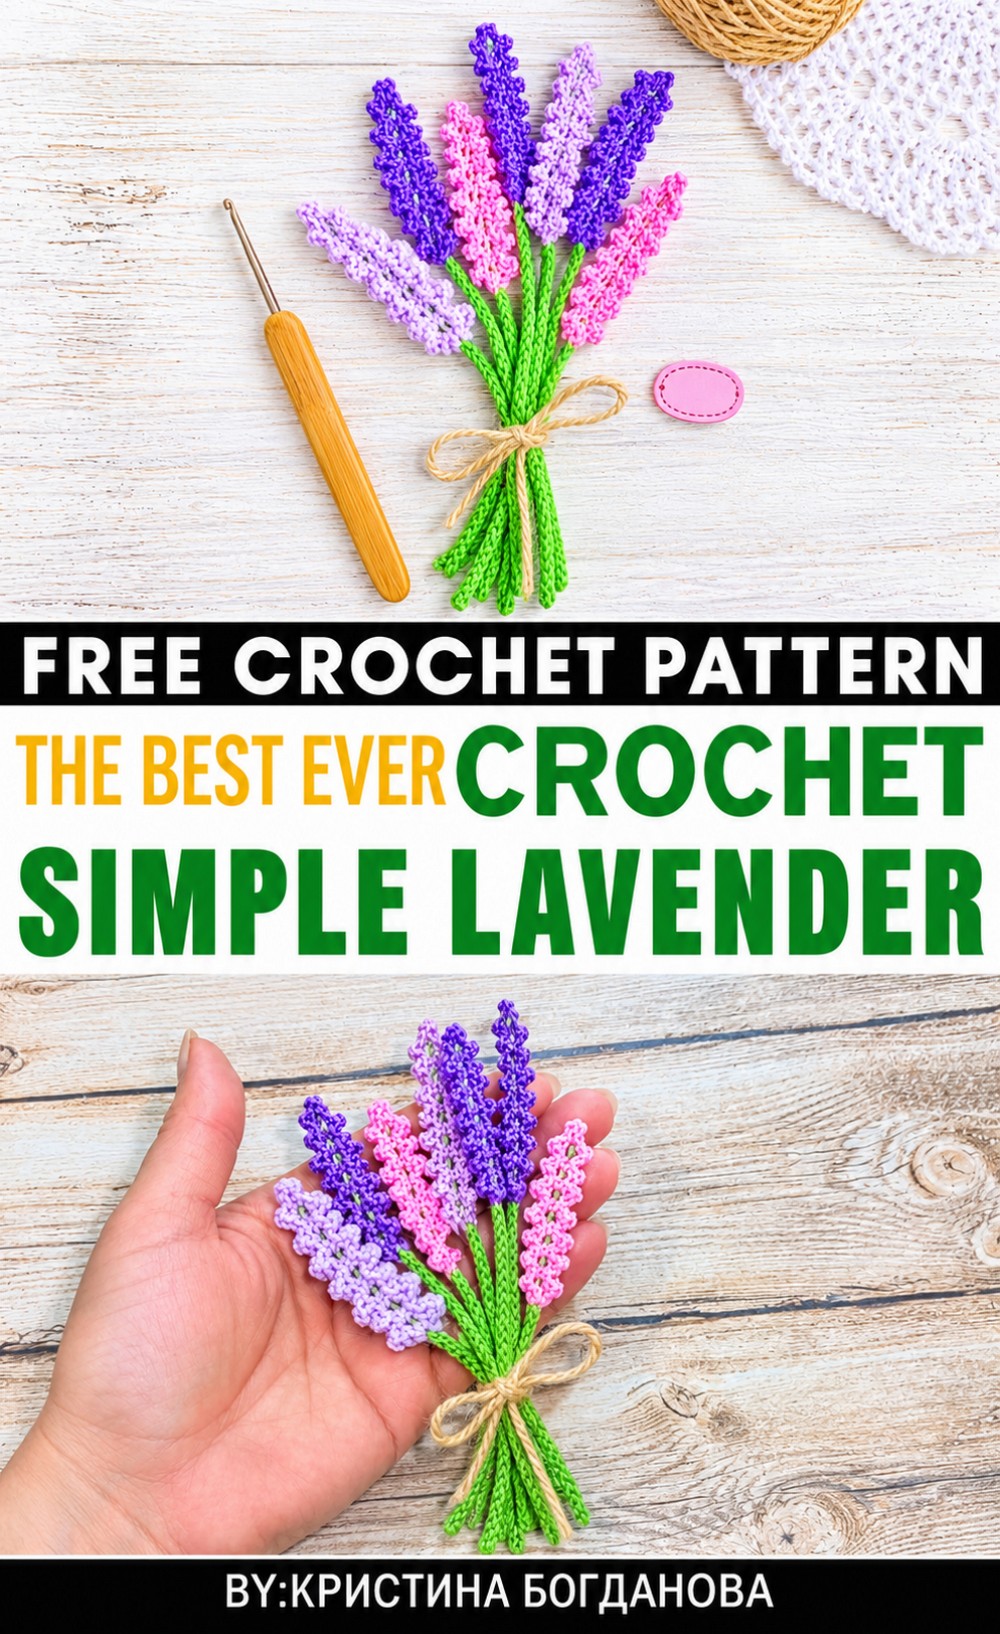 Working on the Crochet Lavender allows you to practice techniques like chain stitches, slip stitches, and basic shaping. The process is relaxing and satisfying as you see each tiny flower come together with neat precision. It’s especially enjoyable for anyone looking to create something beautiful without the hassle of real flowers.
Whether used as a decoration on a shelf, in a handmade wreath, or as a natural-inspired token of friendship, this crochet lavender brings warmth and handmade charm to any space. Dive into this delightful project and add a little handcrafted fragrance to your home.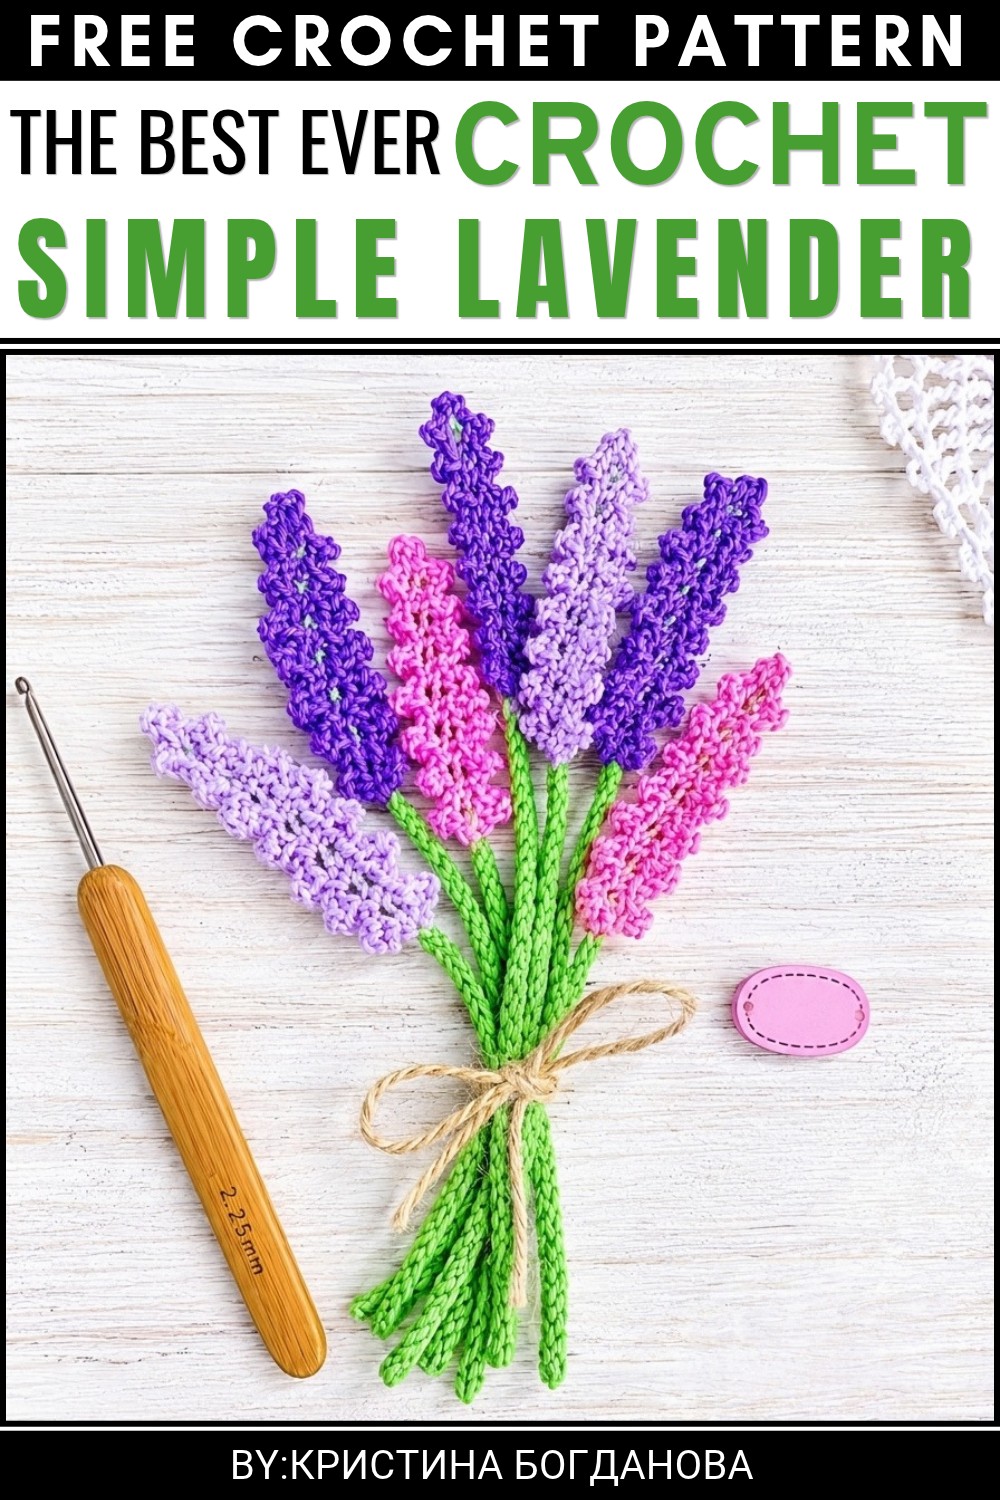 Give this free pattern a whirl and watch your creativity bloom!
About the Pattern
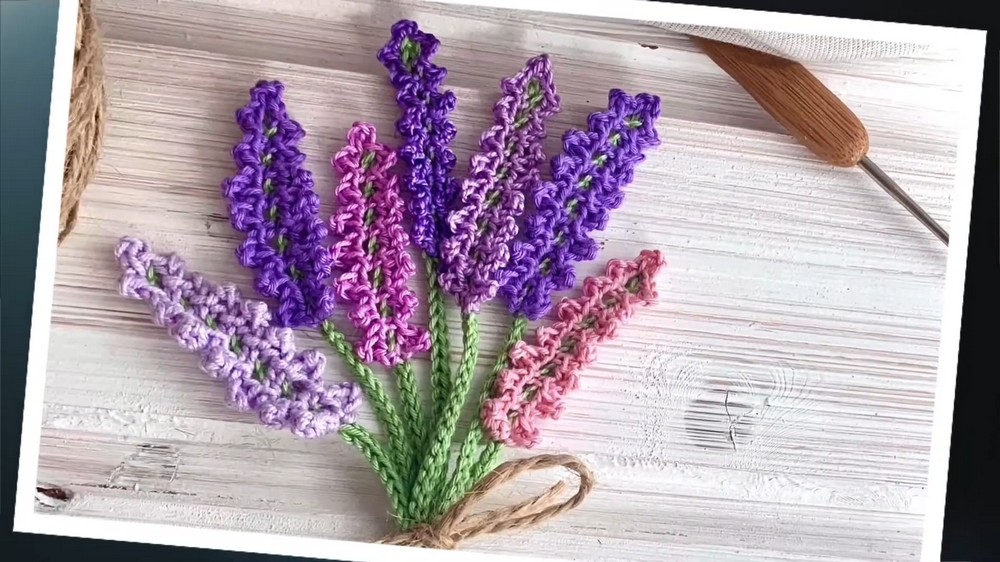
The crochet lavender applique captures the delicacy and structure of a real lavender sprig in soft yarn. This pattern provides an elegantly slender stem and a richly textured bloom, using basic stitches for both stylized and naturalistic results. The design makes a versatile botanical embellishment, suitable for decorating clothing, accessories, home textiles, or as a component in botanical-themed crafts. The sequence of “buds” along both sides of the stem creates the illusion of clustered petals, adding dimension to your projects.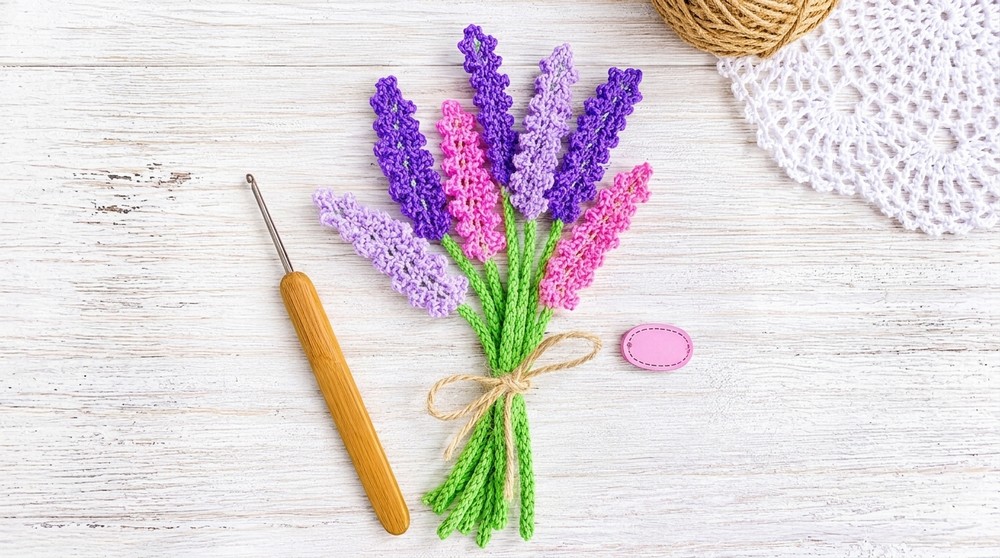
Pattern at a Glance
- Components: Chain-based stem, looped and anchored bloom segments, mirrored for realism
- Construction: Worked flat and in rows, flower segments are anchored into the stem as you go
- Applications: Embellishments, bouquets, craft projects
Important Notes
- The length of the lavender stem is easily customizable by adjusting the starting chain.
- Flower segments are added to one side, then mirrored on the reverse for a balanced appearance.
- A gradual reduction of the uppermost segments creates the signature tapered tip.
- Using a smaller hook and tightly worked slip stitches yields a firmer and neater stem.
- Secure all ends to prevent unraveling, especially if the applique will be sewn onto continuous-use items.
Difficulty Level
Beginner to Adventurous Beginner
Familiarity with chain (ch), slip stitch (sl st), and single crochet (sc) is sufficient.
Supplies Needed
- Green yarn for the stem (fingering, sport, or DK weight recommended)
- Purple yarn for the flower (similar weight)
- Crochet hook to match yarn (commonly 2.5 mm for good definition)
- Yarn needle for weaving in ends
- Scissors
Size & Measurements
- Typical applique length: 3 to 5 inches, according to initial chain
- Stem width: determined by yarn/hook choice
- Adjustable: simply vary the starting chain for custom lengths or scale up/down yarn/hook sizes
Gauge & Stitch Details
- Gauge is not critical for this pattern; a relatively firm fabric is best so the stem won’t curl or stretch.
- Keep slip stitches snug for a defined, straight stem.
Crochet Abbreviations
- ch – chain
- sl st – slip stitch
- sc – single crochet
- st(s) – stitch(es)
Special Stitch Guide
- Slip Stitch (sl st): Insert hook into stitch, yarn over and pull through both the stitch and loop on hook.
- Single Crochet (sc): Insert hook into stitch, yarn over, pull up a loop (2 loops on hook), yarn over, pull through both loops.
Complete Crochet Pattern
Stem
- Foundation:
- With green yarn, ch 25 (or to your desired stem length).
- Stem Row:
- Starting in 2nd ch from hook, work 1 sl st in each ch back to the base.
- Fasten off green yarn, leaving ends long for securing if you’ll be attaching the applique.
Flower (Blooms)
- Begin Flower Segments:
- Attach purple yarn to the stem at your chosen point for the base of the bloom, generally about 13 ch from the bottom, leaving ample room for a realistic stem.
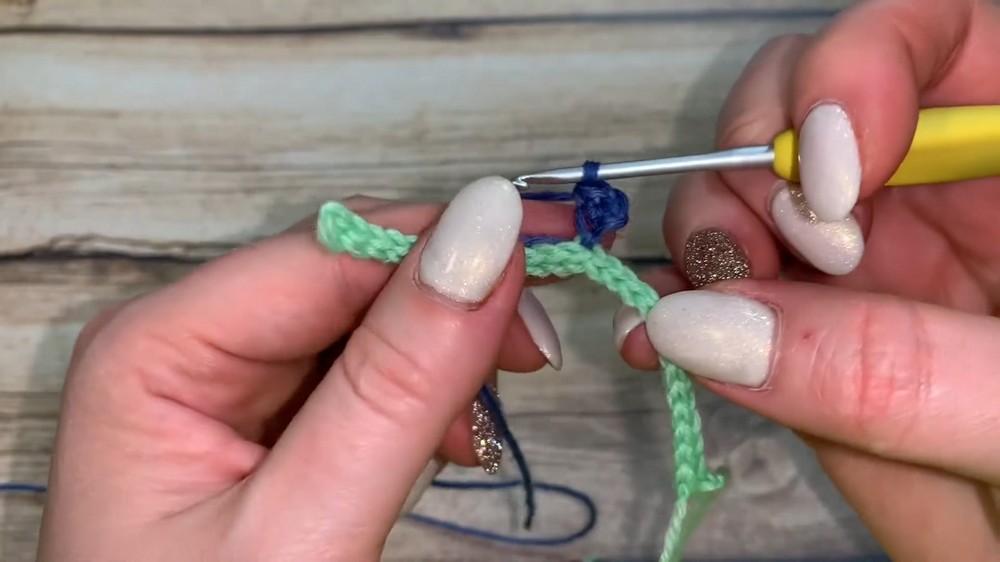
- Attach purple yarn to the stem at your chosen point for the base of the bloom, generally about 13 ch from the bottom, leaving ample room for a realistic stem.
- Initial Segment:
- Ch 3.
- Skip the first ch; work 1 sc in each of the next 2 ch.
- Skip 1 st on the stem, sl st into the next stem st to anchor the segment.
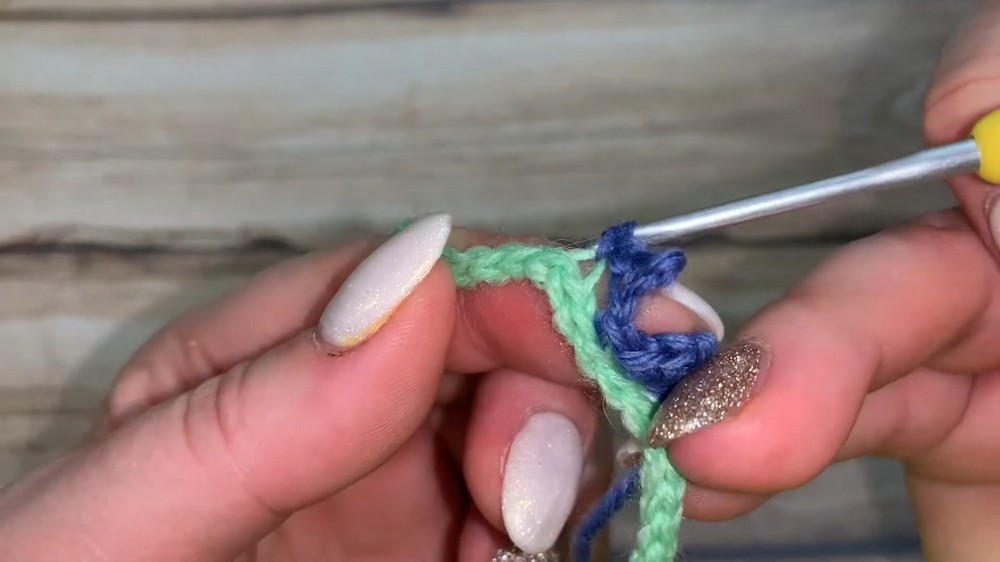
- Main Body Segments:
- Repeat the following sequence, working up the stem:
- Ch 3.
- Sc in the 2nd and 3rd ch from the hook.
- Skip 1 st on the stem, sl st into the next stem st.
- Continue this process along one side, moving up toward the tip, until the remaining unworked stem is about two stitches.
- Repeat the following sequence, working up the stem:
- Top Tapered Segments:
- To shape the tip:
- Work 2 segments using ch 2 (instead of ch 3).
- Skip 1 st on the stem, sl st into the next stem st for each.
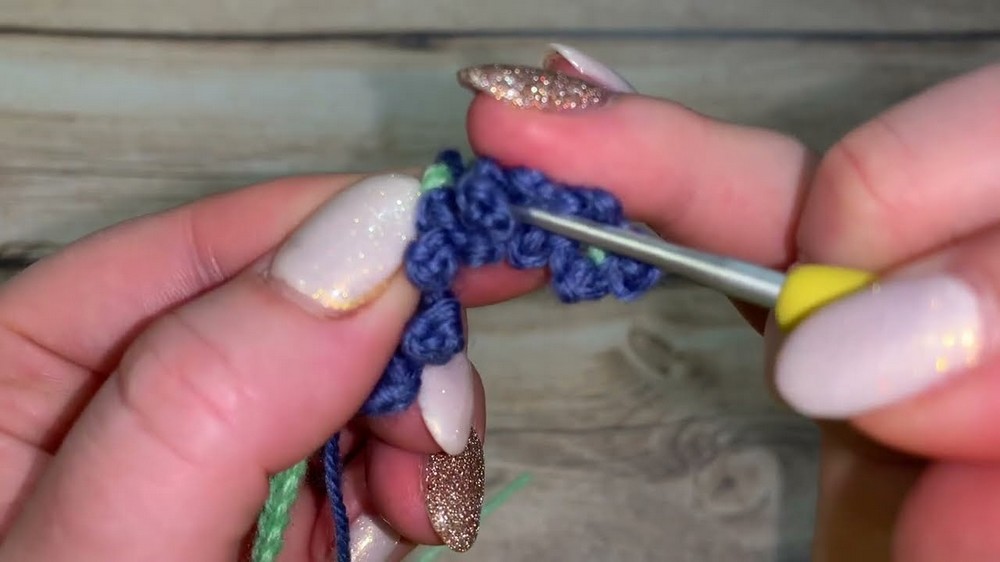
- This will create a gently pointed lavender tip.
- To shape the tip:
Reverse Side (Second Layer of Buds)
- At the end of the stem (tip):
- Ch 3, sl st into the topmost stem st to form the uppermost segment.
- Begin working along the opposite side of the stem:
- For each gap opposite a segment on the first side:
- Ch 2,
- sc in 2nd ch from hook,
- Anchor with a sl st into the gap or into a matching stitch, mirroring the placement of the original flower segments.
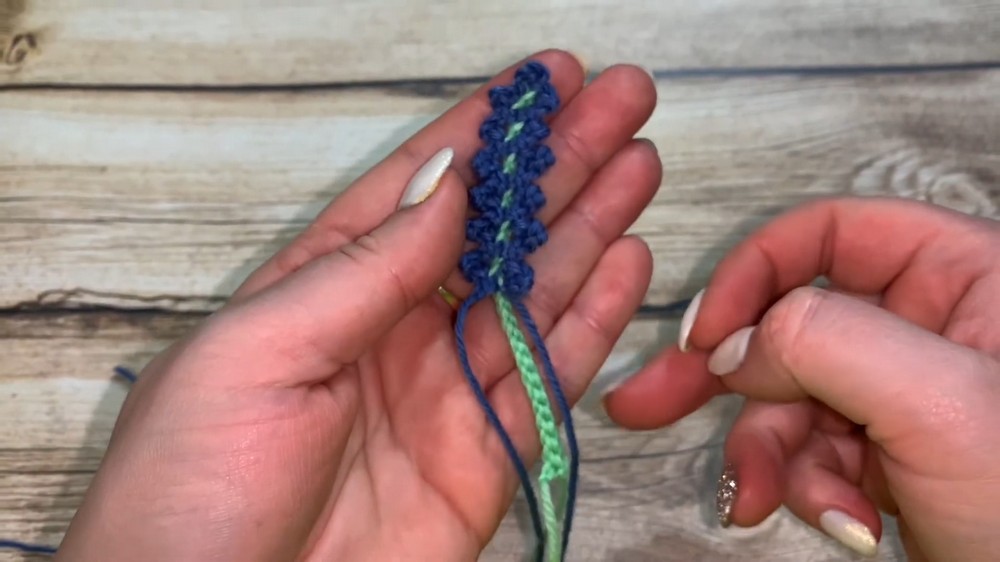
- For each gap opposite a segment on the first side:
- Continue working down the stem, filling in the reverse side.
- Complete at the base by anchoring the final flower bud with a last sl st into the base of the stem.
Finishing
- Fasten off purple yarn and pull through.
- Use a yarn needle to weave in all loose ends securely on the back side of the applique.
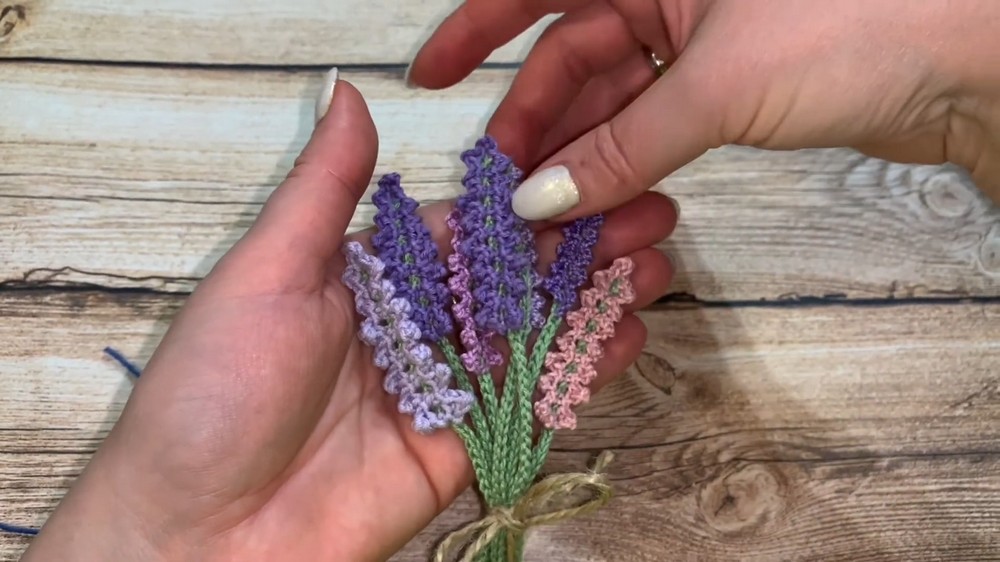
- Gently shape the stem and flower petals with your hands to neaten the silhouette.
Assembly & Finished Size
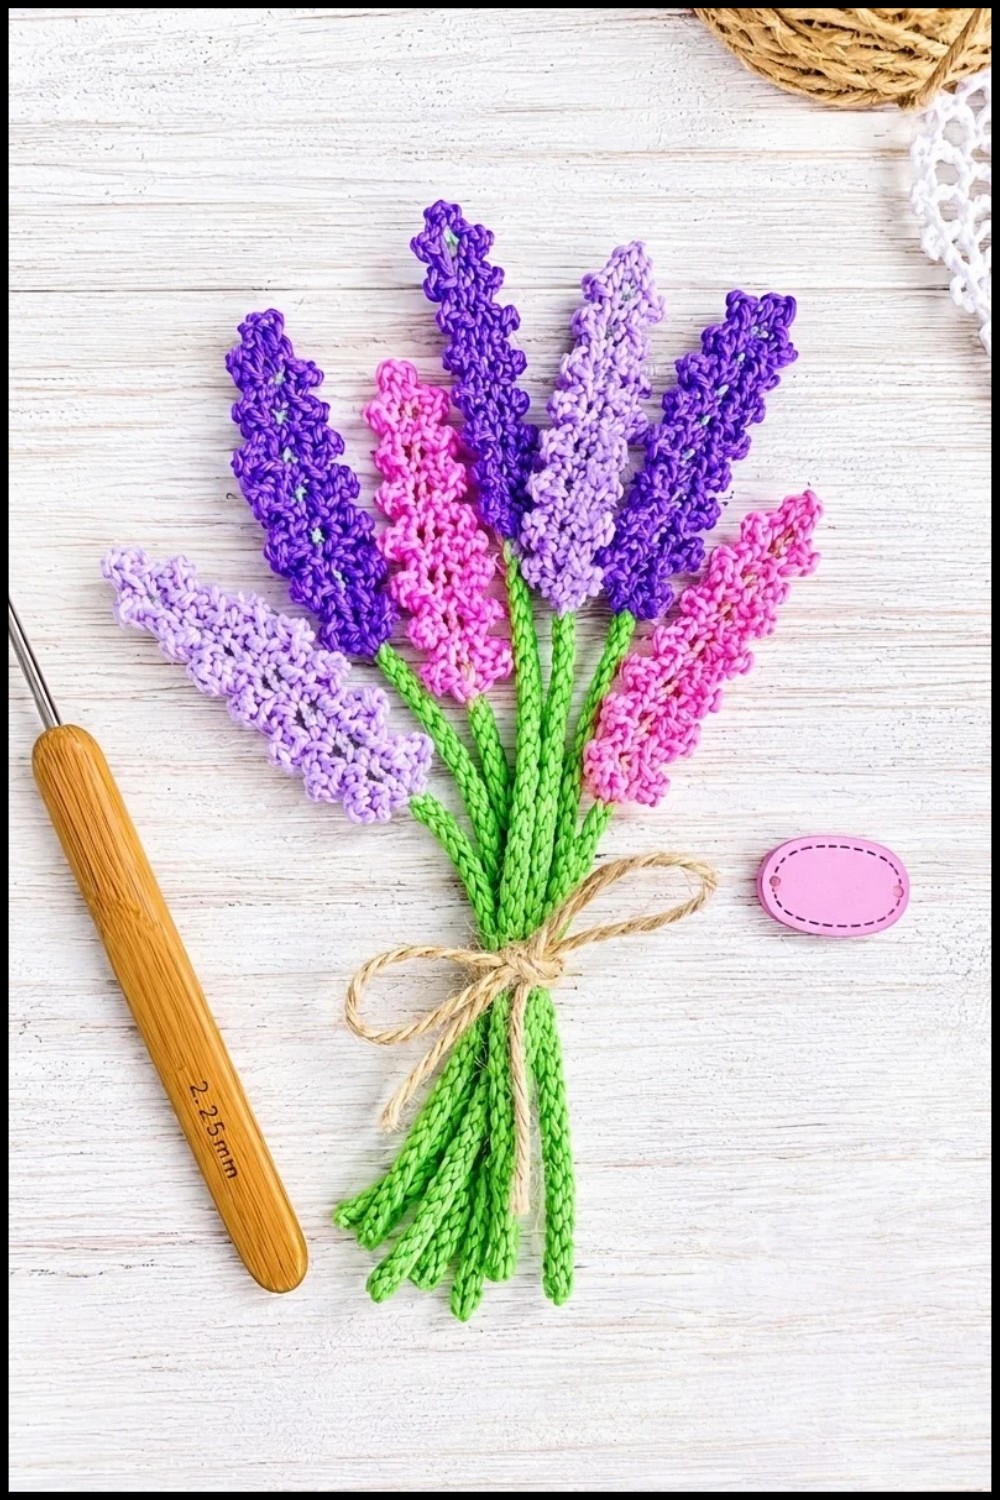
Once tidied and shaped, the lavender applique is ready for use in your chosen project. The balanced loops of bud clusters on either side of a slender, tidy stem evoke the graceful, vertical structure of lavender spikes. Multiple appliques can be made and arranged as needed to form bouquets, borders, or embellishments on textile items.
This stylized yet naturalistic lavender motif adds soft botanical flair to any craft. Its accessible construction provides practical practice in chaining, anchoring, and working mirrored rows, while the final product makes an instantly recognizable addition to spring and summer projects.
