
Refresh your spring wardrobe with the Crochet Lace Cap Brim Free Pattern, a pretty accessory with delicate stitches for casual looks and special occasions.
Вязание спицами и крючком с Мариной introduces this lace idea for people who love adding fine details to their crochet clothing. A plain cap can feel a little boring when you want something with more detail and a lighter look. The Crochet Lace Cap Brim offers a pretty way to give your headwear a delicate finish. Its open stitch design and decorative edge can turn a simple cap into an attractive accessory for everyday fashion.
Summer Crochet Lace Cap Brim Free Pattern With Pretty Details
The most interesting feature is the lace border, which has small openings arranged in a decorative design. These spaces give the brim a light appearance, while the shaped edges help it stand out from an ordinary cap. The lace can have gentle curves or small pointed sections, depending on the chosen stitch design. Soft ivory, pale lavender, or sandy beige yarn can give it a clean and pleasant finish. The brim can be worked using crochet chains and different stitch groups to form the open lace sections. Keeping the stitch spaces even helps the design appear balanced. Careful work around the outer edge allows the decorative details to remain visible and gives the brim a tidy finish.
You can wear a cap with this lace detail during a garden party, a relaxed holiday outing, or a visit to an outdoor market. It also looks nice with a linen shirt, a cotton dress, or a simple summer outfit. You can choose matching colors for a quiet style or contrasting shades for a more noticeable finish.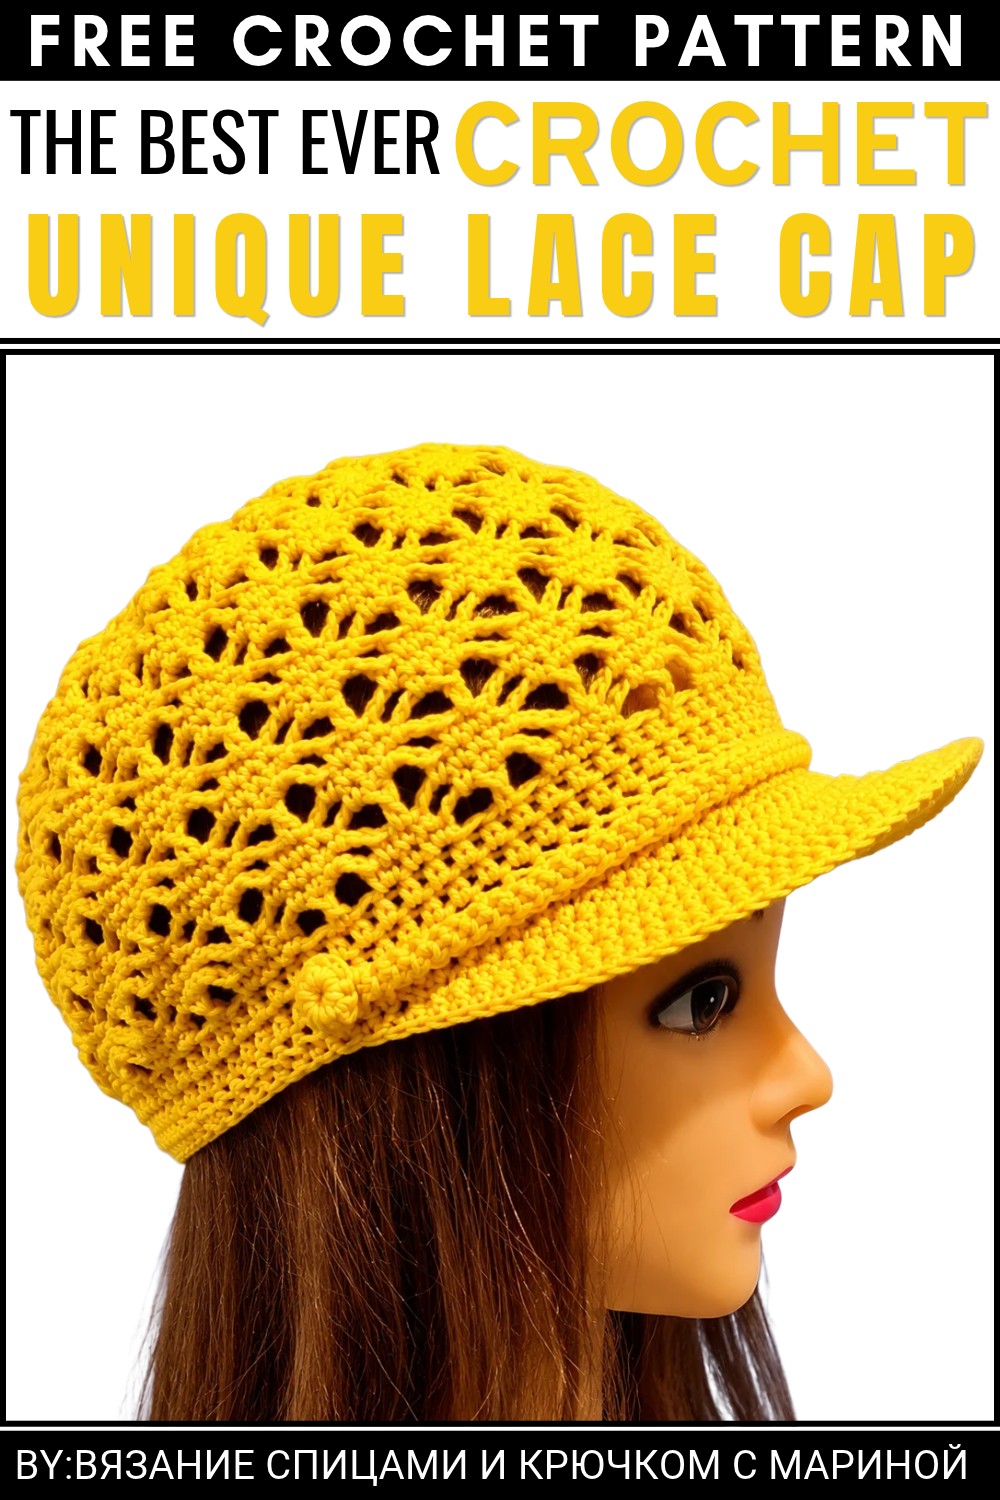 The lace brim gives an ordinary cap a more detailed appearance without making it feel heavy. It is a lovely way to use crochet stitches for both decoration and personal style.
About the Pattern
This crochet cap elevates a classic hat shape with the addition of a structured visor, creating a sporty and stylish accessory. The pattern is carefully engineered for both visual symmetry and practical use, employing a multi-strand rigilene boning to achieve the necessary stiffness in the visor. Each detail, from marking the hat’s front edge to securing the visor and integrating rigilene, ensures a functional and durable finish that holds its shape and flatters any face.
Pattern at a Glance
- Construction: Base hat worked first, visor crocheted directly onto the hat’s front edge.
- Visor Assembly: Worked in rows, attached seamlessly to the hat.
- Stiffening Technique: Multi-strand rigilene encased within crochet stitches for lasting rigidity.
- Finishing Touches: Weaving ends, optional “caterpillar” cord border, decorative buttons.
Important Notes
- Read through the entire pattern and instructions for rigilene placement before beginning the visor.
- Maintain stitch counts as increases are crucial for visor shaping.
- For best results, use a firm, evenly tensioned single crochet throughout the visor.
- Rigilene is stiff; handle it gently and pre-shape as needed before integrating.
Difficulty Level
Intermediate. This pattern is accessible to advanced beginners comfortable with single crochet, working in rows, increasing, and attaching crochet to an existing base. Using rigilene requires attention and a gentle touch.
Supplies Needed
- Yarn: Matches hat base, worsted weight or comparable—choose yarn with good structure.
- Hook: 4mm crochet hook (or size harmonious with your hat base).
- Rigilene: Multi-strand (approx. 75cm).
- Stitch Markers or Contrasting Thread: For center marking and placement.
- Yarn Needle: Weaving in ends.
- Sharp Scissors: For yarn and rigilene.
- Optional: Buttons and decorative cord (“caterpillar” cord).
Size & Measurements
- Visor Width: Approx. 13 stitches wide at the start, spanning across the front of the hat.
- Visor Depth: 14 rows from base edge; finished depth can be adjusted by adding/removing rows as desired.
- Rigilene Length: Around 75 cm for effective support; adjust if needed for head size.
Gauge & Stitch Details
- Gauge: Expected to match the hat’s body—typically 16–18 single crochet x 18 rows = 10×10 cm (4×4 in).
- Stitch Used: Single crochet (SC) exclusively for the visor. Increases and attachment stitches form shaping.
Crochet Abbreviations
| Abbreviation | Meaning |
|---|---|
| SC | Single Crochet |
| St(s) | Stitch(es) |
| Inc | Increase (2 SC in same st) |
| RS | Right Side |
| WS | Wrong Side |
| pm | Place Marker |
Special Stitch Guide
Increase (Inc):
Work 2 single crochet stitches into the same base stitch.
Skip First Stitch (Edge Shaping):
At the start of each row (from Row 2 onward), omit the very first stitch for smooth edge rounding.
Working Over Rigilene:
Hold the rigilene strand along the edge; insert hook into each stitch as usual, but as you yarn over and complete the SC, trap the rigilene beneath the enclosing loops.
Complete Crochet Pattern
Visor Assembly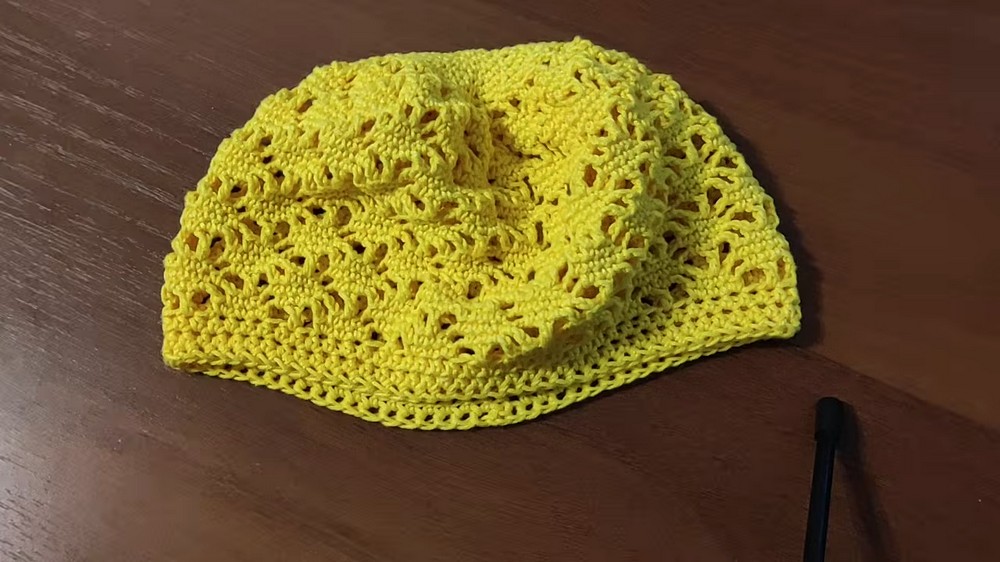
- Preparation:
- Place a marker at the hat’s front center edge.
- Count 6 stitches to the right of this marker; insert your hook here to begin the visor rows.
- Row 1:
- Crochet a total of 13 single crochets (13 SC) across the hat’s front edge, alternating as follows: [1 SC in next st, 2 SC in next st] to shape initial curve.
- This establishes a slightly fanned base for the visor, ensuring width and structure.
- Row 2:
- Turn your work. Skip the first stitch of the row.
- Single crochet in each stitch across.
- At row’s end, work 2 SC into the next stitch on the base hat (this increases width and anchors the row to the hat).
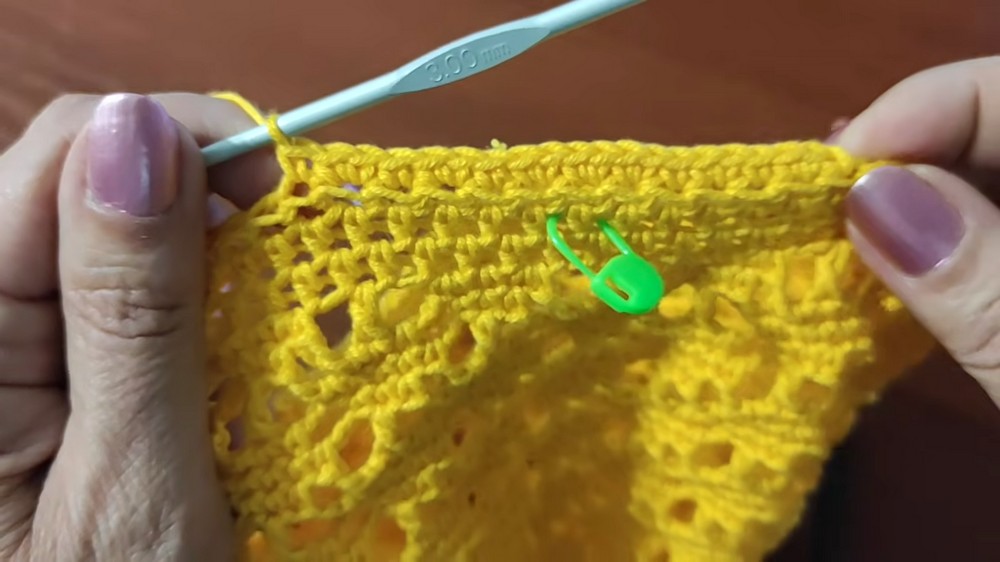
- Always finish each row by crocheting into the hat’s edge to secure.
- Rows 3 to 14:For all following rows, continue as established:
- Odd-Numbered Rows (3, 5, 7, …, 13):
- Turn, skip first stitch.
- Continue single crochet (SC) across.
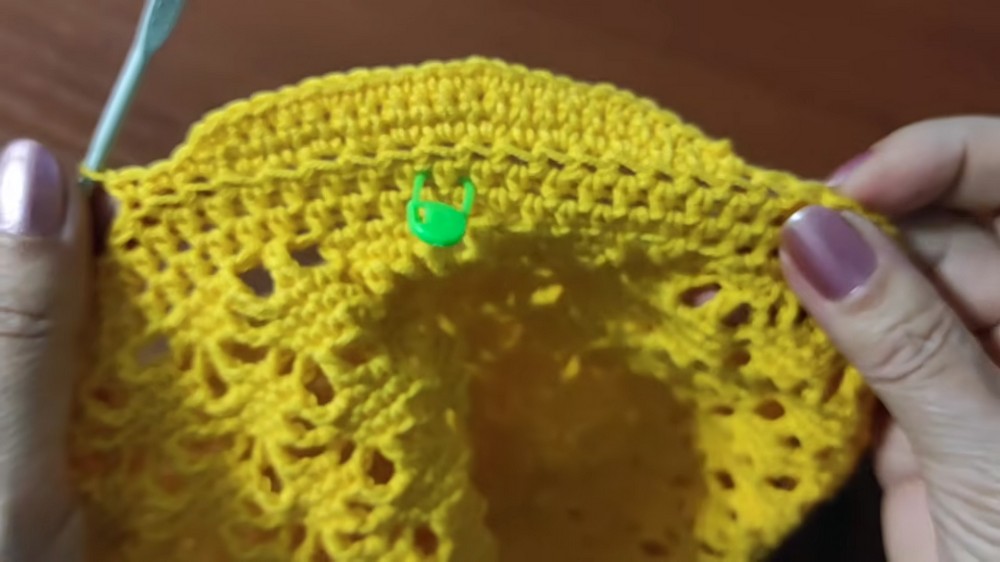
- Include a calculated increase where needed (to maintain symmetry, space increases regularly across the row—generally at the curve or outermost points).
- At the end of the row, work 2 SC anchored into the base hat to continue the gradual outward flare.
- Even-Numbered Rows (4, 6, 8, …, 14):
- Turn, skip first stitch.
- Work SC evenly across the row.
- End with 1 SC in the base hat (no extra increases).
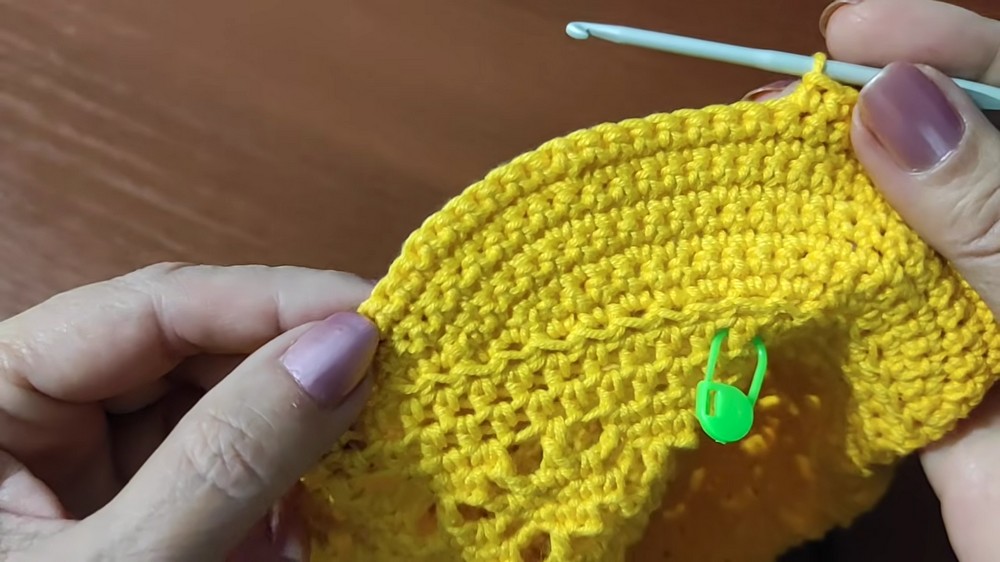
- Maintain attachment to the hat’s edge at the end of each row.
- Continue this alternating increase and even row pattern through Row 14.
- Odd-Numbered Rows (3, 5, 7, …, 13):
- Edge Finishing:
- After completing Row 14, verify the curvature and symmetry of the visor.
- Make any minor adjustments if needed by adding/removing a stitch on one side for perfect alignment.
Adding Structural Rigidity
- Cutting Rigilene:
- Measure approximately 75 cm of multi-strand rigilene.
- Remove one of the inner, plastic-like support strands from its casing for easier integration.
- Integration:
- Place the rigilene along the base curve of the finished visor and outermost edge.
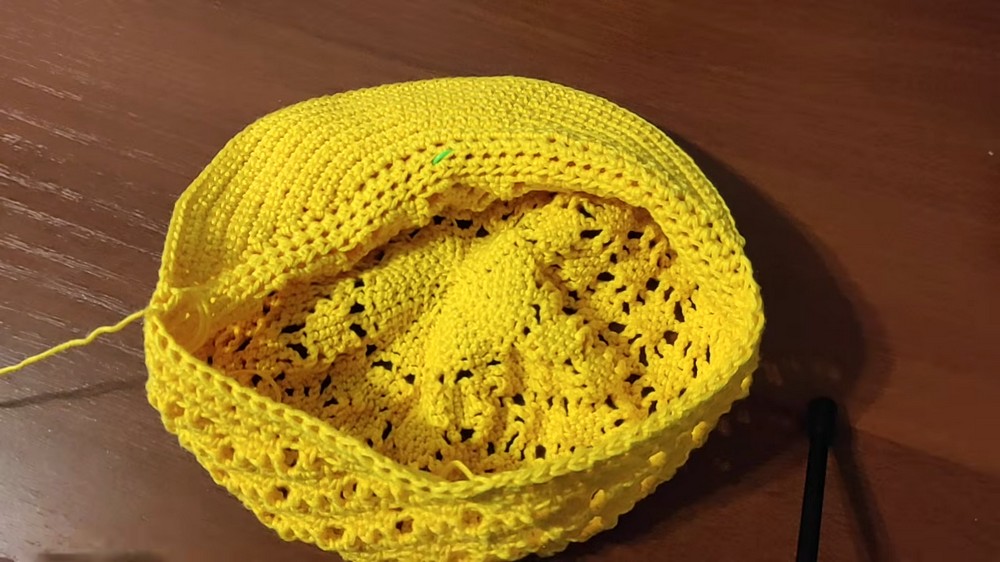
- Line up the rigilene so it runs parallel with the brim’s outer curve, ensuring that corners (where visor meets the cap) are smoothly bent to match the visor’s natural sweep.
- Securing:
- Hold the rigilene against the edge.
- Starting at one brim edge, single crochet over the rigilene and through both visor and hat as you go. This traps the rigilene within the fabric.
- Continue all the way along the brim and across the visor’s edge, enclosing the rigid strand within single crochet stitches.
- Shaping:
- As you round each corner, gently bend the rigilene so it matches the curve.
- Adjust your crochet tension:
- Tighter stitches cause the visor to point down.
- Looser stitches allow the edge to curve slightly upward.
- Complete the round, fasten off, and weave in all yarn ends securely.
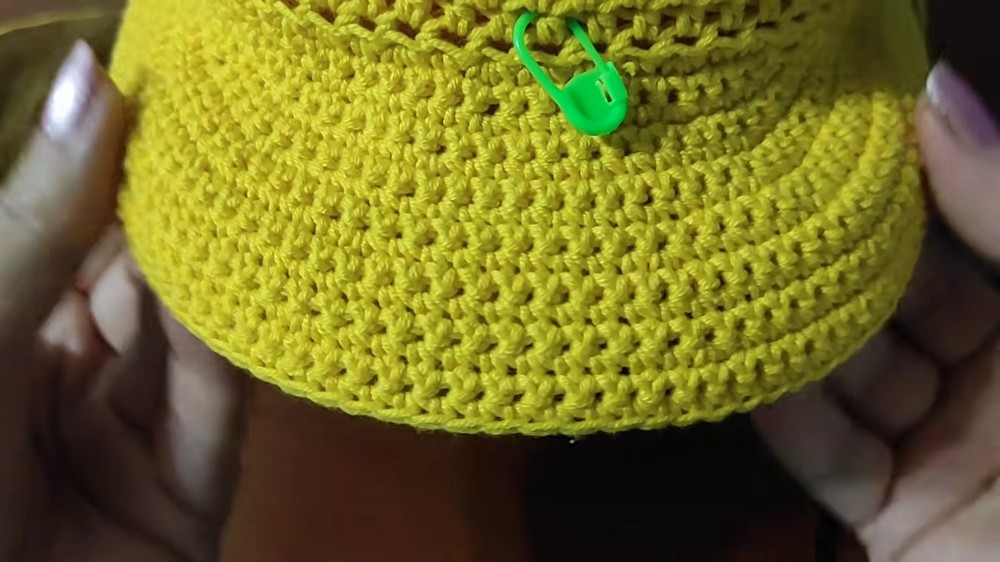
Final Embellishments
- Finishing:
- Weave in remaining yarn tails with a yarn needle, concealing all joins.
- If desired, create and attach a crocheted “caterpillar” cord (shnur gusenichka) along the brim edge or base for added texture and visual interest.
- Attach handmade or decorative buttons at the base corners or wherever accent is desired to personalize the visor.
Assembly & Finished Size
With the visor seamlessly attached and the rigilene fully enclosed for reinforcement, try on the cap to confirm fit and shape. All raw edges should be smooth, with the visor flaring away gently from the forehead and holding its arc thanks to the boning. The overall cap maintains a clean look from every angle, with optional finishes lending a touch of individuality. Sizing can be modified at the outset by altering stitch counts or row numbers; the integration method and edge shaping remain the same.
Conclusion
This structured visor cap pattern achieves its shape and style through intentional increases and the innovative use of rigilene boning. The process of working the visor in rows from the hat’s base, combined with even increases and thoughtful attachment, results in a tailored accessory with crisp lines and lasting durability. With the option to add personal embellishments, this project yields a unique statement piece adaptable for practical or fashionable wear.
