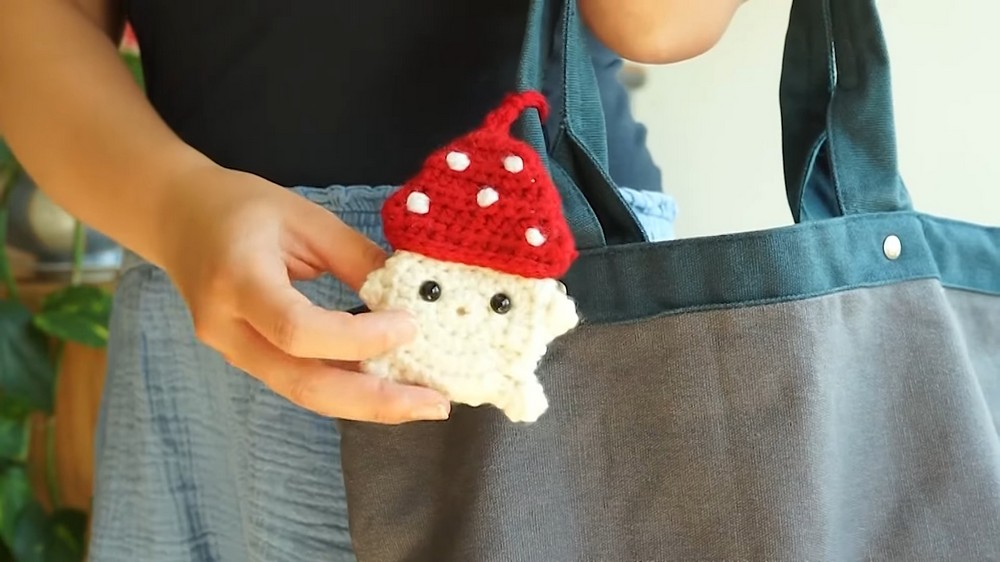
Learn how to crochet a cute mushroom-shaped pouch, perfect for holding small items like lip balm, AirPods, or coins. It walks through crocheting the stem and cap, adding arms and feet, sewing the pieces together, and finishing with cute white spots and a closure loop. With detailed steps and minimal materials, it’s a fun, beginner-friendly project that’s both functional and whimsical.

Crochet A Mushroom Pouch
This pattern provides a step-by-step guide to making adorable mushroom pouches using crochet. The pattern details how to create the mushroom’s stem, body, and hat using acrylic yarn, a 2.5mm crochet hook, a tapestry needle, scissors, and a stitch marker. The design features charming details like arms, feet, and dotted spots on the mushroom hat.
Mushroom Pouch Crochet Pattern
This detailed pattern will guide you through crocheting adorable mushroom pouches, perfect for storing small items like lip balm, coins, or AirPods. The pattern uses US crochet terminology.
Skill Level
Intermediate to Advanced
Materials Needed
- Yarn:
- Cream or white acrylic yarn for the mushroom stem and body (Size 4 – Medium).
- Red acrylic yarn for the mushroom cap (Size 4 – Medium).
- Optional: White yarn for sewing spots onto the mushroom cap.
- Hook Size: Size 2.5 mm crochet hook (ideal for compact stitching).
- Other Supplies:
- Scissors
- Stitch marker
- Tapestry needle (optional for sewing small dots and weaving ends).
- Safety eyes (optional, for added detail).
Key Abbreviations
- Ch: Chain
- Hdc: Half Double Crochet
- Dc: Double Crochet
- Tr: Triple (or Treble) Crochet
- Sl st: Slip Stitch
- Magic Circle: Adjustable ring to begin crocheting in the round.
- Inc: Increase (two stitches in the same space).
Special Notes
- The pattern consists of two parts: the mushroom stem/body and the mushroom cap.
- Always use a stitch marker to track the start of your round when crocheting in the round.
- For color changes, switch yarn seamlessly to maintain a polished look.
- Gauge is not critical for this pattern.
Pattern Instructions
1. Mushroom Stem/Body
Step 1: Start with a Magic Circle
- Hold the cream/white yarn and create a magic circle:
- Wrap the yarn around your finger twice in a cross. Insert your crochet hook underneath the first strand, pull up the second strand, then pull through.
- Ch 2, marking the second chain with your stitch marker.
Step 2: Round 1: Half Double Crochets (Hdc)
- Make 10 Hdc into the magic circle:
- Yarn over, insert your hook into the circle, pull up a loop (3 loops on hook).
- Yarn over, pull through all three loops.
- Pull the magic circle closed (not too tight yet).
- Slip stitch (Sl st) into the marked chain (second chain from the beginning).
- Tighten your magic circle fully.
Step 3: Round 2: Hdc Increases
- Ch 2, marking the second chain with your stitch marker.
- Into each stitch, work an increase:
- Place 2 Hdc in one stitch.
- At the end of the round, you will have 20 stitches.
- Skip the slip stitch from the last round and Sl st into the marked chain.

Step 4: Round 3: Alternating Hdc and Increases
- Ch 2 and mark the second chain.
- Alternate stitches across this round:
- 1 Hdc in the first stitch, followed by an increase (2 Hdc) in the next stitch.
- Repeat until the end of the round.
- Skip the slip stitch from the last round and Sl st into the marked chain.
Step 5: Round 4: Alternating 2 Hdc and Increases
- Ch 2, marking the second chain.
- Follow this sequence:
- 1 Hdc in the first two stitches; then an increase (2 Hdc) in the third stitch.
- Repeat this pattern across the round until you have 40 stitches.
- Skip the slip stitch from the last round and Sl st into the marked chain.
Step 6: Round 5: Add Mushroom Arms & Feet
- 8 Sl st: Begin with 8 slip stitches and place your stitch marker in the first Sl st.
- Mushroom foot: Into the next stitch, work:
- 1 Hdc, 1 Dc, 2 Tr, 1 Dc, 1 Hdc.
- 5 Sl st: Work 5 slip stitches following the foot.
- Mushroom arm: Into the next stitch:
- 1 Hdc, 2 Dc, 1 Hdc.
- 18 Sl st: Work 18 slip stitches to reach the other arm.
- Repeat the instructions for the arm and foot as done above.
- Sl st into the first marked stitch.
- Cut yarn, leaving a long tail for weaving.

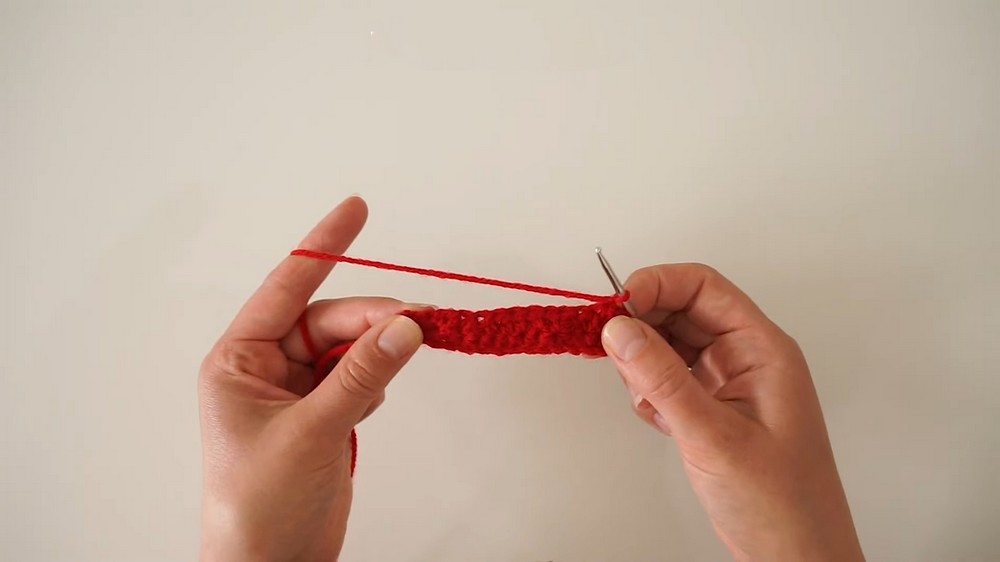
2. Mushroom Cap
Step 1: Begin the Mushroom Cap
- With red yarn, create a slip knot and place onto the hook.
- Ch 19 for the foundation chain.
Step 2: Work the Rows
- Row 1:
- Start a half double crochet decrease into the second chain from the hook.
- Work a second decrease into the next two stitches.
- Place 1 Hdc into the next 10 stitches.
- Finish with 2 decreases over the last 4 stitches.
- Ch 1 and turn work.
- Row 2:
- Begin with 2 decreases.
- Work 6 Hdc, ending with 2 decreases.
- Ch 1, turn.
- Rows 3 & 4:
- Place 10 Hdc across both rows.
- Ch 1 and turn.
- Row 5:
- Start with 1 decrease.
- Work 6 Hdc, ending with 1 decrease.
- Ch 1, turn.
- Row 6:
- Begin with 1 decrease.
- Work 4 Hdc, ending with 1 decrease.
- Ch 1, turn.
- Row 7:
- Place 2 decreases.
- Ch 1, turn.
Step 3: Edging & Finishing
- Slip stitch around the edges of the mushroom cap for a neat finish.
- For the front pouch cap, create a decorative loop:
- Ch 4, Sl st into the same stitch.
- For the back pouch cap, create the closure string:
- Ch 30, Sl st into the same stitch.
- Cut yarn and weave in ends.
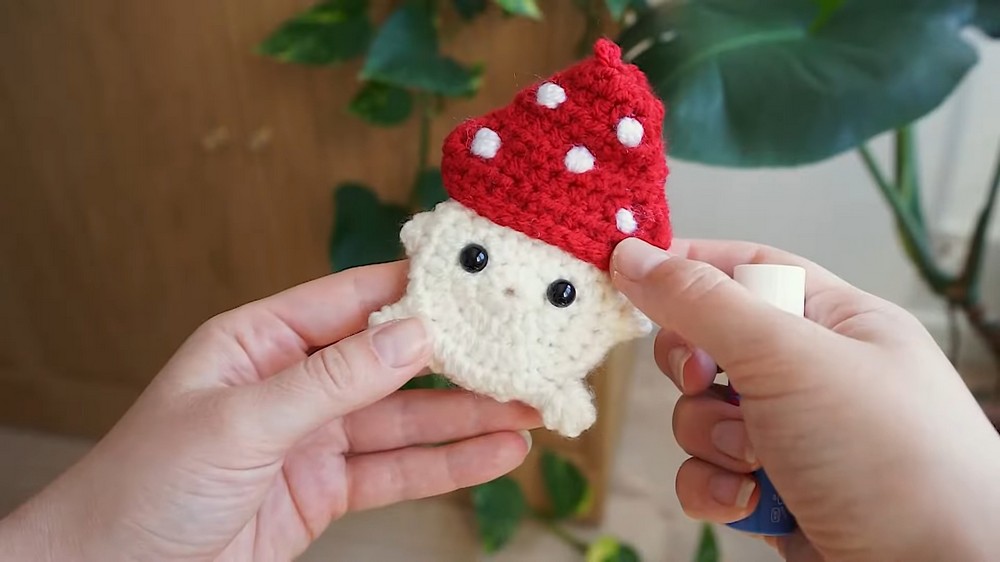
Assembly & Spot Decoration
- Sew white spots onto the red mushroom cap using white yarn.
- Use triple knot technique or weave in the tails to secure the spots.
- Add optional safety eyes to the stem/body to give personality to your pouch.
Final Assembly
- Place the front and back pieces (stem and cap) with right sides facing each other.
- Sew edges together, leaving a small opening at the top for storing items.
- Flip the pouch inside out, gently pushing out the mushroom arms and feet for proper shaping.
Conclusion
This mushroom pouch is a charming, fun project that balances adorable aesthetics with functionality. It’s ideal for gifts or whimsical accessories. Incorporate your creative flair by using different colors or embellishments, such as embroidery or beads.
Pattern Corrections
- Ensure consistent tension when working decreases for smooth shaping.
- Avoid skipping stitches on slip stitch rows for a neat edge finish.
Tips for Success
- Keep your stitch marker handy when working in rounds.
- Use a smaller crochet hook to create tight, sturdy stitches for the pouch body.
- Adjust foundation chain length for a larger pouch.