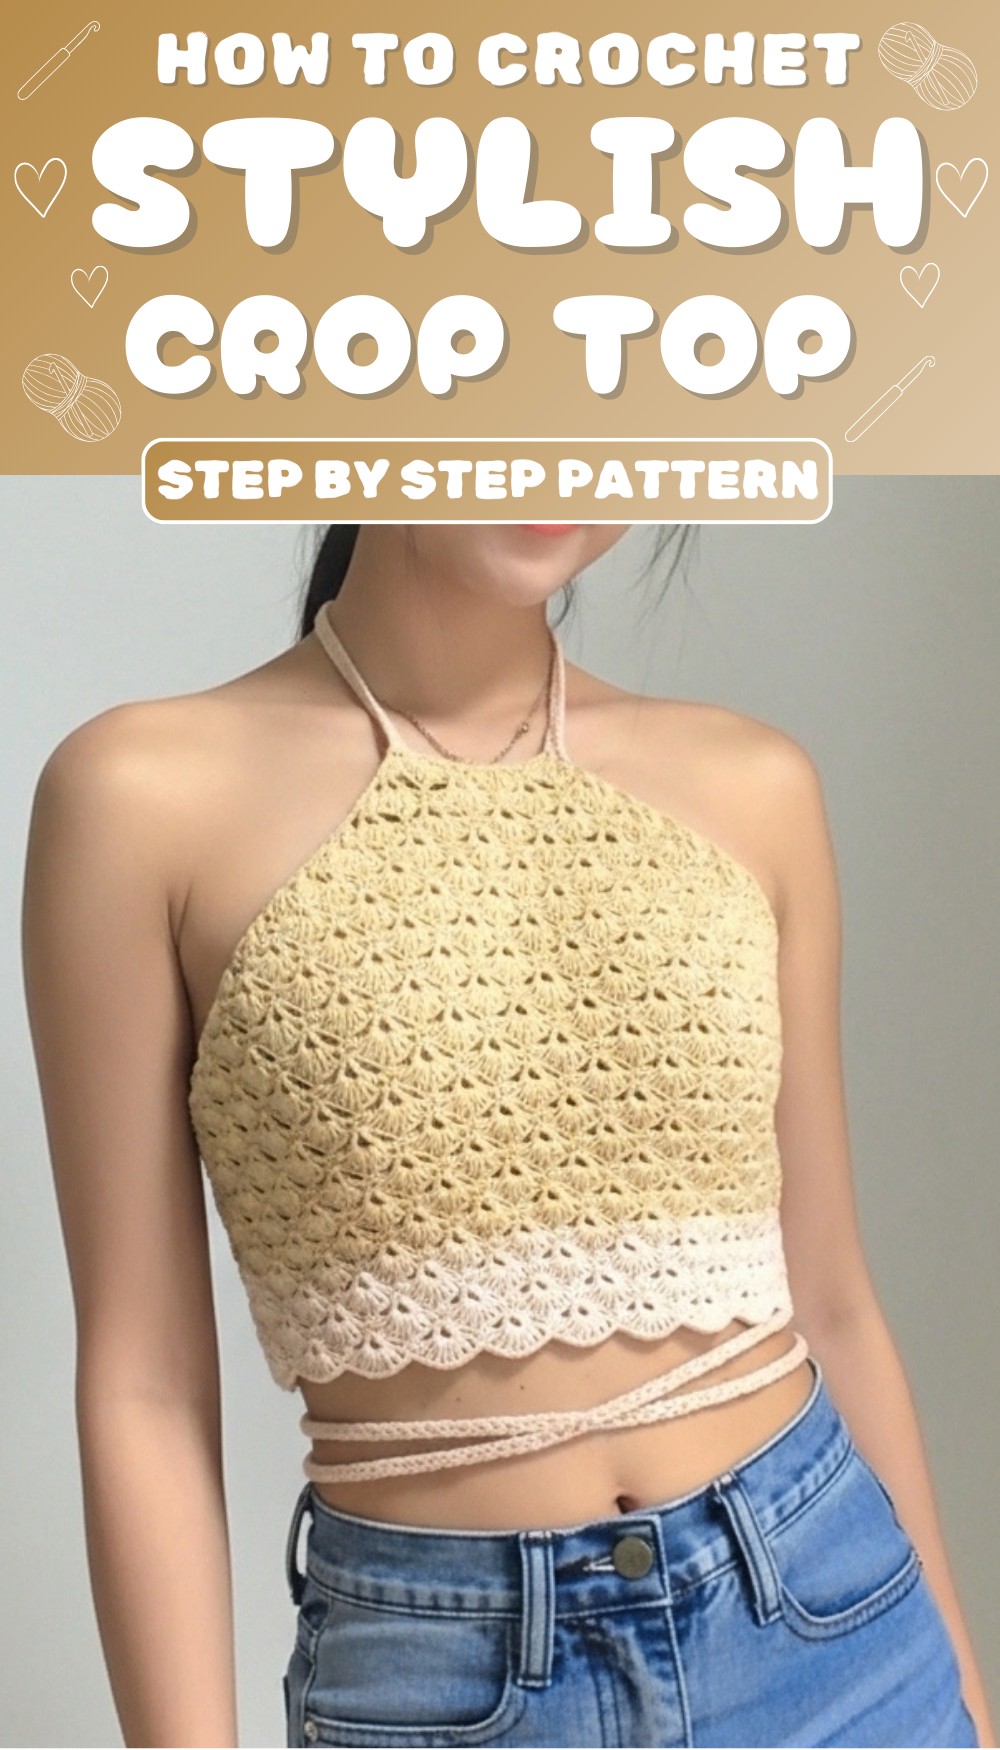
Enjoy the art of crochet with our fun and easy crop top pattern that offers endless options for style and creativity while staying cool all summer.
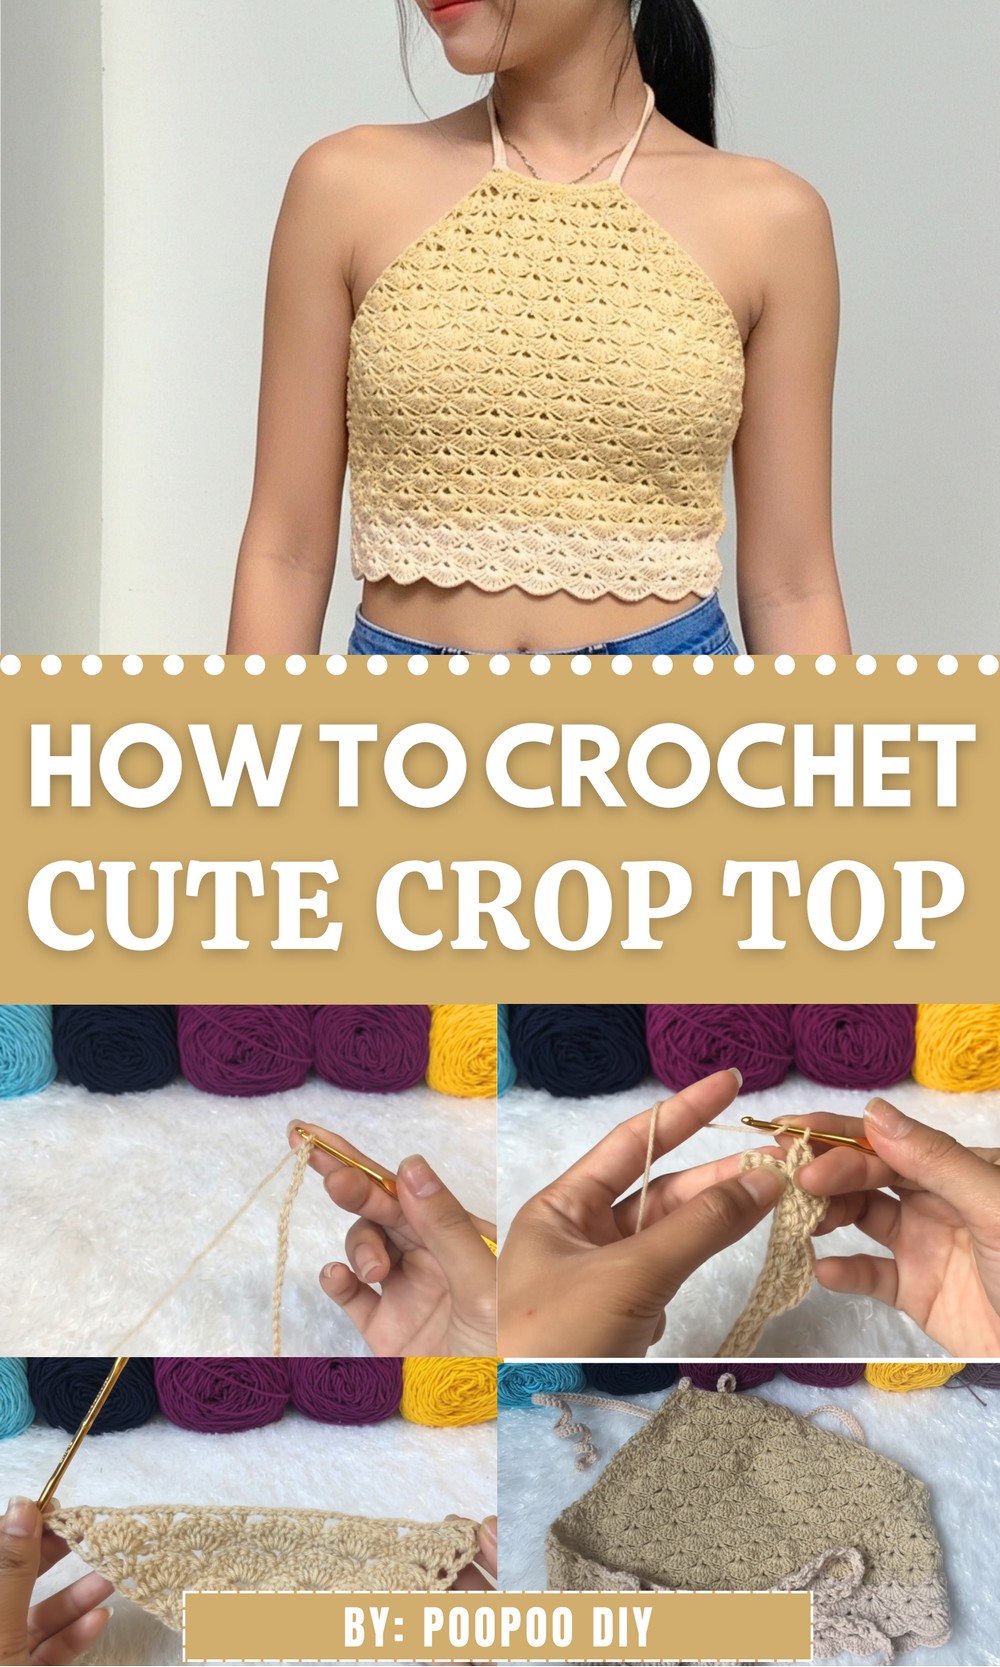
Lightweight Crochet Crop Top Pattern for Warm Days
A stylish summer essential awaits with this free crochet crop top pattern. Perfect for adding a personal touch to your warm-weather wardrobe, these crop tops can be customized in countless ways. Ideal for pairing with high-waisted jeans, skirts, or shorts, they offer a chic and casual look suitable for any occasion.
Choose from designs such as halter necks, bralettes, or off-the-shoulder styles, and experiment with different colors and yarn textures. Lightweight and breathable, these tops help you stay cool while looking fabulous. Quick to learn and beginner-friendly, this pattern is a fun project for all crochet enthusiasts.
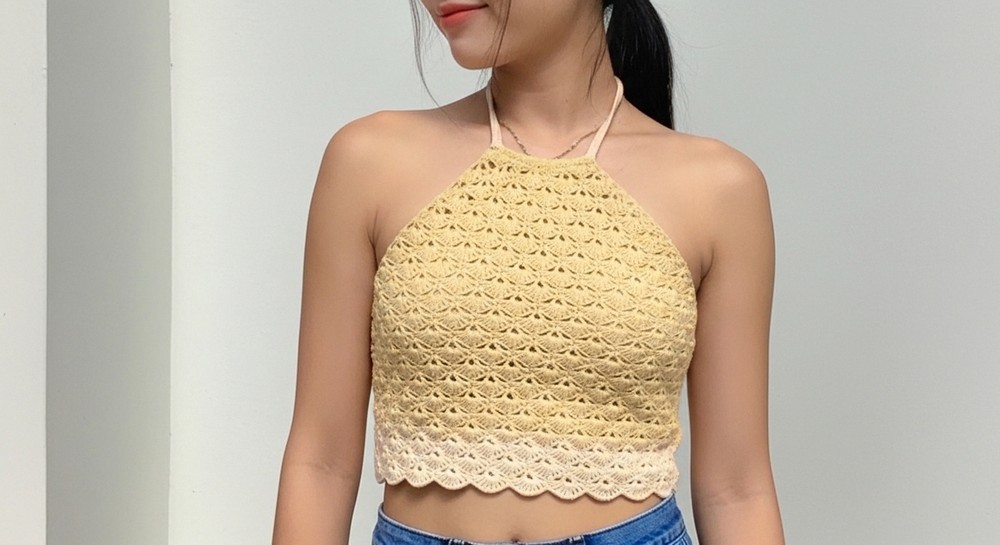
Crochet Two-Tone Crop Top Pattern
Materials
- Yarn:
- Medium-weight Acrylic Yarn (Size 3 or 4) in two colors. The sample uses a base tone (Beige) and a light tone (Light Beige).
- You can substitute with cotton yarn for a more breathable, warm-weather-friendly garment.
- Crochet Hook:
- 5.0 mm crochet hook (size 5/0) (or adjust as required for tension and gauge).
- Tools:
- Measuring tape (to determine the required size).
- Scissors.
Skill Level
Intermediate. Familiarity with the following crochet stitches and techniques is recommended:
- Chain (ch), Single Crochet (sc), Double Crochet (dc), Slip Stitch (sl st).
- Ability to count stitches and work foundational chains.
Key Abbreviations
- ch: chain
- st: stitch
- sc: single crochet
- dc: double crochet
- sl st: slip stitch
- F: fan stitch (multiple dc stitches in the same stitch to create a fan-like shape)
Special Notes
- Custom Fit: This pattern is written for a specific size, but can be easily customized by adjusting the number of chains and rows based on individual measurements.
- Gauge Tension: Crochet tension varies by crafter. Consider adjusting your hook size if your fabric is too loose or tight.
- Seam Alignment: Keep track of rows and stitches during the project to maintain symmetry, especially as this project includes repetitive stitches (fans) that must align for a uniform look.
Pattern Instructions
Step 1: Materials Preparation & Initial Measurements
- Take accurate body measurements: Measure the chest size of the intended wearer.
- In this sample, the measurement was 88 cm, then reduced to 78 cm to account for the natural stretch of crochet fabric.
- In this sample, the measurement was 88 cm, then reduced to 78 cm to account for the natural stretch of crochet fabric.
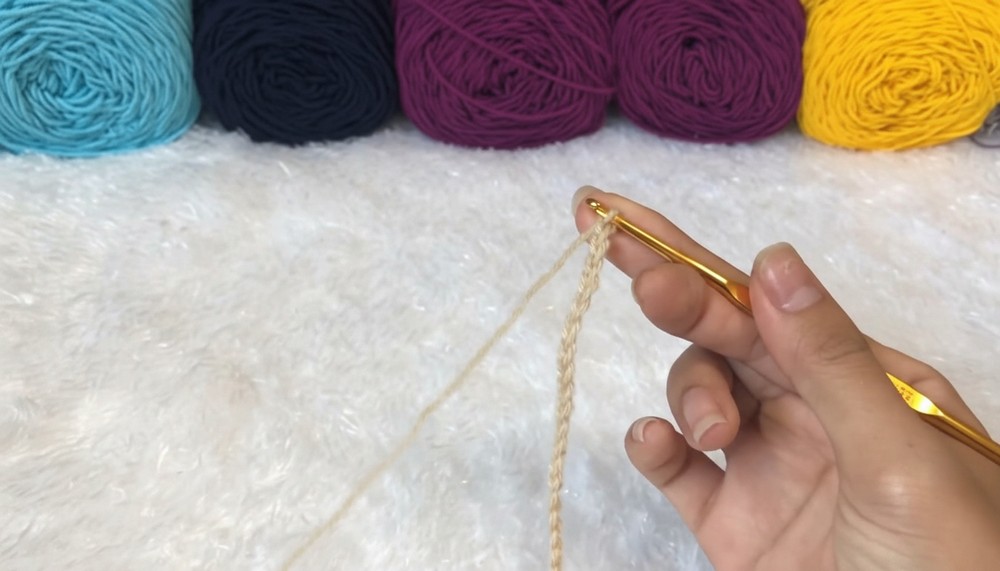
- Make a Foundation Chain:
- Based on your measurements, use your 5 mm hook to chain until your piece measures the target width.
- For the sample, the foundation chain was 20 inches (78 cm) or approximately 140 chains in total.
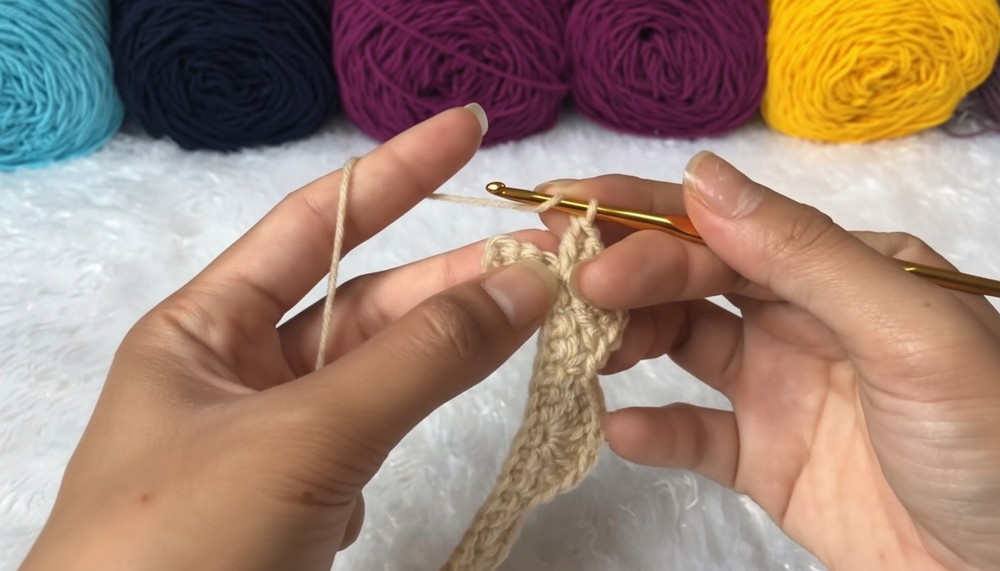
Step 2: Base Row – Single Crochet (Row 1)
- Work Single Crochet (sc):
- In the second chain from the hook, insert the hook, yarn over, pull through, yarn over, pull through both loops. Continue in the same manner for the next 139 chains, resulting in 139 sc.
- Work to the end of the row and turn your work.
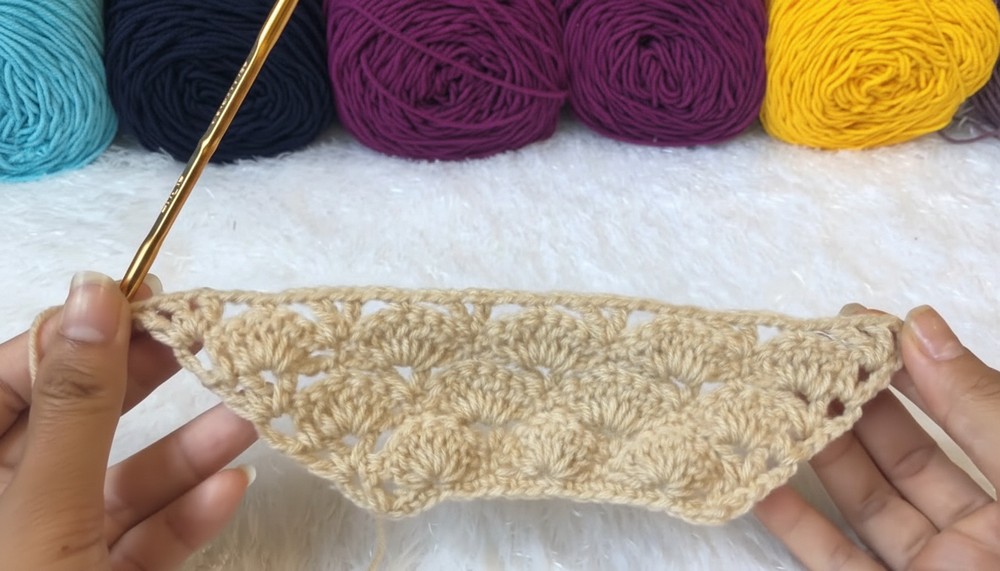
Step 3: Row 2 – Fan Stitch and X Stitch
- Begin the row:
- Ch 4 (counts as a turning chain), turn your work.
- Fan Stitch:
- Yarn over, skip the first group of chains, and work 7 dc in the same stitch (this forms your first fan stitch).
- Yarn over, skip the first group of chains, and work 7 dc in the same stitch (this forms your first fan stitch).
- X Stitch:
- Skip 3 stitches, and work 1 sc in the next stitch. This helps separate the fan stitches.
- Repeat the pattern as follows across the row:
- [Skip 3 stitches, 7 dc in the same stitch (Fan Stitch), skip 3 stitches, sc in the next st]
- When you reach the end of the row, finish with a slip stitch in the last stitch.
Step 4: Row 3 – Alternate High Crochet Between Fans
- Turn your work and ch 4. This will count as a dc.
- In between the middle stitch of every fan, work the following pattern:
- Fan Separator (X Stitch): 1 sc in the middle of the fan.
- Fan Foundation: Chain 1, and work 2 dc in the space between fans.
- Continue repeating until the end of the row.

Step 5: Repeat Pattern Rows
- Alternate fan stitch rows and foundation rows until you’ve reached your desired length for the garment.
- Example: The sample has a length of 18 cm for the main body.
- You can increase the number of rows based on your own preference.
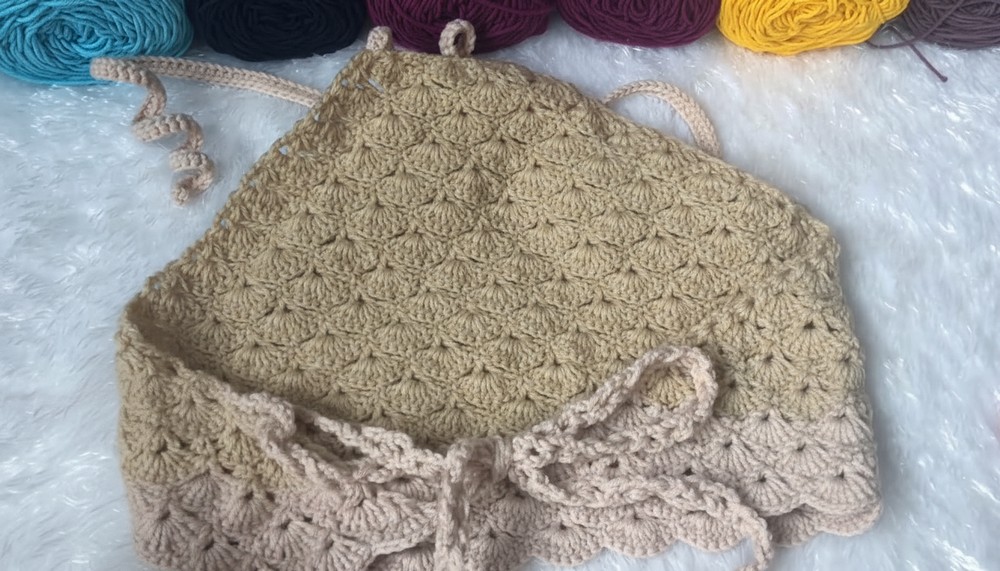
Step 6: Decorative Edging (Bottom)
- To create a unique decorative detail, follow these steps:
- Base for Edging (simple fans):
- Attach yarn to the starting rows at the bottom of your top. Ch 4 and turn your work.
- Work 8 dc stitches in the same space, followed by 1 sc in the next chain.
- Continue creating 8-dc fans, securing with sc between each, working around the bottom edge.
- Finish off the edge with a secure slip stitch and weave in the ends.
Step 7: Side Strings for Back-Tying
- On each side of the back, attach yarn and chain 45–50 ch to form a side-tie cord.
- For sturdiness, work sl st or sc back across the chain.
- Repeat on the opposite side of the back.
Step 8: Adding a Neck Loop
- Attach yarn to the top center of the garment front (this will form the neck-holding strap).
- Thin Strap with Double Crochet:
- Ch 3, turn your work, and work a row of dc into the chain.
- Continue to repeat dc rows, turning after each, until the strap reaches your desired length (e.g., 10 inches, or 25 cm). If you prefer, you can extend the chain to go around the neck and simply knot or tie the two ends.
Final Assembly
- Tie the side strings securely to fasten the back of the garment.
- Insert a decorative knot (or button) around the gathered straps for the neck loops. Make any necessary adjustments to ensure a snug fit.
Conclusion
The Two-Tone Turtle Neck Top stands out for its unique fan stitching and openwork that offers an elegant and breathable design, making it perfect as a light garment for sunny or breezy days. This piece can be easily customized by adjusting length, fan count, or exploring color palettes to suit your preference.
Pattern Variations
1. Size Adjustments
- Adjust the number of total foundation chains to increase or decrease the garment’s width.
- To make the top longer, simply add more rows of fan stitching, ensuring the pattern is followed consistently for symmetrical sides.
2. Color Customization
- Explore monochrome themes or ombre color shifts.
- Alternate contrasting colors for each fan-row to add a vibrant touch to the design for a playful, youthful vibe.
Tips for Success
- Measurements Matter: Personalize the size to ensure a snug and comfortable fit.
- Mark the Edges: Use stitch markers, especially at corners, to help you tackle increases in the fan stitches and ensure consistency.
- Experiment with Yarn: While this tutorial uses linen thread, you can substitute it for other medium-weight yarns for a softer or thicker result.
- Keep Tension Consistent: Linen thread is delicate; monitor tension to avoid overly tight or loose stitches.
Pattern Corrections
- Consistency Between Rows: Always ensure you are correctly counting your skips (base chains or stitches between fans). Misaligned fans can distort the fabric.
- If your fans are not lying flat, ensure corners (like those with 5 dc) are evenly spaced and tension is loosened.