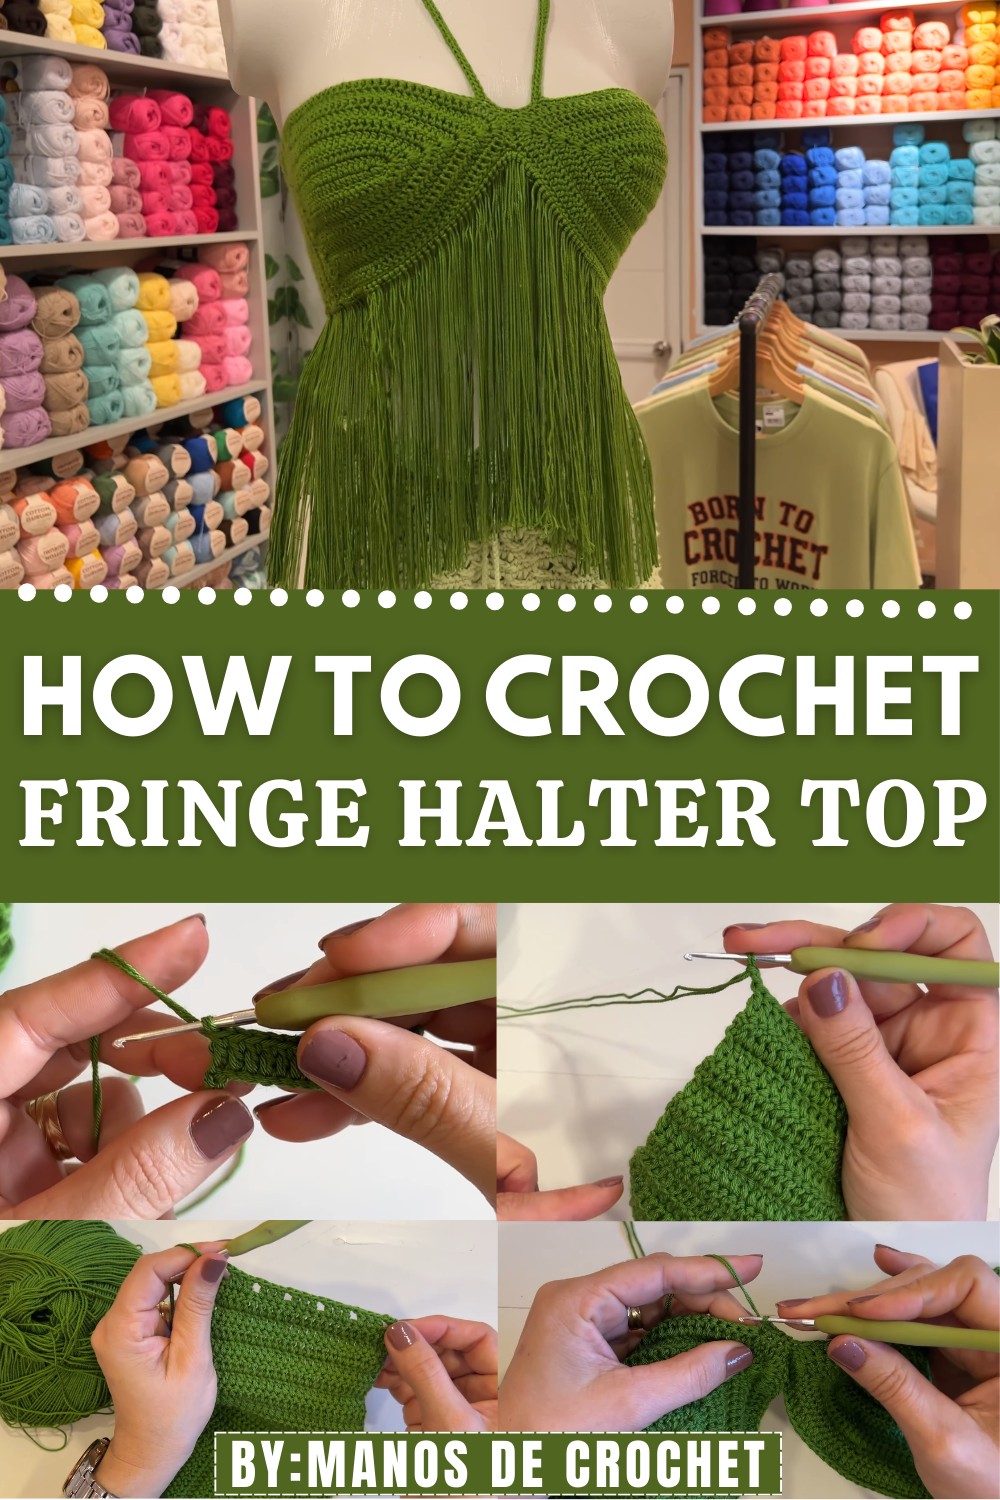
Wear your own vibrant style with this Free Crochet Fringe Halter Top Pattern perfect for sunny days festivals and relaxed summer adventures.
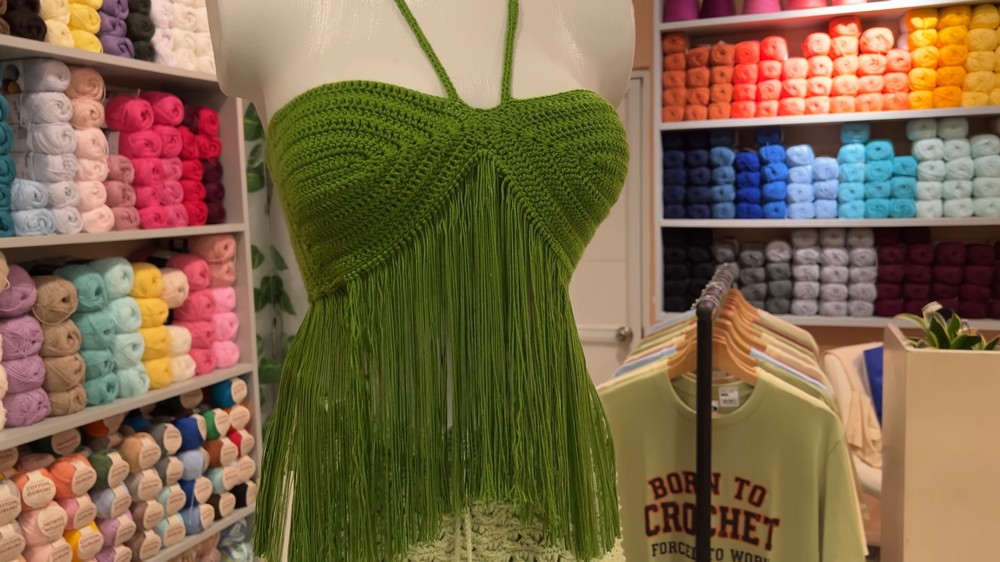
Fashion piece that brings fun and movement to your every step with swinging threads along the bottom edge. This kind of top shines with its playful fringe and open neck design making it a favorite for both sunny beach days and music festivals. The beauty of a Crochet Fringe Halter Top pattern lies in its unique details—knotted ties around the neck and back offer a perfect fit for every body shape while the lightweight fabric keeps you cool and comfortable.
Free Crochet Fringe Halter Top Pattern Easy for Summer
This top are full of character with eye-catching textures and flowing tassels that make you stand out in a crowd. You can wear it with shorts for a relaxed picnic or layer it with a jacket for an evening outing. The joy of making and wearing one comes from its blend of style and simplicity with each top carrying a handmade charm that shows off your creative spirit.
Materials
- Yarn: Fingering or sport weight acrylic or cotton (Sample: Silvia Satín, 100% acrylic, fine)
- Hook: 2.0 mm crochet hook (or size needed for a firm stitch)
- Notions:
- Scissors
- Yarn needle
- Measuring tape
- Optional: Stitch markers
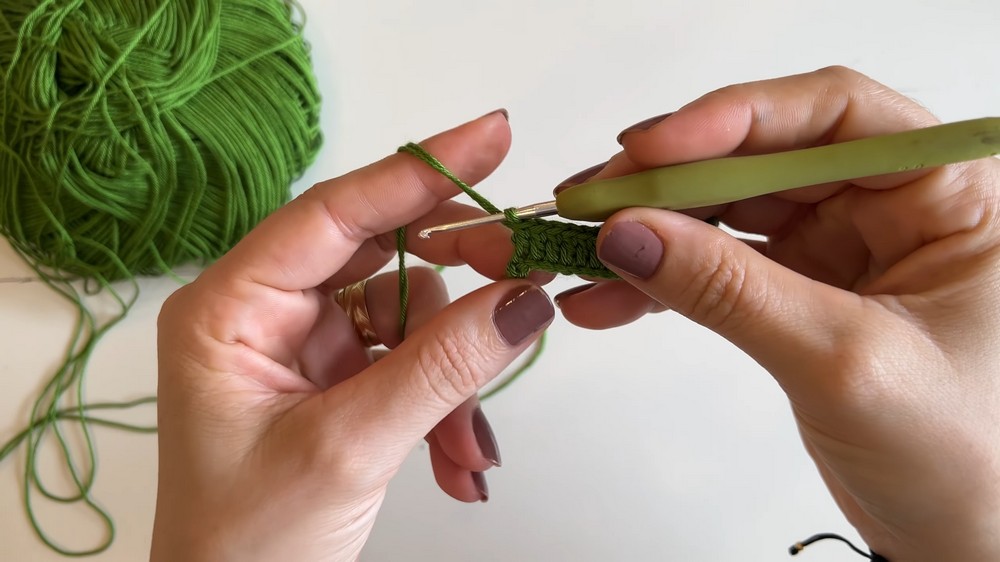
- Working with Double Strand: Pull one thread from the center and one from the outside of the ball and use them together.
Key Abbreviations (US Terminology)
| Abbr. | Meaning |
|---|---|
| ch | chain |
| sc | single crochet |
| dc | double crochet |
| sl st | slip stitch |
| rep | repeat |
| sp | space |
| st(s) | stitch(es) |
| FO | fasten off |
Special Notes
- Sizing is easily altered by adjusting starting chains (for width) and number of rows (for cup or back length).
- The sample fits an S/M. For larger sizes, increase both chains and rows as needed.
- Pattern is written with double strand for a slightly thicker fabric.
Step-by-Step Pattern
1. Cup (Make 2)
Note: Start with two threads held together.
a) Foundation
- Ch 22. (20 base ch + 2 turning ch for height)
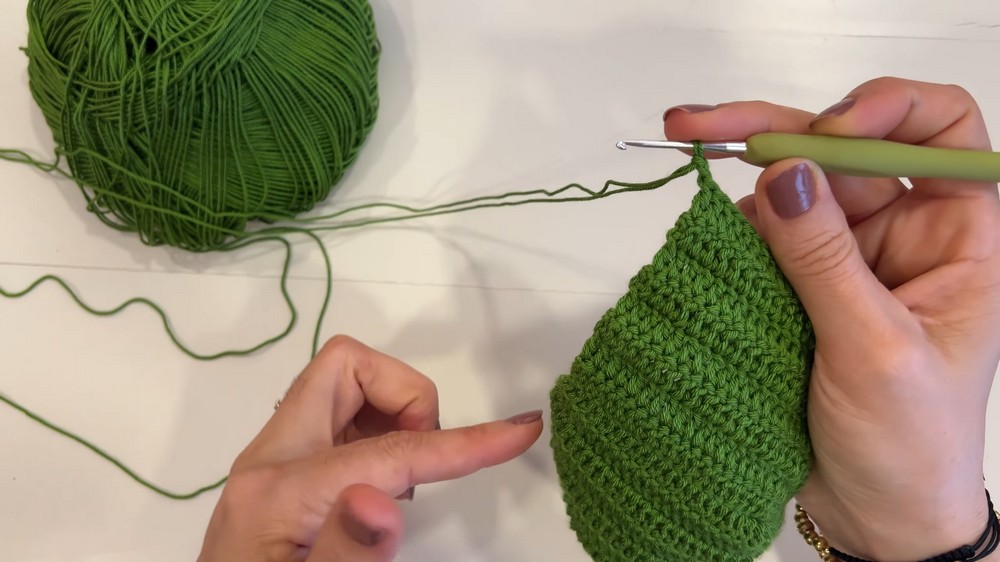
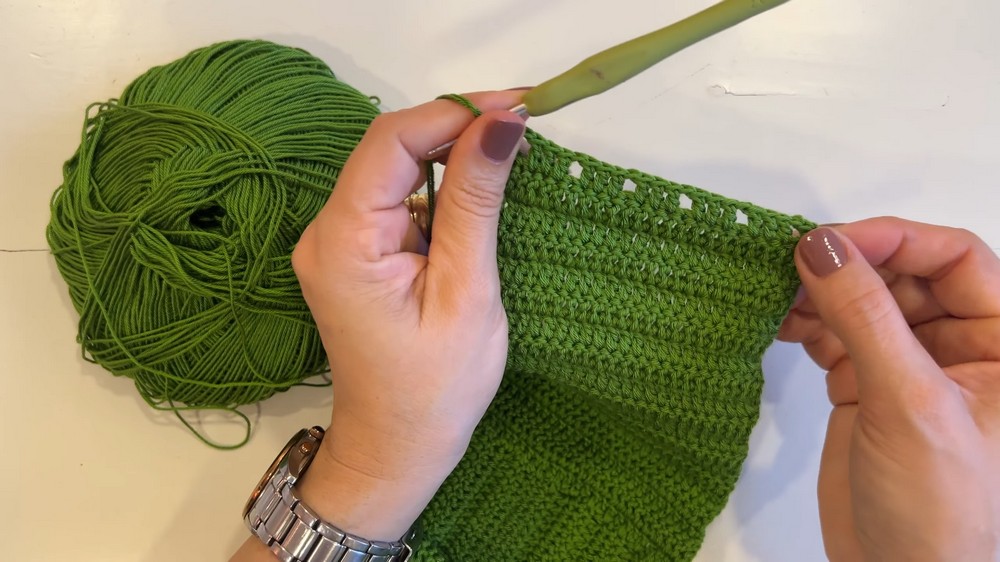
b) First Row (Base & Cup Tip)
- Dc in 3rd ch from hook (counts as first dc).
- Dc in next 17 ch (one dc in each).
- In last ch: 3 dc, ch 1, 3 dc (all in the same stitch to form the tip/curve).
- Turn work to the other side of chain foundation and dc in each ch (work into the underside of each ch) until end.
c) Cup Growth (Rows 2–8, or as needed for larger/smaller cups)
- Ch 2, turn (does not count as st).
- Dc in each st up to ch-1 sp (tip),
- In ch-1 sp: [2 dc, ch 1, 2 dc]
- Dc in each st to end.
- Repeat for a total of 8 rows, or as many as needed for desired cup size.
2. Side Extension/Back Panel (for coverage)
- After last cup row, do NOT cut yarn.
- Ch 2, turn, dc across.
- Repeat dc rows to widen side/back coverage.
- Begin Decreases:
- Every third row:
- At row start: skip first st (decreases by one).
- Work dc in each st across.
- At row end: in final two sts, dc2tog (work two dc together).
- Every third row:
- Continue: 2 normal rows, 1 decrease row, rep for a total of 18 rows (or desired back length/coverage).
Final Back Row (for corset/cord holes):
- Ch 2, turn. Dc in first dc,
- (Ch 1, skip 1 st, dc in next 3 sts), rep from * to * across, ending with (ch 1, skip 1 st, dc in last st).
- FO and leave tail for weaving in.
3. Make Second Cup
- Repeat steps 1 and 2 for the second cup.
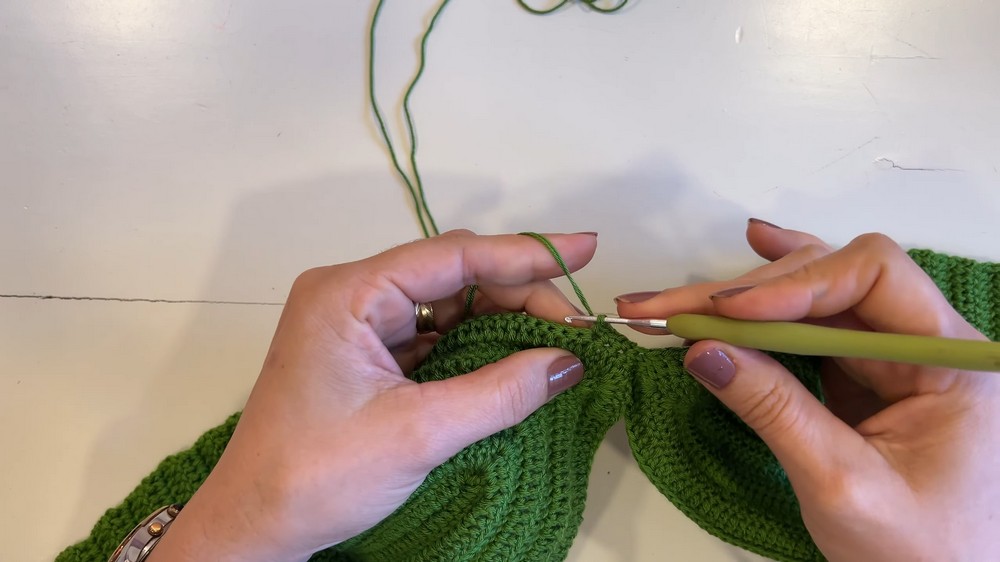
4. Center Join
- With the right sides facing, align both cups at the front.
- From the chain tip, count in 3 sts on each cup.
- Using single crochet (or sl st or sew), join the two cups across these 3 sts at center front for a sturdy join.
5. Top Edging & Neck Cord
- With cups joined and piece open, attach yarn to one top cup edge.
- Sc along the whole top edge of the cups.
- When you reach a cup’s tip/center, ch 150 (for a neck cord).
- In 2nd ch from hook, sc back along entire chain.
- Return to where you started on top edge, sc in next st to anchor.
- Continue sc along the rest of the top edge, then repeat at 2nd tip for the other neck cord.
6. Lower Edging & Second Cord
- Sc evenly along the lower edge of both cups. When you reach the desired position on the edge, ch 150 for the second cord and complete as before (sc into 2nd ch from hook, then along the length); anchor back to top edge and continue with sc to end.
- Join with sl st. FO and weave in all ends.
7. Add Fringes (Optional)
- Cut strands to 60 cm (24 in) for each fringe.
- For each st at the lower edge, fold 2 strands in half, insert hook into st, pull loop through, yarn over and pull loose ends through to make a lark’s head knot. Pull tight.
- Repeat for each st along the lower edge for a full fringe.
8. Back Lace-Up Cord
- Ch 200 (or desired length for back lacing).
- Optionally, sc back (for a thicker cord).
- Weave cord through the ch-1 “holes” of the back panels, crisscrossing like a corset.
- Tie at bottom to secure.
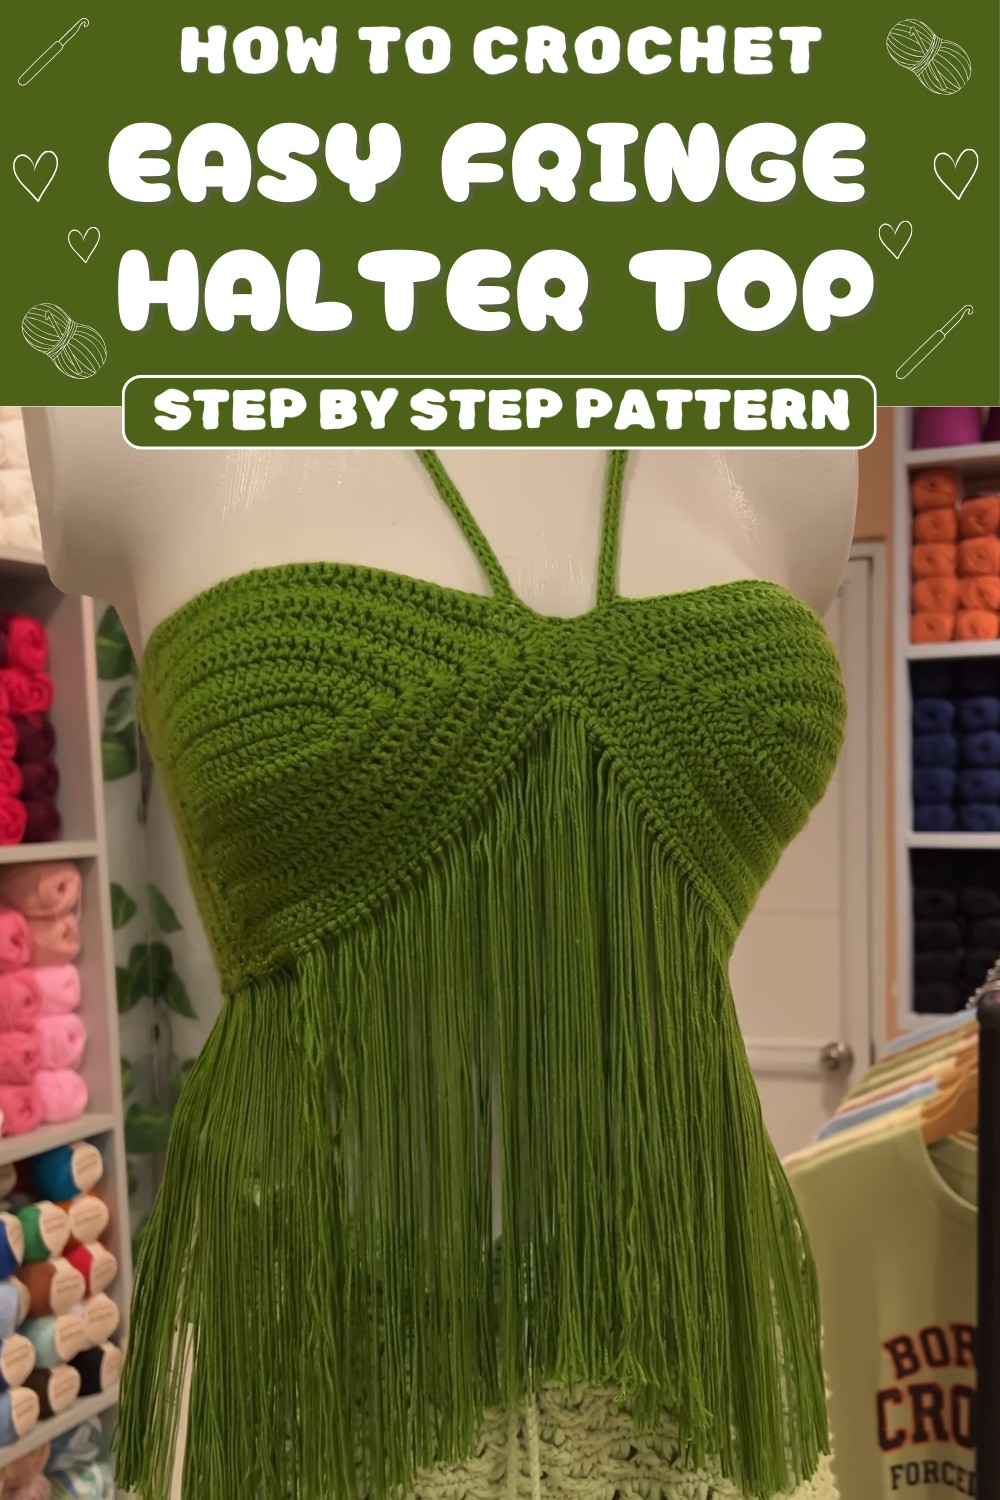
Conclusion
You’ve created a stylish, adjustable fringed crop top that can be sized to fit anyone. The abundant fringe and corset-style lace-up make this a trendy statement piece for summer.
Pattern Corrections & Tips
Corrections:
- Remember the center “point” of each cup is always worked as [2 dc, ch 1, 2 dc].
- In the final eyelet row for lacing, the pattern is (ch 1, skip 1, dc in next 3).
Tips:
- Hold two strands together for a thicker, supportive fabric; adjust your hook size if your stitches are too tight.
- Try on the top as you go to ensure fit—especially after adding rows or side/back panels.
- For a tidy fringe, use a ruler to cut yarn and trim ends after attaching.
- Add more chains/rows for larger sizes or longer tops.