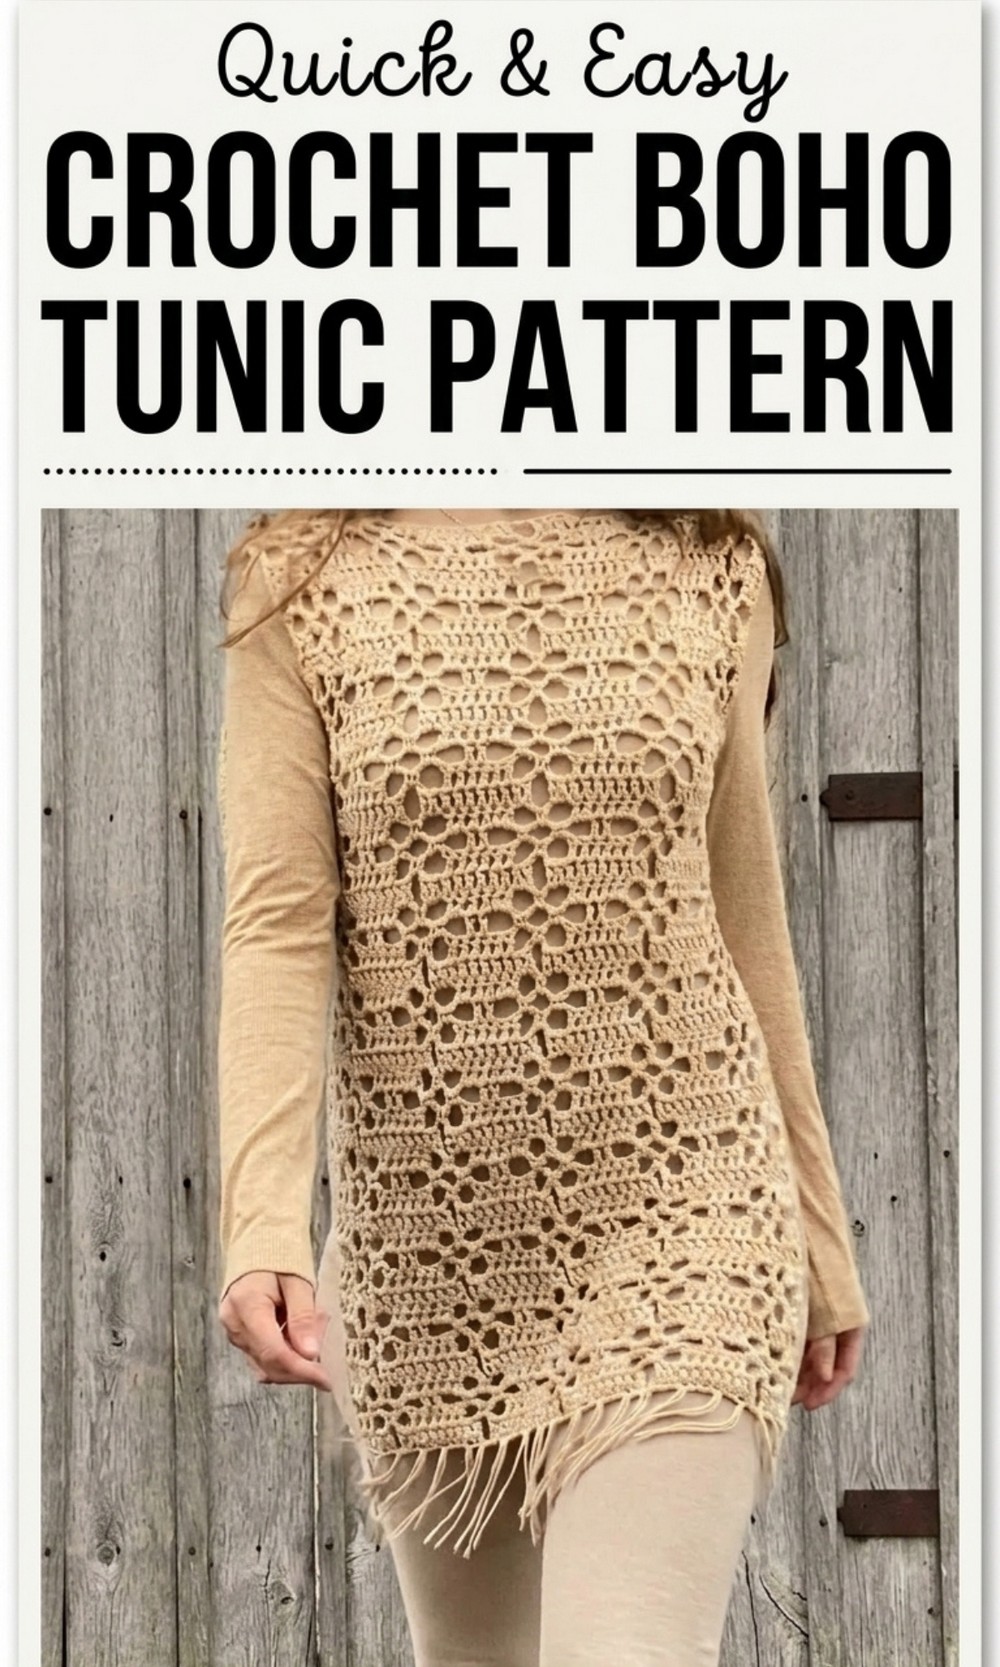
Glow with style and comfort by creating this free crochet boho tunic pattern that is easy to make and perfect for adding charm to your everyday outfits.
There’s something special about clothing that combines creativity, elegance, and comfort all in one. This handmade piece is designed with flowing patterns that create a stunning bohemian look, perfect for expressing individuality and style. Its loose, airy fit makes it both comfortable and breathable, ideal for wearing in any season. The soft and delicate texture feels gentle on the skin, while its artistic crochet patterns add beauty to your outfit.
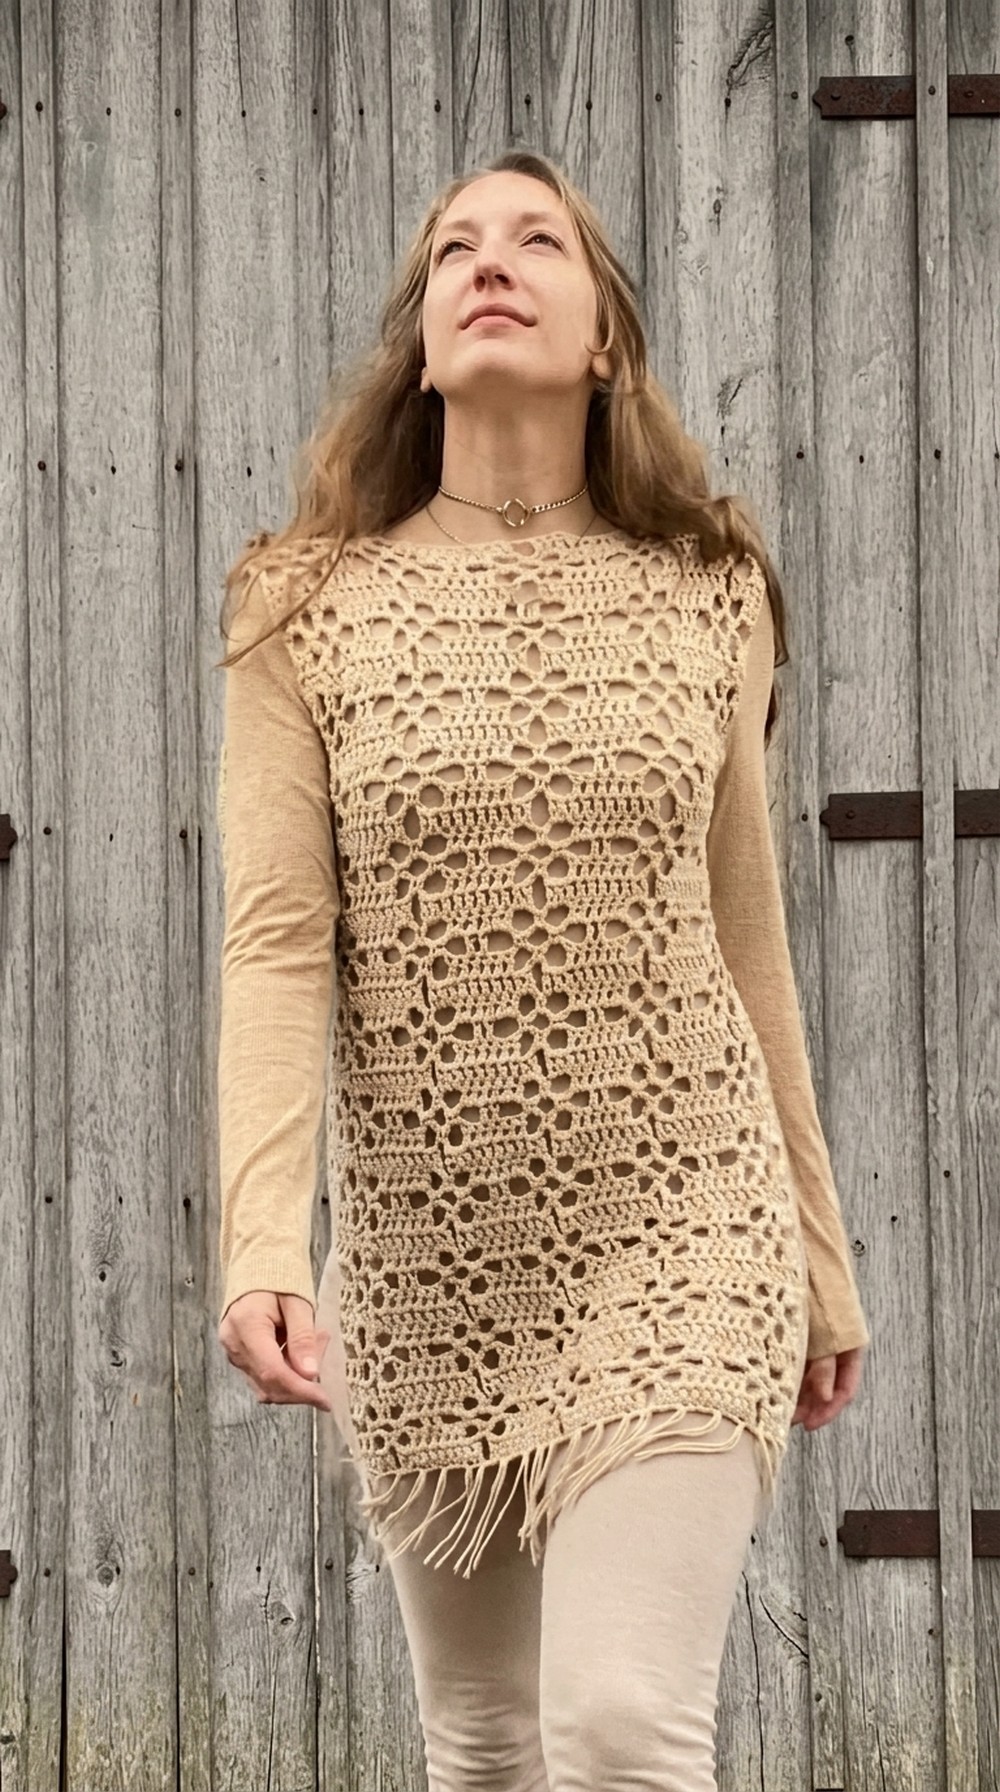
Boho Tunic Free Crochet Pattern for a Stylish Look
Whether you pair it with jeans, skirts, or even shorts, it adapts effortlessly to different looks and occasions. The intricate design makes every detail stand out, giving it a unique and personal touch that you won’t find in store-bought fashion. Simple yet stunning, this item is the perfect way to add creativity and charm to your wardrobe while staying comfortable and chic every day.
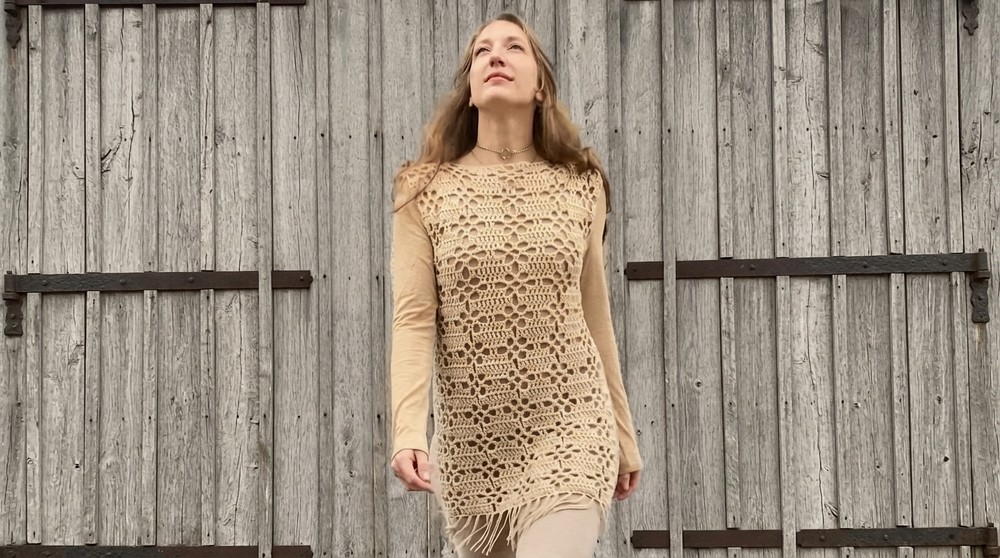
Crochet Bohemian Style Tunic Pattern
Skill Level
Intermediate to Advanced
This project is ideal for crocheters familiar with foundational stitches, linear panel construction, and garment assembly techniques.
Materials Needed
Yarn
- Kismet Cotton and Acrylic Blend Yarn: Medium-weight yarn suggested (50g skeins).
- Recommended color: Light beige for a classic boho look, or choose colors suiting your style.
- Alternative yarn: Any medium-weight yarn works.
Hook Size
- 6mm crochet hook: Creates a relaxed, drapey stitch recommended for this project.
- Optional: Choose hook size based on yarn weight if using a substitute yarn.
Additional Items
- Scissors: For cutting yarn and trimming tassels.
- Yarn Needle: For sewing panels and weaving ends.
- Tape Measure: To ensure accurate sizing.
- Stitch Markers: Helpful for marking neck hole and armhole positions for seams.
- Book: Used for measuring and cutting tassels.
Key Abbreviations (US Terms)
| Abbreviation | Definition |
|---|---|
| ch | Chain |
| sc | Single Crochet |
| dc | Double Crochet |
| tr | Treble Crochet |
| sl st | Slip Stitch |
| ch sp | Chain Space |
Special Notes
- Customizable Sizing: The tunic is tailored to your measurements. Modify the number of chains or rows for width and length.
- Blocking: Consider blocking the panels for consistent shape and structure, especially if using cotton-based yarn.
- Mindfulness: Crochet can be meditative; enjoy the creative process and weave positive energy into each stitch.
Step-by-Step Instructions
Step 1: Taking Measurements
- Shoulder Width Measurement: Measure shoulder-to-shoulder.
- Example: 17 inches; adjust based on bust size. Add 2–4 inches for comfort if needed.
- Length Measurement: Measure from the shoulder down to desired tunic length.
- Example: 26 inches (upper thigh). For longer tunics, adjust to your preference.
- Example: 26 inches (upper thigh). For longer tunics, adjust to your preference.
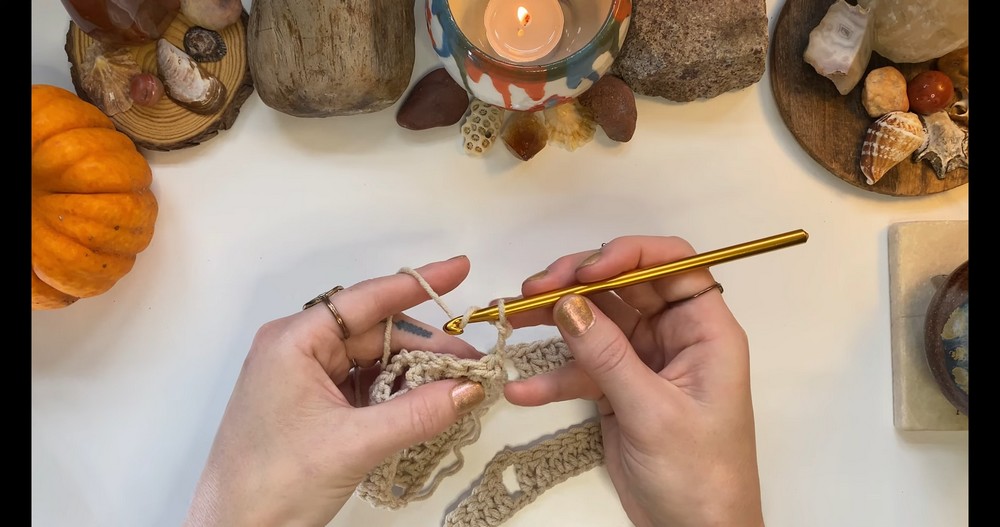
Step 2: Rectangular Panels – Start the Chain
- Slip Knot:
- Wrap yarn around your index and middle fingers twice to form an X. Push the yarn under, pull a loop out, and pull tight to form a slip knot.
- Chain Foundation: Chain in multiples of 12 + 2.
- Example for 17 inches width: 62 chains creates 5 diamond shapes across. Adjust chaining to match your measurements.
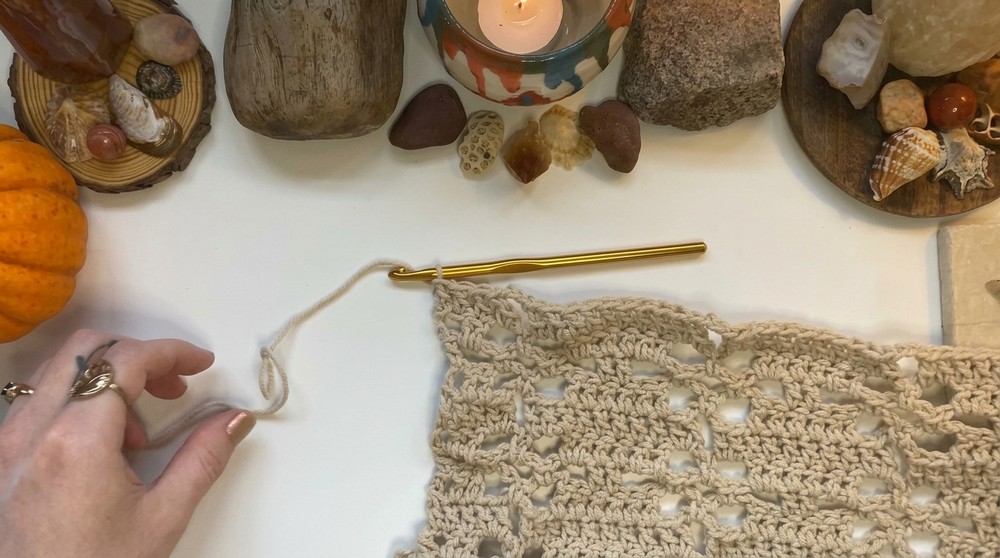
Step 3: Diamond Pattern Panel
Row 1: Foundation Row
- Start the Stitch:
- Yarn over and insert hook into the 4th chain from hook, making 1 dc. Work 1 dc into the next 3 chain stitches. (Total: 5 dc).
- Pattern Repeat:
- Ch 3, yarn over, skip 2 chains, and make 1 dc in the next chain.
- Work 1 dc in the next 9 chains. (Total: 10 dc in this section).
- Continue Across:
- Repeat Ch 3, skip 2 chains, and make 10 dc until 5 stitches remain at the end.
- Double crochet 1 dc in each of the last 5 stitches.

- The row starts and ends with 5 dc, establishing symmetry.
Row 2: Begin the Diamond Shape
- Turn Work and Chain:
- Turn. Ch 3 (counts as a dc).
- Work Stitch Sequence:
- Make 2 dc in the next stitches (Total: 3 dc).
- Ch 3, then make sc in the chain-3 space from the previous row.
- Ch 3 and skip 2 stitches, work 6 dc in the next stitches.
- Pattern Repeat Across:
- Alternate diamond shaping with Ch 3, sc in chain space, followed by 6 dc in sequence.
- Finish Row:
- After the last chain space, work 3 dc at the end (2 dc plus 1 into the turning chain).
Row 3
- Turn Work and Chain:
- Turn. Ch 6 (counts as dc + ch 3).
- Work Single Crochet Spaces:
- Sc in chain-3 space, then Ch 3.
- Skip 2 dc and work 2 dc in the next stitches.
- Repeat: Continue alternating chain spaces and dc sections until the row is complete.
Row 4
- Turn Work and Chain:
- Turn. Ch 3 (counts as dc).
- Double Crochet Clusters:
- Make 2 dc in chain spaces and dc in individual stitches.
- At diamond edges, work Ch 3, sc space, then 2 dc clusters.
Row 5: Complete Diamond Shape
- Turn Work and Chain:
- Turn. Ch 3 and work dc across the row.
- Spacing: Add 2 dc in spaces, Ch 3, and continue working the diamond pattern edges.
Step 4: Repeat Rows to Desired Length
- Repeat Rows 2–5 until the tunic measures the desired length.
- Example: 12 diamond rows for 26 inches total length.
- Create 2 identical panels for front and back.

Step 5: Panel Assembly
Neck Hole
- Position stitch markers on one panel to designate the neck hole width. Place corresponding markers on both panels.
Seams
- Place panels right sides facing each other.
- Sew panels together with a yarn needle or alternate joining method (e.g., slip stitches).
- Secure the neck hole and armholes based on fitting.
Step 6: Tassels
Cutting Tassels
- Wrap yarn around a book to desired tassel length (e.g., medium size).
- Cut strands evenly.
Attaching Tassels
- Fold strands in half and use a crochet hook to pull through chain spaces.
- Knot securely and distribute tassels evenly across the bottom edge.
Finishing Touches
- Weaving Ends: Tidy loose ends with a yarn needle.
- Blocking: Block panels for uniform shape and a polished finish.
Conclusion
Your crochet bohemian tunic embodies creativity and versatility. Whether paired casually or styled for a special occasion, this garment reflects your personal touch. Add tassels for extra flair, and enjoy the comfort of this handmade masterpiece.
Pattern Corrections & Tips
- Corrections: Double-check stitch counts at the ends of rows to ensure consistent diamond patterns.
- Tips: For longer slits or a flowing design at the tunic base, adjust where you sew the side seams.
- Mindful Practice: Create in a peaceful setting to enjoy the meditative benefits of crochet.