
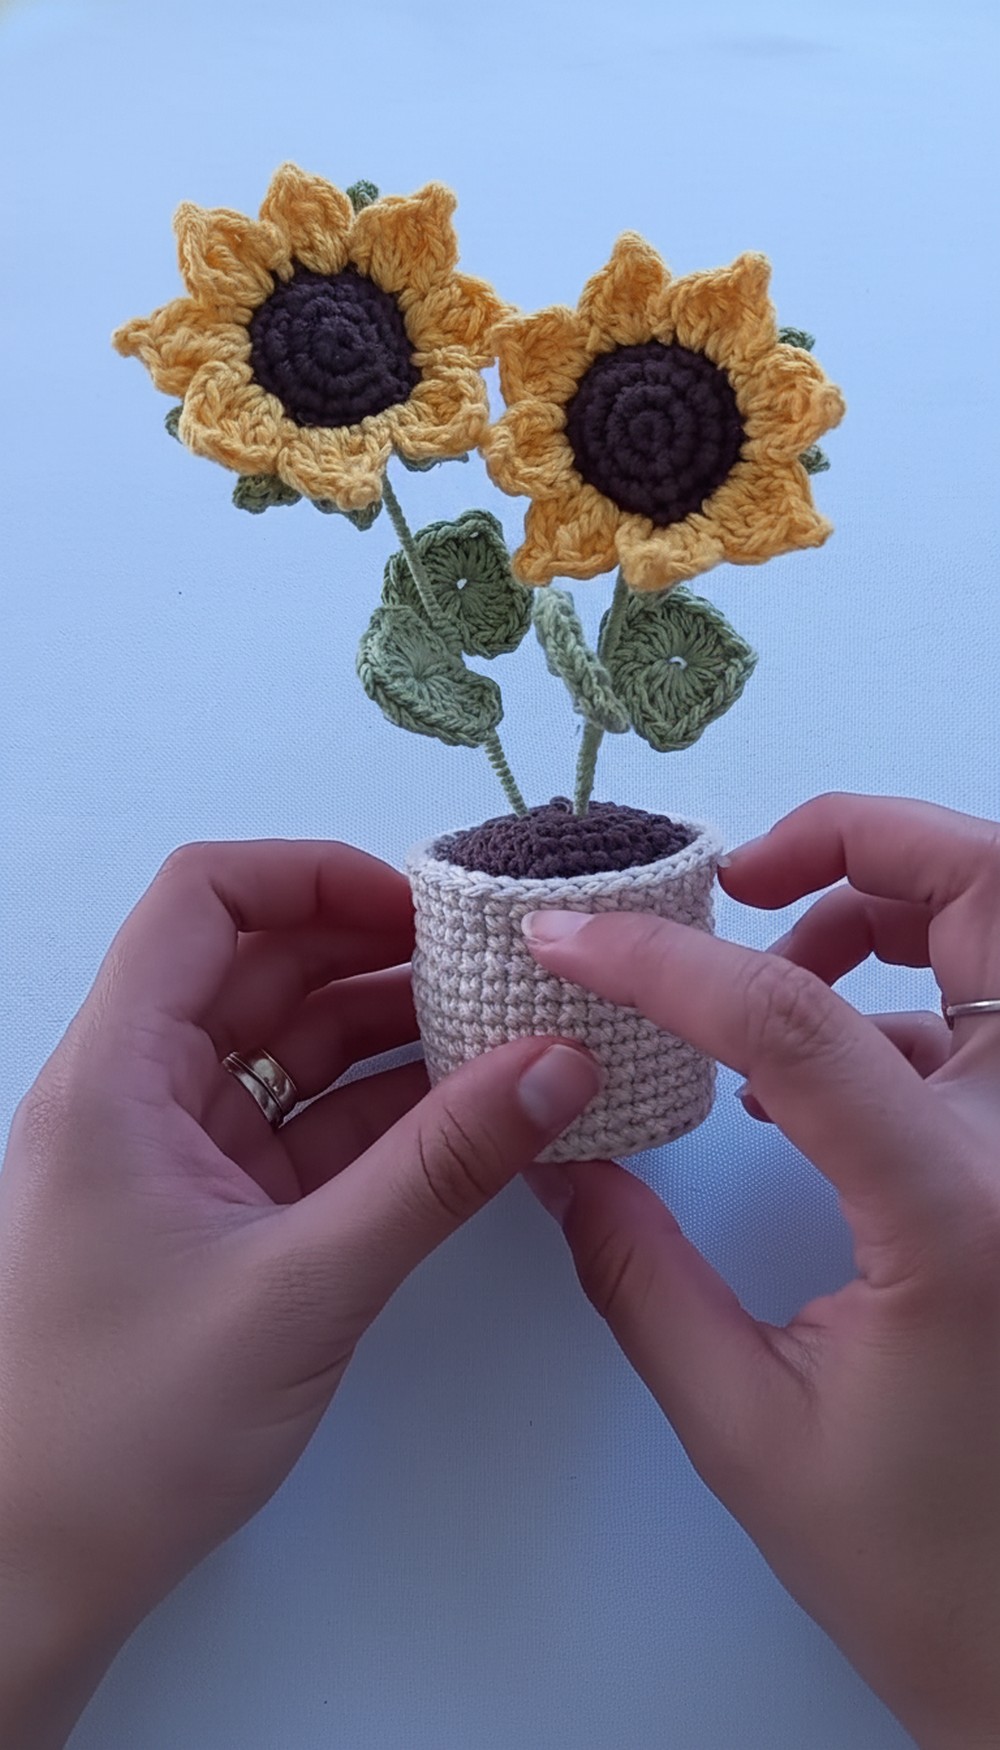
Check out this Free Crochet Sunflower Pot Pattern to make a bright flower that stays beautiful forever on your desk or a sunny window sill.
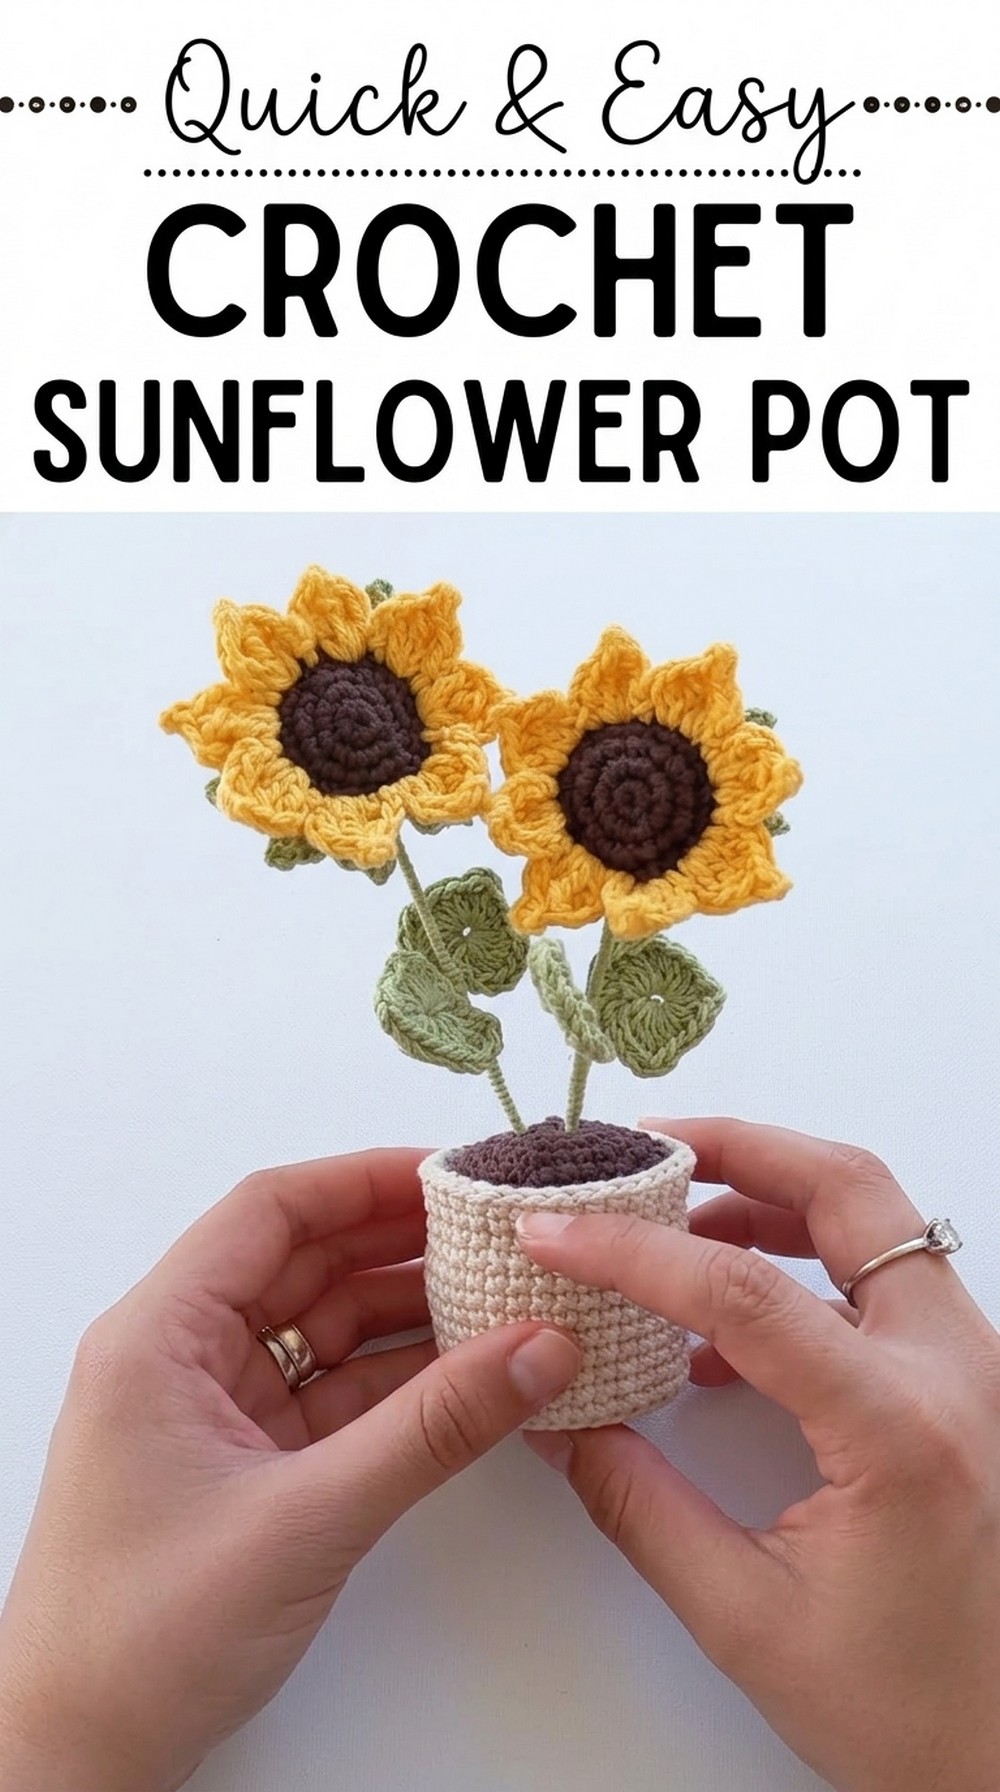
Cute Free Crochet Sunflower Pot Pattern for Spring and Summer Vibes
Brighten up your space with a cheerful crochet that’s as fun to make as it is to display. This adorable project will bring warmth, color, and joy to any room. With the free crochet sunflower pot pattern, you can easily create a charming sunflower that never fades. The soft petals, green leaves, and little pot design make it perfect for home décor or gifting. 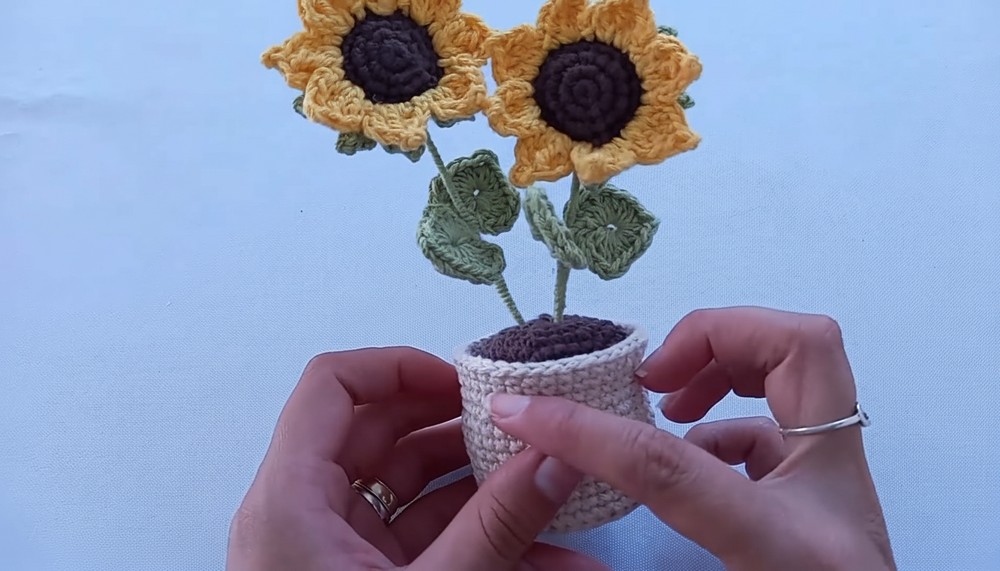
Sunflowers are a symbol of happiness, so this simple and affordable project is a great way to spread positive vibes. Using just a few materials like yarn and wire, you can make a piece of sunshine that’s easy, creative, and truly beautiful.
Crochet Sunflower Pot Pattern
Materials Needed
- Cotton Yarn (100%) – Unmercerized cotton in the following colors:
- Beige and Brown (for the flower pot and soil)
- Green (for leaves and stems)
- Pink shades (for tulips)
- Yellow and Brown (for sunflowers)
- Crochet Hook – Size 2 mm (tight tension recommended).
- Thin Galvanized Wire – Flexible and easy to bend.
- Polyester Stuffing (Fiberfill) – To fill the pot securely.
- Piece of Cardboard – For the pot’s base.
- Hot Glue Gun – To secure wire and certain parts.
- Yarn Needle (Tapestry Needle) – To weave in loose ends.
- Scissors – For cutting yarn.
- Point Markers or Stitch Markers – For tracking rounds.
Techniques Used
- Magic Ring: Used to work in rounds.
- Single Crochet (sc): Primary stitch used in the pattern (insert hook, yarn over, pull through loop, yarn over, pull through both loops on hook).
- Increase: Two single crochet stitches worked in the same stitch.
- Slip Stitch (sl st): Insert hook, yarn over, pull through all loops on the hook.
- Half-Double Crochet (hdc): Yarn over, insert hook into the stitch, pull through a loop, yarn over, pull through all three loops.
- Double Crochet (dc): Yarn over, insert hook into the stitch, pull through a loop, yarn over, pull through two loops, yarn over again, pull through remaining two loops.
- Double Treble Crochet (dtr): Yarn over twice, insert hook into the stitch, pull through a loop, yarn over, pull through two loops at a time until one loop remains.
- Picot Stitch: Chain 2, insert hook into the first chain, yarn over, and make a slip stitch.
Pattern Instruction
Part 1: Crochet Flower Pot
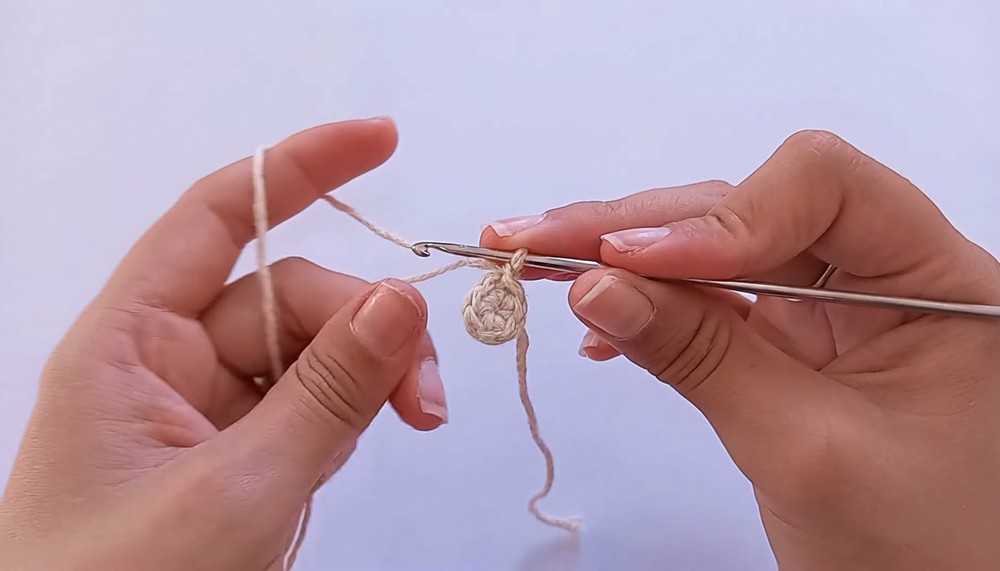
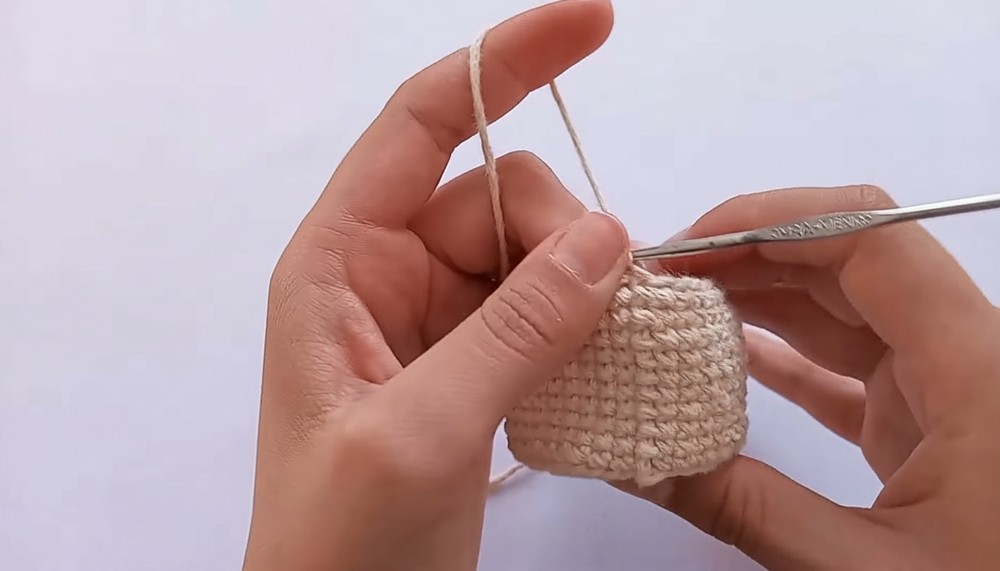
- Start with beige yarn. Use a magic ring.
- Row 1: Work 6 single crochets (sc) into the magic ring. Pull the tail tight to close the ring. (6 stitches total).
- Row 2: Work 6 increases (2 sc in each stitch). (12 stitches total).
- Row 3: Work 1 sc, 1 increase. Repeat 6 times. (18 stitches total).
- Row 4: Work 2 sc, 1 increase. Repeat 6 times. (24 stitches total).
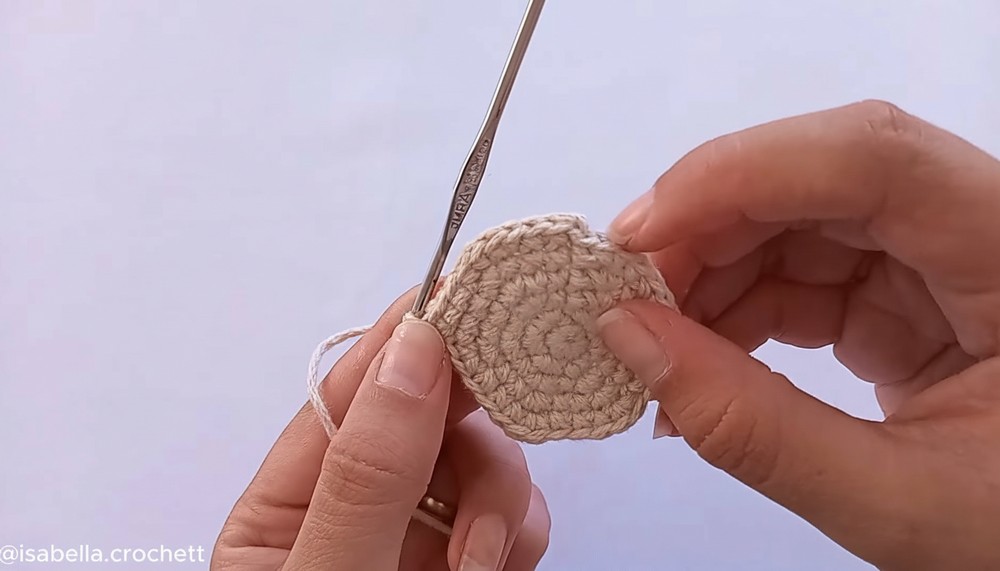
- Row 5: Work 3 sc, 1 increase. Repeat 6 times. (30 stitches total).
- Row 6: Work 4 sc, 1 increase once, followed by 4 sc. Repeat this sequence. (36 stitches total).
- Rows 7-16: Work 36 sc in each round, without increasing, to build the height of the flower pot. For Row 7, work into the back loop only of each sc to create a turned edge. After Row 7, work through both loops as usual.
- Row 17: Work in front loop only. 36 sc across. This will help define a ridge.
- Final Row (Row 18): Work a final round of 36 sc, working through both loops. End the round with a slip stitch and fasten off. Weave in ends.
Part 2: Add Base and Soil
- Cut a round cardboard piece matching the size of the pot’s base. Glue it inside the bottom for structure.
- Crochet another round piece with 36 sc using brown yarn for the soil (follow the instructions for the pot’s base).
- Stuff the pot with fiberfill until it is firm to maintain its shape.
- Attach the brown soil circle to the top of the pot using slip stitches between the ridges created in Row 17 and the soil circle. Leave space to add more stuffing if needed before finishing.
Part 3: Crochet Tulips
- Start with pink yarn for the tulip. Create a magic ring.
- Row 1: Work 6 sc into the magic ring and pull tightly to close.
- Row 2: Work 6 increases (12 stitches total).
- Row 3: Work 1 sc, 1 increase. Repeat 6 times (18 stitches total).
- Row 4: Work 2 sc, 1 increase. Repeat 6 times (24 stitches total).
- Rows 5-12: Work 24 sc around without increasing to create the body of the tulip.
- Once completed, fasten off, leaving a long tail. Stuff the tulip with fiberfill, turn the edge slightly outwards, and secure around the 8 cm wire by wrapping the yarn tail around the center.
- Then finish and weave the ends securely.
Optional: Create smaller tulips by reducing the number of rows (e.g., finish after Row 10 instead of Row 12).
Part 4: Crochet Sunflowers
- Start with green yarn. Make a magic ring and:
- Row 1: 6 sc into magic ring.
- Row 2: 6 increases (12 stitches total).
- Row 3: Work 1 sc, 1 increase. Repeat 6 times (18 stitches total).
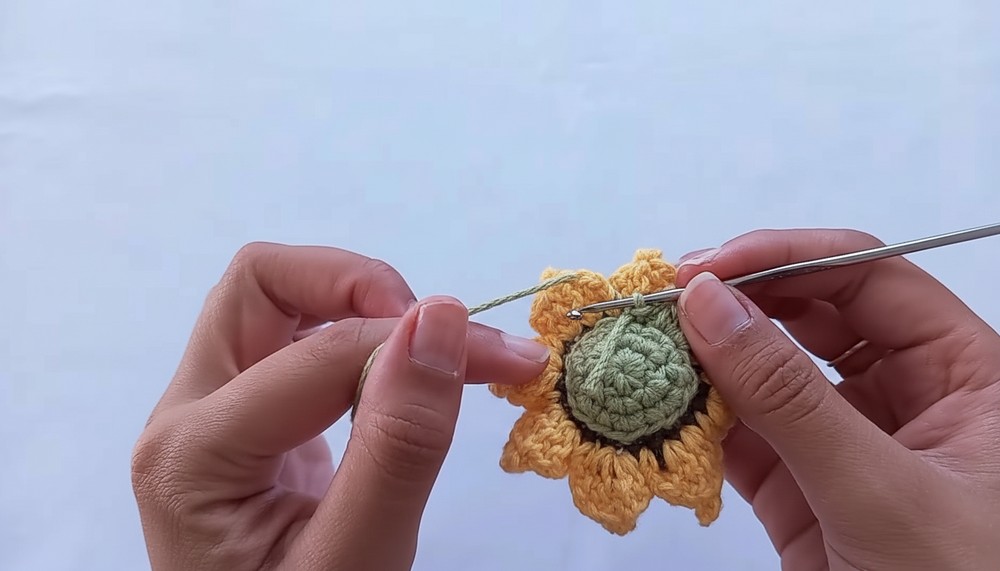
- Create another identical circle using brown yarn and sew the two circles together (with fiberfill in between).
- Attach the yellow yarn to make the petals as follows:
- In the first stitch: Work 1 dc, 1 dtr, a picot, 1 dtr, and 1 dc, followed by 2 chains and a slip stitch into the next stitch.
- Repeat this sequence around the entire edge of the brown circle to create sunflower petals.
- Optionally, add a smaller green circle to the back of the sunflower and attach green leaves (similar in shape to tulip leaves).
Part 5: Leaves and Stems
- Leaves for Tulips: Use green yarn:
- Chain 20. Work back using hdc down the chain.
- Create a leaf shape by increasing in the middle of the chain and decreasing towards the end.
- Secure the leaves to the wire stem using green yarn and hot glue for added stability.
Final Assembly
- Insert the flower stems into the brown soil circle of the pot. Secure them by sticking them into the fiberfill.
- Add hot glue if necessary to keep the stems in place.
- Arrange the leaves around the base of the stems.
Optional – Decorative Bow Around Pot
- Chain 80 using any color.
- Secure the chain around the pot by tying a bow.
Finishing the Project
- Once all flowers and leaves are in place, double check that the fiberfill is tightly packed to keep the pot firm.
- Adjust flower placement until they sit evenly in the pot.
- Cut off any loose ends and weave them in neatly.
Final Words & Tips
- Use tight tension for a sturdy and clean looking project.
- When stuffing the pot, ensure it is firm but avoid overstuffing that might stretch the stitches.
- Experiment with colors to personalize the flowers and pot to your liking.
- To make the pattern child safe, ensure wires are securely covered and ends of yarn or stems are tucked in neatly.
- Store in a cool and dry place to maintain the look of your crochet piece.
Enjoy crocheting your mini crochet flower pot, This make perfect gifts or adorable decor for any space, bringing charm and elegance to desks, shelves, or windowsills.
