Celebrate autumn with this free crochet maple leaf coaster pattern, a simple project for decorating, entertaining, and giving beautiful gifts.
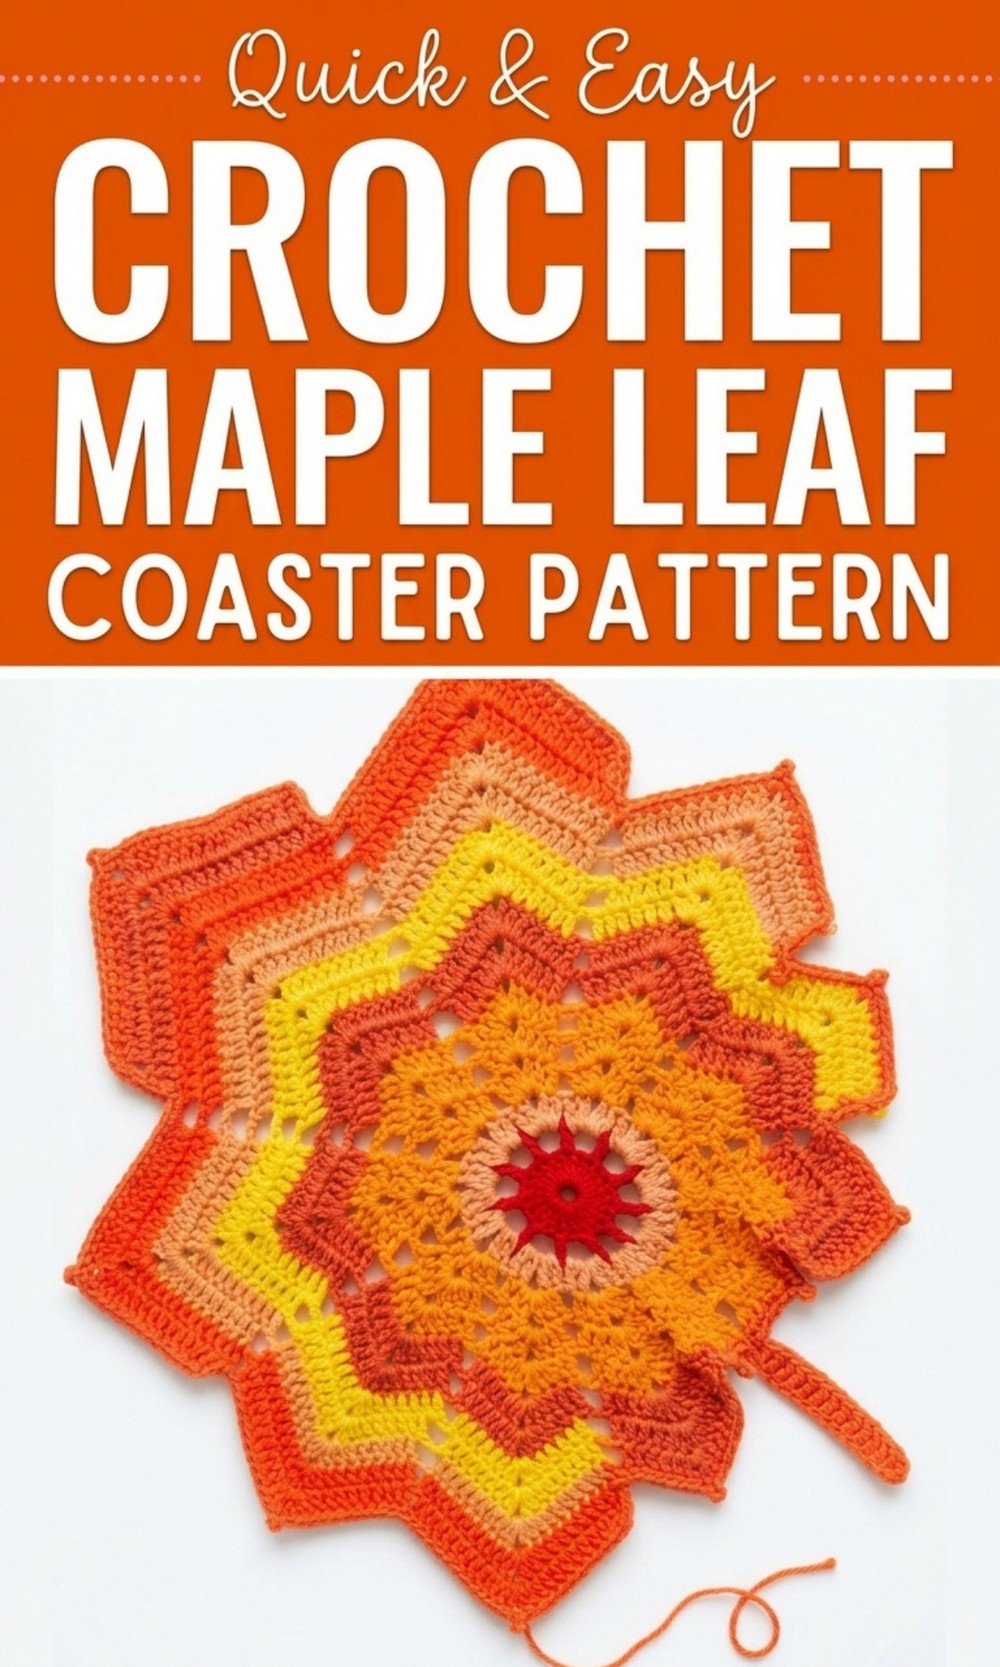
Stunning Free Crochet Maple Leaf Coaster to Spice Up Your Table
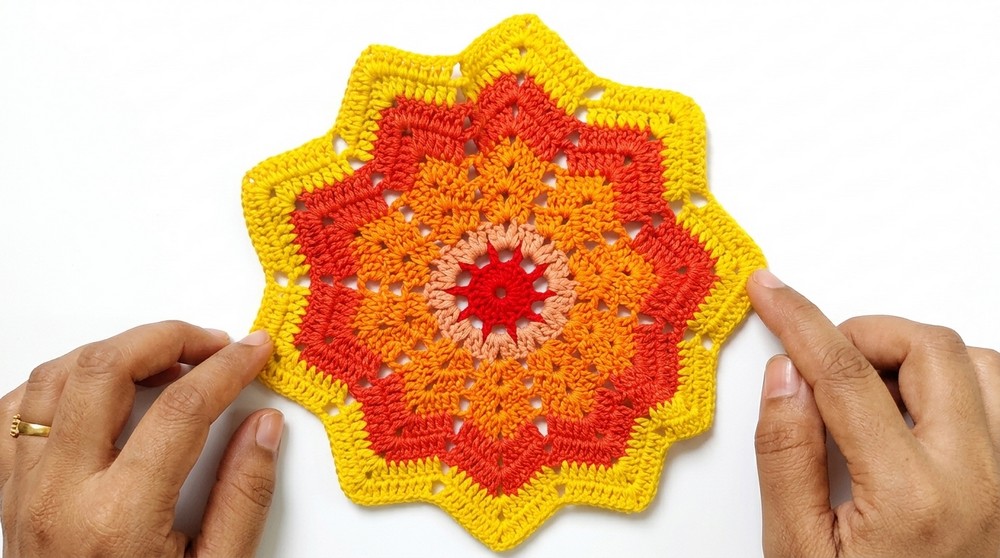
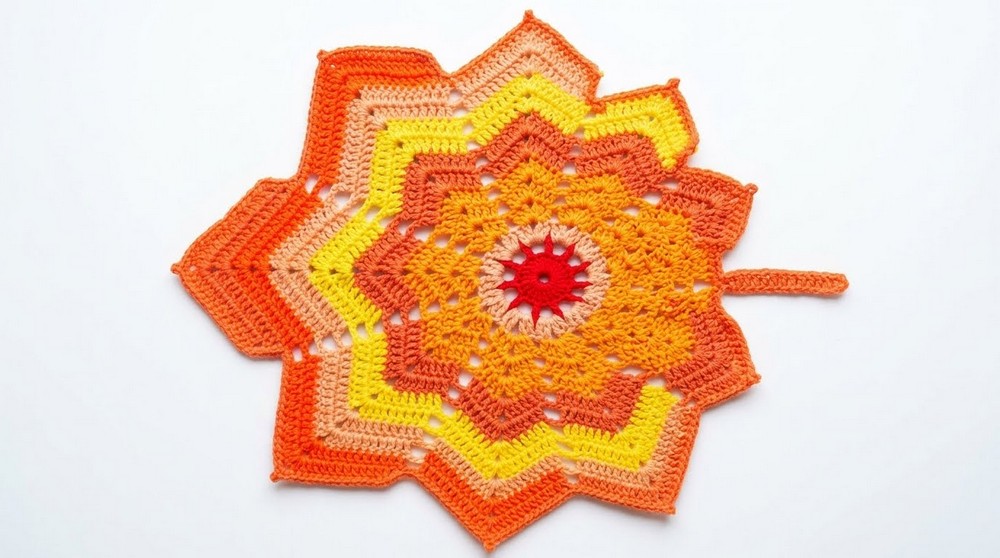
Bring the cozy colors of autumn into your home with this Free Crochet Maple Leaf Coaster Pattern. This charming project looks just like a real leaf freshly fallen from a tree, with its five pointed tips and vibrant orange hue. The magic lies in its fine details, as the rows spread outward to create a beautiful, realistic shape. This sturdy and flat design is perfect for holding your favorite mugs of hot cocoa or tea.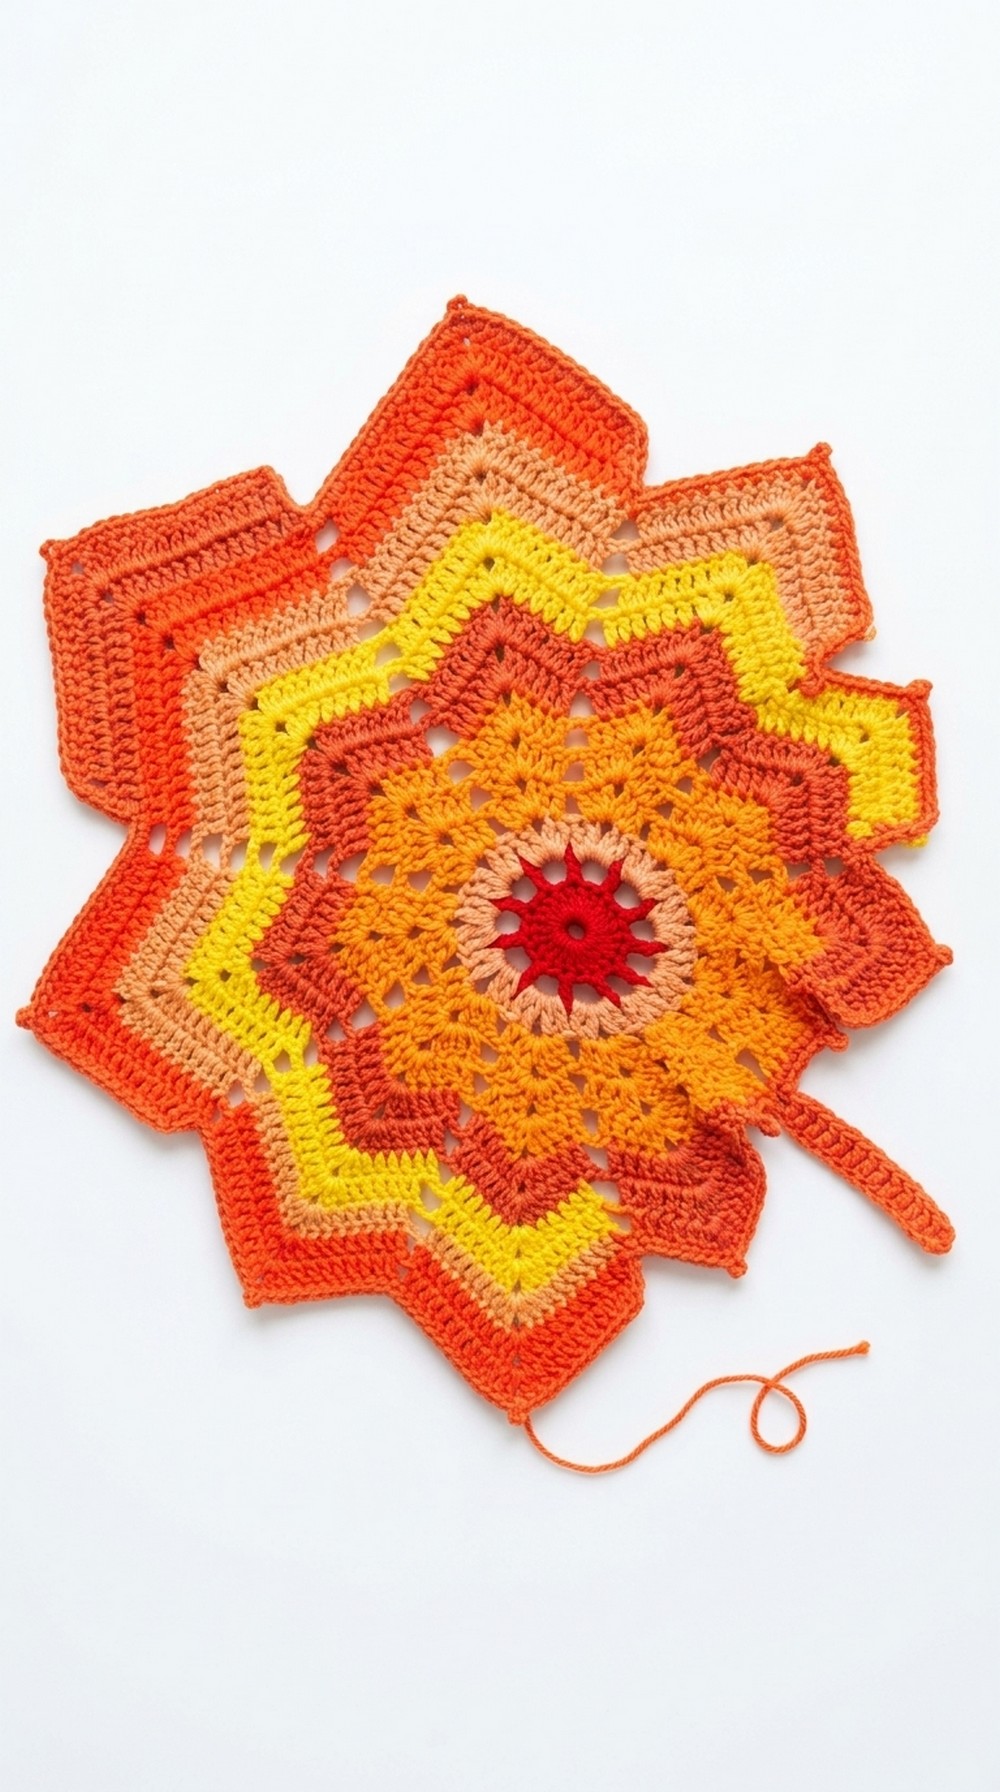
What makes it extra special are the tiny ridges stitched into the back loops, mimicking the delicate veins of a real leaf. Use this colorful leave as eye catching coaster to protect your table or string them together for a lovely fall garland.
Even if you’re new to crocheting, the simple steps make it easy to create your own masterpiece. Celebrate nature and add warmth to your space with this stunning project.
Crochet Maple Leaf Coaster Pattern
Materials Required
- Yarn: Multiple colors of yarn (e.g., yellow, orange, white) to create a colorful placemat motif. Ensure you use soft, durable yarn that is suitable for crochet projects.
- Crochet Hook: Select a hook size that matches your yarn’s thickness—commonly between 3.5 mm to 4.5 mm.
- Scissors: To cut yarn when needed.
- Tapestry Needle: For weaving in ends and joining sections neatly.
- Stitch Markers (optional): To mark rows or sections for convenience.
- Measuring Tape: To ensure uniform sizing if making multiple motifs for larger projects.
Pattern Instruction
Step 1: Start with a Magic Ring
- Form a magic ring (or substitute with 8 chains joined to create a circle).
- Tighten the ring securely to adjust its size later if needed.
Step 2: Foundation Round
- Crochet 22 double crochet (DC) stitches inside the magic ring.
- For easier counting, consider splitting this into sets (e.g., count by five).
- Slip stitch into the third chain of your initial stitches to join the round.
- Pull your ring tight to close the circle if using the magic ring technique.

Step 3: Second Round
- Chain 3 (counts as one DC).
- Chain 3 more to create a space.
- Skip one stitch and in the next stitch, do 1 DC.
- Repeat the pattern: chain 3, skip one stitch, 1 DC into the next stitch around the ring.
- Slip stitch into the third chain of the initial stitch to close the round.
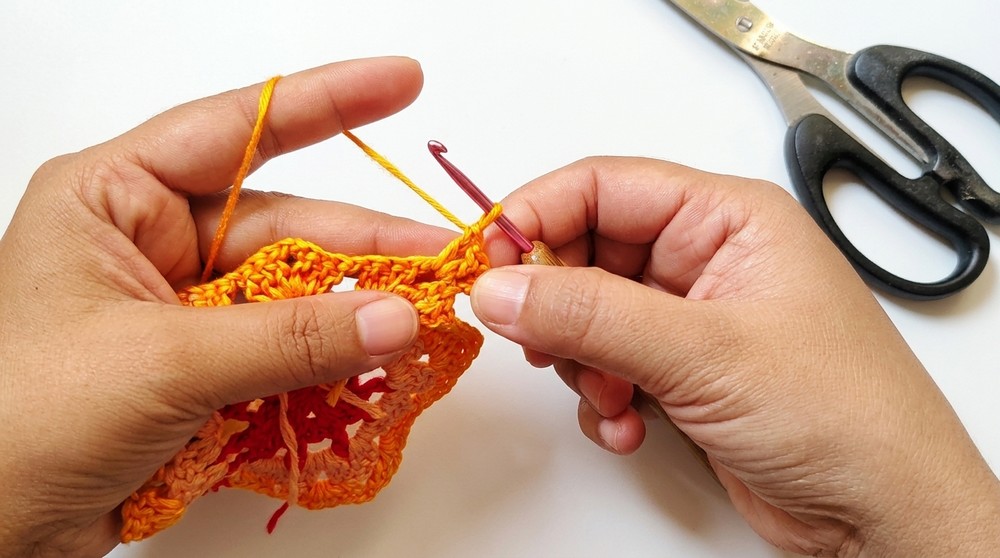
Step 4: Adding Rows with Color Changes
- Change yarn color using the slip knot method.
- Start in a 3-chain space with single crochet (SC) and chain 2 (this counts as DC).
- In every 3-chain space: 2 DC, chain 2, 2 DC.
- Continue around the ring, working the specified pattern into each space.
- Join with a slip stitch in the third chain of your starting stitch.
Broadening the Design
Round Expansion
- With each new round, increase the sets of stitches between corners.
- Follow this pattern:
- Work 3 DC sets in the first rows, then progress to 4 DC sets in subsequent rows.
- Add chain spaces as needed between sets to maintain the motif pattern.
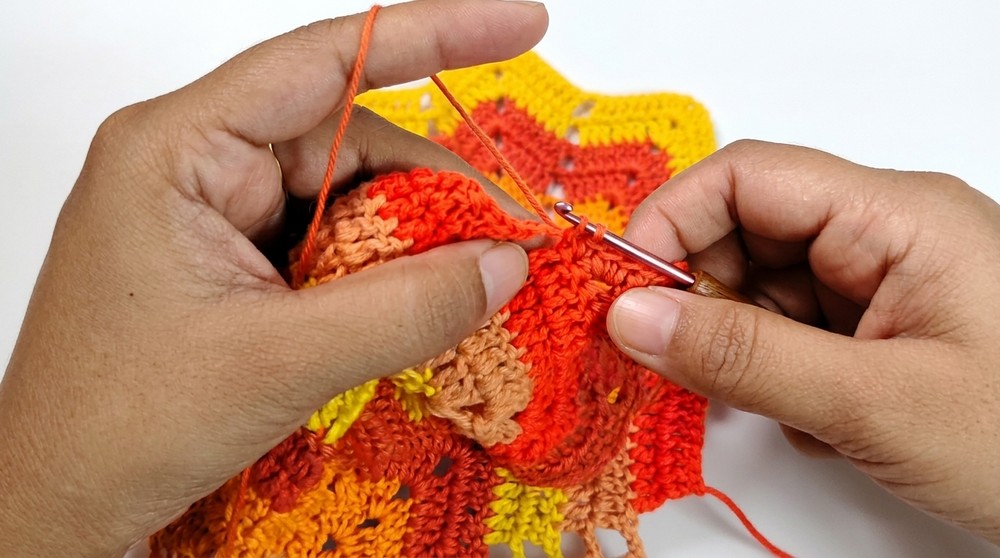
Finishing Details
- For the final row, work single crochet stitches along each stitch to give the edges a clean, polished look.
- Add picot edging where required: chain 2, slip stitch back into the SC for a decorative texture. Continue this pattern around.
Tips to Maintain Your Crochet Map Leaf Motif
- Color Coordination: Use complementary colors for an appealing visual. Bright and sunny shades work best for this cheerful design.
- Blocking: Steam block or pin block the finished motif for an even and tidy shape.
- Washing: Handwash gently with mild detergent to preserve the texture and vibrancy. Lay the piece flat to dry.
- Placement Suggestions: Use this motif as a placemat, centerpiece, or accent for your dining or living space to enhance its beauty.
- Personalization: Experiment with different yarn textures (e.g., soft cotton for casual use or threads for a lace like finish).
Final Words
This Crochet Map Leaf Motif Placemats project combines intricate details of raised stitches and picot edging to deliver a stunning handmade item. With its easy to follow techniques and colorful appearance, the finished pattern can brighten spaces and impress viewers. It is ideal for both beginners and advanced crocheters who seek a rewarding project.