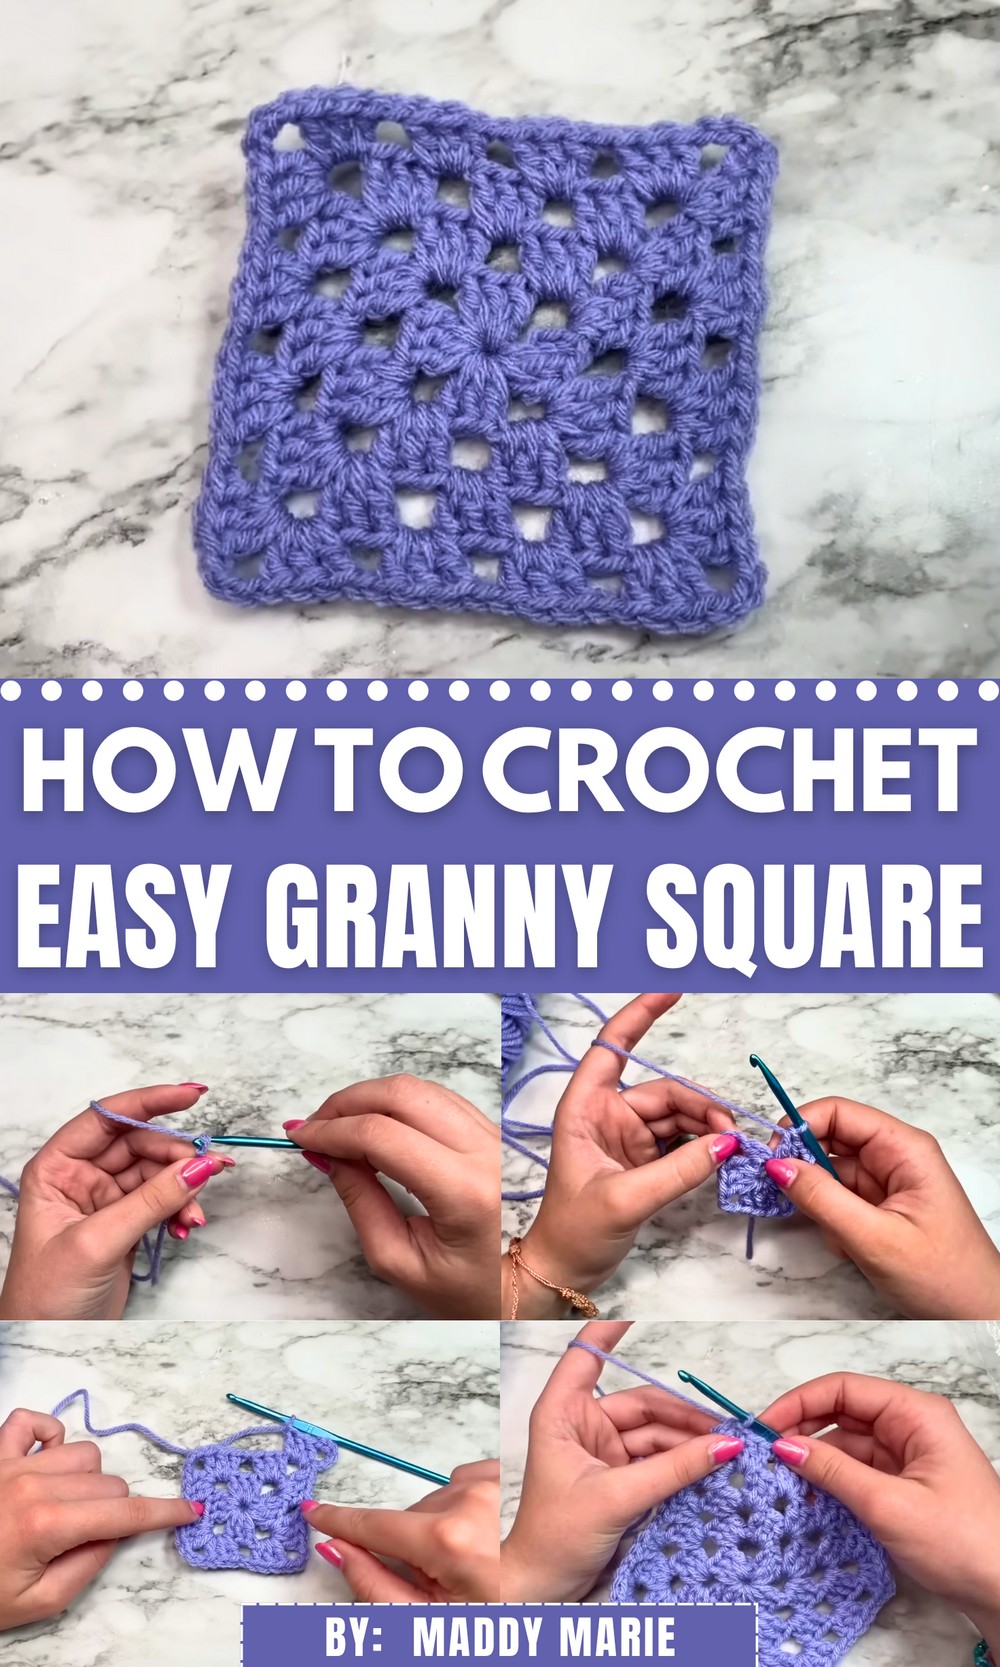
Revive your yarn stash with this Free Crochet Granny Square Pattern and shape timeless projects from simple squares full of charm and function.
Under the soft clatter of a wooden hook and leftover yarn, a tradition began, one made not for show, but for usefulness and heart. That humble beginning gave rise to what many still hold dear today: a simple yet endlessly adaptable square. The free crochet granny square pattern offers more than a motif, it provides a flexible way to shape your creativity into practical treasures. You can build blankets, bags, cushion covers, table runners, or even wearables, each infused with personal charm and color choices.
Crochet Granny Square Pattern Perfect for Beginners and Pros Alike

The structure of the square is soothing, its rhythm familiar, making it a favorite among beginners and seasoned crocheters alike. It’s ideal for using up yarn scraps and practicing stitches without overwhelming commitment. This pattern is easy to carry, quick to pick up, and naturally lends itself to relaxed, fulfilling sessions.
With the free crochet granny square pattern, your hands won’t just be making fabric—they’ll be connecting with a timeless method of expression. Whether stitched solo or joined into something grand, each square holds potential far beyond its size.
Special Features of the Pattern
- Beginner-Friendly: The project is specifically tailored for those just starting their crochet journey. Each step is explained in great detail with visual support.
- Updated Technique: The creator has improved their granny square method, making the process smoother and more precise.
- Versatile Design: The completed granny square is a building block for various crochet projects, such as bags, blankets, and other creative items.
Materials Needed
To follow the tutorial, you’ll need:
- Yarn: Any yarn of your choice.
- Crochet Hook: A hook suitable for your yarn’s thickness.
- Yarn Needle: For weaving in the ends.
- Scissors: To cut the yarn when finishing.
Step-by-Step Instructions
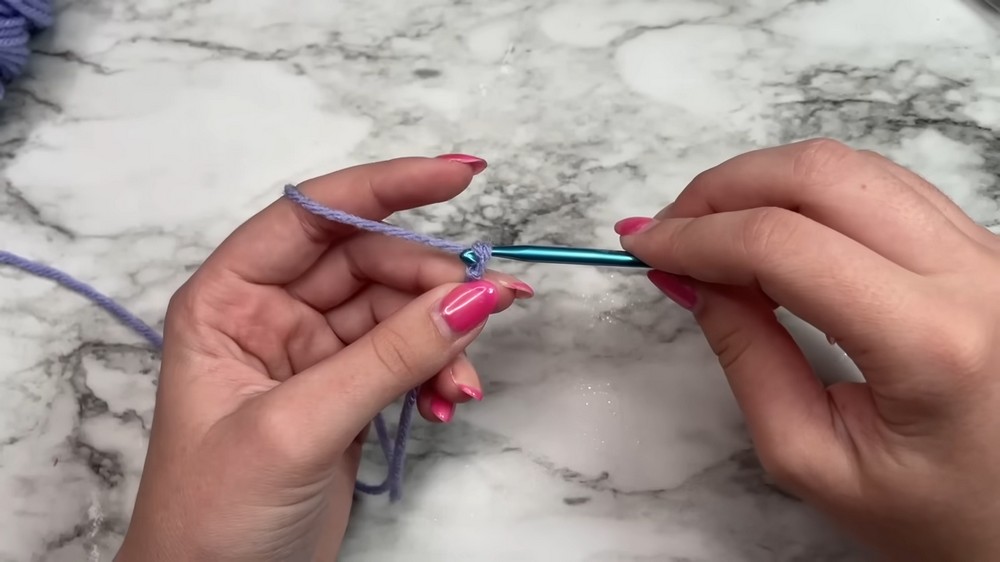
Step 1: Begin with a Slip Knot
- Hold the yarn’s tail in your right hand and the long end in your left.
- Cross the yarn to make a loop.
- Pull the long strand through the loop, tighten it, and place it on the crochet hook.
Step 2: Create the Foundation Ring
- Chain 4 stitches.
- Slip stitch into the first chain to form a small ring.
Step 3: Start the First Round
- Chain 6 (counts as the first double crochet + chain 3).
- Work 3 double crochets into the ring.
- To double crochet, yarn over, insert the hook into the ring, pull up a loop, yarn over and pull through two loops, then yarn over and pull through the remaining two loops.
- Chain 3, repeat the process, and form clusters of double crochets (you’ll make a total of 4 groups of 3 double crochets, separated by chain-3 spaces).
Step 4: Slip Stitch to Join the Round
- After forming the last cluster, slip stitch into the third chain of the initial chain-6 to close the round.
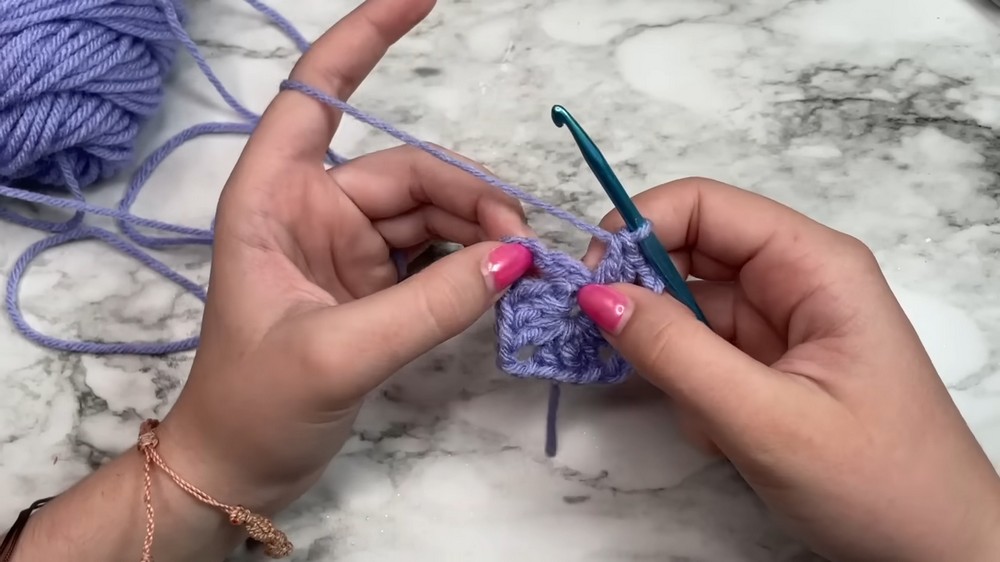
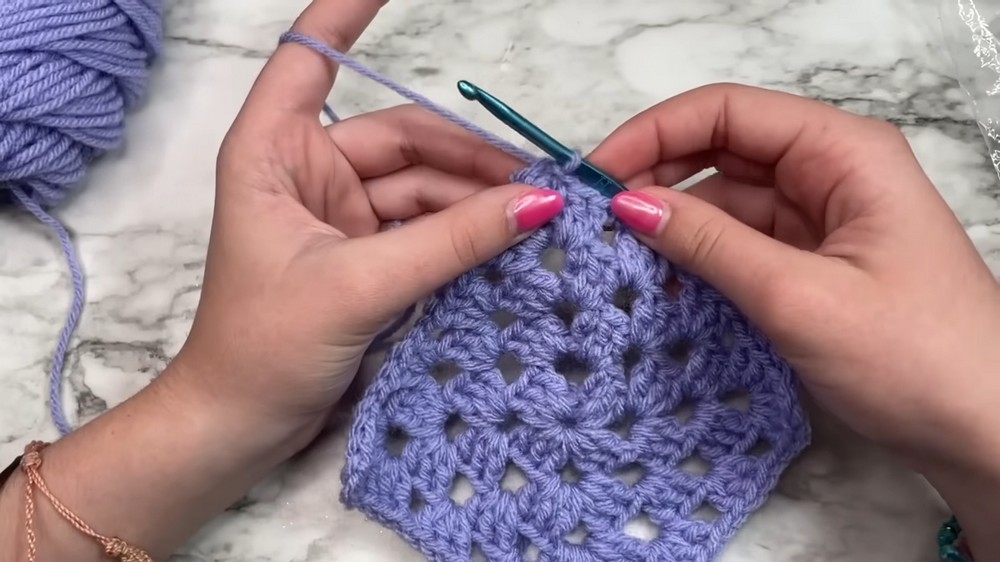
Step 5: Build Additional Rounds
- For subsequent rounds:
- Start with a slip stitch into the adjacent chain space and chain 6.
- In each corner space, work two clusters (each consisting of 3 double crochets) separated by a chain-3.
- In each middle space, work only one cluster (3 double crochets).
- Always chain 1 between clusters.
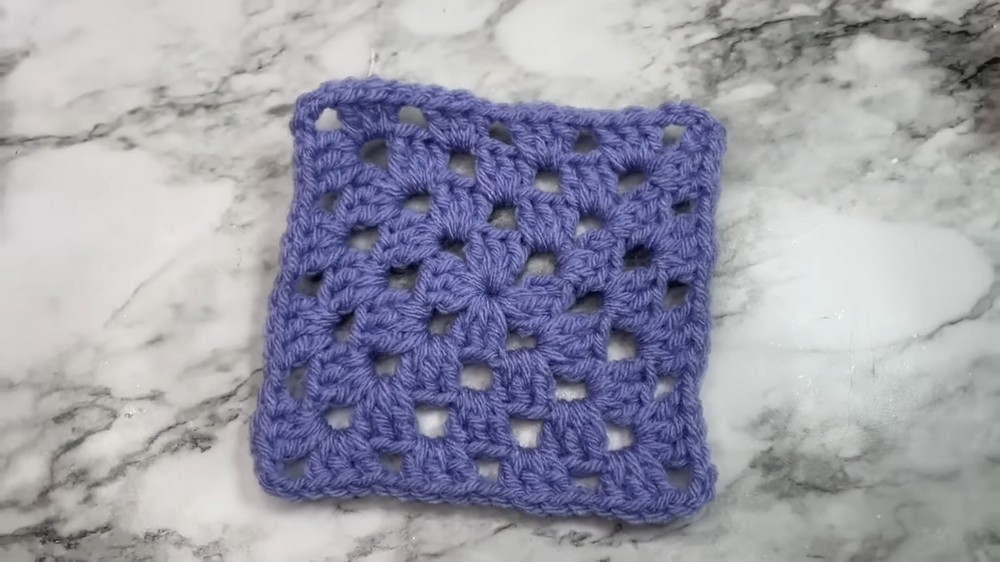
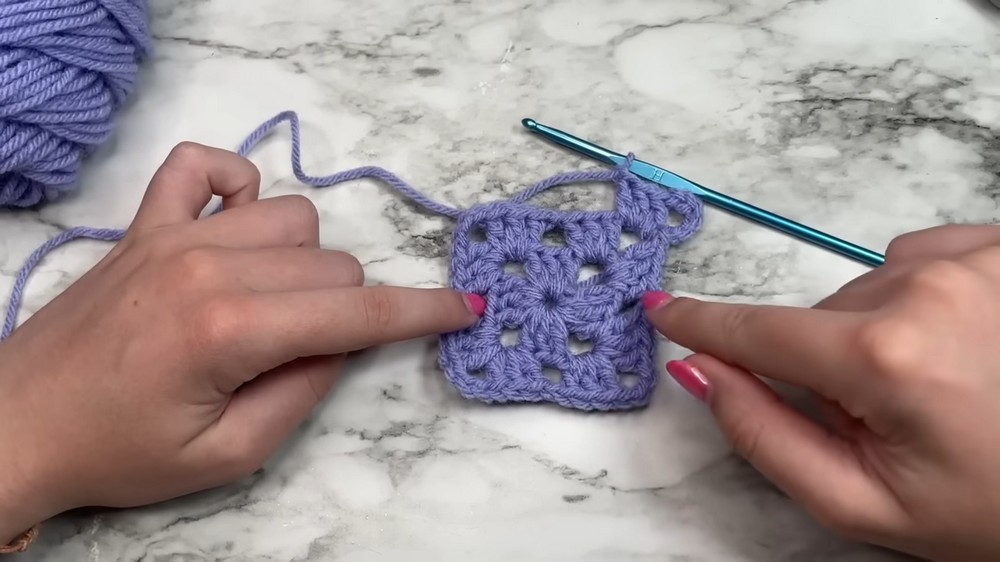
Step 6: Finish the Granny Square
- Complete the desired size of the granny square.
- Fasten off by chaining 1, cutting the yarn, and pulling it through.
- Weave in loose ends using a yarn needle.
Tutor’s Suggestions
- Use Different Colors: Experiment with various yarn colors for a vibrant effect. Changing the yarn color after each round can make the granny square even more visually appealing.
- Crochet at Your Pace: There’s no rush—practice each step until it feels comfortable.
- Start Small: Begin with a small granny square before attempting larger projects.
Uses of the Granny Square
Granny squares are versatile and can be incorporated into a wide variety of projects, such as:
- Tote bags
- Blankets
- Coasters
- Pillow covers
- Clothing (e.g., vests, cardigans)
The creator mentions using these granny squares to craft a tote bag, which they also have a tutorial for.
Level of Difficulty
The project is classified as easy and beginner-friendly. It’s an excellent introduction to basic crochet techniques such as slip knots, chaining, double crochets, and slip stitching.
Bonus Tip
To achieve even edges and consistent tension, make sure to maintain uniform pressure on the yarn as you work. Relax your hands, and let the hook do the work.
Conclusion
This simple granny square pattern is perfect for anyone new to crocheting. By following the clearly explained steps, you’ll be able to create beautiful and functional granny squares. These squares can serve as the foundation for many creative crochet projects. Whether you’re looking to learn a new skill or create something beautiful, this tutorial is a great starting point.