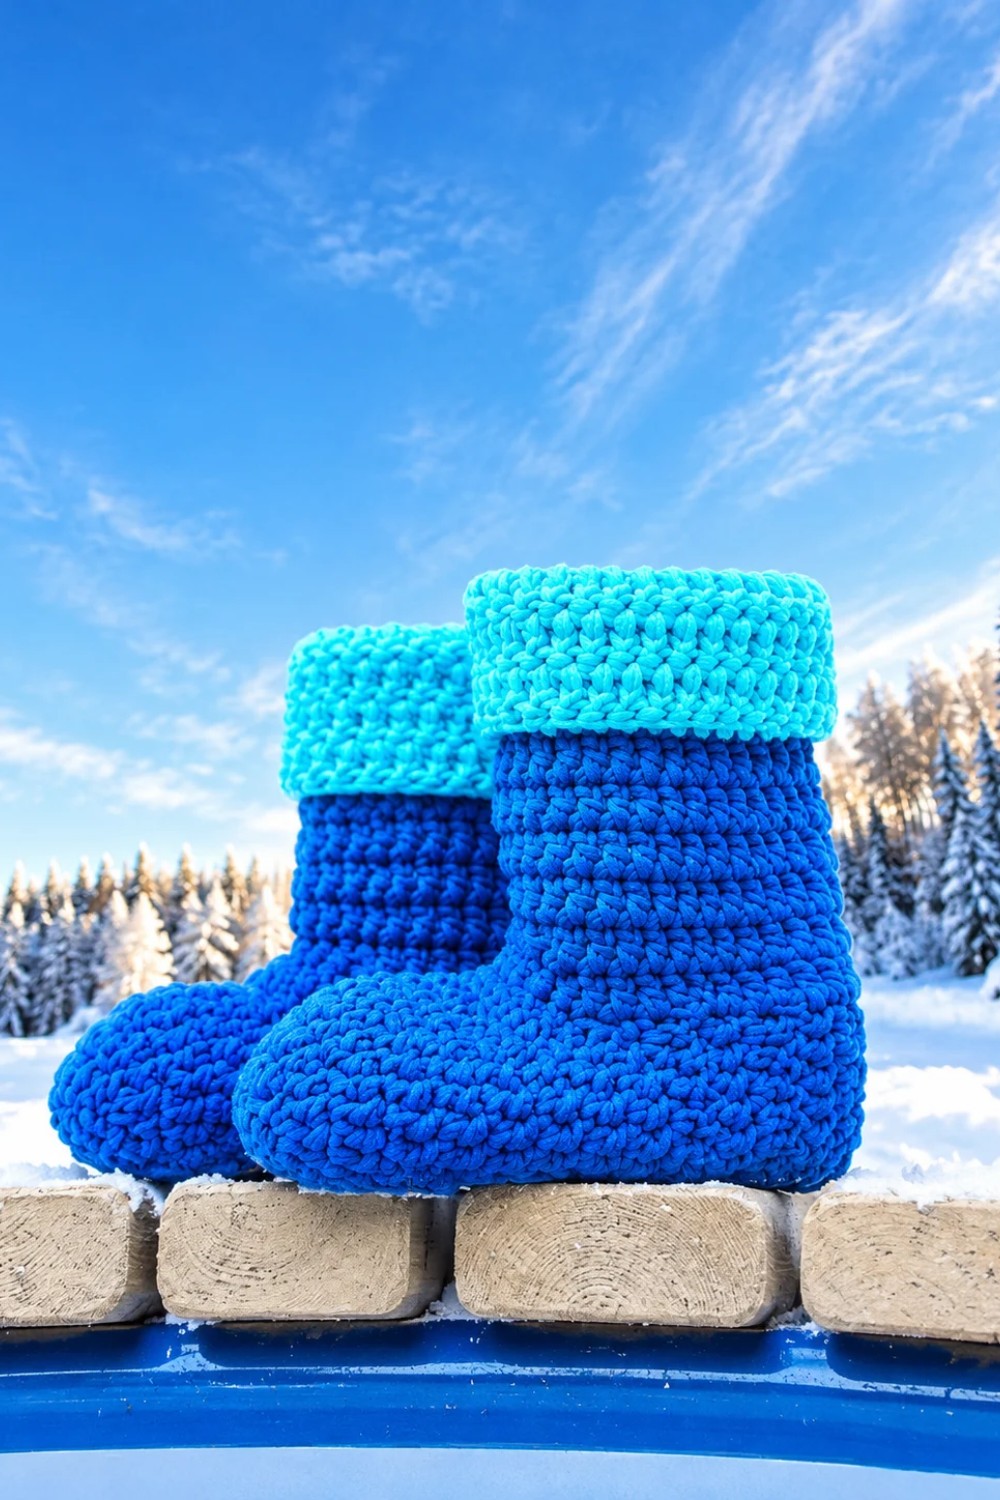
Keep your feet comfortable with this Crochet Boots Free Pattern, a cozy yarn project for relaxing evenings, quiet weekends, and thoughtful gifts.
A warm pair of soft footwear can help keep your feet covered while you relax at home. The Crochet Boots are a lovely handmade footwear idea for people who like wearing cozy yarn accessories. They can be a nice choice for indoor use, especially on chilly mornings or evenings.
Кристина Богданова shares this footwear project for anyone interested in crocheting something useful for their feet.
Warm Crochet Boots Free Pattern For Chilly Days
One important part of these boots is their shape. They cover the feet and extend above the ankles, giving more coverage than ordinary slippers. The crochet stitches give the fabric a textured feel. You can choose chocolate brown, dark gray, cream, or burgundy yarn to match your favorite home clothes.
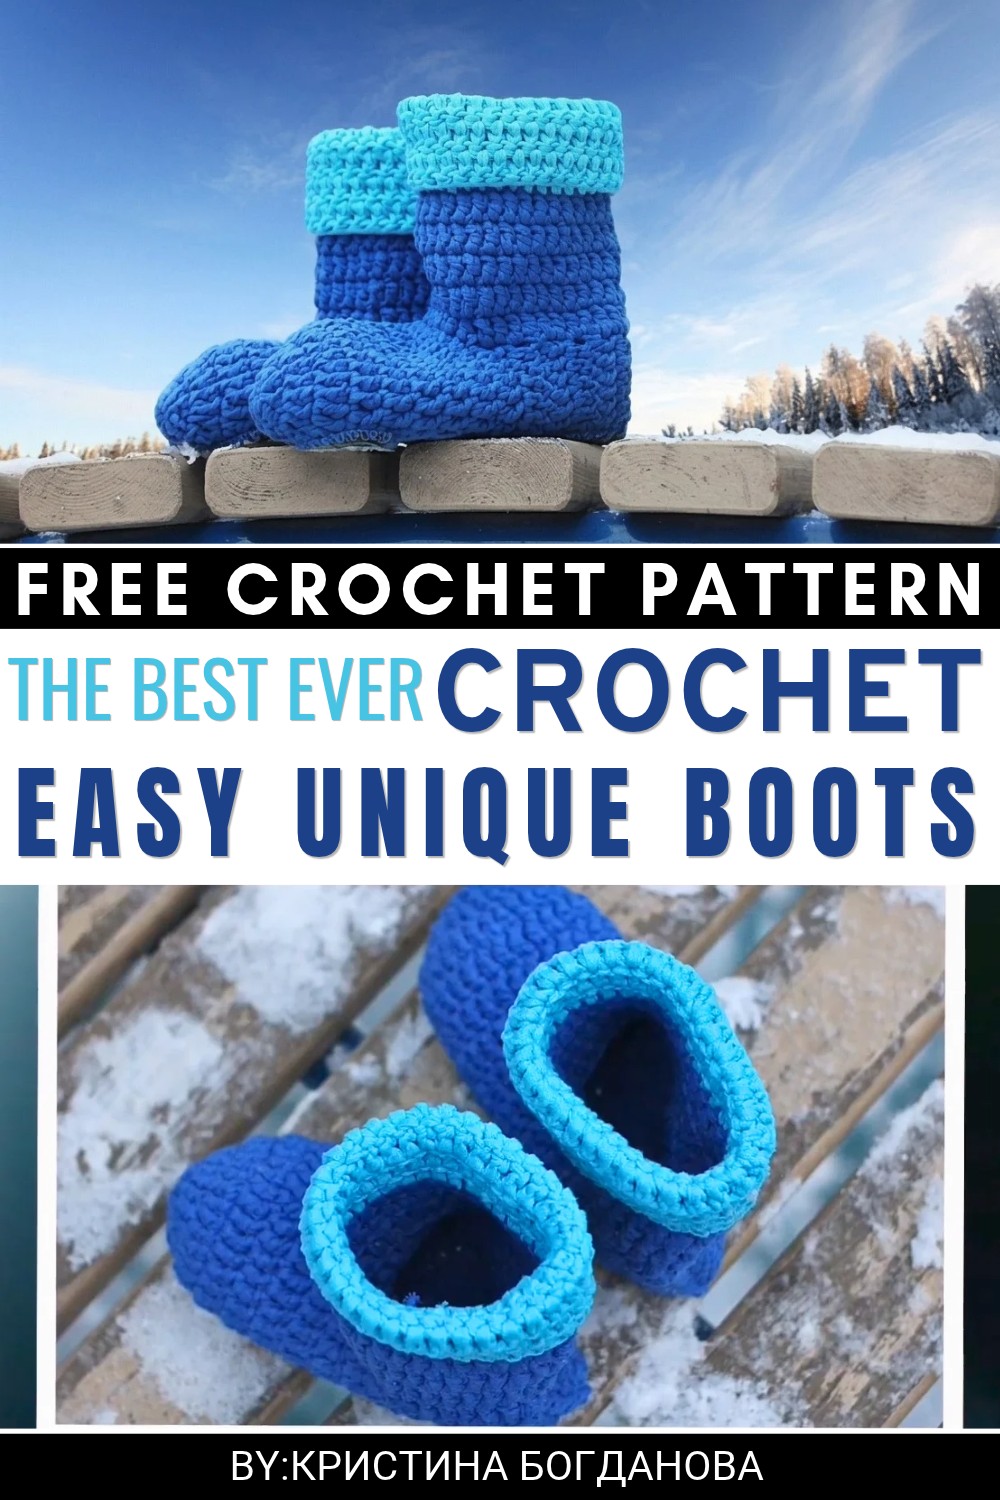 Before starting, measure the length of your feet and check the size instructions. Follow the tutorial to shape the different sections, paying attention to the heel, toe, and ankle areas. Choosing suitable yarn can help the finished footwear feel pleasant against the skin.
You can wear these boots while relaxing on the sofa, reading a book, or spending a quiet evening at home. They also go well with pajamas, leggings, or other comfortable clothing. For safety, use a suitable non-slip sole or grip treatment before walking on smooth floors.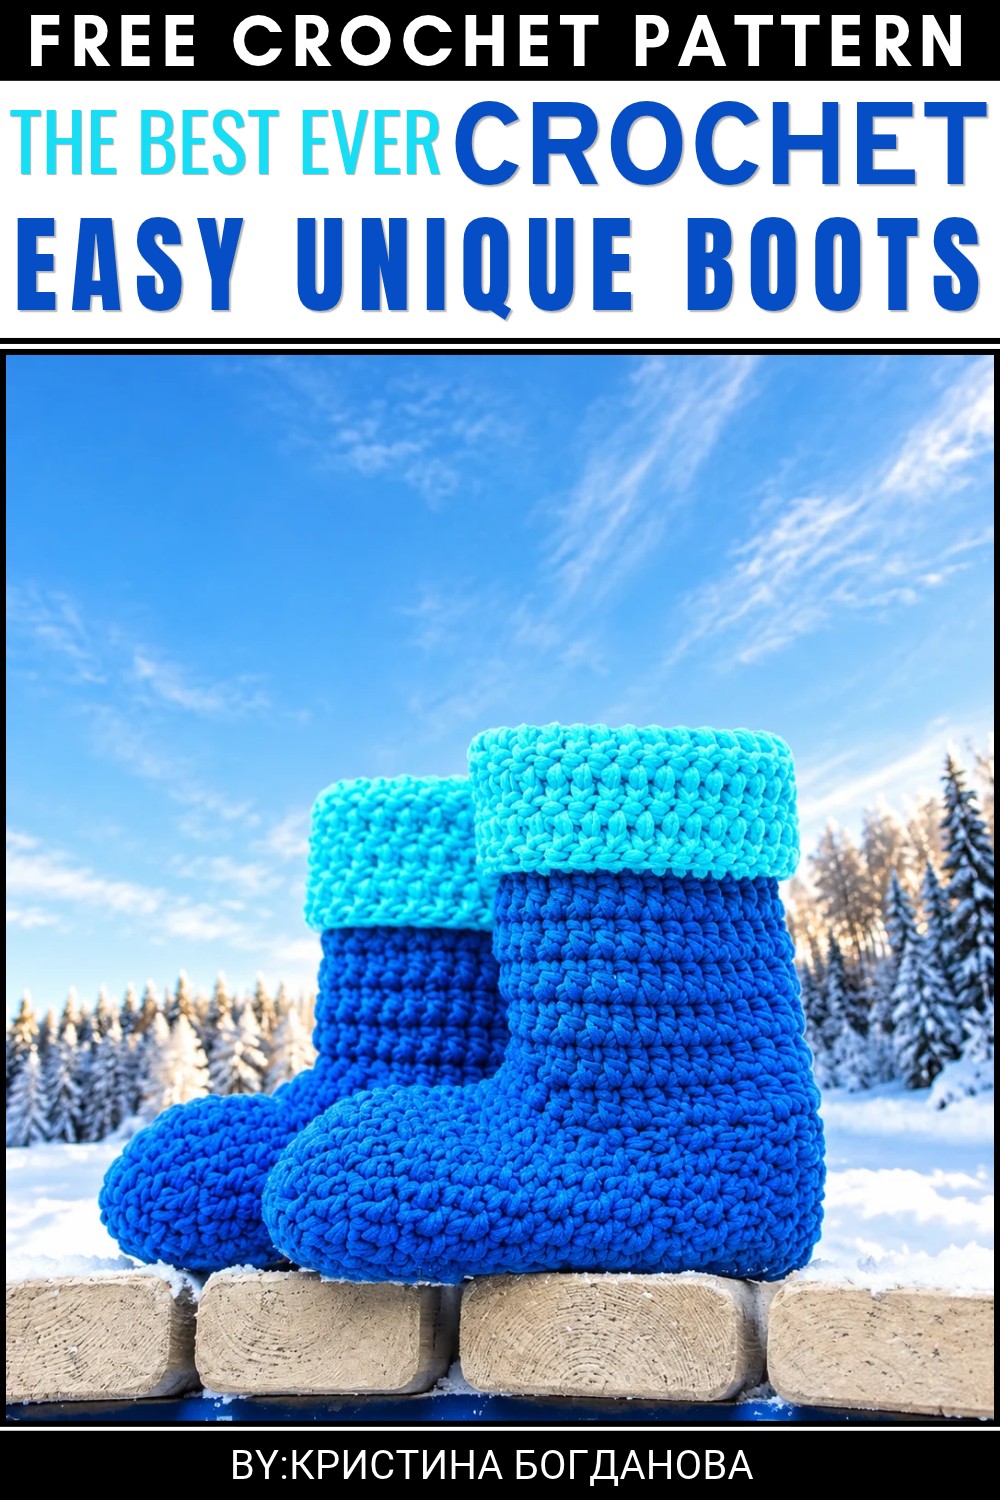 A pair in someone’s favorite color can be a thoughtful handmade birthday or Christmas present. After washing, allow the boots to dry fully and reshape them gently. This helps the yarn keep its form for future use.
Pattern Overview
This pattern guides you through creating a pair of chunky, cozy home slippers/boots in adult size 36–38 (EU) using Hoooked RibbonXL yarn and a 6mm crochet hook. The slippers are worked from the toe upward in rounds, shaping the foot and ankle, and finished with back-and-forth rows for the heel before joining and continuing up the leg for a boot-style fit. This is a straightforward pattern composed primarily of basic stitches, with increases at the toe and heel shaping for fit.
Quick Details
- Type: Home slippers/boots
- Size: Adult sizes 36–38 (EU)
- Yarn: Hoooked RibbonXL or similar chunky tape yarn
- Hook: 6mm
- Construction: Toe and foot in joined rounds, heel and upper in rows, seam at heel, leg in rounds
Important Tips
- Use a stitch marker at the start of each round to keep track.
- Maintain a consistent tension with RibbonXL, as it is non-stretchy.
- Always join rounds with a slip stitch and begin each new round with a chain 3 (counts as the first double crochet).
- For neatest results, be precise with your stitch and row counts, and ensure your foot circumference matches the intended size before proceeding past the foot section.
- Try on as you go if possible, especially foot length and leg height.
Skill Level
Easy/beginner. Comfort with the following is recommended: magic loop, double crochet, half double crochet, single crochet, slip stitch, working in the round, sewing crochet seams.
Materials
- Hoooked RibbonXL yarn (weight: chunky/tape, approx. 200g or as needed)
- 6mm crochet hook
- Tapestry needle
- Scissors
- Stitch marker
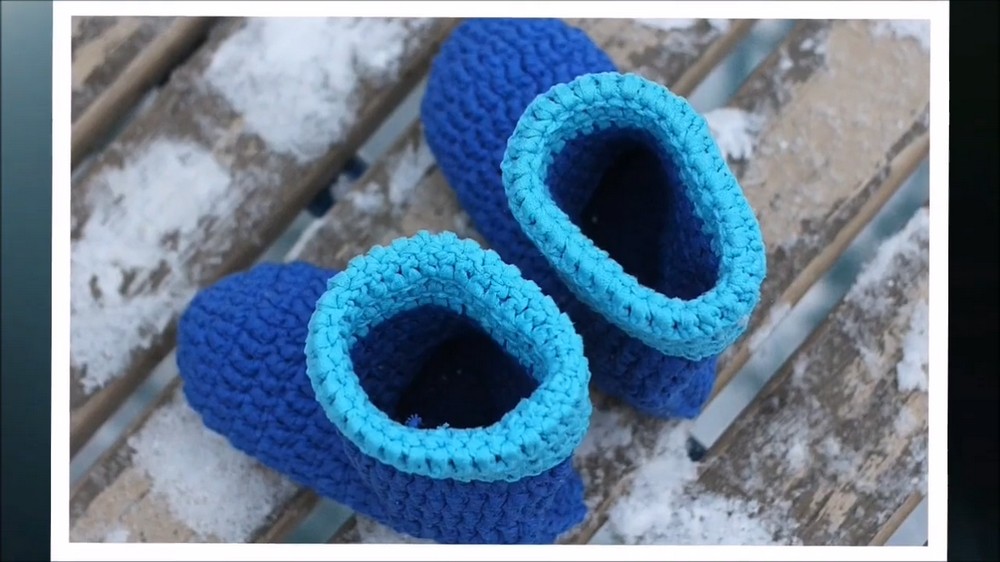
Measurements
- Toe circumference/foot width (unstretched): suits EU size 36–38
- Length: adjustable based on wearer’s foot
- Ankle/leg opening: customized in boot section
Gauge
Gauge is not provided but slippers are worked to fit. After Row 3 the circle should measure approximately 8–9 cm across. Adjust hook or tension if significantly off.
Abbreviations
- ch – chain
- sl st – slip stitch
- dc – double crochet
- hdc – half double crochet
- sc – single crochet
- st(s) – stitch(es)
- rep – repeat
Special Stitches
- Magic loop: Make a loop with working yarn, insert hook, pull up a loop, then ch 1 to secure and work stitches into this adjustable ring.
Step-by-Step Instructions
Toe and Foot Construction
Row 1:
Make a magic loop. Ch 3 (counts as first dc). Work 8 dc into the loop (9 dc total including beginning ch-3). Pull the loop tight. Join with sl st to top of beginning ch-3.
Row 2:
Ch 3. Work 2 dc in each st around for a total of 18 dc. Join with sl st.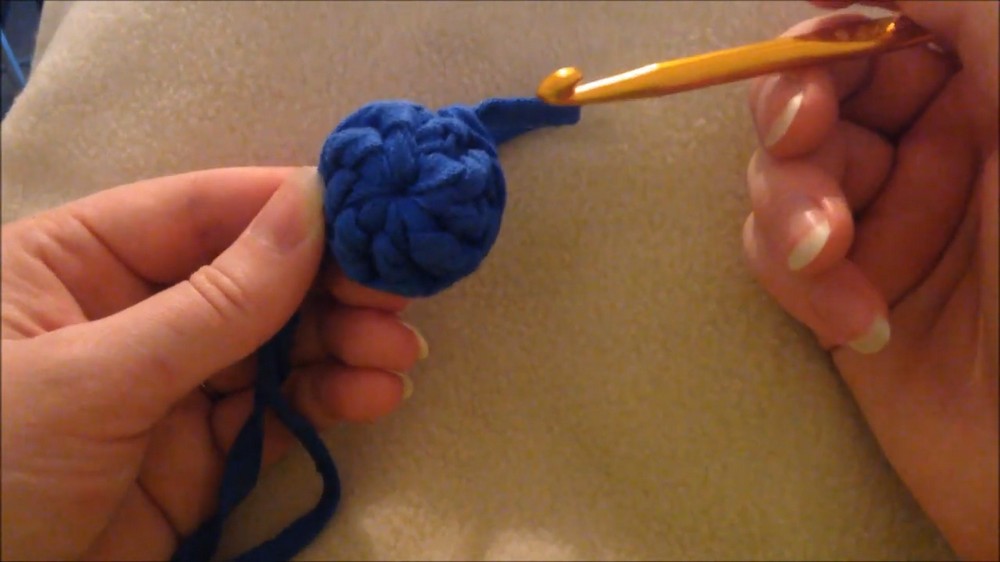
Row 3:
Ch 3. Work 2 dc in the first st, 1 dc in next st, repeat from * to * all the way around. (27 dc total.) Join with sl st.
Rows 4–8:
Ch 3. Dc in each st around (27 dc per round, no increases.) Join with sl st.
Repeat for 5 rounds.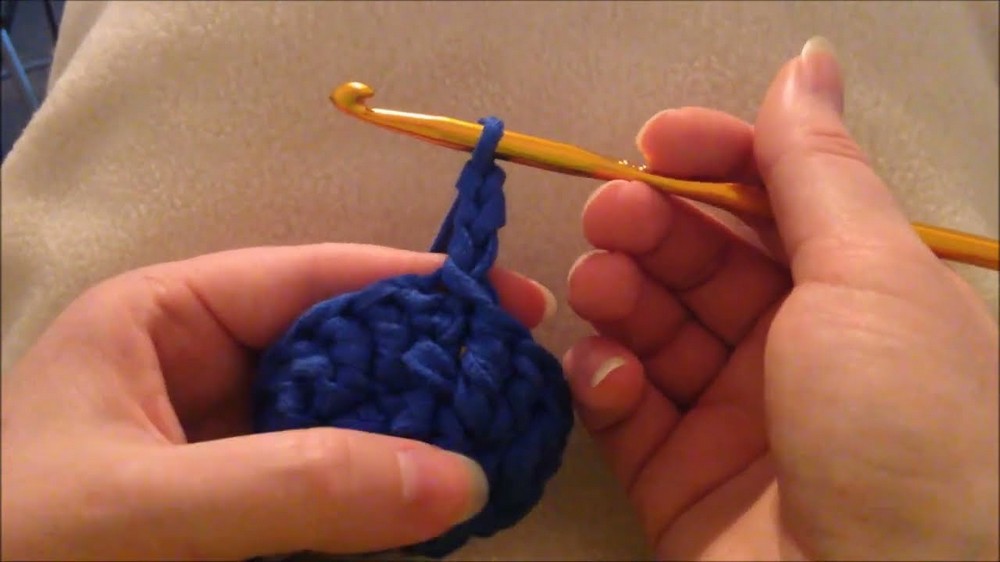
Heel and Upper Assembly
Rows 1–6:
You will now leave 6 stitches unworked at the center-back of the heel to begin flat rows for the heel.
Attach yarn at the first unworked st after the 6 skipped stitches.
Ch 3. Work 21 dc back and forth (do not join rounds), turn work at the end of each row.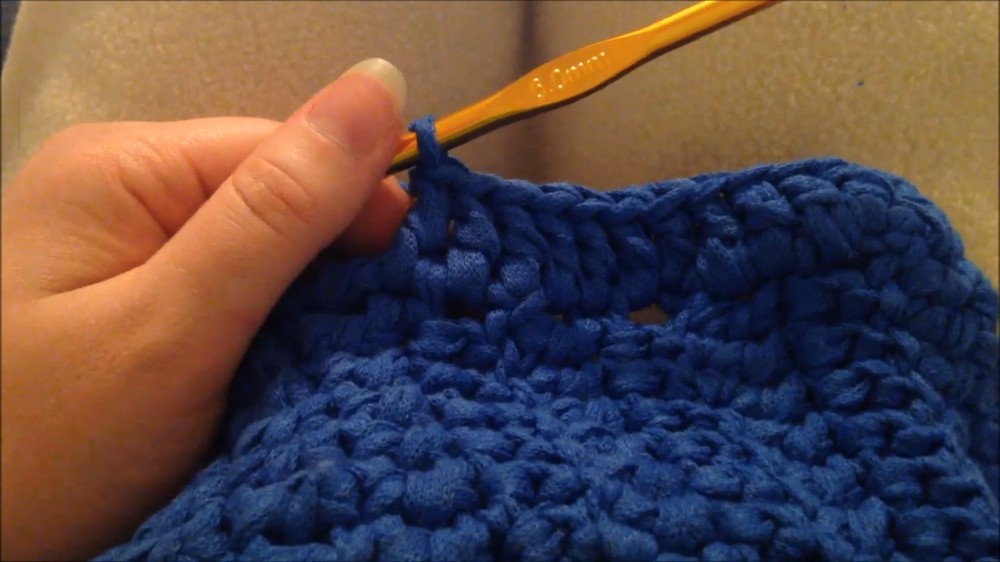
Repeat for 6 rows (working only across the 21 heel stitches; sides of the slipper will remain open).
Heel Shaping
After 6 back-and-forth rows, you will shape the heel as follows:
Divide the heel section into two parts: 10 stitches (side 1), 1 “center” stitch, and 10 stitches (side 2).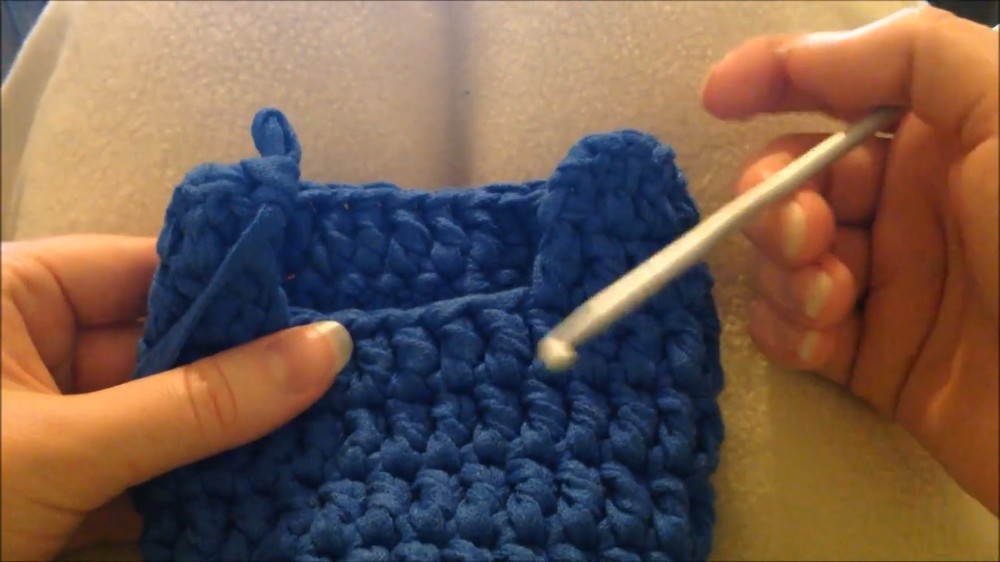
- Work 10 dc.
- 1 hdc in the next stitch.
- 1 sc in the next stitch.
- Leave remaining 11 stitches unworked for this row to create a more rounded heel.
This shapes the heel so that the fullness is reduced at the back. Fasten off yarn.
Assembly
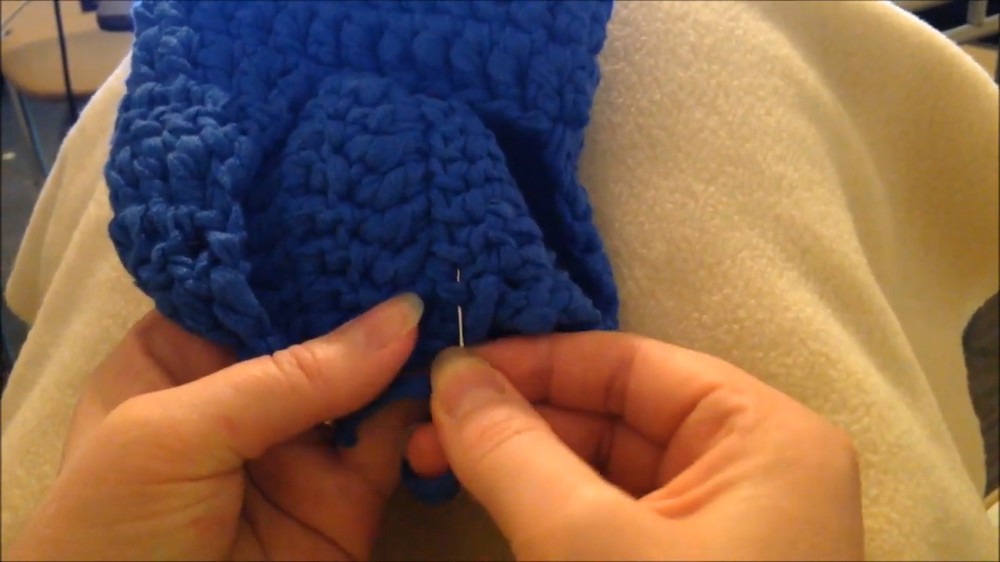
- Fold the heel flap so the straight edges align.
- Thread a tapestry needle with a length of yarn.
- Sew the two straight edges together using whipstitch or mattress stitch to close the heel.
- Fasten off securely and weave in all ends.
Leg Height
Base Row:
Rejoin yarn at the top edge (leg opening).
Work 1 dc into each dc and into each row-end/connection point around the opening to form a round base row. Join with sl st to the first dc.
Leg Rounds:
Ch 3. Dc in each st around. Join with sl st.
Repeat for 5 rounds, or continue for desired boot height.
Fasten off and weave in ends.
Assembly
- Turn the slipper right side out (if not already).
- Weave in all loose ends.
- Repeat all steps for the second slipper.
- Try both slippers on to confirm fit and comfort.
Final Notes
- Adjust boot height by adding more or fewer rounds to the leg for “boots” or “ankle slippers”.
- For a tighter fit at the ankle, optionally skip a stitch at the start of leg rounds or use a smaller hook for the cuff.
- Wash according to yarn label recommendations, especially for RibbonXL.
- Personalize with color accents, buttons, or ribbing as desired.
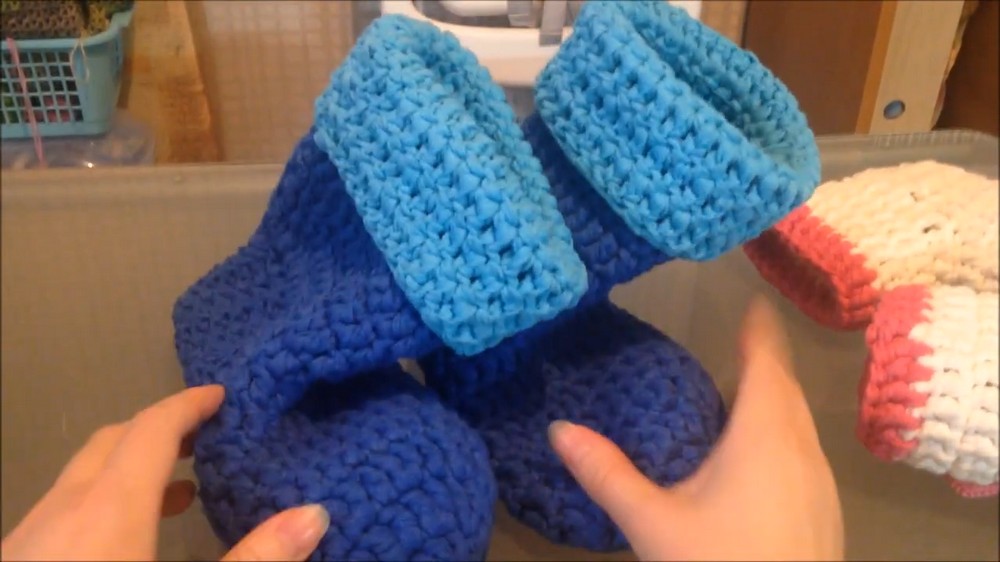
- Following all steps, you will have a pair of sturdy, modern-looking slippers/boots shaped for comfort and warmth. Adjust round, row, and height counts as needed for your foot size or to adapt the pattern for other users.