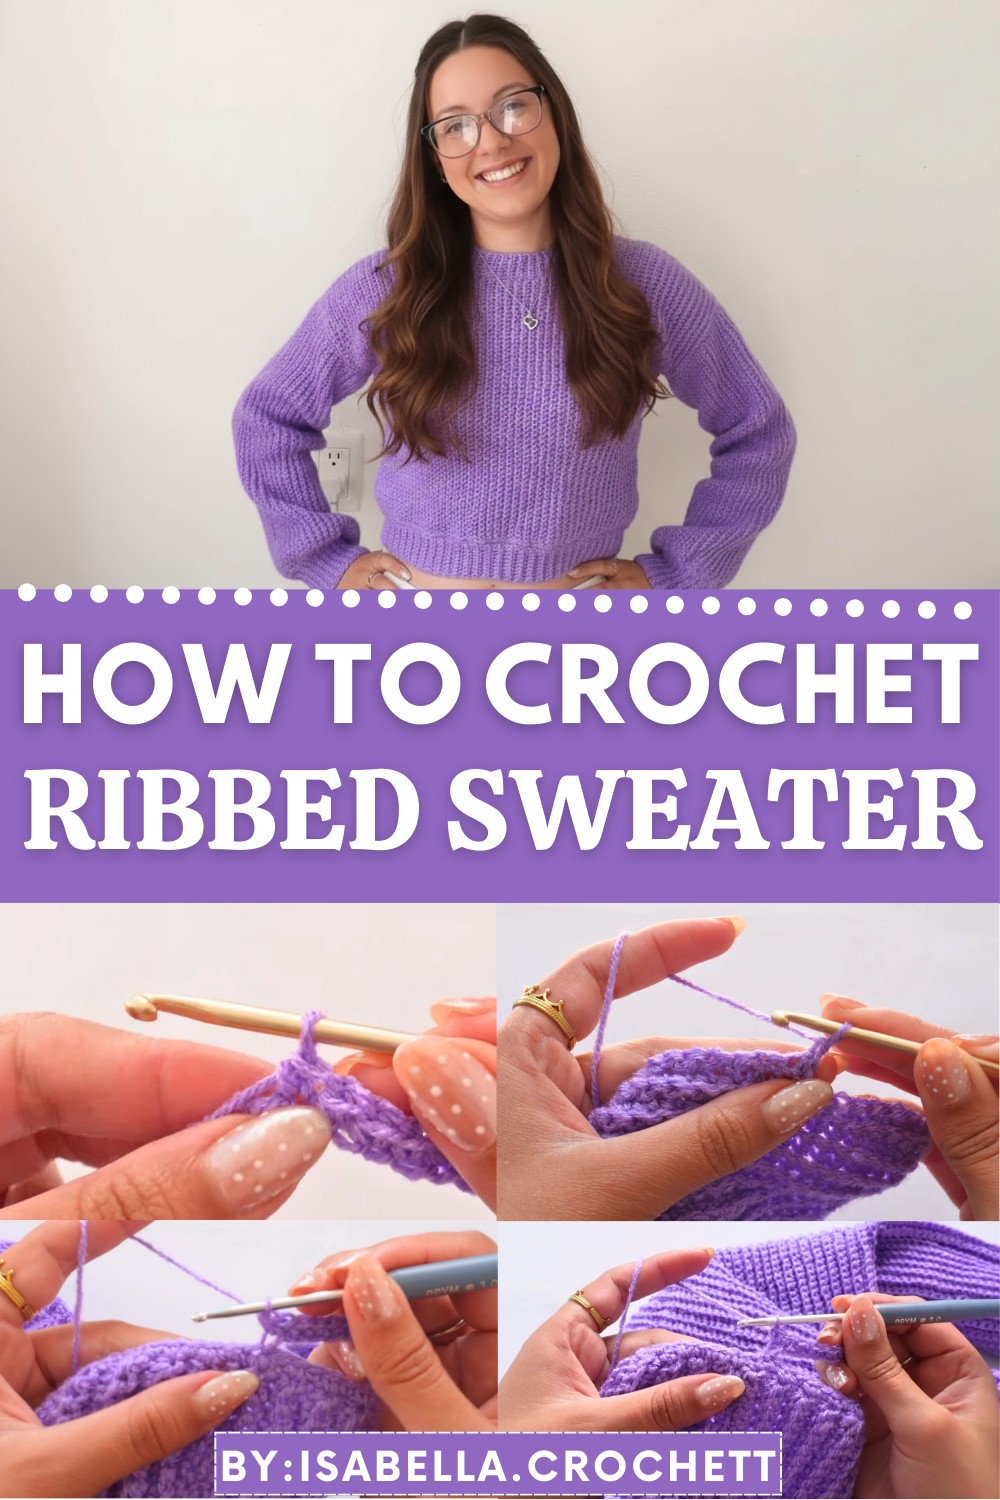
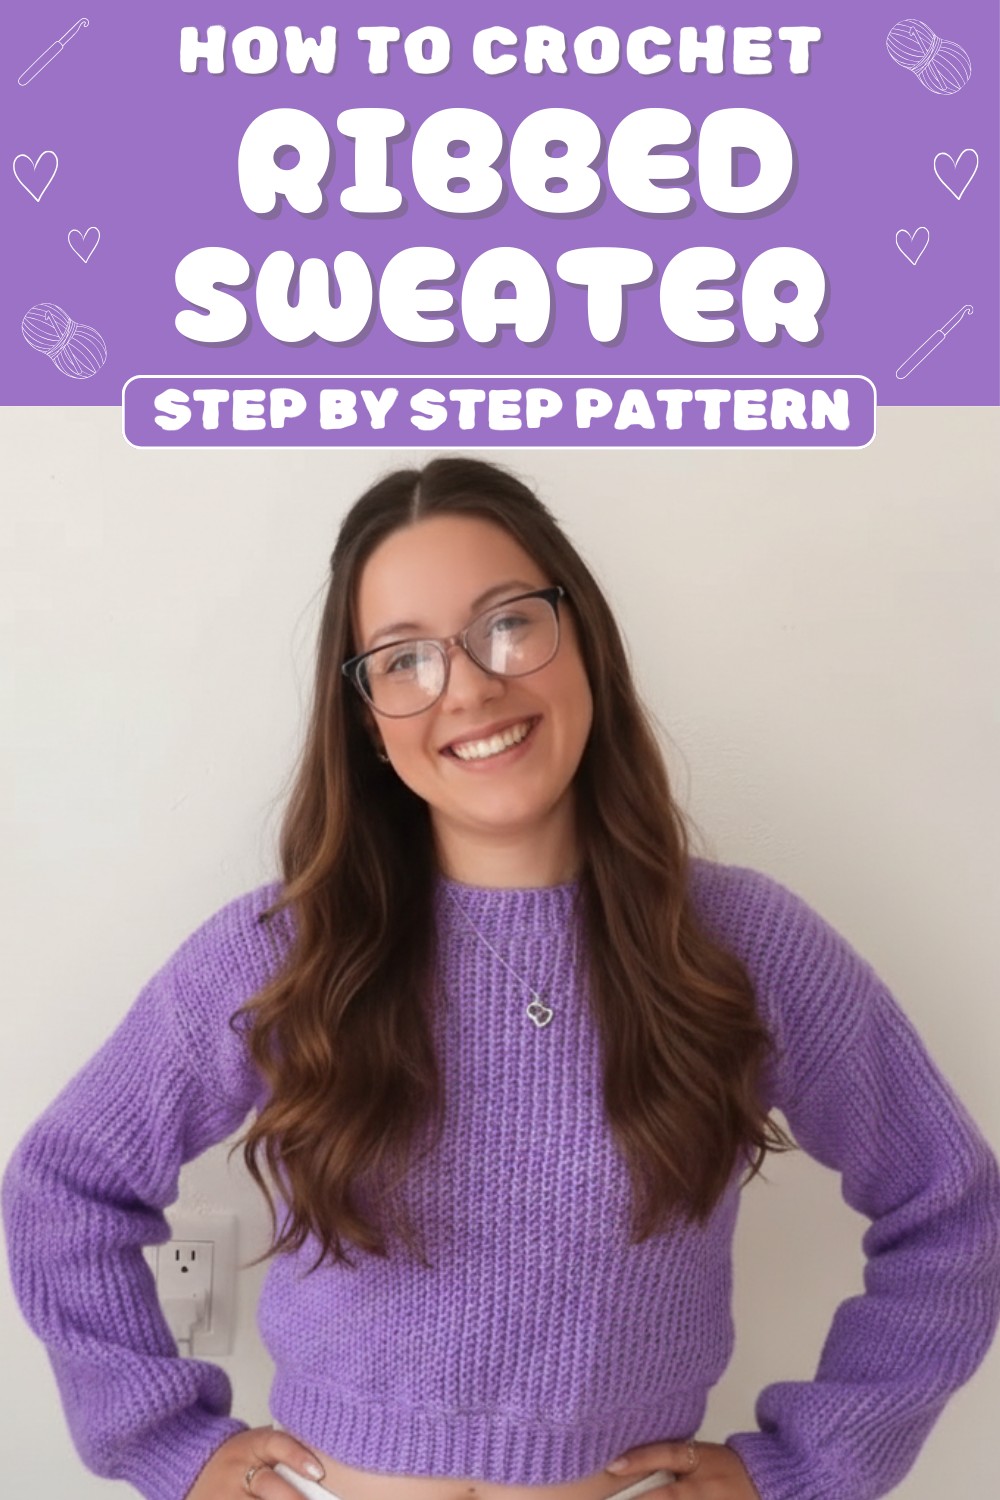
Wrap yourself in warmth and style with this ribbed crochet sweater that’s perfect for chilly days, offering comfort and elegance everyone will adore.
Cozying up in your favorite sweater on a chilly day, feeling snug and stylish at the same time. A ribbed crochet sweater pattern brings that dream to life, blending elegance with warmth in a way that’s truly magical. This sweater stands out with its textured ribbed design, giving it a unique and timeless beauty. Perfect for layering, it’s not just a piece of clothing—it’s a handmade hug you can wear every day.
Practical Ribbed Sweater Idea for Lazy Winter Days
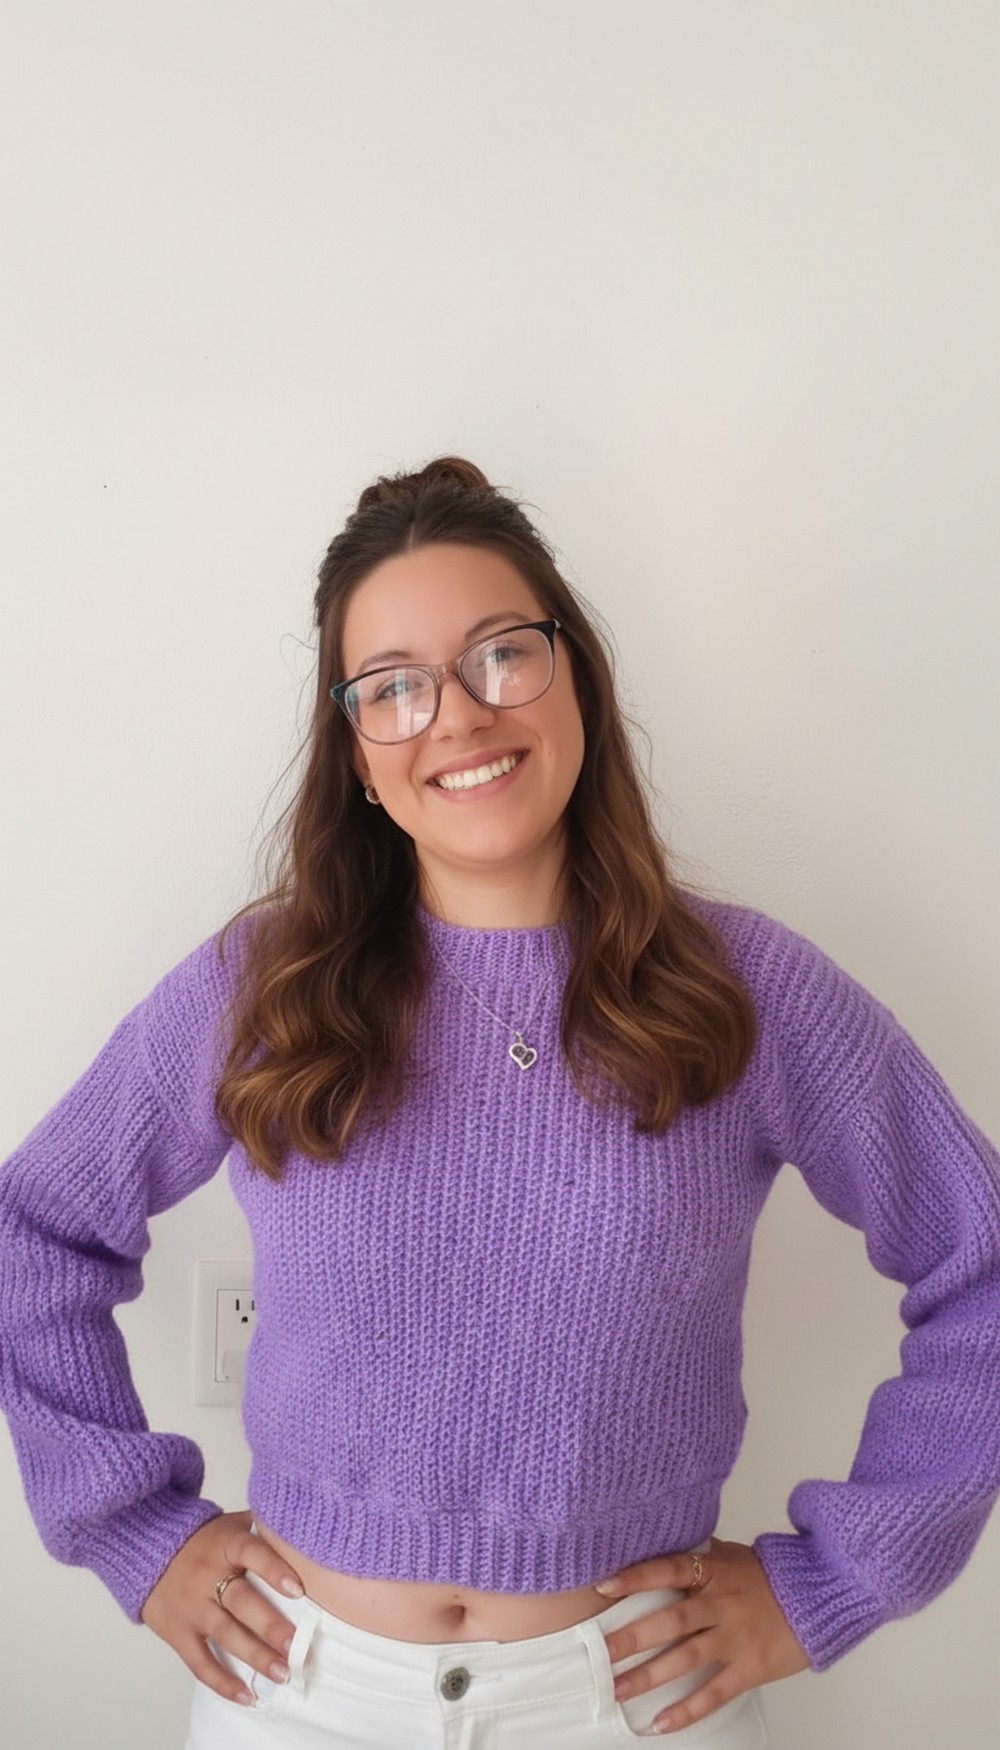
The pattern creates a sweater that fits beautifully, with a stretchy and comfortable feel, making it ideal for casual wear or dressing up. Its clean and structured appearance suits various styles, whether paired with jeans, skirts, or even cozy lounge pants. Plus, crafting it yourself makes it even more meaningful. This ribbed sweater isn’t just practical—it’s a stylish way to express your creativity while staying warm and confident during colder seasons.

Stylish Crochet Sweater Pattern
Skill Level:
Intermediate (Familiarity with single crochet, slip stitches, decreases, and crocheting in back loops is required).
Materials:
- Yarn:
- Type: 100% Acrylic yarn.
- Approximate amount: 450 grams (for size small).
- Color used in tutorial: Lilac (or any color of your choice).
- Hook Sizes:
- 3.5 mm crochet hook (for body and sleeves).
- 3 mm crochet hook (for elastic ribbing at the neck, cuffs, and hem).
- Notions:
- Measuring tape.
- Scissors.
- Stitch markers.
- Tapestry needle for sewing and weaving in ends.
Abbreviations (US Terminology):
| Abbreviation | Meaning |
|---|---|
| sc | Single Crochet (insert hook, yo, pull up a loop, yo, pull through both loops). |
| ch | Chain |
| sl st | Slip Stitch |
| BLO | Back Loop Only (work into back strand of the stitch). |
| inc | Increase (2 sc in same stitch). |
| dec | Decrease (join 2 stitches into 1). |
| yo | Yarn Over |
| rep | Repeat |
Special Notes:
- Elastic Edges: Elastic sections are created using chains worked into back loops only for a ribbing effect.
- Gauge: Single crochet stitches in back loop only should measure approximately 16 stitches and 12 rows = 4 inches (10 cm) using a 3.5 mm hook.
- Adjustments: The pattern provides directions for a size small sweater. To adjust for larger sizes, increase the foundation chains and rows proportionally.
Pattern Instructions
1. Sweater Panels (Front and Back)
Measurements (Size Small):
- Shoulder Width: 16 cm (6.3 inches).
- Neck Width: 11 cm (4.3 inches).
- Total Width: 42.5 cm (16.7 inches).
- Length: 37 cm (14.5 inches).
Step-by-Step Instructions:
- Foundation Chain:
- Using the 3.5 mm hook, create a slip knot and chain 70 (or your desired width).
- Add 1 extra chain to start single crochet rows.
- Row 1 – Single Crochet Foundation:
- Skip the first chain. Insert hook into the second chain from hook and work 1 sc.
- Continue with 1 sc in each chain stitch, including the last chain. (Total = 70 sc for size small).
- Turn your work.
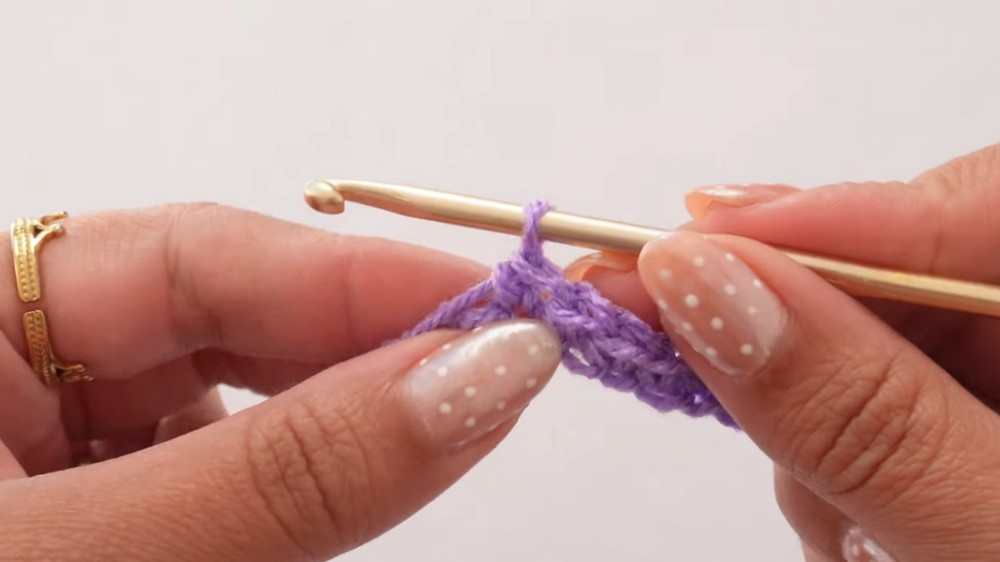
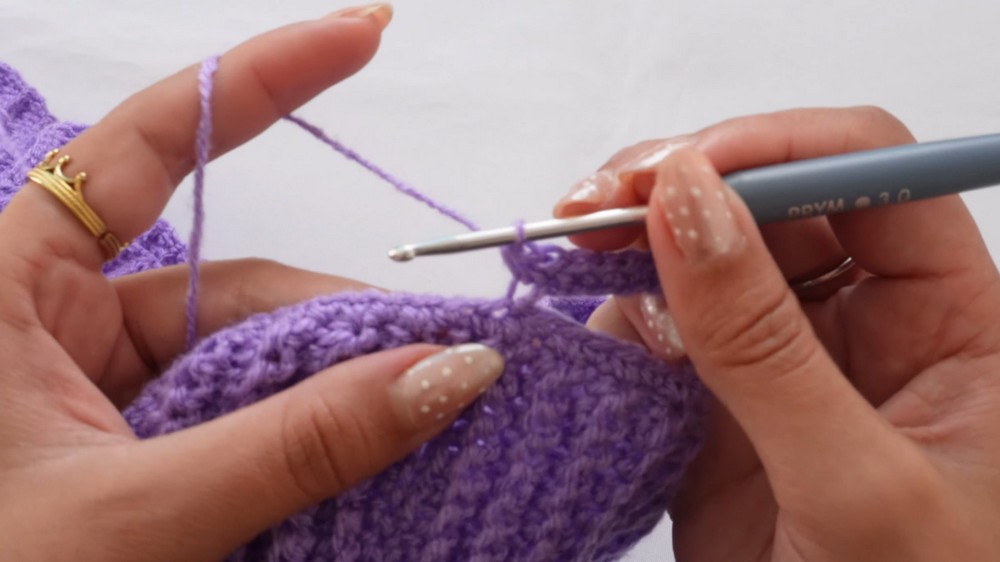
- Row 2 – Begin English Rib Stitch:
- Ch 1, turn work.
- Begin by working 1 sc into the stitch completely, then work sc BLO (single crochet through the back loop only) in each stitch across except for the last stitch, which will be worked completely.
- At the last stitch, work a sl st instead of sc to prevent stretching at edges.
- Rows 3–39 (or Desired Length):
- Repeat Row 2 until you reach the desired length of the panel. In the tutorial, 39 rows give a height of 16 cm for the shoulders.
- Ensure to begin each row with 1 sc in full stitch, followed by sc BLO in all other stitches, and end with a sl st in the last stitch.
2. Neckline Area (Decreases and Increases)
Decreases (One Shoulder):
- Start decreases after completing the straight rows.
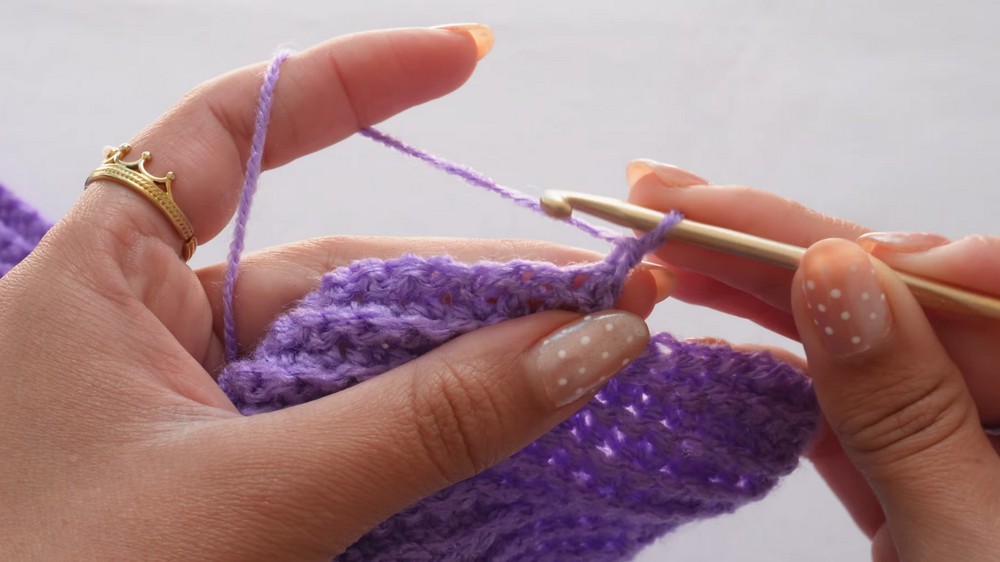
- Row 1 (Decrease at Beginning):
- Ch 1, turn. Begin by working a dec to join the next two stitches:
- Insert hook in 1st stitch, yo, pull up loop. Insert hook in next stitch, yo, pull up loop. Yo, pull through all three loops on the hook.
- Continue working sc BLO across as normal. End the row with a sl st in the last stitch.
- Ch 1, turn. Begin by working a dec to join the next two stitches:
- Repeat the decrease at the beginning (and not at the end), ensuring 6 rows of decreases are made.
Straight Section:
- After completing decreases (16 cm of panel width), work 16 rows straight with no increases or decreases.
Increases (Other Shoulder):
- Work increases over 6 rows, adding 2 sc in the first and last stitches of each increase row.
- For the next rows, ensure the total sc count matches the foundation chain (in this pattern, 70 sc).
- To connect the neckline gap, use 8 chains, then continue straight rows.
3. Sleeves
Measurements (Size Small):
- Length: 42.5 cm (16.7 inches).
- Width: 32.5 cm (12.7 inches).
Steps:
- Chain 80, plus 1 chain for single crochets.
- Repeat the same sc BLO technique as main panels, maintaining 76 rows.
- No increases or decreases required.
4. Assembly
1. Join Shoulders:
- Use a tapestry needle and whip stitch or mattress stitch to seam the shoulder tops.
2. Attach Sleeves:
- Use stitch markers to center sleeves at the shoulder seam.
- Sew sleeves along the armhole edge using a tapestry needle.
3. Side Seams:
- Sew from the bottom of the sweater to the armpit, then continue along the sleeves.
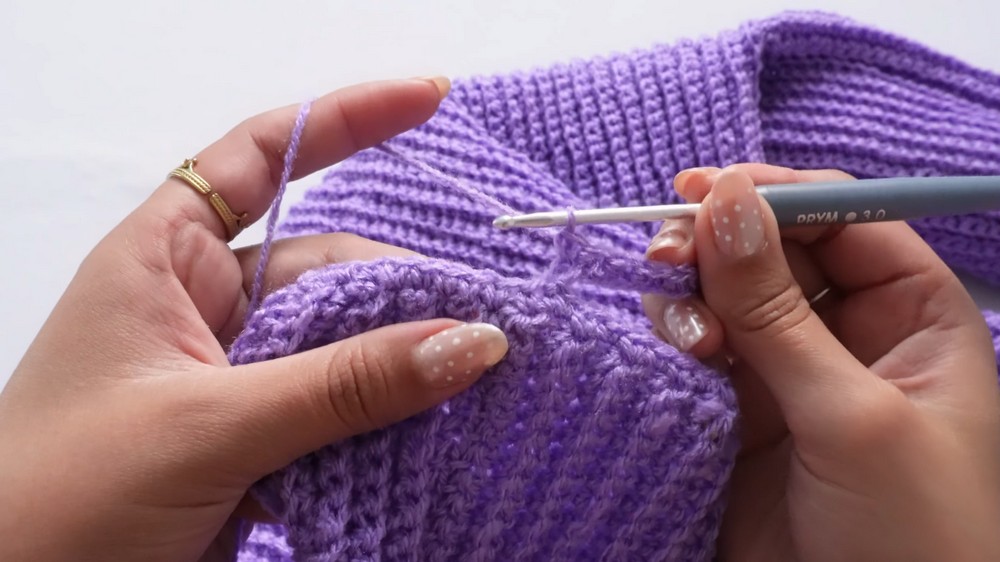
5. Elastic Cuffs, Hem, and Neckline
Hem Ribbing:
- Using the 3 mm hook, attach yarn to the bottom of the sweater using sl st.
- Work sc BLO edge ribbing:
- Chain 10, turn, weave stitches into edge. Secure ribbing with slip stitches at base edges.
- Chain 10, turn, weave stitches into edge. Secure ribbing with slip stitches at base edges.
Cuff Ribbing:
- Similar to the hem ribbing, adjust chains to 15 for wider cuffs.
Neckline:
- Work elastic ribbing with 7 chains around the neckline. Follow the same technique as hem ribbing.
Finishing
- Weave in all loose ends using a tapestry needle.
- Block the sweater if needed to ensure even stitches and proper shaping.
Conclusion
This cozy English Rib Crocheted Sweater is not only stylish but practical for various seasons! The use of sc BLO adds texture, and its adjustable sizing caters to everyone. By following the directions precisely, you’ll achieve a professional-looking homemade sweater.
Pattern Correction Tips:
- Ensure uniform tension when working increases or decreases in the neckline.
- Check stitch counts frequently to avoid misalignment between front/back panels.
Additional Tips
- For oversized sweaters: Increase the number of starting chains for front/back panels and sleeves.
- Color customization: Use multiple yarn colors for stripes for a fun variation.
- Ensure durability: Use high-quality yarn for better stitch definition.