Perk up your counter with this Free Crochet Chicken Egg Holder Pattern that keeps eggs secure while adding a cheerful touch to everyday kitchen decor.
In many kitchens, eggs are more than just ingredients, they’re a daily staple, often left on the counter or tucked into cartons without a second thought. But long before plastic trays and cold storage became standard, people stored fresh eggs in hand-touched holders that brought both function and charm to the table. This timeless approach makes a cheerful return with a soft, reusable crochet option shaped like a chicken, adding both practicality and a touch of humor to your kitchen routine.
Funny and Functional Crochet Chicken Egg Holder Pattern You’ll Love
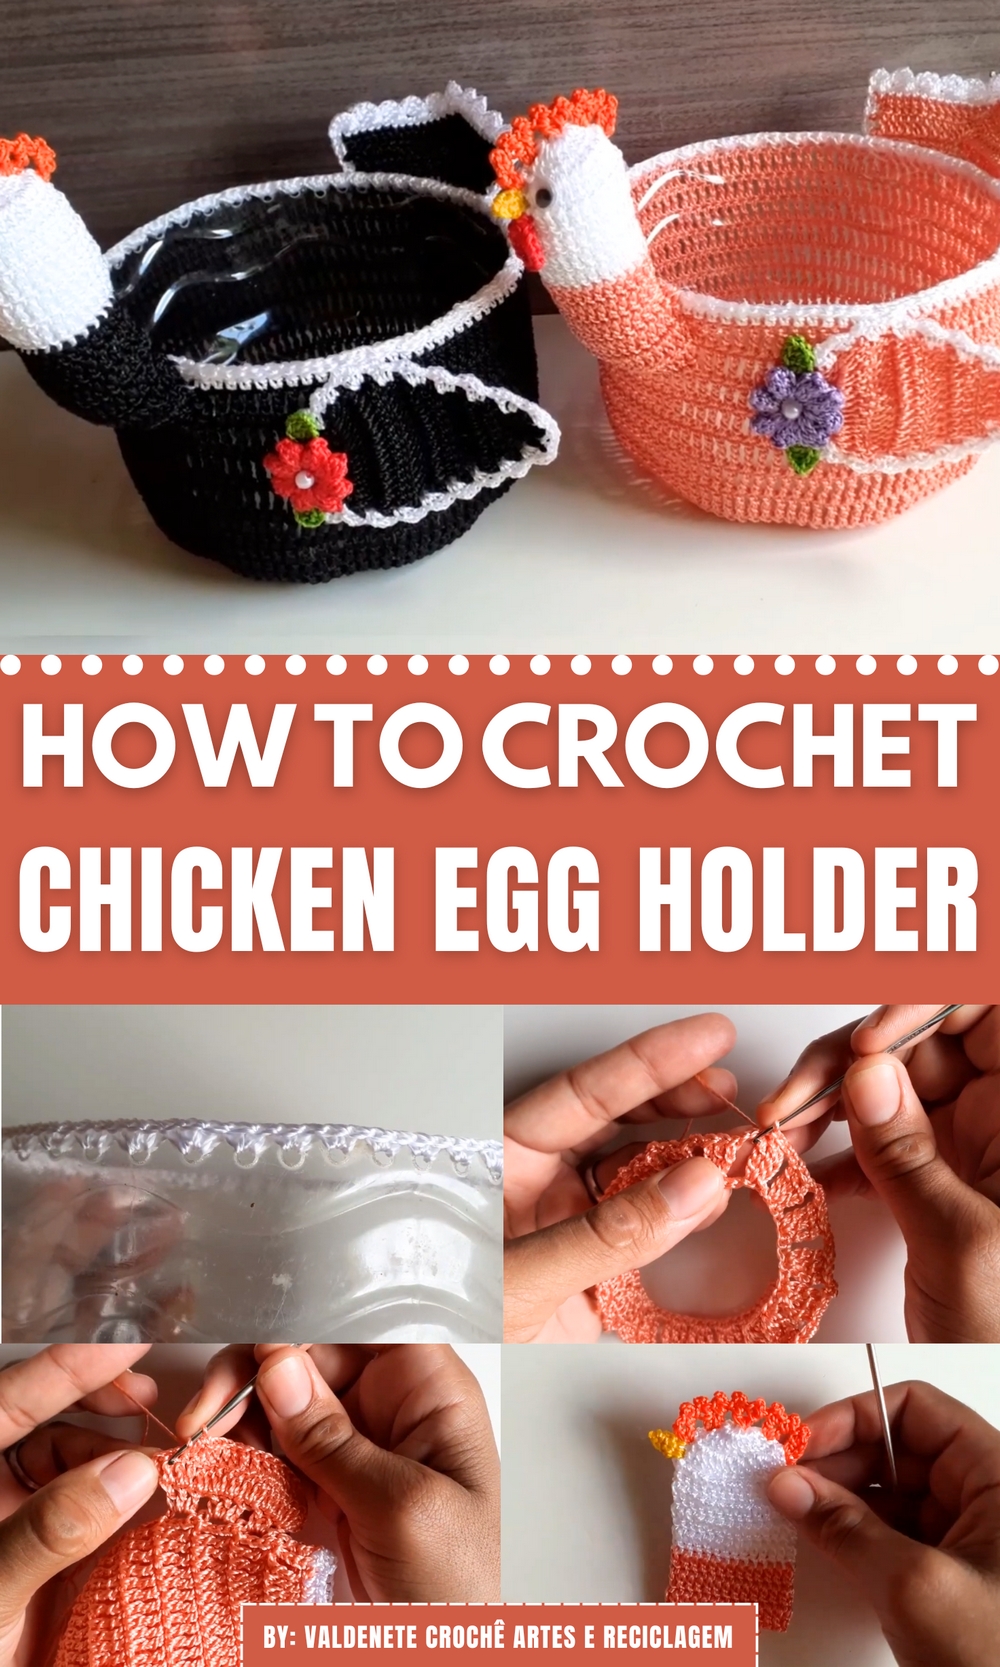
With this free crochet chicken egg holder pattern, you can keep eggs safe, visible, and accessible in a delightful way. Whether displayed during brunch, Easter gatherings, or simply placed on the countertop, it becomes a conversation piece while serving a useful role. The holder is sturdy enough to protect and display eggs neatly, yet light enough to store with ease.
It’s also a thoughtful handmade gift for those who keep chickens or enjoy quirky, homey accents. From rustic-themed kitchens to cozy farmhouse tables, this small item brings a nostalgic warmth to modern spaces. Combining charm with daily purpose, it’s an ideal addition to kitchens that appreciate both whimsy and usefulness, making every morning feel just a little more thoughtful.
Materials Required
- 5L Plastic Gallon (recycled as the base for the glove holder).
- Tape Measure (to measure precise cuts).
- Scissors (for cutting the gallon).
- Soldering Iron (to create holes in the plastic for crochet).
- Hot Glue (for attaching decorations like flowers).
- Crochet Hook (1.75 mm).
- Lighter (to seal loose ends of threads).
- Sewing Needle (for finer finishing).
- Threads/Yarns:
- White thread
- Yellow-gold thread
- Salmon thread
- Red thread
- Decorations:
- Small flowers
- Optional plastic bottle for additional support
Step-by-Step Process
1. Preparing the Gallon
- Measure 10 centimeters from the bottom of the gallon using a tape measure.

- Cut the gallon at the 10cm mark.
- Use a soldering iron to make holes around the edge of the base at regular intervals where the crochet will pass. Avoid placing holes too close or too far apart.
2. Adding Crochet to the Base
- Fasten white thread to the gallon base and work a crochet stitch through all the holes.
- Use a single crochet technique, moving stitch by stitch around the base to ensure a solid foundation.

3. Crocheting the Chick Body
- Chains and Blocks:
- Start with 80 chains using salmon thread. Connect the chain into a closed loop.
- Use blocks of 3 double crochets, followed by 2 separating chains, repeating until the loop is finished.
- Multistep explanation includes skipping chains and looping back.
- Rows:
- Create 7 rows of double crochet blocks without increasing or decreasing stitches.
- Add a final half-row of double crochets for sewing alignment later.

- Align and check measurements with the gallon base.
4. Wings Creation
- The chicken’s wings are created using rows of double crochets:
- Start by counting 28 stitches apart for symmetry.
- Create 9 rows, decreasing stitches incrementally by one on each row until only 4 stitches remain at the top.
- Outline the wings using single crochet or double crochet, including decorative edges.
5. Adding Decorations (Flowers)
- Sew or glue small flowers on the wings or body of the chicken. These decorations enhance the look, and you can select colors that complement your crochet pattern.
6. Tail Assembly
- Create 20 chains, turning back to make a fan shape using double crochet stitches and chained rows.
- Construct layers for volume, finishing with decorative edges outlined with white thread using single crochet.
7. Head Creation
- White Thread Base:
- Start with 6 chains, close into a circle, and crochet 18 double stitches.
- Alternate stitches between single and double crochet to create rounded rows.
- Shaping the Face:
- Switch to a different colored thread (e.g., orange or red) for highlights, such as the comb and details.
- Use magic rings to form features like the beak and base.
- Eyes:
- Attach plastic “eyes” on either side using hot glue.

- Attach plastic “eyes” on either side using hot glue.
8. Final Assembly
- Attach the crochet-covered gallon base to the chicken’s body, wings, and tail. Stitch components securely using a needle and thread.
- Double check the alignment between the parts and add stuffing if needed for structural support.
Special Features
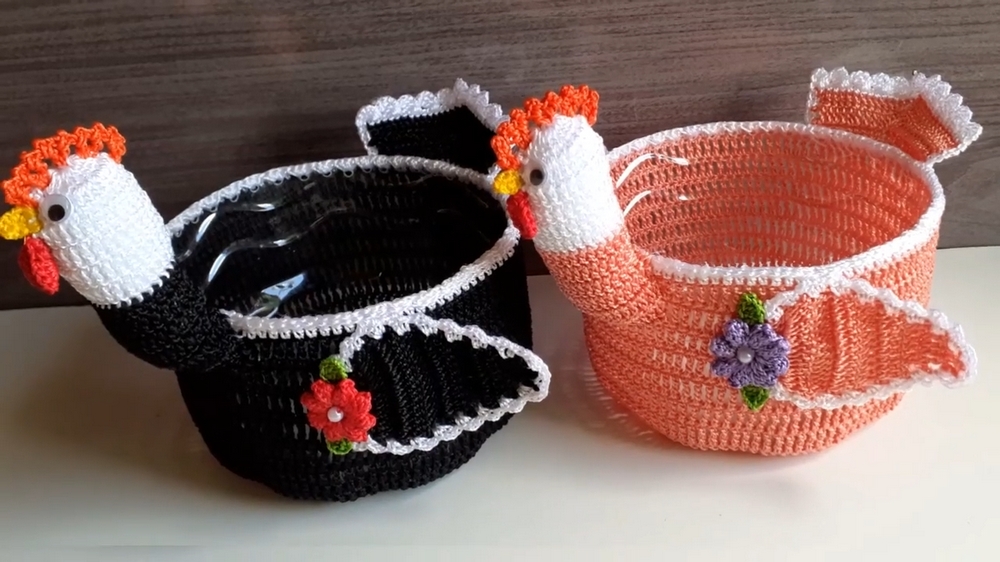
- Eco-Friendly Design: Made from recycled materials (5L gallon and thread).
- Customizable Decorations: Different thread colors, flowers, and patterns for unique designs.
- Practical Use: The chicken-shaped holder serves as a storage solution for gloves or other household items.
Level of Difficulty
- The project is ideal for beginner to intermediate crochet enthusiasts due to the extensive explanations provided.
- Beginners can follow step by step, while advanced users may fast forward through repetitive sections.
Tutor’s Suggestions
- Always measure carefully to ensure alignment and sufficient rows for the crochet body to fit perfectly onto the gallon base.
- For tighter stitches, add extra rows as necessary to make the size uniform.
- Feel free to explore additional patterns or colors for the wings, tail, or body.
Uses
- Practical Storage: Keeps gloves or other small household items organized.
- Decorative Purpose: Adds a whimsical, handmade touch to kitchens or workspaces.
- Gift Idea: Offers a thoughtful, unique gift for friends or family.
Tip
Always test the fit of the crochet sections on the plastic gallon throughout the process to avoid resizing later! Using stuffing to add dimension makes the chicken holder even more visually appealing.
Conclusion
This chicken glove holder is a fun, creative, and eco-friendly crochet project. By repurposing materials and following detailed steps outlined in the video tutorial, you can create a functional and decorative item to brighten your living space. With a little patience and creativity, this project is achievable for both beginners and experienced crocheters alike.