Here is a beginner-friendly tutorial on how to crochet a stylish, cozy scarf using the Criss Cross Double Crochet Stitch. Designed to work up quickly, within an hour, it walks you through choosing yarn, mastering stitch technique, and finishing ends neatly. Ideal for novices eager to create a beautiful, wearable accessory with minimal fuss.
Free Crochet Scarf Tutorial For cosy Vibes
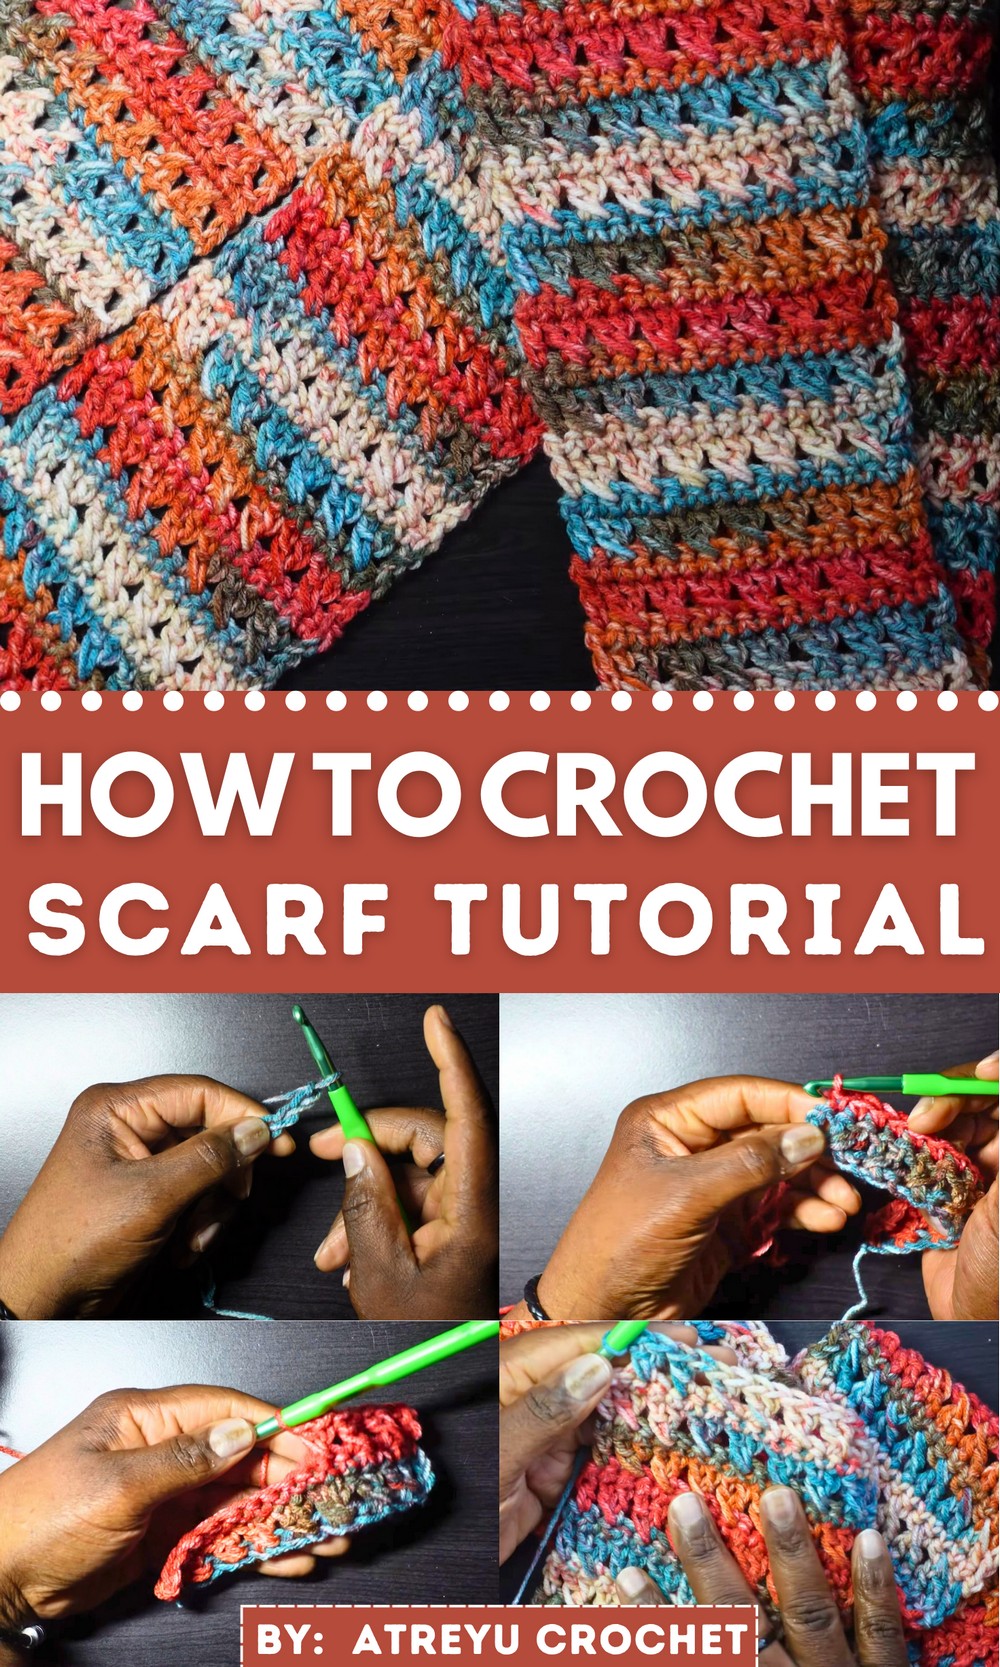
Crochet Scarf Pattern Using the Crossed Double Stitch
Materials Needed
- Yarn: Yarn used in the transcription is Royal Gorge yarn from Hobby Lobby, but any similar medium-weight yarn (category 4) will work. Choose colors you love!
- Hook Size: 7 mm (US Hook) (transcription uses 7 mm instead of the 5 mm recommended for the yarn to give the scarf a looser drape).
- Other Supplies:
- Scissors
- Darning/tapestry needle for weaving in ends
Gauge
- While the transcription doesn’t specify a gauge, a scarf pattern like this can be flexible. Make a swatch of 2–3 repeats of the criss-cross double stitch to determine whether the width and drape suit your preference.
Finished Size
The final size depends on your foundation chain and the number of rows you complete. However, the sample scarf in the tutorial may measure approximately 8 inches in width and 60 inches in length, perfect for a cozy, draped scarf.
Pattern Instructions
Foundation Row
- Start with a slip knot on your hook.
- Chain a multiple of 2 (for width) and add 2 chains for the foundation edge. For example, if making a scarf with 16 stitches, chain 16 + 2 = 18.
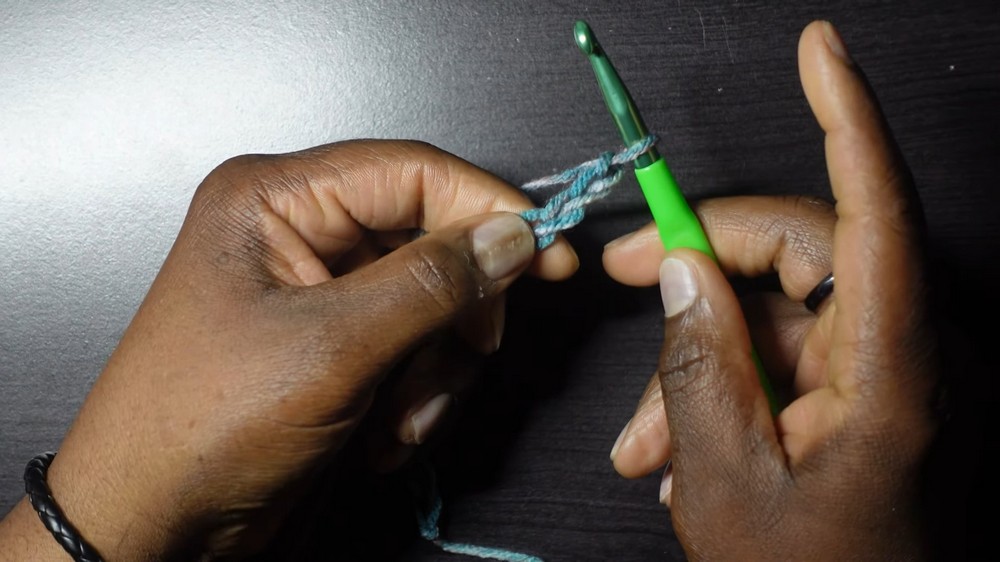
Row 1: Crossed Double Crochet Stitch
- This criss-cross technique creates a visually intriguing texture. Here’s how:
- Skip the first 5 chains from the hook (the first 3 count as a double crochet, and 1 additional chain is skipped).
- Yarn over, insert your hook into the 5th chain, pull through, and complete a double crochet (dc).
- Yarn over again, go backward into the 4th chain (the skipped chain), and complete another double crochet. This forms the first criss-cross pair.
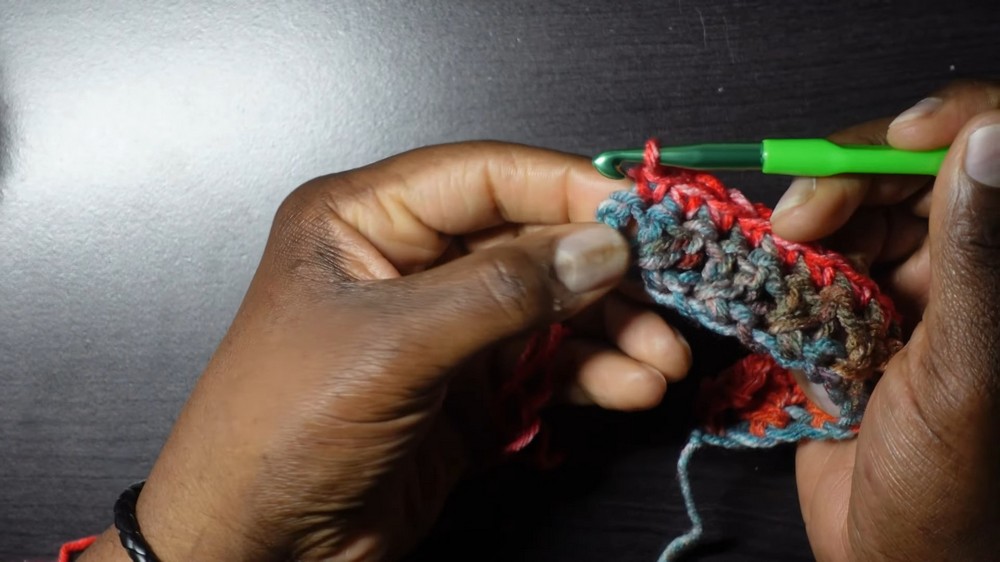
- Repeat the process:
- Skip the next chain.
- Double crochet into the chain after the skipped stitch.
- Double crochet into the skipped stitch (working backward).
- Continue until the final chain. On the last chain, place a double crochet (to maintain symmetry).
- Chain 1, then turn to prepare for the next row.
Row 2: Single Crochet (SC) Row
- Add single crochet stitches to create a clean backing for your scarf and secure the criss-cross pattern:
- Chain 1.
- Single crochet into the first stitch (the stitch where the chain-1 comes from).
- Single crochet into the top of each double crochet stitch and into the top of the chain-3 from the previous row.
- Continue single crocheting across until you reach the last chain-3 turning chain in the row. Work a single crochet into the top chain of that turning chain for an even edge.
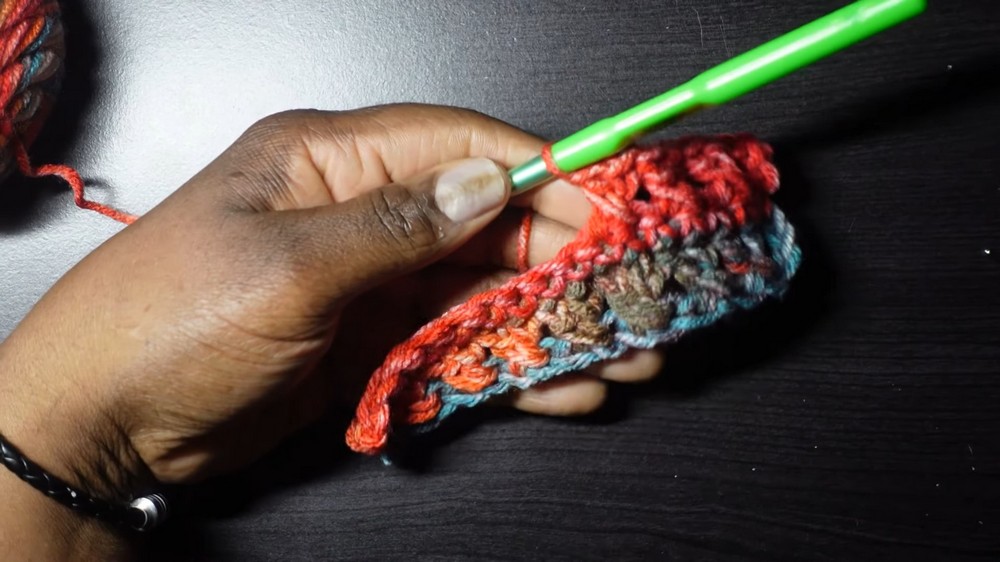
Row 3 and Beyond: Repeating the Crossed Double Crochet
- Chain 3 and turn.
- Work the Crossed Double Stitch pattern as in Row 1:
- Skip the first stitch.
- Double crochet into the second stitch and then into the skipped stitch (working backward).
- Repeat the criss-cross pattern across your row until the last single crochet.
- Place one final double crochet in the last single crochet stitch.
- Chain 1, turn your work, and repeat the Single Crochet Row (Row 2).
Repeat
- Continue alternating between the Crossed Double Stitch row (Row 1) and the Single Crochet row (Row 2) until your scarf reaches the desired length.
- Ensure you finish with a single crochet row for a neat edge.

Special Techniques
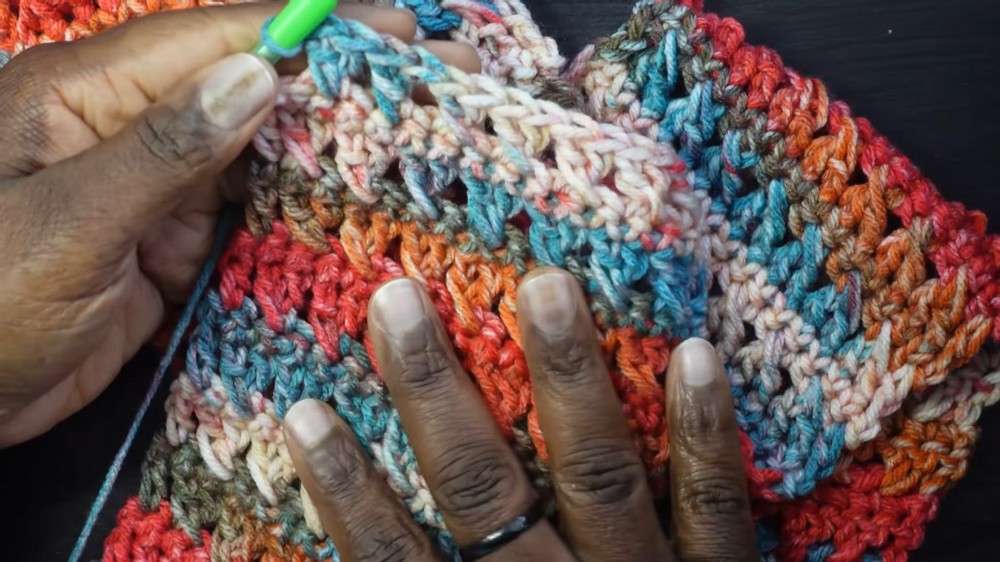
- Crossed Double Stitch (Criss-Cross Effect): This stitch technique adds texture and creates a woven look by alternating forward and backward stitches. Follow the instructions in Row 1 carefully for this stitch.
- Symmetrical Edging: Always end each row with a double or single crochet in the last stitch or chain to maintain a clean edge.
Tips for Success
- Looser Foundation Chain: Crochet your chains loosely to make it easier to work into them during the first row.
- Gauge: Ensure your stitches are consistent for an even drape.
- Custom Length or Width: You can easily adjust the scarf’s size:
- For a wider scarf, add more stitches to your foundation chain (in multiples of 2).
- For a longer scarf, continue row repetitions until you reach your desired length.
Customization Ideas
- Color Stripes: Change yarn colors every few rows to add stripes or create an ombré effect.
- Fringe: Add fringe to both ends for a playful look.
- Block Your Work: If using a natural fiber like wool, blocking can improve the scarf’s drape.
Finishing Steps
- Fastening Off: After completing the final single crochet row, chain 1 and cut the yarn, leaving a long tail.
- Weaving in Ends: Use the darning/tapestry needle to weave in loose yarn tails.
- Shape: Gently stretch or shape the scarf into its final form.
Conclusion
This crossed double crochet stitch creates a reversible, textured scarf that’s lightweight yet cozy. Whether you’re gifting it or wearing it yourself, the unique criss-cross design is sure to turn heads. Pair it with neutral tones or a playful pop of color to enhance its aesthetic.
Important Remarks
- The Royal Gorge yarn enhances the appeal with its unique colorway, but feel free to experiment with other medium-weight yarns for different looks and textures.
- Remember, the front and back sides of the scarf will have slightly different patterns due to the criss-cross technique, making it visually interesting from any angle.