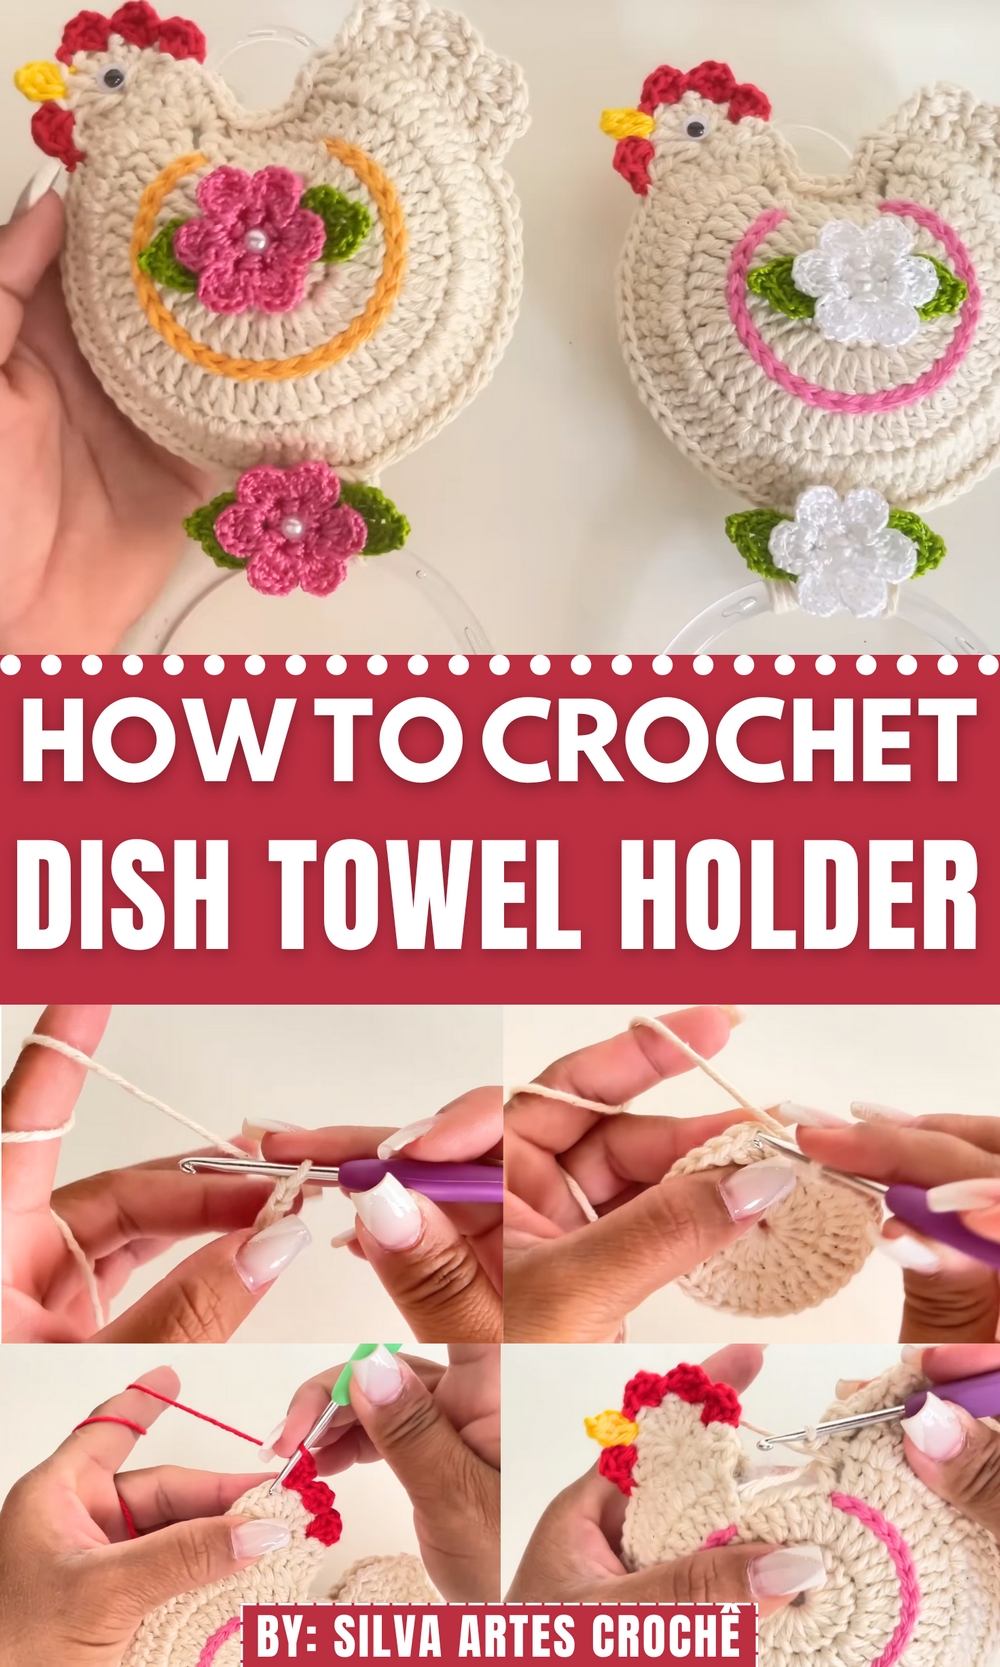
Keep towels tidy and within reach using this Free Crochet Dish Towel Holder Pattern that brings both charm and convenience to your kitchen space.
The heart of every kitchen tells a story, not just through recipes handed down or meals lovingly prepared, but also in the thoughtful little touches that make the space distinctively yours. Adding a chicken to crochet dish towel holder to your kitchen is a seamless way to combine charm with practicality. This whimsical yet functional accessory brightens up any cooking space while keeping your towels neatly at hand. Its delightful chicken design introduces a playful farm-inspired flair to your kitchen décor, making it a unique treasure that’s both eye-catching and highly useful.
Quick Crochet Dish Towel Holder Pattern Perfect for Gift Sets or Home Use
What sets this crochet dish towel holder apart is its clever construction, blending simplicity with elegance. At the core of its design is the chicken motif—a lovely combination of curves, texture, and details that bring it to life. Not only is this design pleasing to the eye, but it also serves a purpose; the sturdy ring at the base holds your dish towels securely, providing quick access when you need them most.

One of the greatest benefits of this project is its accessibility. It’s not only beginner-friendly but also makes fantastic use of leftover yarn or string scraps, encouraging sustainable crocheting. Whether made from soft acrylics or repurposed materials like old blankets and plastic bags, the chicken is filled to create a firm yet cozy feel, staying environmentally conscious without compromising on quality.
Crochet Chicken Dish Towel Holder Pattern
Materials Needed
- Yarn for the Chicken Body:
- Size #6 yarn (approximately medium-weight).
- Suggested color: White, cream, or yellow.
- Yarn for Details:
- Size #4 yarn or similar thickness.
- Red yarn (#4): For the comb and wattle.
- Yellow yarn (#4): For the beak.
- Optional contrasting color (#4): For any decorative edging.
- Crochet Hook:
- 3.5 mm crochet hook: For working with #6 yarn.
- 2.5 mm crochet hook: For finer yarns (#4).
- Eyes:
- Safety eyes, buttons, or black yarn for embroidering.
- Stuffing:
- Acrylic batting or small folded plastic bags (for eco-friendly options).
- Rings:
- 1 large ring: For holding the towel.
- 1 smaller ring: For securing above the bottom ring.
- Additional Tools:
- Scissors.
- Yarn needle or tapestry needle.
- Hot glue gun or silicone glue: For attaching eyes.
Gauge
- With #6 yarn and 3.5 mm hook:
- 12 double crochets (DC) x 6 rows = 4 x 4 inches (10 x 10 cm), worked flat.
Adjust your hook size if necessary to match the gauge, as individual tension may vary.
Finished Size
- Approximate size after completion (excluding stuffing):
- Body width: 7-8 inches (18-20 cm).
- Body height: 8-9 inches (20-23 cm).
- Total height including ring: 10-11 inches (25-28 cm).
Special Techniques
- Magic Ring: For creating a secure, closed center when working in the round.
- Double Crochet (DC): Used for shaping the body and adding bulk.
- Single Crochet (SC): Used for details and finishing.
- Slip Stitch (SS): For joining rounds and adding finishing touches.
- Stuffing: Used to create fullness in the chicken body.
- Attaching Ring: Using single crochet stitches to secure the rings.
Pattern Instructions
Step 1: Chicken Body (Make 2 Identical Pieces)
- Start with Magic Ring:
- Create a magic ring and chain 2 (does not count as a stitch).
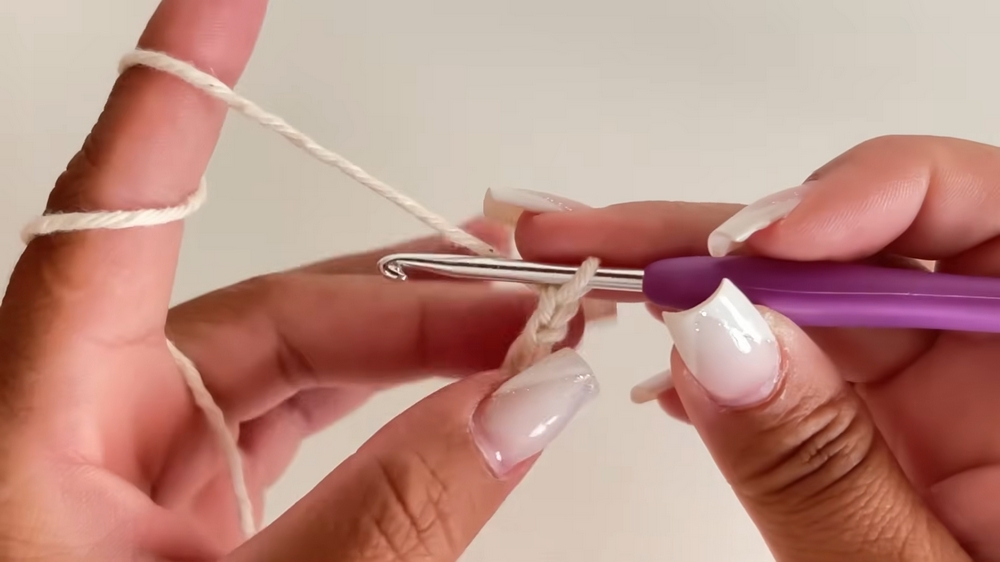
- Create a magic ring and chain 2 (does not count as a stitch).
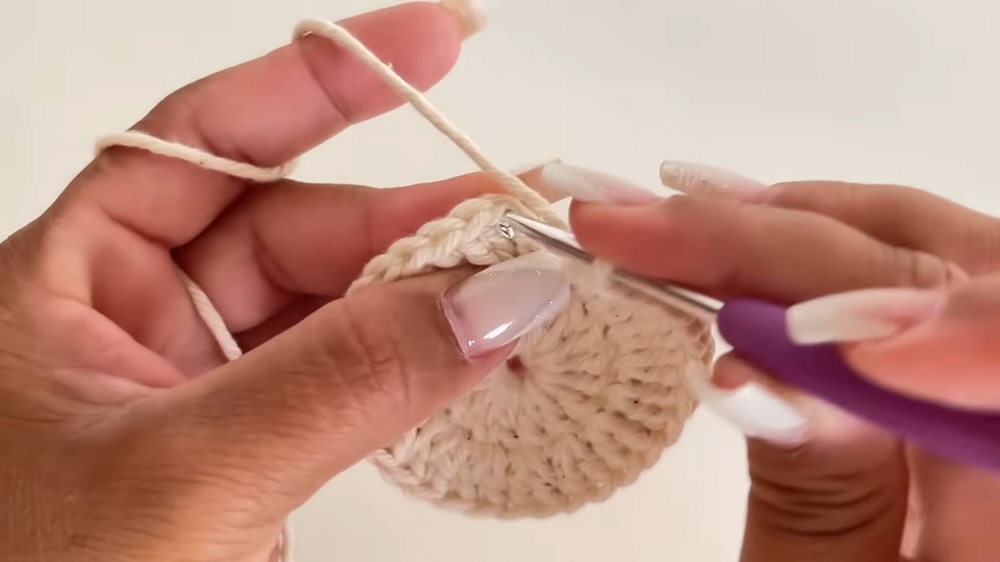
- Round 1:
- Work 16 DC into the magic ring.
- Pull the ring tight and slip stitch into the first DC to close.
- Stitch Count: 16 DC.
- Round 2 (Increase Round):
- Chain 2 (does not count as a stitch).
- Work 2 DC into each stitch around.
- Slip stitch into the first DC.
- Stitch Count: 32 DC.
- Round 3:
- Chain 3 (does not count as a stitch).
- Work 2 DC in the first stitch, 1 DC in the next stitch.
- Repeat from * to * around.
- Slip stitch into the first DC.
- Stitch Count: 48 DC.
- Round 4:
- Chain 3.
- Work 1 DC in the first 2 stitches, 2 DC in the third stitch.
- Repeat from * to * around.
- Slip stitch to the first DC.
- Stitch Count: 64 DC.
- Round 5 (Final Increase Round):
- Chain 3.
- Work 1 DC in the first 3 stitches, 2 DC in the fourth stitch.
- Repeat from * to * around.
- Slip stitch to close.
- Stitch Count: 80 DC.
- Do Not Fasten Off (unless making two layers first).
Note: Make two identical panels. One will be placed in the front, and the other in the back.
Step 2: Joining the Two Parts
- Place the two panels wrong sides together.
- Join both edges:
- Using matching yarn, work SC stitches through both pieces to join their edges.
- Leave 10 stitches unworked at the bottom for the tail and fill with stuffing before closing completely.
- Form the Head:
- At the top center, work 10 DC in the two middle stitches to create bulk for the chicken’s head.
Step 3: The Tail
- Attach yarn at the unjoined bottom section.
- Chain 3 (counts as the first DC).
- Work 1 DC, skip 2 stitches, SC in the next stitch. Repeat this pattern to create a fan-like tail.
- Fasten off and weave in ends.
Step 4: Comb and Beak
Comb (Red Yarn):
- At the top center of the head, attach red yarn.
- Work the following into one stitch:
- Chain 2, DC, Chain 2, Slip Stitch.
- Repeat this sequence 3 more times across the top of the head to form “spikes.”
Beak (Yellow Yarn):
- Attach yellow yarn to the center of the head.
- Work Chain 2, SC, forming a small triangular beak.
- Fasten off and weave in ends.

Step 5: Attach the Ring
- Use the larger plastic ring for the bottom of the chicken.
- Secure the ring to the bottom edge of the chicken’s body around the last round of double-crochet stitches.
- Work single crochet stitches into the fabric and around the ring to secure it.
- For the smaller ring, attach to the back of the head using SC stitches to provide support.

Step 6: Details and Finishing
- Eyes:
- Use safety eyes, sew on buttons, or embroider small eyes with black yarn/thread.
- Position the eyes evenly and just below the comb.
- Blush:
- Apply blush on the cheeks using a brush or your finger for an adorable rosy effect.
- Stuffing:
- Use acrylic batting to stuff the body evenly for a plump shape. Adjust the stuffing so it does not interfere with the hanging ability.
Customization Ideas
- Colors:
- Switch the body and detail colors to create different chicken designs. For example, black and white for a spotted chicken or yellow and orange for a chick!
- Decorations:
- Add small bows, flowers, or decorative appliqués to the chicken for extra charm.
- Alternative Tail:
- Use variegated yarn for a colorful, unique tail effect.
Conclusion and Tips
- Final Look:
- This dish towel holder is both decorative and functional. It is designed to add charm to your kitchen while keeping your towels in place.
- Tips for Best Results:
- Ensure the panels are evenly stuffed before fully joining them.
- Use a strong, washable yarn for durability, as this piece may require frequent washing.
- Gift Idea:
- Pair this chicken holder with a matching crochet dish towel or coordinating kitchen décor for an ideal handmade gift.
Final Note:
This practical and playful pattern is not only quick but also a great way to use leftover yarn. Be creative and enjoy the process of making these adorable chicken-themed towel holders.