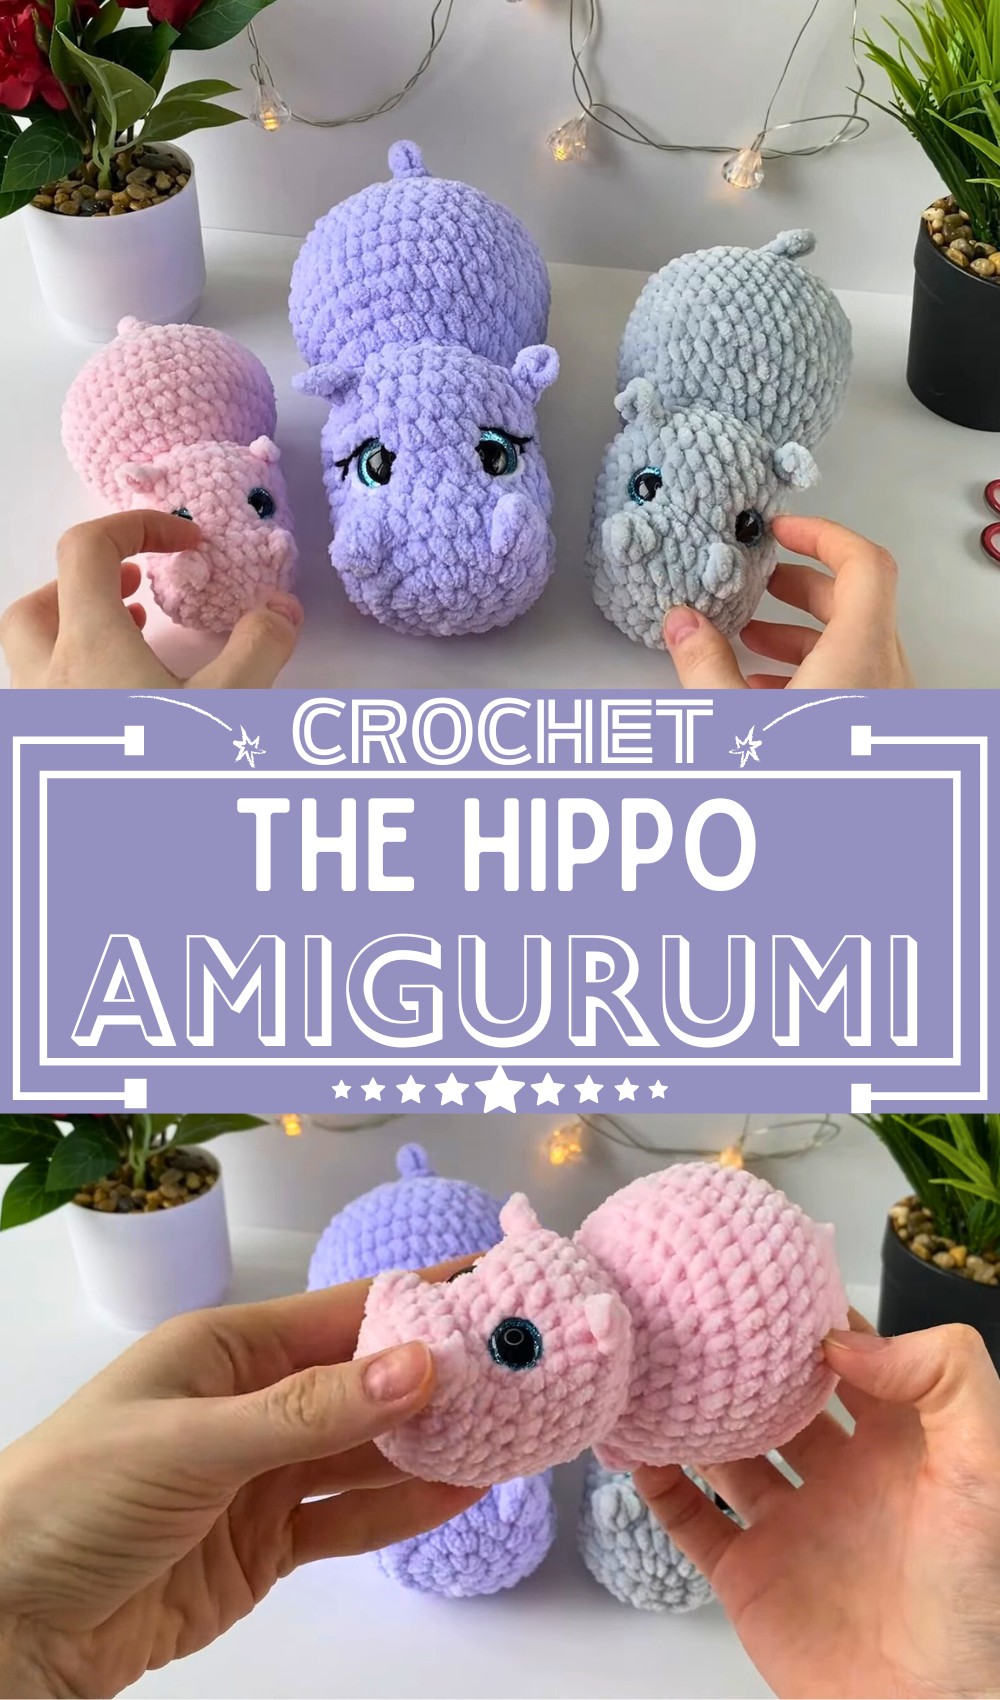
This crochet pattern introduces a charming hippo, ideal for beginners looking to tackle a fun project. Made with varying yarns, using a 5 mm hook for a jumbo size, it shapes up into an adorable stuffed hippo. The pattern covers techniques like magic ring, chain, and stitch types, providing a plush toy that’s both cute and soft to the touch.
Crochet The Hippo Amigurumi
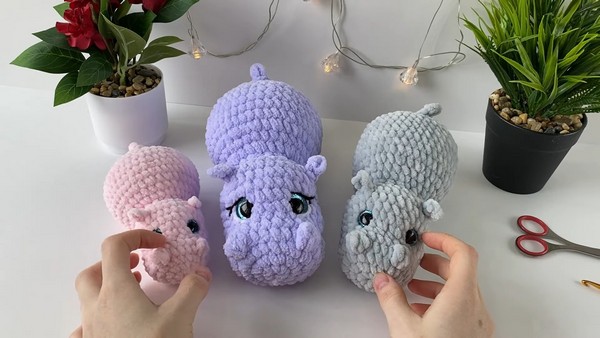
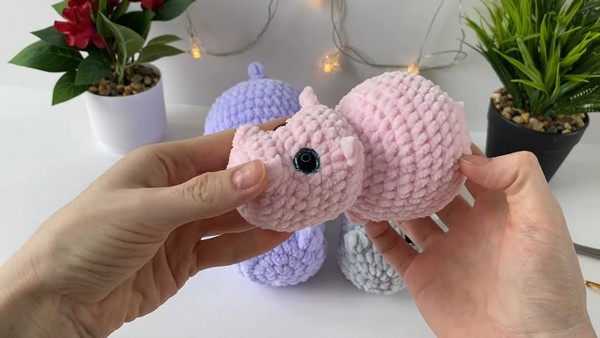
The crocheted hippo serves as a delightful toy for children or a unique decorative piece. Its features include safety eyes for a lively expression, a distinctive bubble stitch nose, and detailed ears and tail that add personality. This crochet hippo can be customized in size and color, making it a versatile project for gifting or personal use.
Step By Step Pattern
Materials Needed:
- Jumbo yarn or super bulky yarn of choice
- 5 mm crochet hook (use a 6 or 8 mm hook if preferred, adjust according to yarn)
- 18 mm safety eyes
- Yarn needle
- Scissors
- Stuffing (polyfill)
- Stitch marker
Stitches to Know:
- Magic ring
- Chain stitch (ch)
- Slip stitch (sl st)
- Single crochet (sc)
- Decrease (dec) – specifically invisible decrease recommended
- Increase (inc)
- Bubble stitch

Pattern Instructions
Body
- Round 1: 8 sc in a magic ring. (8)
- Round 2: Inc in each stitch around. (16)
- Round 3: 2 sc, (inc, 1 sc) 4 times, 2 sc. (24)
- Round 4 (Nostrils Round): 8 sc, bubble stitch in next stitch, 6 sc, another bubble stitch, finish round with sc to reach 24 stitches total.
- Round 5: 1 sc in each stitch around. (24)
- Round 6: 5 sc, dec, 11 sc, dec, end with 4 sc. (22)
- Round 7: Start with 8 sc, 1 inc, 1 sc three times, finish round with 7 sc. (28)
- Rounds 8-9: 1 sc in each stitch around. (28)
- Round 10 (Ears): 10 sc, create first ear (see detailed steps below), 7 sc, create second ear, finish round according to (30).
- Rounds 11-22: Continue as per video instructions, increasing and shaping the body, including the legs. Follow steps closely for stitch count adjustments and placement of features like the tail.
Creating Ears:
- Single crochet in next stitch, ch3. Starting from second chain from hook, work a sl st in the next chain, sc in the next, then perform a sc into the same stitch as where the chain started.
- Repeat for second ear as per round 10 instructions.
Final Rounds and Finishing:
- Continue to follow the pattern as you add safety eyes between rounds 7 and 8, maintaining correct placement.
- Complete the body with rounds of sc, decreases, and bubble stitches for legs as described.
- Ensure you keep the stitch counts correct: 24 stitches in round 25, 24 stitches with tail creation in round 26, and then decreasing down through rounds 27 and 28 until closed.
- Stuff the hippo firmly as you go, especially before closing.
Extra Details:
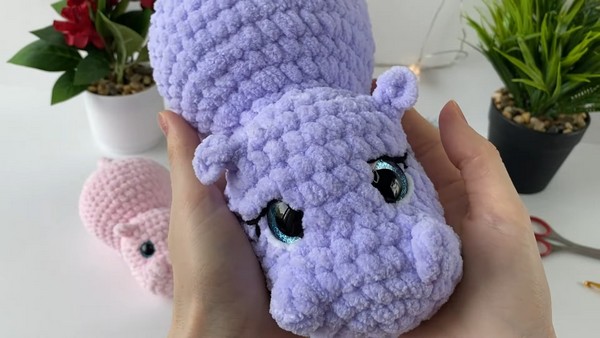
- Eyes: Place safety eyes and secure them.
- Eyelashes: Add eyelash details underneath the eyes as desired.
- Closing: Weave in ends and close up any openings securely.
Additional Notes:
- Eyelashes can be added by embroidering with black yarn beneath the safety eyes for a more expressive look.
- Adjust hook size if necessary to achieve a tight fabric that does not let the stuffing show through.
- Safety eyes should be placed before stuffing is complete to ensure they are securely fastened.