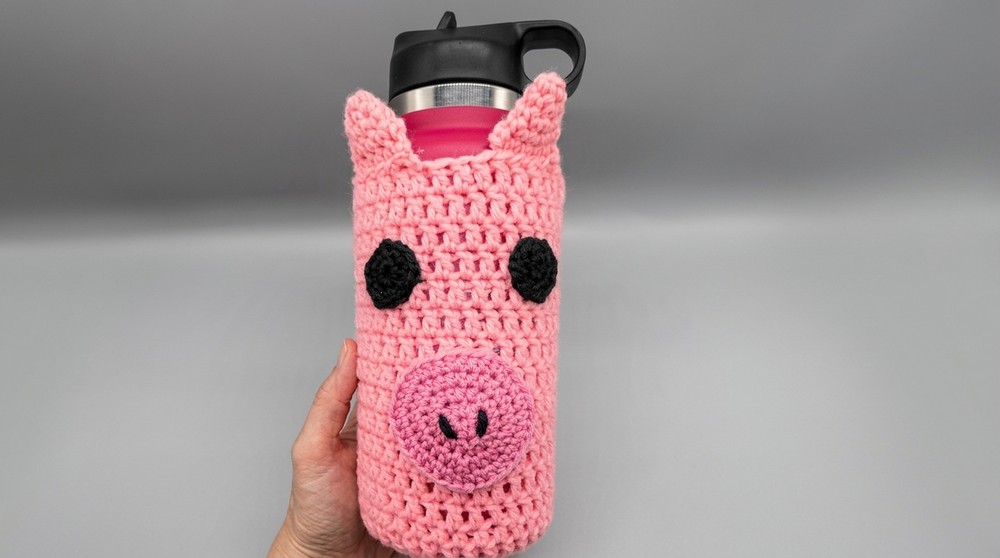
It isn’t just pretty, it is practical too. You can carry it anywhere: school, park, or home, and it makes drinking water or juice more fun. You can even change its colors or add little details to give it a personality of your own. Every stitch adds charm, making it more than just a bottle cover. It’s a playful, handy companion that brightens your day while keeping your drink safe and cozy.
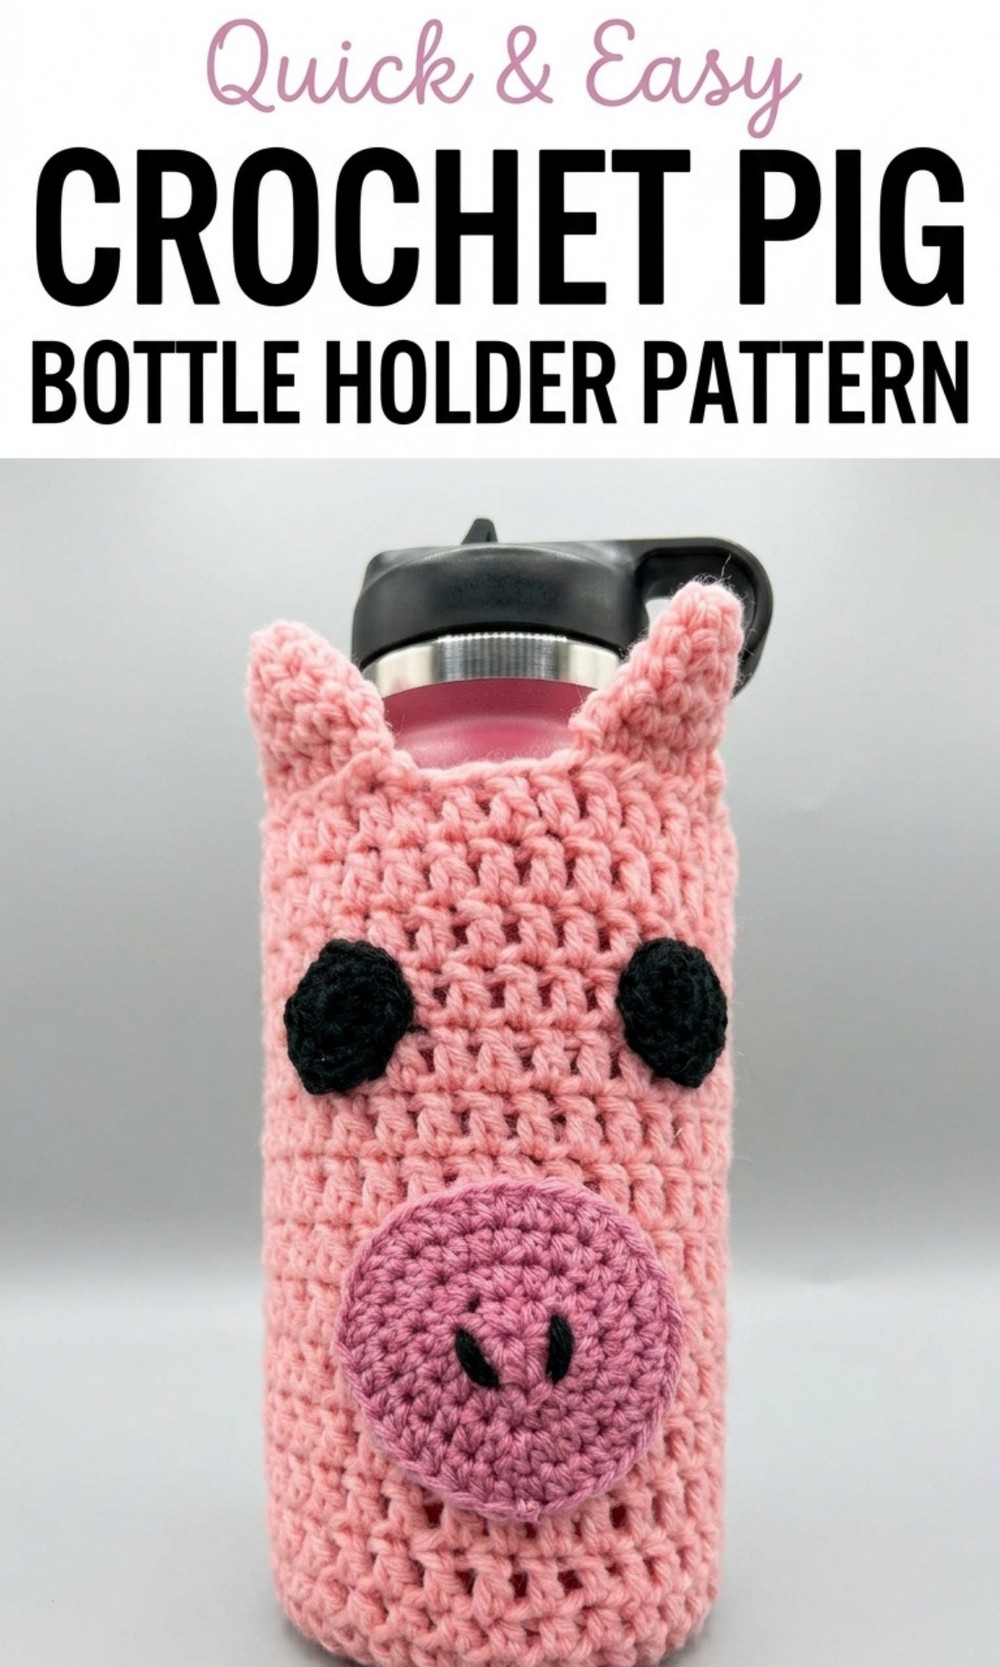
Free Pig Water Bottle Cover Crochet Pattern
Skill Level
Intermediate
Materials
- Yarn:
- Body: Red Heart Super Saver (worsted weight/size 4) in Petal Pink (main color).
- Eyes: Soft and Shiny yarn (size 3) in black.
- Nose and Tail Detailing: A slightly darker shade of pink (optional thinner yarn).
- Hooks:
- H/5.0 mm hook: For the body.
- G/4.0 mm or 4.25 mm hook: For smaller details like the nose, ears, and tail.
- Additional Materials:
- Tapestry needle (for sewing parts together and weaving in ends).
- Stitch marker (to keep track of rounds).
- Scissors.
Key Abbreviations (US Terminology)
| Abbreviation | Meaning |
|---|---|
| ch | Chain |
| st(s) | Stitch(es) |
| sc | Single Crochet |
| hdc | Half Double Crochet |
| dc | Double Crochet |
| sl st | Slip Stitch |
| MR | Magic Ring |
| inc | Increase (work 2 stitches in the same st) |
| (…) | Instructions within brackets are worked in the same stitch. |
Special Notes
- The pattern starts with a magic ring (MR) for seamless joins.
- The chains at the beginning of the round do not count as a stitch.
- The pattern is adjustable—add or reduce stitches and rounds to suit your water bottle size.
- Place a stitch marker at the first stitch of each round and move it up as you work.
Pattern Instructions
Pig Body
Base
- Round 1: With 5 mm hook and Petal Pink, make a magic ring (MR). Ch 2 (does not count as a stitch). Work 8 dc into the ring, then pull the ring tight to close. Join with a sl st to the top of the ch-2. (8 sts)
- Round 2: Ch 2 (does not count as a stitch). Work 2 dc in each stitch around. Join with sl st to the top of the ch-2. (16 sts)
- Optional: To keep the round clean, place the second dc of the final increase into the sl st of the previous round instead of the last stitch.
- Optional: To keep the round clean, place the second dc of the final increase into the sl st of the previous round instead of the last stitch.
- Round 3: Ch 2. [1 dc in the next st, 2 dc in the next st]. Repeat * around. Join with sl st. (24 sts)
- Round 4: Ch 2. [1 dc in each of the next 2 sts, 2 dc in the next st]. Repeat * around. Join with sl st. (32 sts)

- Note: The base is for a 32 oz bottle. For smaller bottles, stop increasing as needed.
Body Sides
- Round 5 (Transition Round): Ch 1. Work 1 hdc in the back loop of each stitch around. Join with sl st at the beginning ch. (32 sts)
- Round 6 and Onwards: Ch 2. Work 1 dc in each stitch (through both loops) around. Repeat this for 13–14 rounds or until the desired height is reached (approximately 18 total rows). (32 sts per round)
- Finish the Body: End with a sl st into the top of the beginning ch. Ch 1, fasten off, and weave in the ends.
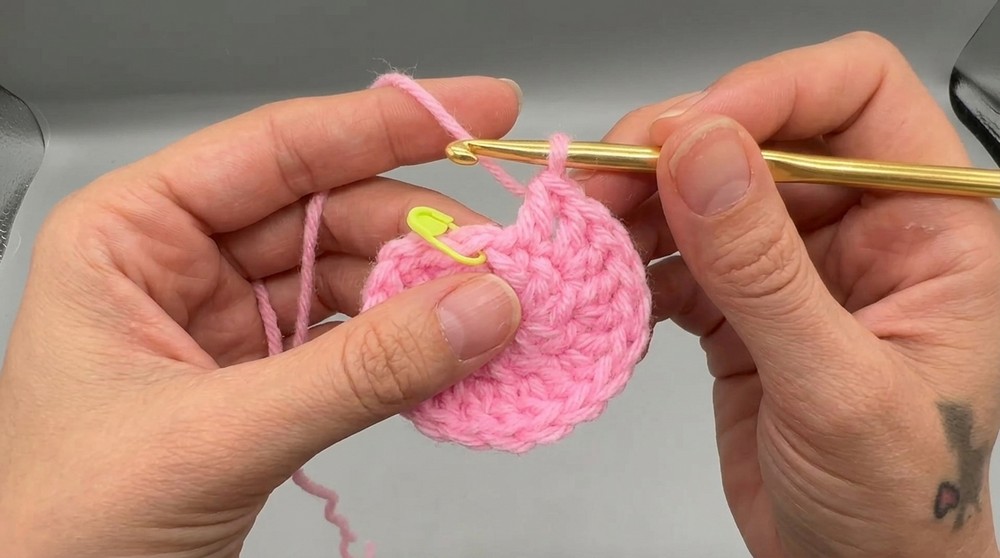
Pig Nose
- Round 1: Using the G/4.0 mm hook and darker pink yarn, create a magic ring (MR). Work 9 hdc into the ring. Pull the ring tight. Do NOT join; place a stitch marker at the first st. (9 sts)
- Round 2: [2 hdc in each stitch]. (18 sts)
- Round 3: [1 hdc in the first st, 2 hdc in the next st]. Repeat * around. (27 sts)
- Round 4: [1 hdc in each of the next 2 sts, 2 hdc in the next st]. Repeat * around. (36 sts)
- Finish Nose: Sl st into the first st. Ch 1, leaving a long tail for sewing.
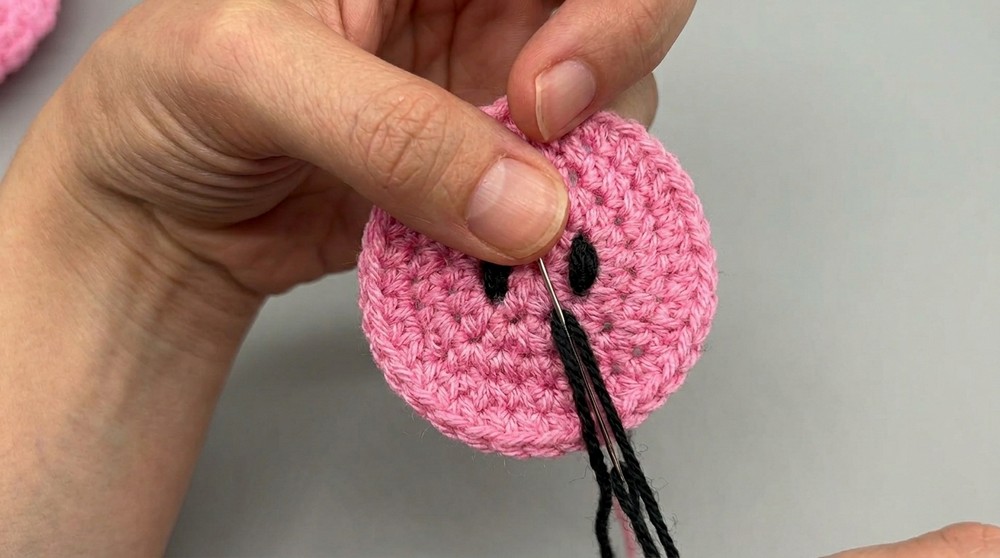
Adding Nose Details
- Using black yarn, embroider two diagonal nostrils on the nose. These can be skipped or modified for creativity.
Pig Eyes
- Round 1: Using black yarn and the G/4.0 mm hook, create a magic ring (MR). Work 8 sc into the ring. Pull tight to close. (8 sts)
- Round 2: [2 sc in each stitch around]. (16 sts)
- Finish Eyes: Sl st into the first st. Ch 1, leaving a long tail for sewing. Repeat to create a second eye.
Pig Ears
- Round 1: Using the G/4.0 mm hook and pink yarn, create a magic ring (MR). Work 4 sc into the ring. Pull tight to close. (4 sts)
- Round 2: [1 sc in each stitch]. (4 sts)
- Round 3: [2 sc in each stitch]. (8 sts)
- Round 4: [1 sc in each stitch]. (8 sts)
- Round 5: [1 sc in the first st, 2 sc in the next st]. (12 sts)
Finish Ears
- Sl st into the first st. Do NOT fasten off. Fold the ear in half lengthwise and work sc through both layers to close the open edge. Leave a long tail for sewing. Make two ears.
Pig Tail
- With pink yarn and the G/4.0 mm hook, create a slip knot leaving a long tail.
- Chains: Ch 12 (for a short tail) or 18+ (for a curly tail).
- Work 4 sc in each chain, starting in the second chain from the hook. As you work, the tail will naturally begin to curl.
Assembly
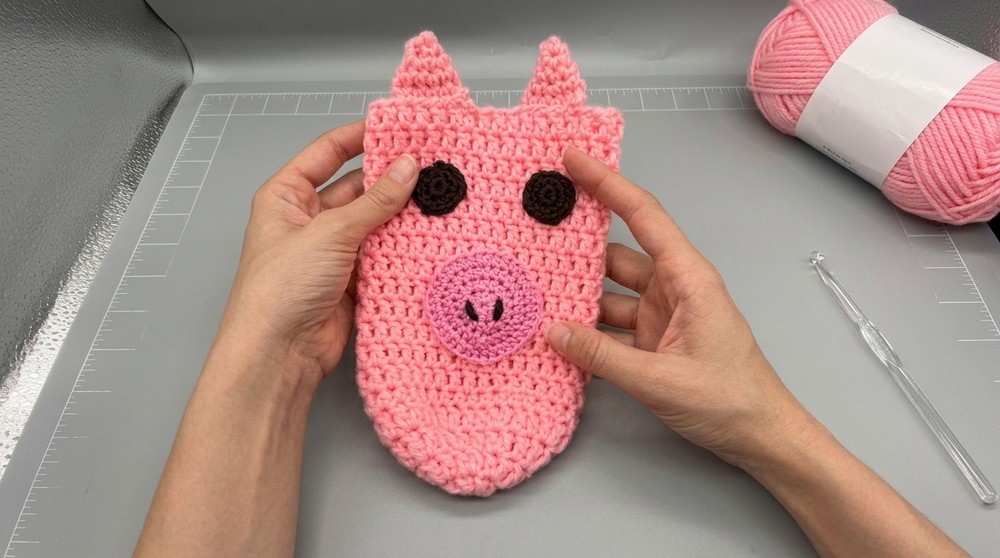
- Attach the Nose: Center the nose, aligning it approximately between rows 7–12 of the body. Sew securely with the long tail.
- Attach the Eyes: Place the eyes on rows 13–15, ensuring even spacing above the nose. Use a tapestry needle to sew them on securely.
- Attach the Ears: Position the ears 1–2 rows above the eyes, leaving 3 sts between them. Sew securely through both layers of the ear.
- Attach the Tail: Secure the tail to the back of the cover for added character.
Conclusion and Tips
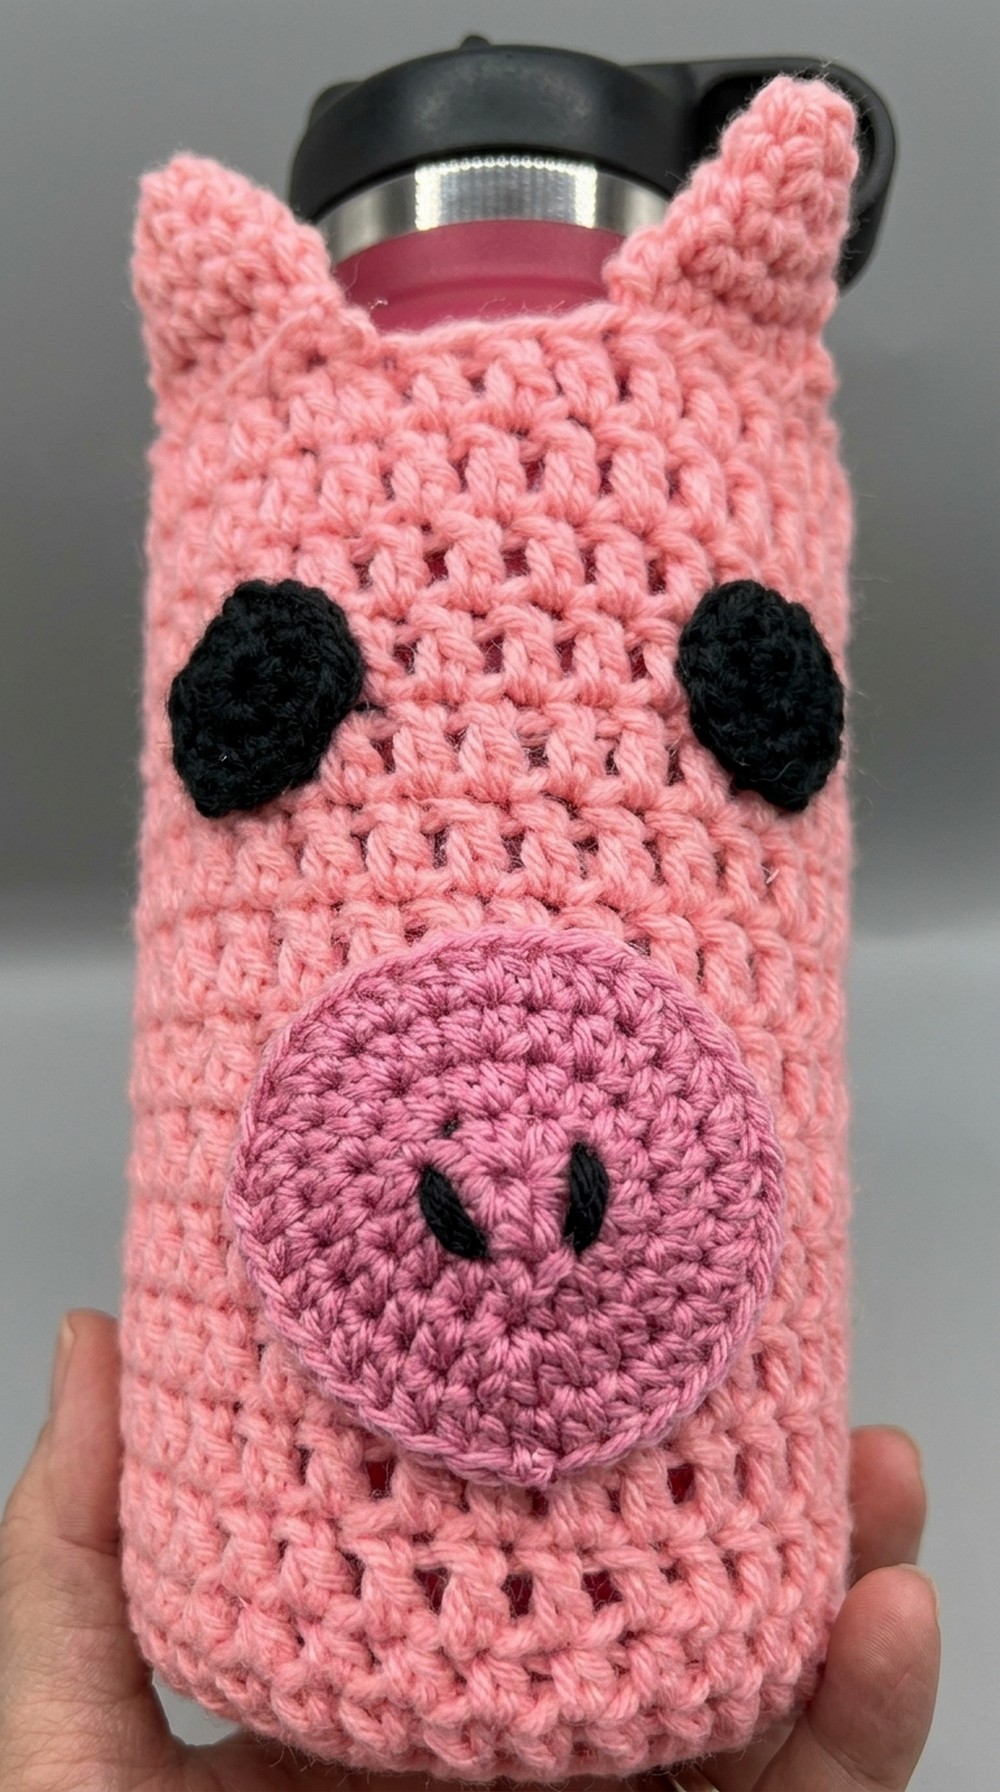
This cute pig water bottle cover is not only practical but adds personality to your hydration routine! You can customize the size, colors, and details to match your personal style.
Pattern Correction
- Ensure correct increases and stitch counts in each round. Mistakes here can lead to uneven shaping.
- Adjust the number of rows based on the height or circumference of your water bottle.
Tips for Success
- Use stitch markers to keep track of rows when working in the round—especially for continuous rounds.
- Keep your stitches tight and even for a polished finish.
- Test the cover frequently on your bottle to confirm the fit before completing the height.