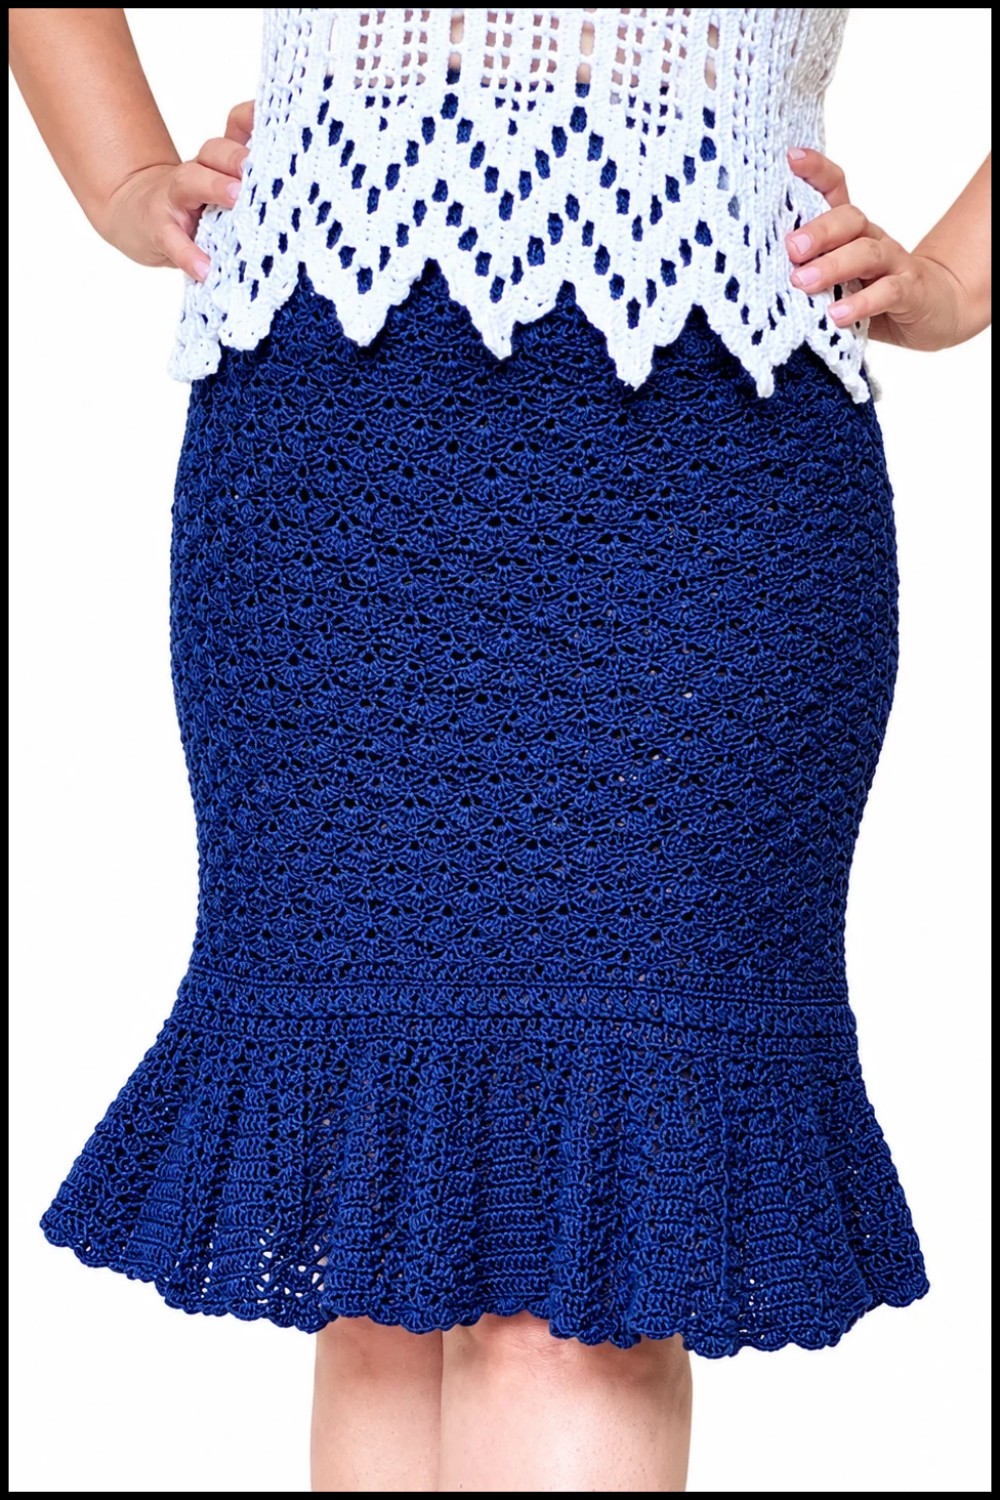
Refresh your wardrobe using this Crochet Skirt Free Pattern and choose yarn colors for a handmade piece that pairs nicely with simple shirts.
If you’re interested in creating a beautiful handmade garment, the original YouTube tutorial by TejeAdicta deserves full credit for her clear and inspiring Crochet Skirt project. TejeAdicta’s step-by-step guidance makes this elegant skirt accessible and fun to crochet.
Free Crochet Skirt Pattern For Modern Outfits
The Crochet Skirt is a stylish and comfortable piece of clothing that fits well for casual wear, beach outings, or even summer parties. Its main features include a flexible waistband, a lovely textured pattern, and a flattering shape that gently hugs the hips and flows naturally. The beauty of this skirt lies in its combination of simplicity and delicate stitch work, which gives it a handcrafted charm that stands out.
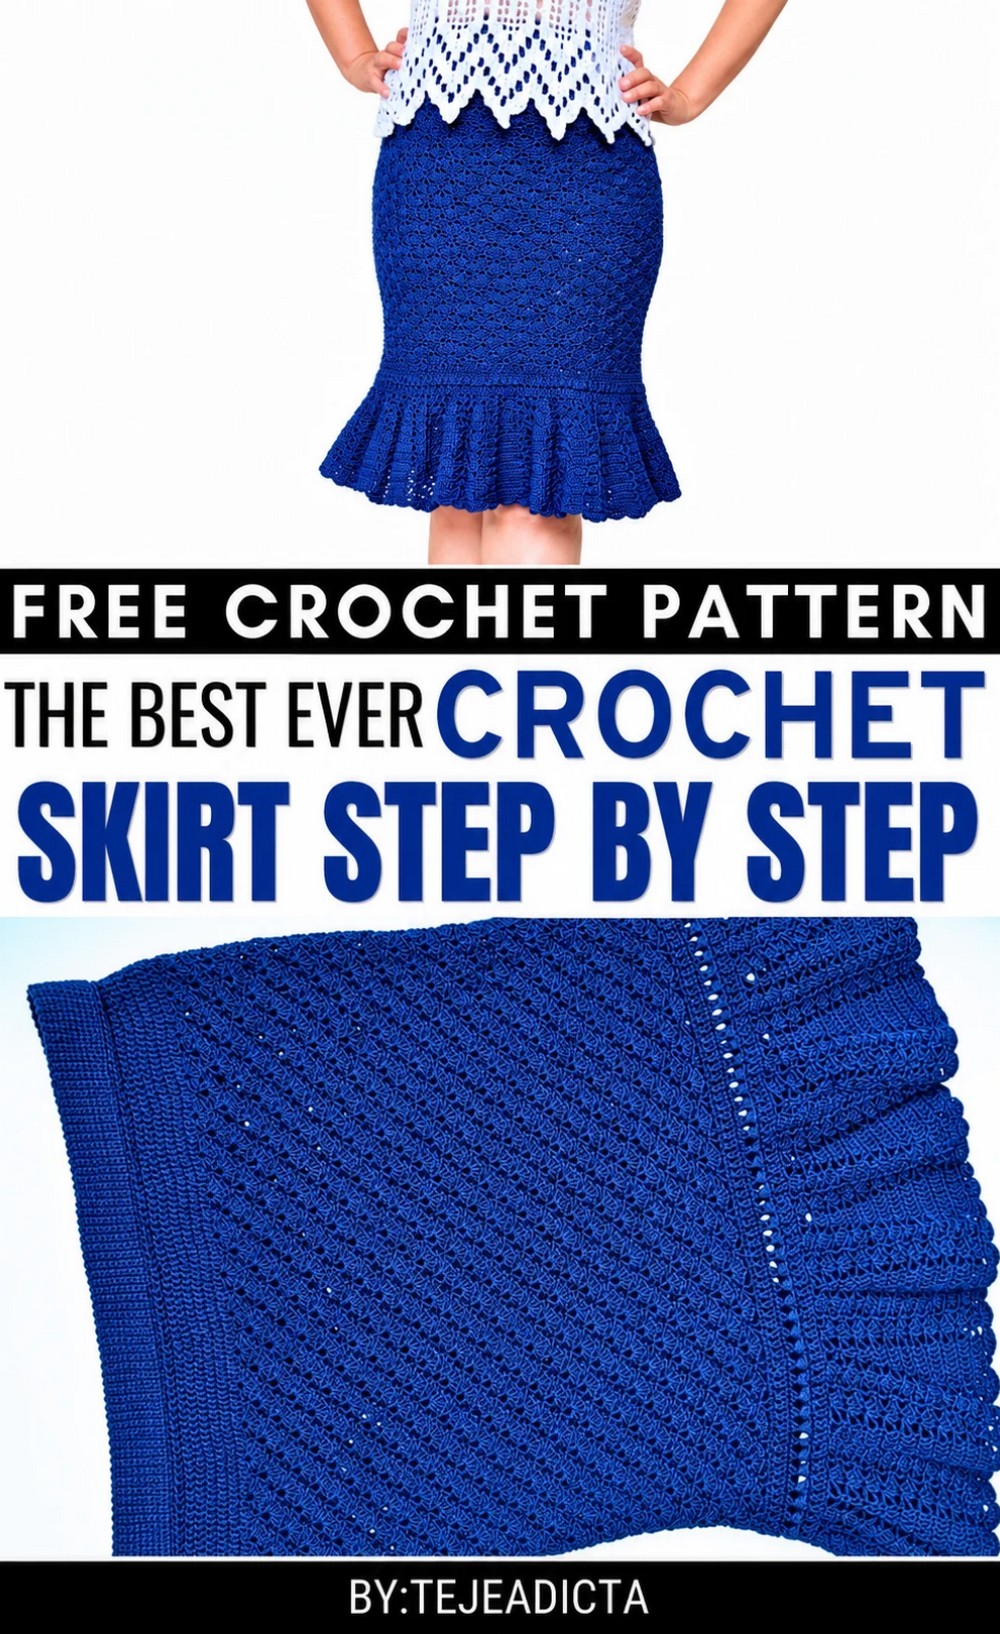 What makes this project special is its versatility. You can customize the skirt’s length and width according to your preferences, making it suitable for different body types and styles. You can also experiment with yarn colors and thickness to create something unique to your taste.
The crochet process begins with making a stretchy waistband using chains and single crochet stitches to ensure comfort. Then, the skirt is worked downward in rounds or rows with basic stitches like double crochet and shell patterns, which add texture and visual interest. The tutorial also explains how to maintain consistent tension for a smooth finish.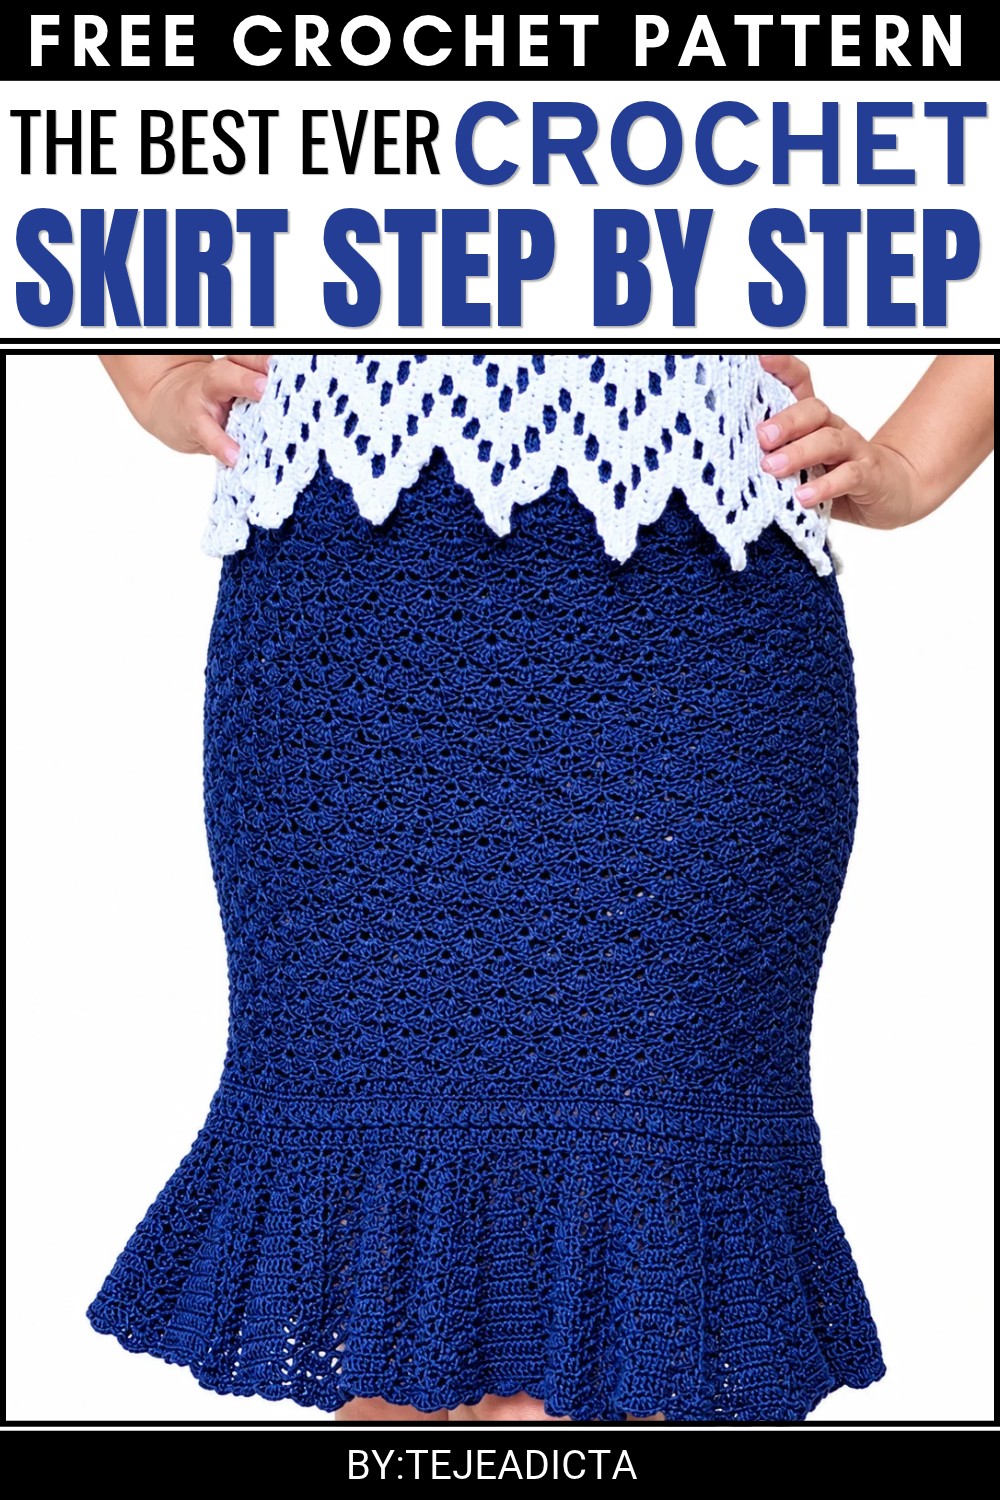 Crocheting this skirt is a rewarding experience. Try this free pattern and add a gorgeous handmade skirt to your wardrobe!
Pattern Overview
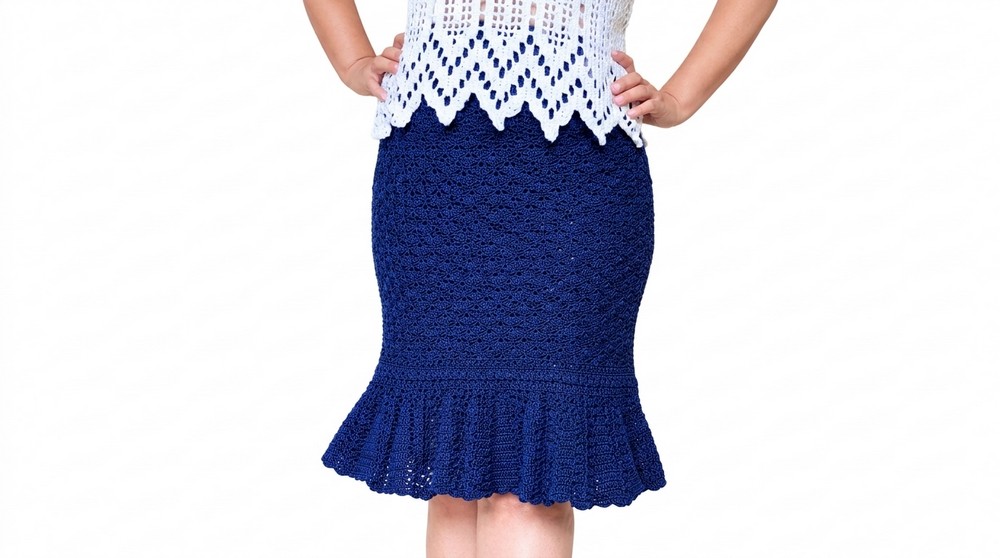
This long mermaid-style crocheted skirt is designed for a beautiful, body-hugging fit that adapts to your curves. The skirt is worked from the waist down with a sturdy elastic waistband and transitions into easy stitches that provide stretch and shape. The design uses simple fan-like and textured stitches to flatter your form, finishing with a decorative shell border. The length, width, and shape can be easily adjusted to suit any person.
Quick Details
- Type: Long crocheted mermaid skirt
- Fit: Fitted waist, adapts to body curves, wide hip, ruffled lower section
- Yarn: Thin acrylic yarn, 1mm thick
- Hook: 2mm crochet hook
- Elastic: 3cm wide, cut to waist circumference
- Stitches: Single Crochet, Double Crochet, Fan Stitch, Crossed Double Crochet
- Finish: Shell/Fan border
Important Tips
- The waistband is crucial for a good fit; use strong, wide elastic and crochet the band around it from the start.
- Allow extra length (about 7cm) for the skirt to compensate for stretching and shrinkage.
- The main stitch stretches in width and shrinks in length, so always check fit by trying it on.
- Distribute increases evenly in rounds, even if numbers don’t divide perfectly.
- Adjust skirt length and shape as needed for different heights or preferences.
- Always count stitches and adjust increases so stitch multiples work out.
- Finish the skirt with a shell border for a neat, decorative edge.
Skill Level
Confident beginner. Must be comfortable with chains, single crochet, double crochet, slip stitch seams, increases, and working into chains and stitch multiples.
Materials
- Thin acrylic yarn, 1mm thick (Sedalina or similar)
- 2mm crochet hook
- 3cm wide elastic, length for waist circumference
- Scissors
- Yarn needle or sewing needle
Measurements
- Waist: Custom to wearer (sample skirt, 75cm circumference)
- Length: Sample skirt is 60cm long; adjust as needed (allow extra for stretching)
- Hip: Custom to wearer
- Hem: Adjust according to increases in last section
Gauge
- Gauge will vary; check fit by wrapping finished waistband strip around elastic.
- Sample band: 21 chains wide, single crochet stitches; row repeats until waist circumference is reached.
Abbreviations
- ch – chain
- sc – single crochet
- dc – double crochet
- sl st – slip stitch
- st(s) – stitch(es)
- fan – 7 dc in one st (main body)
- crossed dc – double crochet worked across two skipped stitches
Special Stitches
- Fan Stitch: 7 dc in same stitch.
- Crossed Double Crochet: Skip one stitch, dc in next stitch, then dc in skipped stitch, crossing stitches.
- Shell/Border: 5 dc in one stitch.
Step-by-Step Instructions
Waistband
- Cut Elastic: Measure the person’s waist and cut elastic to exact circumference. Join ends securely to form a circle.
- Foundation Strip:
- Make a foundation chain long enough to wrap around the elastic band. For sample, 21 ch. Check width.
- Adjust based on your elastic’s width.
- Add 1 extra chain for height.
- Work Waist Strip:
- Work sc across each ch.
- Turn and continue working back and forth in sc rows until the strip matches the elastic’s full length (sample: 75cm).
- Maintain stitch count in each row.
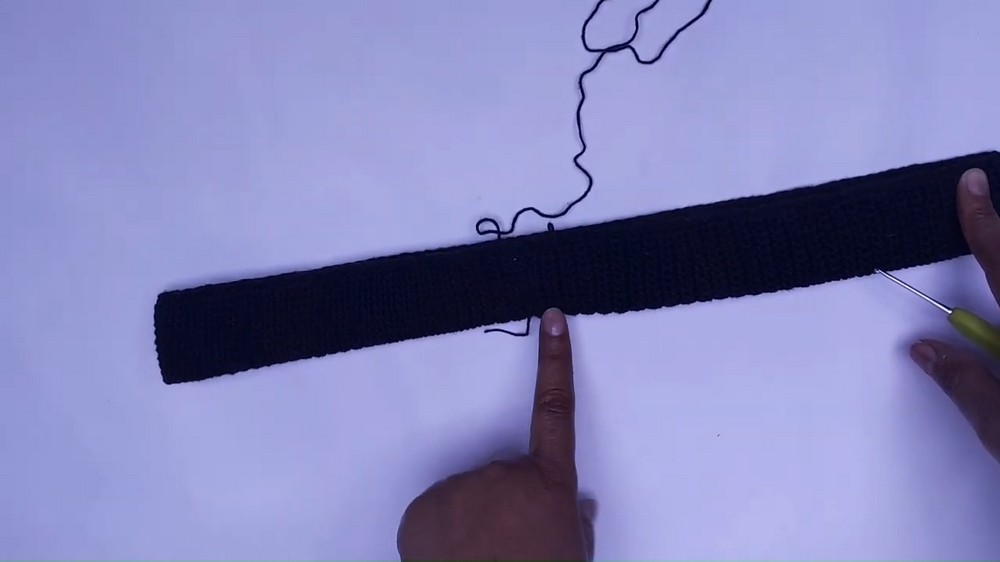
- Seam Strip:
- Fold strip around elastic to encase.
- Seam ends together with sl st (stitch for stitch) to form a circle.
Waist Assembly
- Close the Waist Strip:
- Keep elastic centered and join edges with sl st or sc.
- Count and record total stitches around (sample: 147).
Hip Shaping and Increases
- First Body Section:
- Work 7 rounds of dc from waistband, making gradual increases.
- Divide total stitches by 16 (example: 147/16 = ~9).
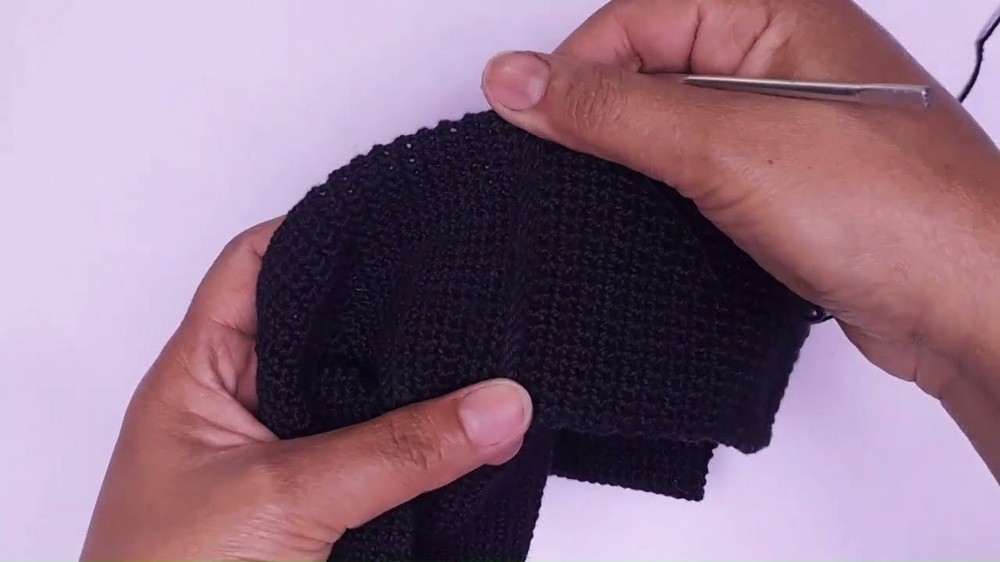
- In Round 1, make an increase (2 dc in one st) every 9 sts.
- Join rounds with sl st.
- Next Rounds:
- Increase frequency by one for each round:
- Round 2: increase every 10 sts
- Round 3: increase every 11 sts
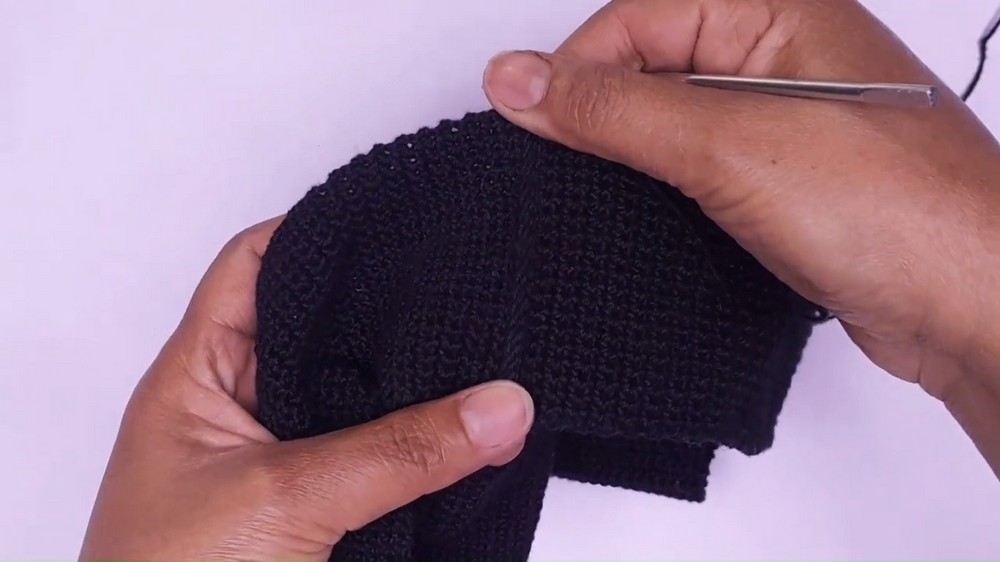
- …add 1 stitch each round, for 7 rounds total.
- Increase frequency by one for each round:
Main Body: Fan Stitch Section
- Fan Stitch Rounds:
- Start in the round with fans:
- 7 dc in one stitch, skip 3 sts, sc in next, skip 3 sts, repeat.
- Work this all around as Round 1.
- At end, adjust for any extra stitches by skipping more or fewer sts.
- Start in the round with fans:
- Second Fan Stitch Round:
- Move to the 4th dc of the fan (center), make sc.
- 2 ch, then in the sc between fans: dc, ch, dc in same st.
- Continue with 2 ch, sc in next fan’s center, repeat.
- Repeat fan and “B” rounds (sc/dc-ch-dc) for desired length.
- Sample skirt: 31 sequences (62 rounds), 41cm in length.
Transition Section
- Change Stitches (at 41cm):
- Work 1 round of sc in every stitch (in all dc, chains, and sc of previous round).
- Crossed Double Crochet Round:
- Next round: crossed dc as follows:
- Skip 1 st, dc in next st, then dc in skipped st.
- Repeat to end.
- Next round: crossed dc as follows:
- *Work 1 round of sc into each stitch.
Decorative Rounds
- Triple Decrease Round:
- Start with 3 ch for height.
- Work 3 dc, leaving each unfinished, then yarn over and pull through all loops on hook.
- Follow with 1 ch.
- Puff Stitch:
- Pick up 5 loops (as for dc, not finishing), then yarn over and pull through all loops.
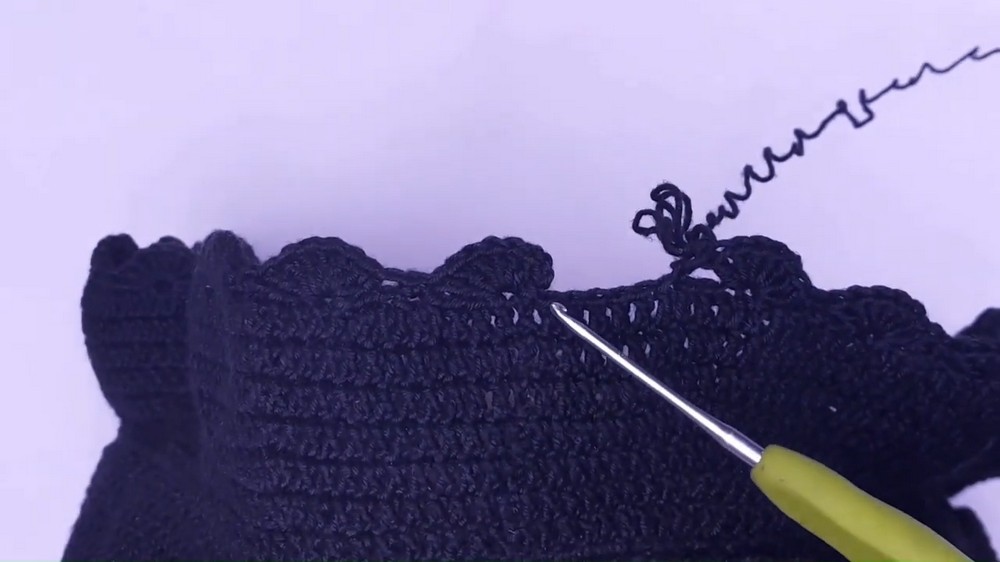
- 1 ch between each.
- Pick up 5 loops (as for dc, not finishing), then yarn over and pull through all loops.
- Repeat:
- Triple decrease, 1 ch, puff stitch, 1 ch, around.
- **Work 1 round of sc: place 3 sc between two decorative stitches.
- **Work 1 round of crossed dc as before.
- **Work 1 round of sc in each stitch.
- Increase to a multiple of 12 for next section:
- Add sc increases evenly distributed in the round as needed.
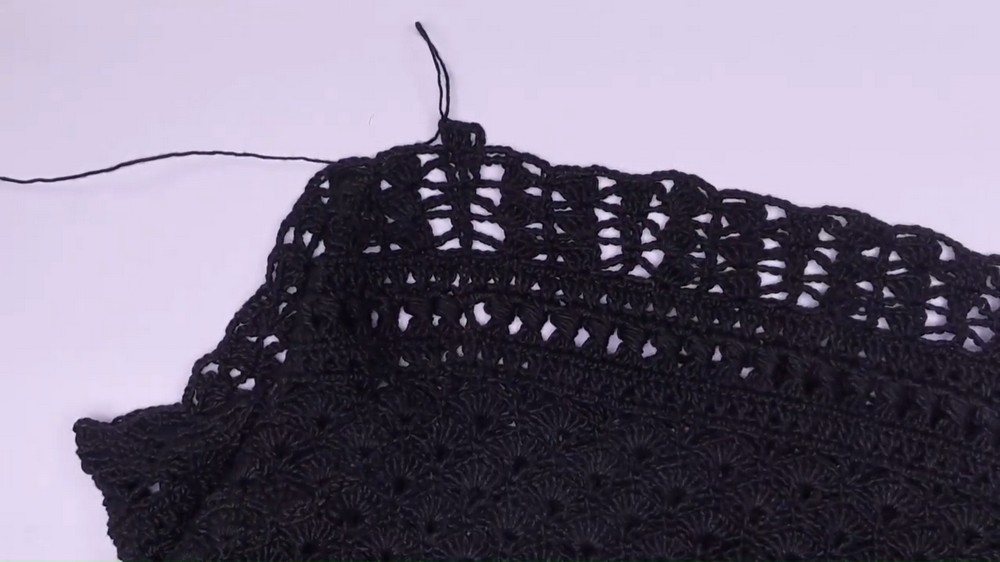
Flare/Ruffle Section
- Stitch Sequence:
- Round 1:
- 3 ch = first dc.
- 3 ch, skip 2, sl st in next, 3 ch, in same stitch make 3 dc, skip 2, dc in next, skip 2, 3 dc in same st, 3 ch, sl st.
- Repeat around.
- Round 2:
- sc in dc, 3 ch, sc in ch, 3 ch, sc in dc, repeat.
- Increases:
- Each round, increase the number of dc between chains as shaped (2 dc, then 3 dc, etc.).
- Alternate increases:
- Odd-numbered rounds: increase at first dc.
- Even-numbered rounds: increase at last dc.
- Odd-numbered rounds: increase at first dc.
- Continue for 11 rounds or until desired flare (sample: adds one dc per round, 11cm).
- Round 1:
Shell/Border Round
- Shell Border:
- 3 ch (counts as first dc), then 4 more dc in same stitch (5 dc total).
- Skip 2 sts, sc, skip 2 sts, 5 dc in next.
- Repeat all around.
Finishing
- Cut yarn and weave in all ends.
- Try on skirt and check fit/length. Adjust if needed.
Final Notes
- Always measure as you work for best fit.
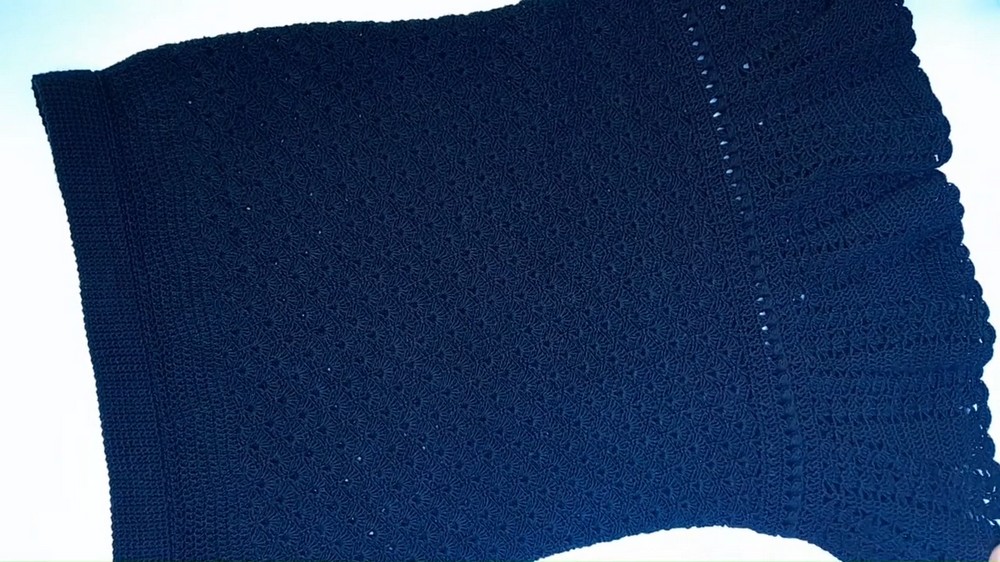
- Each section and length is adjustable.
- The shell border complements the skirt’s flair and adds a polished finish.
- Every stitch, from the waistband to the shells, ensures a skirt that fits perfectly and looks beautiful.