Protect tiny heads in style with a Crochet Summer Baby Hat Pattern because it’s fun, creative, customizable, and perfect for sunny-day baby essentials.
Nothing screams summer sweetness like a tiny hat perfectly tailored for sunny baby adventures! A crochet summer baby hat is adorable, functional, and packed with personality, offering a fun opportunity to merge style with practicality. This lightweight gem shields little ones from the sun while letting you experiment with colors, textures, and playful embellishments, think a ruffled brim, cheerful flowers, or even silly animal ear add-ons.
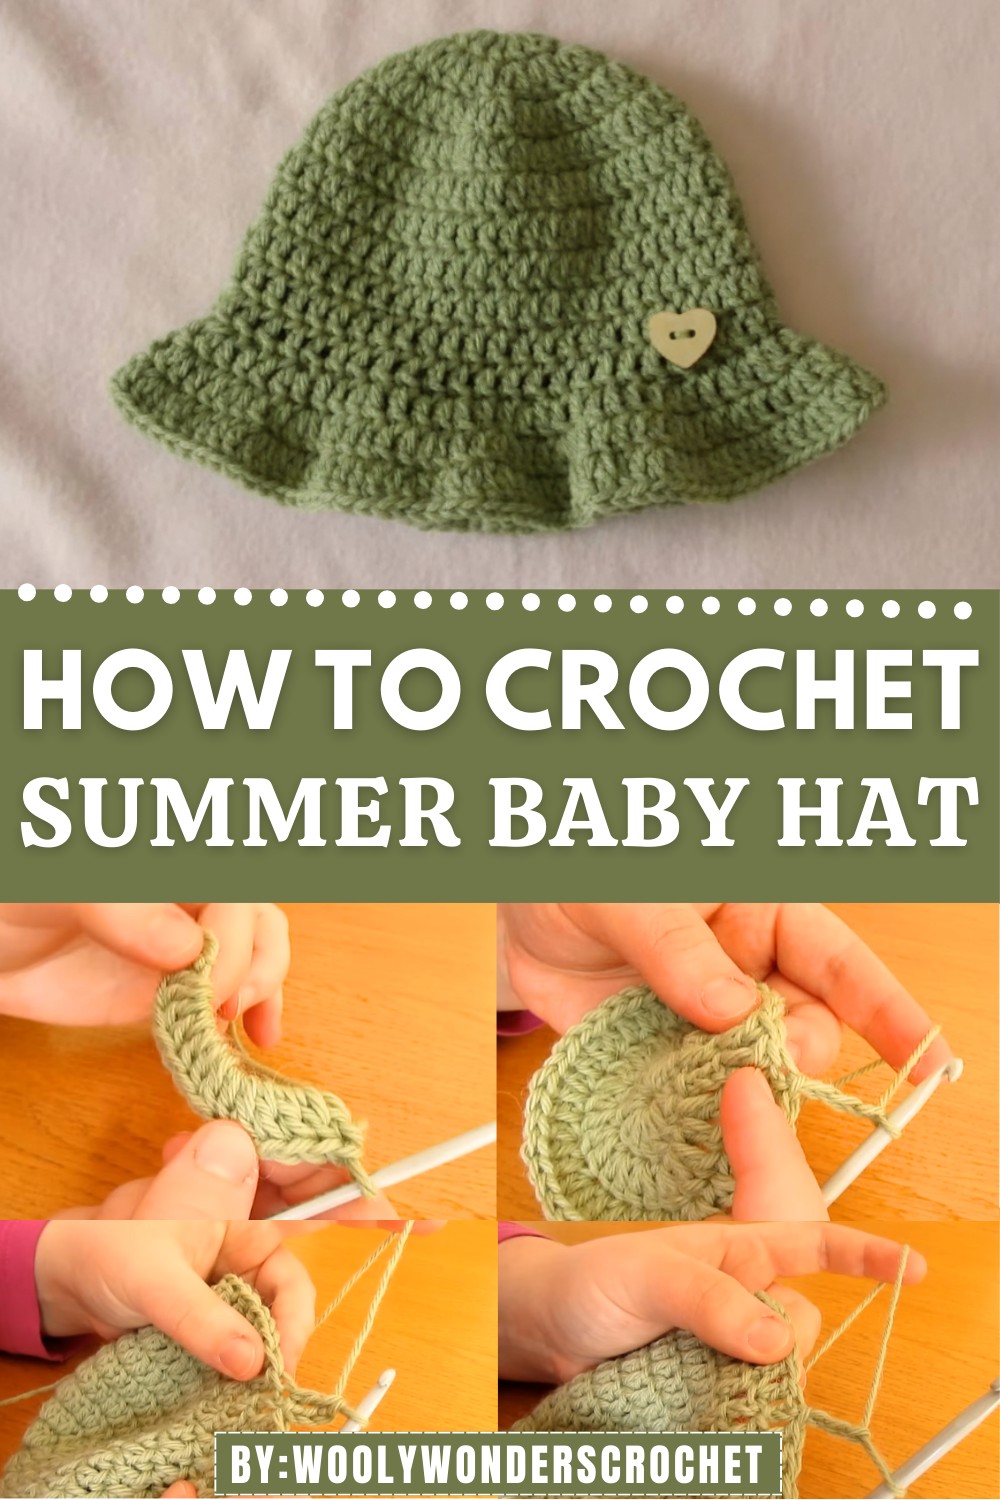
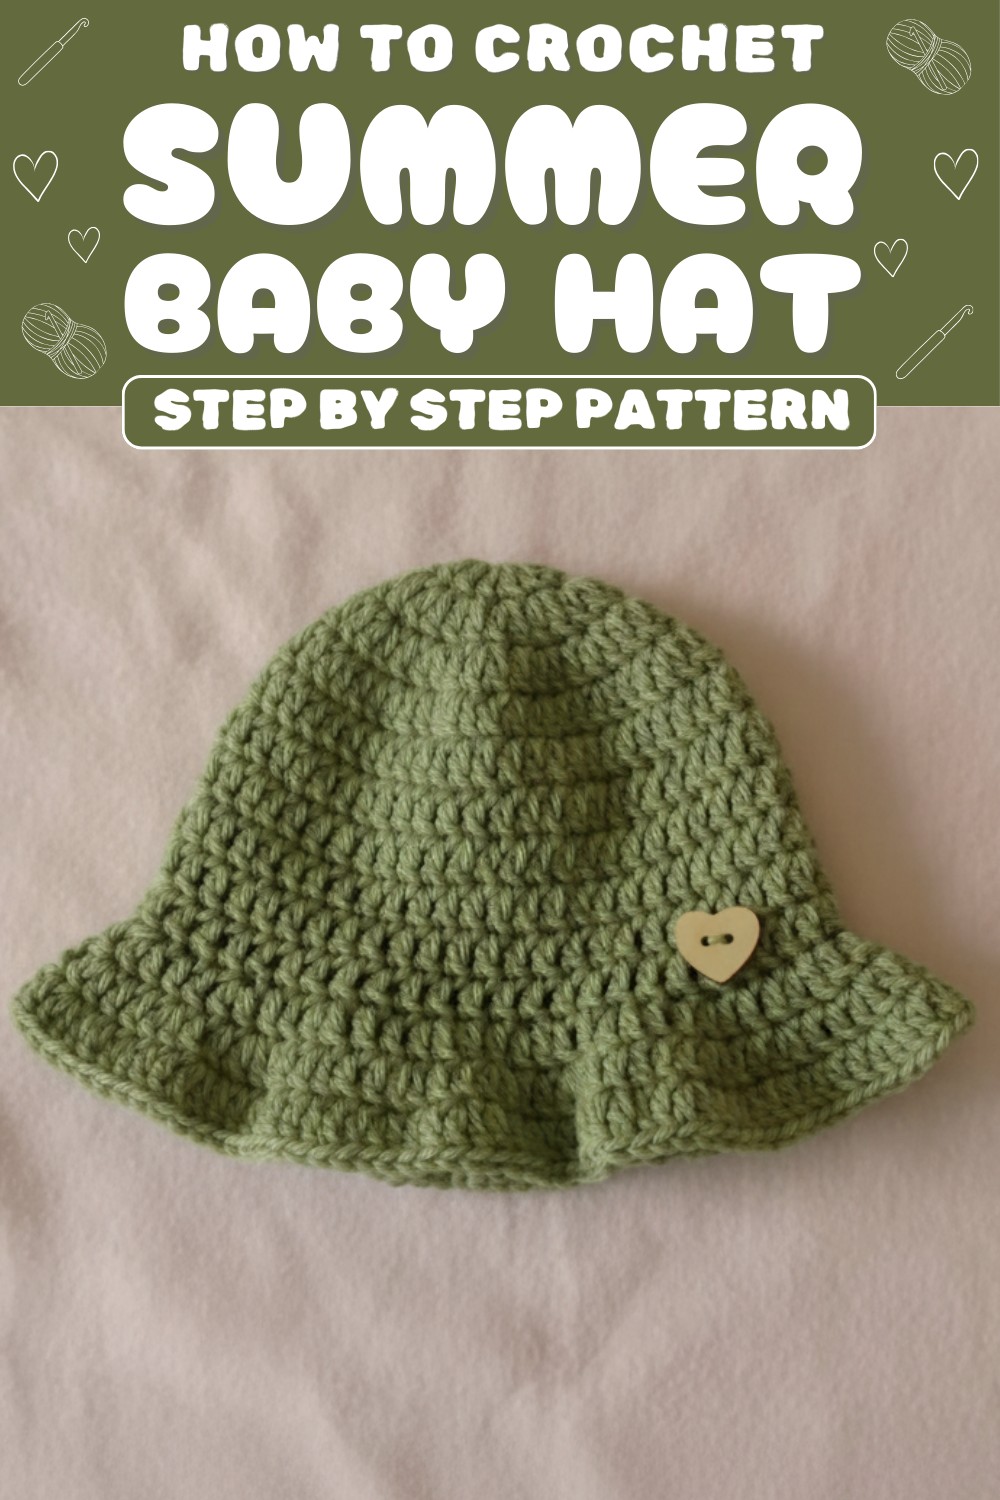
Bright Crochet Summer Baby Hat Pattern for Happy Babies
Using soft, breathable yarn ensures comfort and keeps things breezy, while its small size makes it a quick and rewarding project. Perfect for gifts, outdoor outings, or just as a keepsake, this creation is sure to spark joy for both maker and receiver. What’s better than watching a tiny head rock your handiwork in sunny weather?
Materials
- Yarn: Lightweight DK or Sport Weight yarn; cotton or cotton blends are recommended for summer (approximately 50-100g, depending on size).
- Crochet Hook: US size G-6 (4.0 mm).
- Stitch Marker: Optional, for marking the start of each round.
- Tapestry Needle: For weaving in the ends.
- Scissors: Sharp scissors for trimming yarn ends.
Skill Level
Beginner-Friendly with some prior crochet experience needed.
Key Abbreviations
- ch: Chain.
- sl st: Slip Stitch.
- dc: Double Crochet.
- yo: Yarn Over.
- st(s): Stitch(es).
Special Techniques
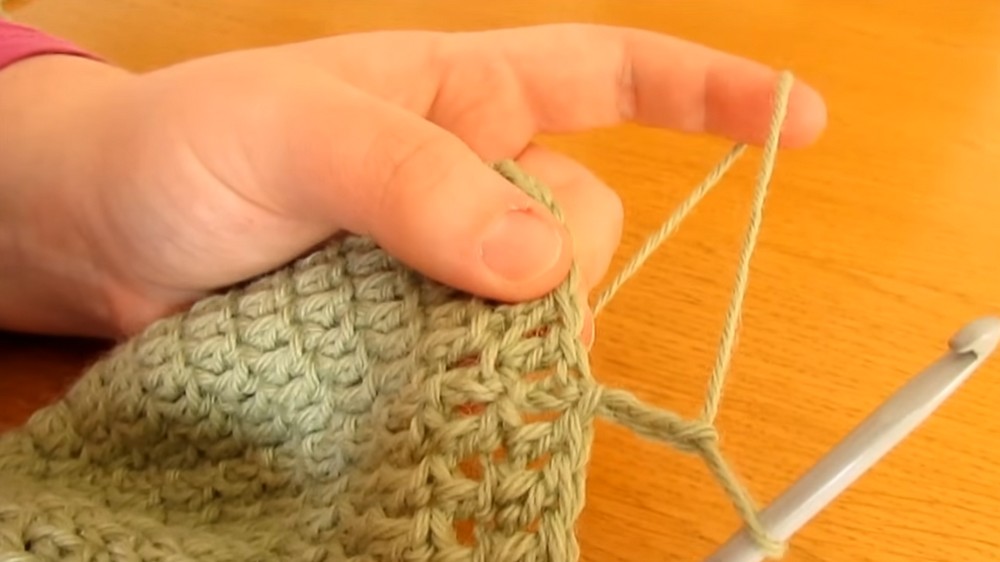
- Magic Circle: This technique allows you to create a tightly closed center for the hat. Wrap yarn around your finger, insert the hook under one loop, pull the second loop through, and begin crocheting within the loop.
- Front Loop Only (FLO): A stitch worked into only the front loop of a stitch, creating a decorative edge or texture.
Suggestions for Adjustments (Sizing)
- Refer to the description box or adjust the number of foundation stitches and increase/decrease rounds accordingly to make hats for larger sizes.
- For preemies or newborns, use fewer stitches per round. For older babies/toddlers, increase starting stitches and rounds.
Pattern Instructions
Round 1: Magic Circle and First Stitches
- Create a magic circle:
- Wrap the yarn around your index finger once and cross it back over to form an “X.” Insert your hook under the first loop, grab the second loop, and pull it through. Remove your finger, and the magic circle is ready.
- Ch 1 (does not count as a stitch; it secures the circle).
- Work 13 dc into the magic circle:
- To make a double crochet (dc):
- Yo, insert the hook into the circle.
- Yo again and pull through the loop (3 loops on the hook).
- Yo and pull through the first 2 loops.
- Yo and pull through the final 2 loops.
- Repeat 13 total times.
- To make a double crochet (dc):
- Close the magic circle:
- Pull the loose tail of the circle to close it tightly.
- Join the round:
- Insert your hook into the first double crochet (not the chain 1).
- Work a sl st to join.
- You now have 13 dc in Round 1.
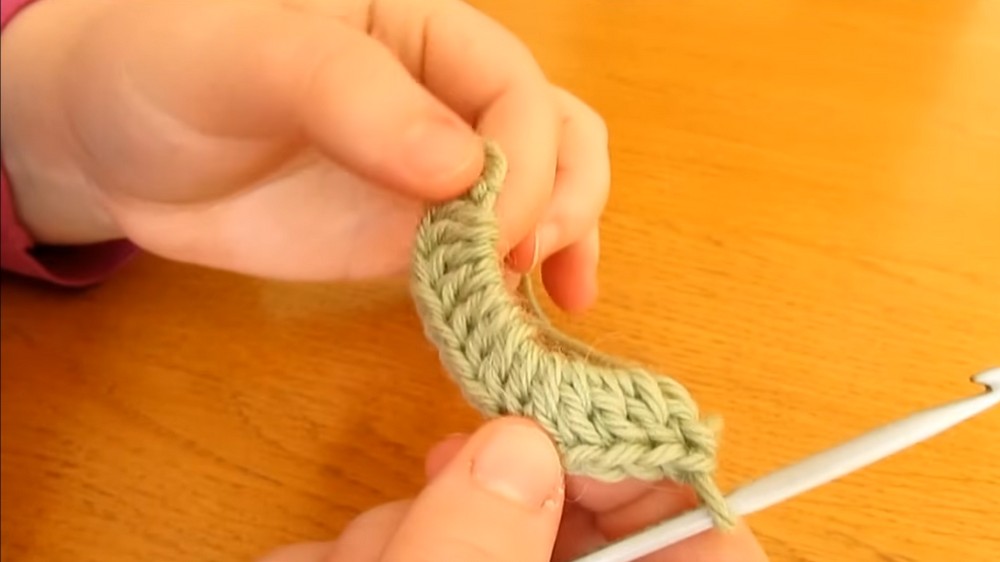
Round 2: Increase Round
- Ch 3 (counts as the first dc of the round).
- Work 2 dc into every st around, starting in the same st as the ch-3.
- Into the next stitch, work 2 dc.
- Continue placing 2 dc in each stitch for a total of 26 dc.
- Finish the round:
- Join with a sl st into the top of the ch-3.
- You now have 26 stitches.
Round 3: Alternating Increases
- Ch 3 (counts as the first dc).
- Work 2 dc in the first st, then 1 dc in the next st.
- Repeat (2 dc in the next st, 1 dc in the following st) around.
- You are alternating increases across the round.
- By the end of this round, you should have 39 dc.
- Join with a sl st to the top of the ch-3.

Round 4: Gradual Increase
- Ch 3 (counts as the first dc).
- Work 2 dc in the first st, then 1 dc in each of the next 2 sts.
- Repeat (2 dc in the next st, 1 dc in the following 2 sts) across the round.
- By the end of this round, you should have 52 dc.
- Join with a sl st to the top of the ch-3.
Rounds 5–10: No Increases
- For the next 6 rounds (Rounds 5–10), work 1 dc in each st around:
- Ch 3 at the beginning of each round (counts as the first dc).
- Work 1 dc in every stitch across, maintaining 52 dc.
- Join with a sl st to the top of the ch-3 after each round.
- This creates the body of the hat.
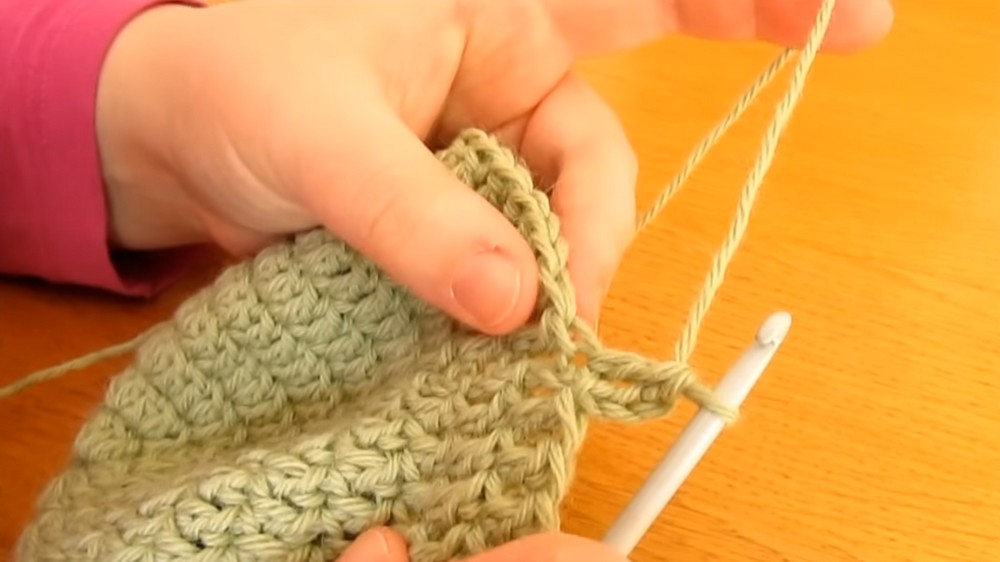
Round 11: Edging (Front Loops Only)
- Ch 3 (counts as the first dc).
- Work into the front loop only (FLO) of the stitches:
- Work 2 dc into the first st, then 1 dc into each of the next 2 sts.
- Repeat (2 dc in 1 st, 1 dc in the next 2 sts) all the way around.
- This creates a decorative edging that curves outward slightly.
- Join the round as usual with a sl st to the top of the ch-3.
Round 12: Continue Edging
- Ch 3 (counts as the first dc).
- Work through both loops for this round:
- Follow the same sequence: 2 dc in the first st, then 1 dc in each of the next 2 sts.
- Continue this pattern all the way around.
- Join to the ch-3 with a sl st.
Round 13: Final Edging Round
- Ch 3 (counts as the first dc).
- Work exactly as you did in Round 12.
- 2 dc in the first st, 1 dc in each of the next 2 sts.
- End the round with a sl st into the top of the ch-3.
Finishing
- Fasten off: Cut the yarn, leaving a small tail, and pull it through the final loop to tighten.
- Weave in the ends: Use a tapestry needle to weave the yarn tail securely into the inside of the hat.
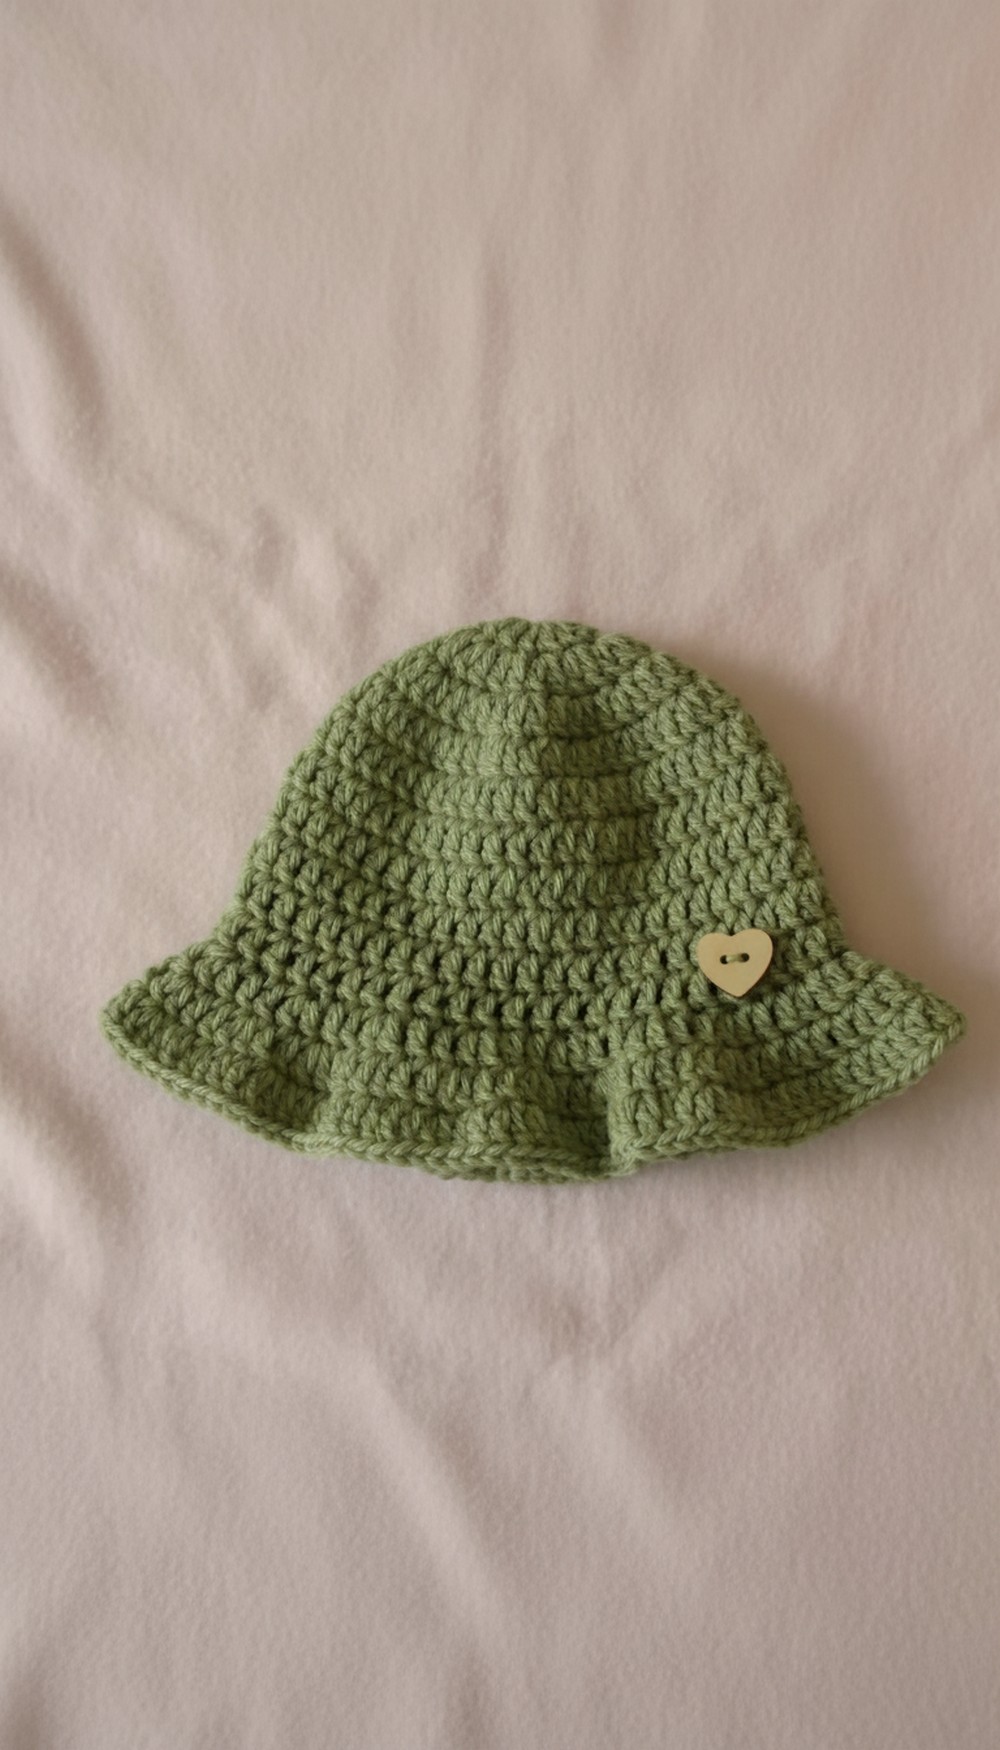
- Optional: Add decorative embellishments such as buttons, flowers, or bows.
Final Words
Congratulations! You’ve finished your simple summer baby hat. This pattern is easy to customize for various sizes and perfect for gifting or everyday wear.
Tips for Maintaining the Pattern
- Yarn Choices: Use lightweight cotton yarns for a breathable hat, especially during the warmer months.
- Sizing: Modify the rounds of increases (Rounds 2–4) and body rounds (Rounds 5–10) based on head circumference.
- Blocking: Gently block the finished hat for a professional look, ensuring the stitches lay flat and the brim curves outward.
- Care Instructions: Use machine-washable, durable yarn and follow care instructions on the label for longevity.