Uncover the joy of crochet with our easy dishcloth pattern that offers a fun and rewarding way to add colorful handmade charm to your kitchen essentials.
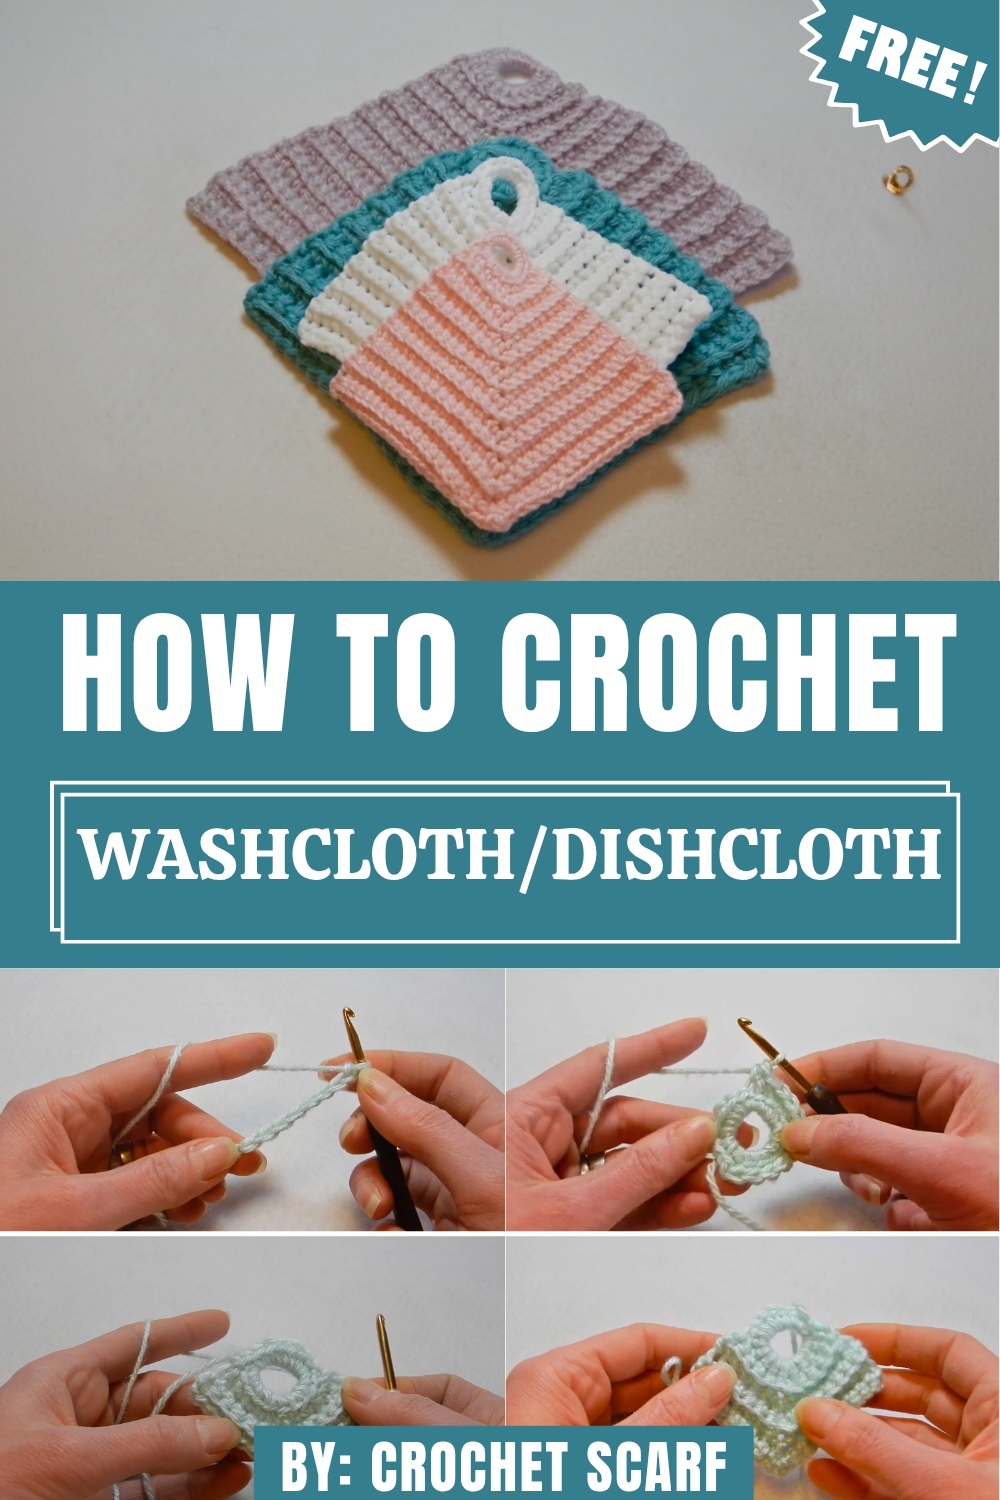
Stylish Crochet Dishcloth Pattern for Modern Homes
Upgrade your kitchen essentials with this versatile and eco-friendly crochet project. A free crochet dishcloth pattern is perfect for creating practical, reusable dishcloths that are both durable and stylish. Ideal for cleaning dishes, wiping counters, or even as a gift, these handmade cloths add a personal touch while reducing waste.

A variety of textures and designs to suit any aesthetic, from bold and colorful to soft and minimalist. Quick to complete and beginner-friendly, this project offers a satisfying way to blend creativity with functionality, making it a favorite for both seasoned crocheters and those just starting out.
Materials
- Yarn:
- Cotton yarn (recommended) for dishcloths or washcloths. Absorbs water well and dries faster.
- Optional: Acrylic or polyester yarn for decorative or ornamental purposes (less absorbent vs. cotton).
- Sample yarn suggestions: Lily’s Sugar’n Cream, Bernat Handicrafter Cotton, or similar worsted weight cotton yarns.
- Hook Size:
- 3.5 mm or the size recommended by the yarn label.
- For a softer feel or to prevent curling, go up half a hook size (e.g., 4.0 mm).
- Optional Items (for finishing):
- Stitch markers (to mark the corners if needed).
- Tapestry needle (to weave in ends).
- Scissors.
Skill Level
Beginner to Intermediate.
Key Abbreviations
- ch: chain
- st: stitch
- sc: single crochet
- sl st: slip stitch
- yo: yarn over
Special Notes
- Beginner-Friendly: The stitch pattern is very straightforward, but the corner increases may be slightly tricky. Using a stitch marker in the corner space will help keep track of increases.
- Yarn Choice: Cotton is recommended for better water absorption, particularly for dishcloths. Use acrylic yarn for decorative purposes or other creative projects.
- Tension: Use a slightly larger hook size if your stitches feel tight or if the edges start to curl up.
Pattern: Crochet Reversible Dishcloth
Step 1: Foundation
- Leave a long tail (approximately 4 – 6 inches) at the start, as it will later be woven into the fabric.
- Create a slip knot on your hook.
- Ch 8 to form the hanging loop (or adjust the chain count if you want a smaller/larger loop).
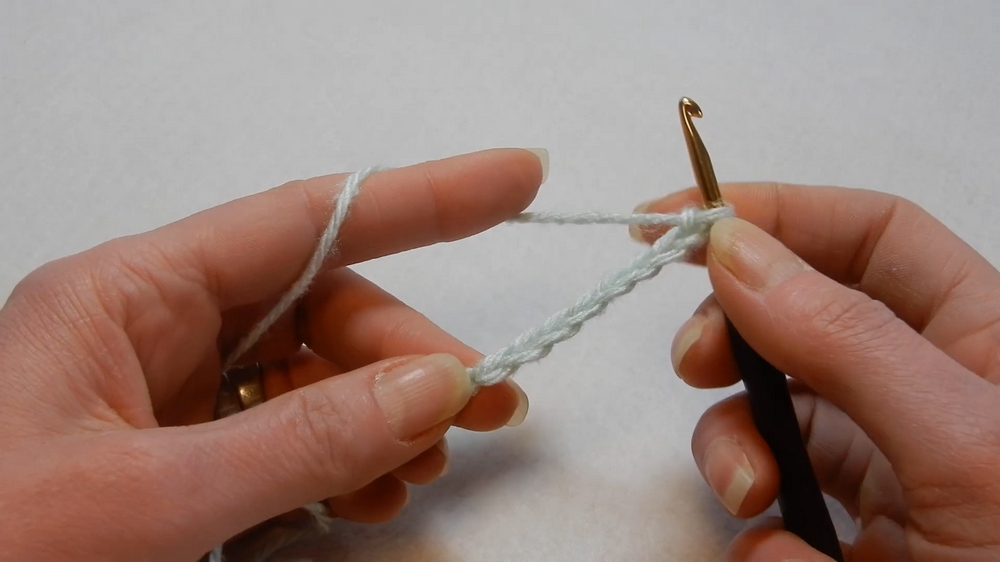
Step 2: Forming the Hanging Loop
- Join the ch into a circle with a sl st into the first chain. Ensure your loop is not twisted.
- Ch 1 (keep this chain slightly loose to avoid stiffness).
Step 3: First Round (Working into the Circle)
- Crochet 16 sc into the circle. (The hanging loop will form around this circle base.)
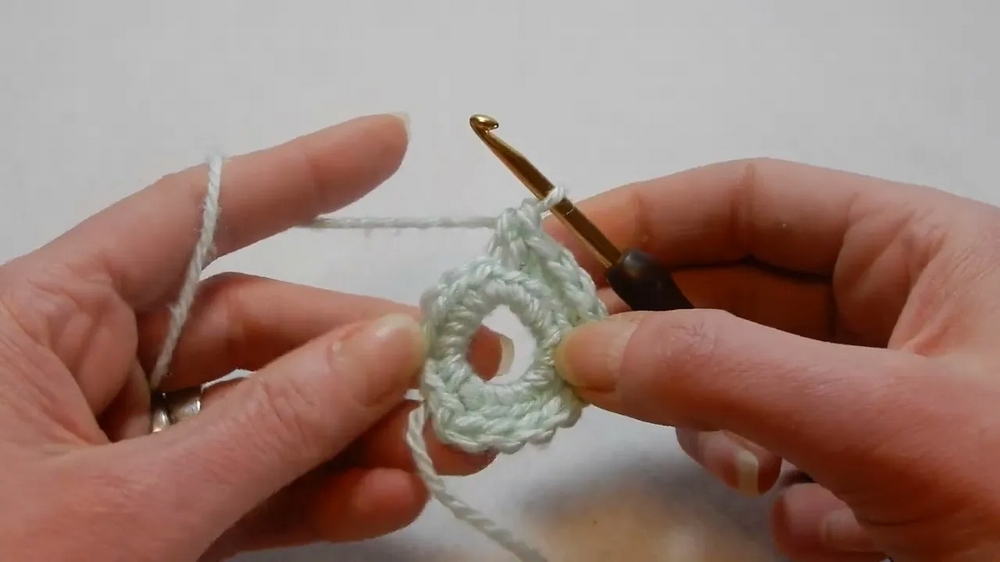
- Join the round with a sl st into the back loop of the first sc. You should now have a solid circular base.
Step 4: Start Working Through the Back Loops
- Ch 1 (loosely). This does not count as a stitch.
- In every stitch of the base, work 1 sc through the back loop only.
- Upon completing the round, join with a sl st into the back loop of the first sc.

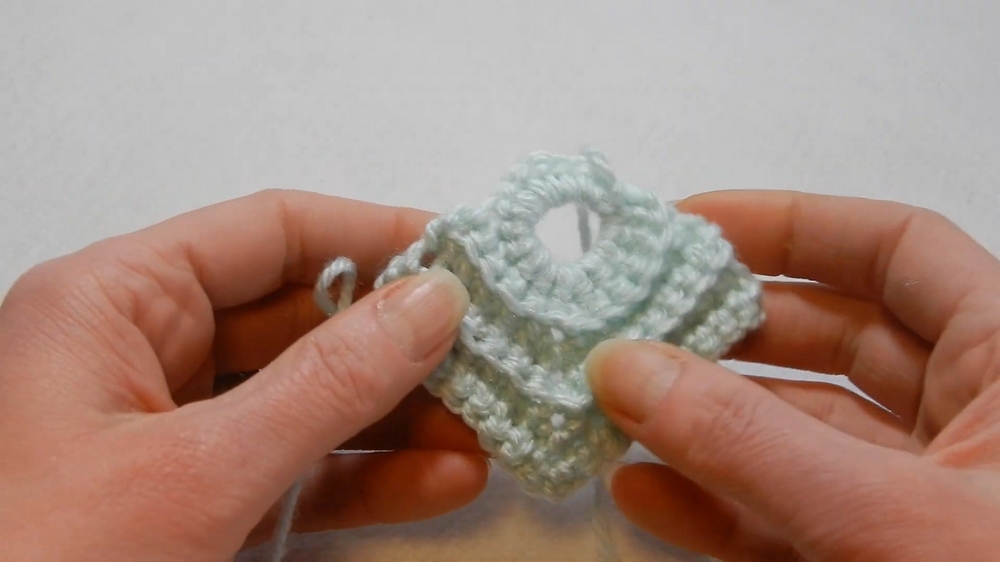
Step 5: Increasing at the Corners (Formation of Ridges)
- Ch 1, turn your work. Always crochet through the back loop only:
- Work 1 sc in each stitch until you arrive at the “corner” stitch (i.e., the stitch where you previously made a chain 1 increase).
- At the corner stitch, work the following:
- 1 sc, ch 1, and 1 sc into the same stitch (this forms the corner and allows the dishcloth to grow).
- Continue working through the back loop in every stitch until the end of the row. At the last stitch, work a sc, then chain 1, and turn your work.
Step 6: Repeat Rows for Expansion
- Repeat Step 5, ensuring that you increase ONLY at the corner stitch of every row.
- You can continue these rows until the dishcloth reaches your desired size.
Finishing
- Once the dishcloth is the size you want, finish your project by working one round of sc through both loops of each stitch for a clean edge.
- Fasten off and leave a 4-6 inch tail.
- Thread the tail onto a tapestry needle and weave it neatly into the ridges on the back of your work.
Tips for Success
- Prevent Curling: If the corners of your dishcloth begin to curl up, switch to a hook that is at least half a size larger than the one you’ve been using. This will ensure looser tension, eliminating curl.
- Markers for Corners: Place a stitch marker in your corner chain-1 spaces to keep track of where to make increases on every row.
- Customizing Ridges: The ridges result from working through the back loops. This creates a reversible design with texture. If you prefer a smooth, flat fabric, work through both loops instead.
- Cotton Care: Dishcloths made from cotton yarn work best because they absorb water. They are machine-washable and reusable—perfect for a waste-free lifestyle.
Customization Ideas
- Color Variations: Create a single-color dishcloth or alternate colors every 2 – 3 rows for stripes. Variegated yarns also create stunning effects.
- Size Adjustments: Increase or decrease the dishcloth size by continuing or shortening the rows. For example, add more rows for a bath mat or reduce rows for coasters.
Pattern Variation for Color and Size
- Two-Tone Dishcloth: Alternate two coordinating yarn colors every few rows to create a fun and colorful dishcloth.
- Scrubbier Cloth: Use a textured scrubby polyester or acrylic yarn. Note: Acrylic/polyester yarn may not absorb water as well but is excellent for tougher cleaning tasks.
- Oversized Cloth or Bath Mat: Double the base chain and increase the number of rows for a large, spa-like cleaning cloth or bath mat.
Conclusion and Final Look
This versatile crochet dishcloth pattern is beginner-friendly yet allows you to explore intermediate techniques like working in the round, creating texture with back-loop stitches, and making increases to form “corners.” The finished product is thick, absorbent, and perfect for scrubbing and cleaning!
The dishcloth will feature beautiful horizontal ridges due to the back loop technique, which is both decorative and functional for absorbing water. It’s a fast and rewarding project that you can customize with colors or sizes to create matching sets for your kitchen or bathroom!