
Stitch cozy footwear with this Crochet Hexagonal Flower Boots Free Pattern for quiet evenings, relaxed mornings, and a pretty floral touch.
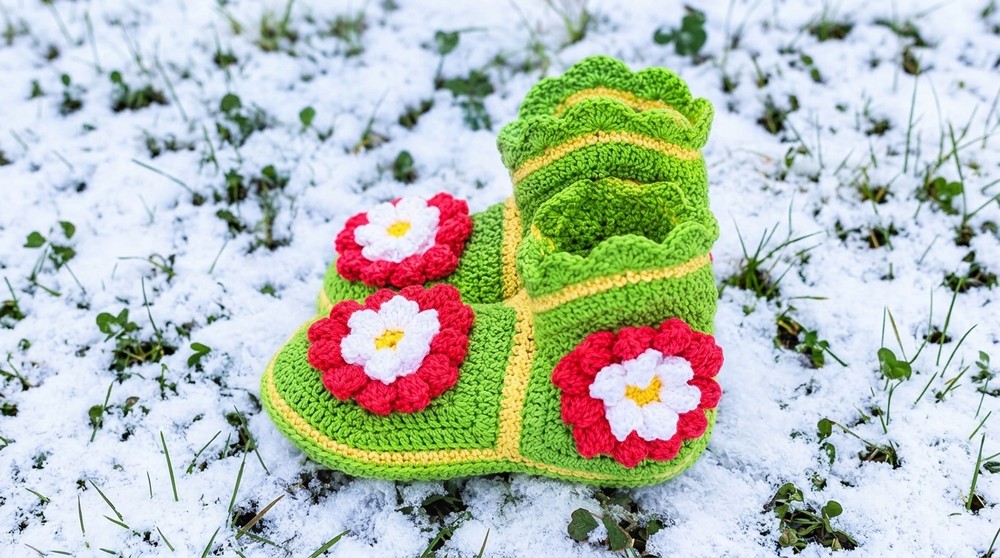
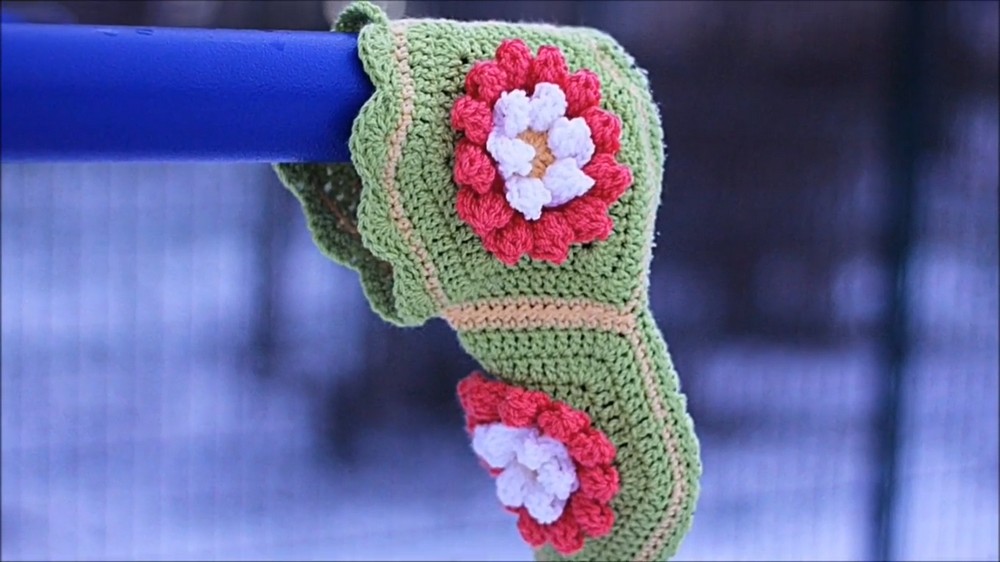
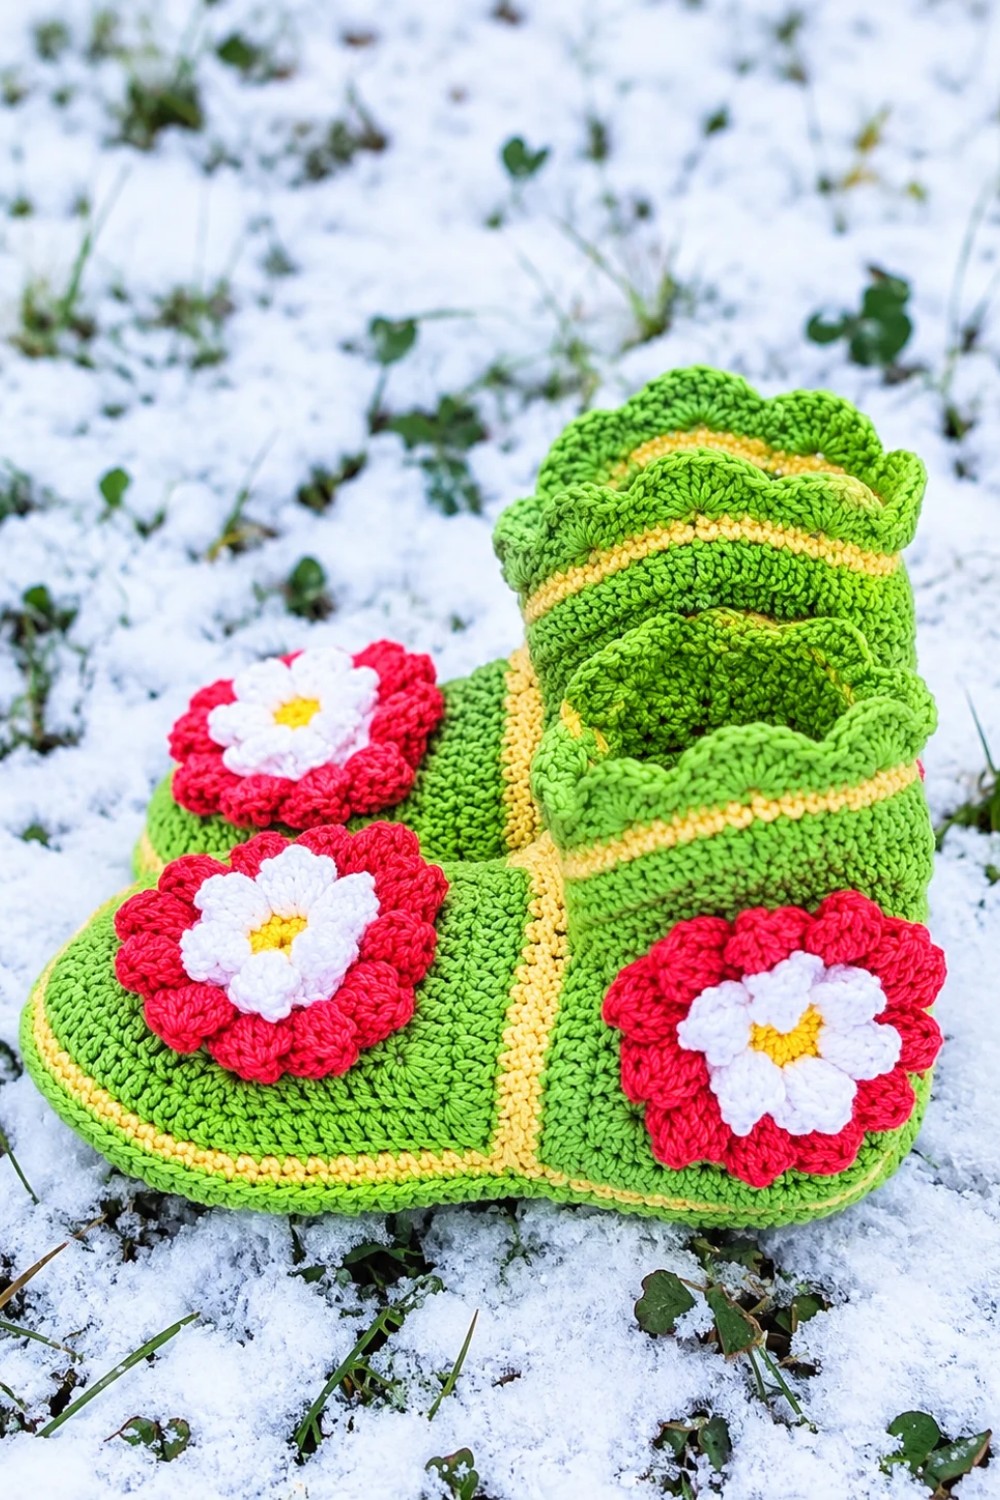
Кристина Богданова shares a lovely footwear idea for anyone who likes colorful yarn and handmade shoes. This Crochet Hexagonal Flower Boots combines pretty floral details with a useful pair of boots for wearing at home. The Flower Boots have an eye-catching design that looks different from regular slippers. The flower details give them a cheerful style, while the crochet fabric covers the feet and ankles.
Simple Crochet Hexagonal Flower Boots Free Pattern Step By Step
You can use soft pink, cream, brown, or green yarn to suit your taste. Choosing two or three matching shades can give the footwear a neat appearance. The flowers are the main decoration, so there is no need for extra ribbons or other details.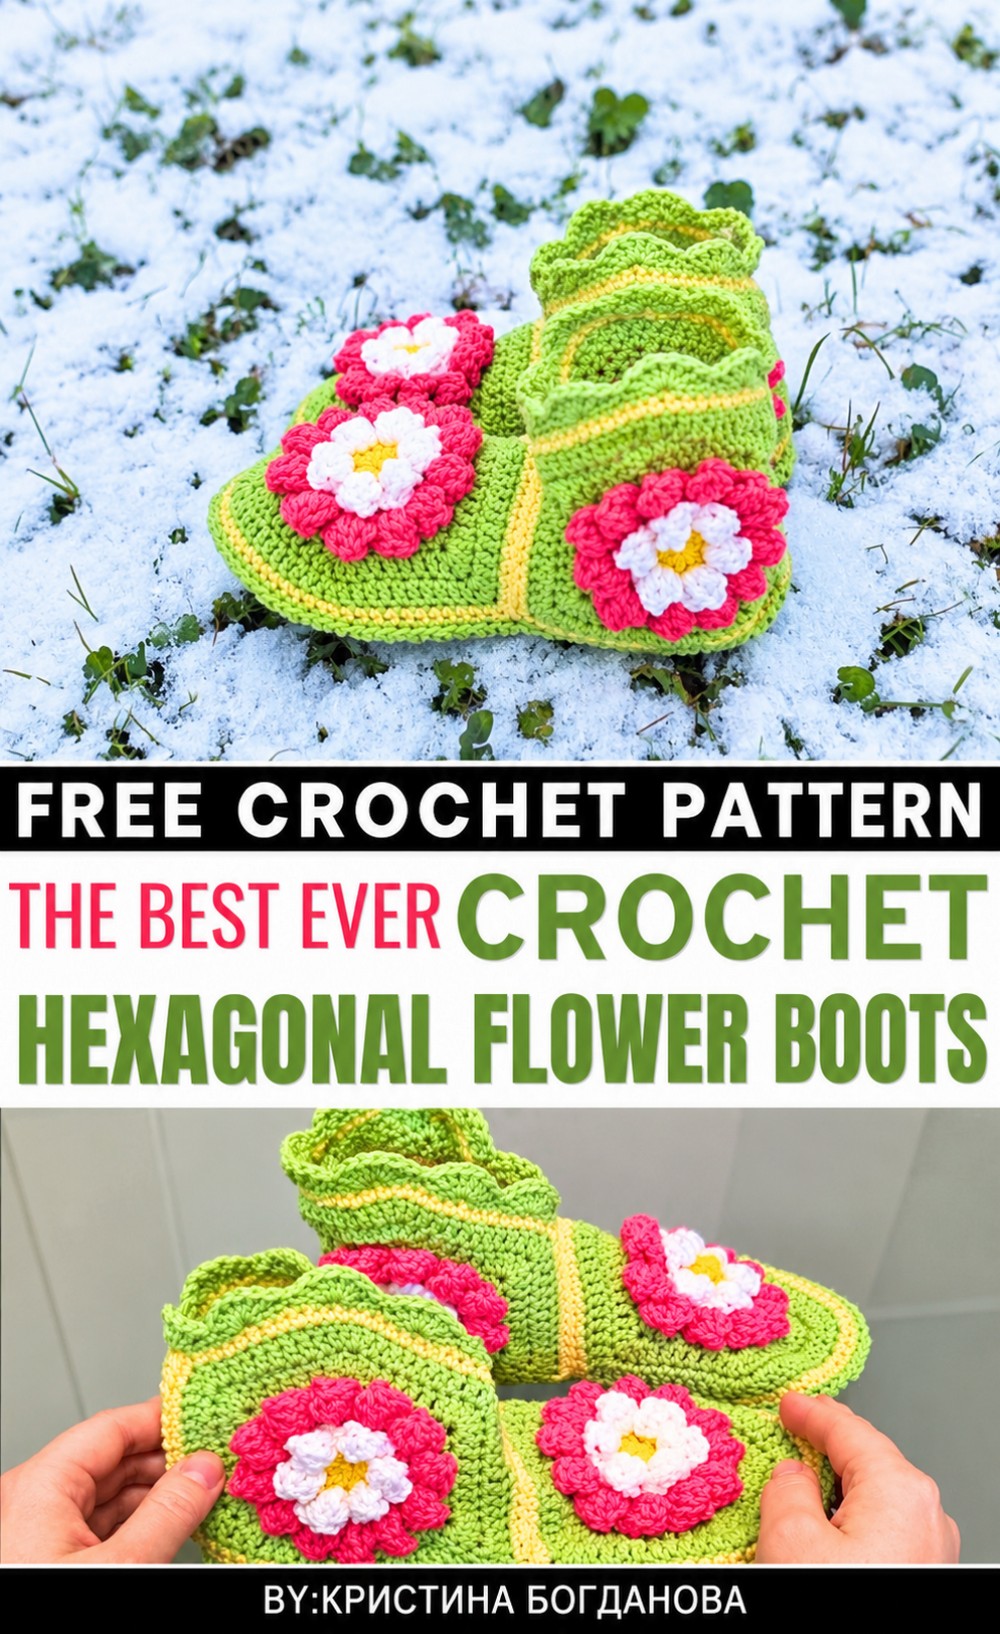 Before starting, measure your feet and check the size given in the tutorial. Prepare the crochet pieces as instructed, then follow the joining steps to form the footwear. Pay attention to the shape around the toes, heels, and ankles so the boots fit properly. A suitable non-slip sole is important for walking safely on smooth indoor floors.
These boots can be worn while reading, watching television, or spending a quiet evening at home. They look nice with warm leggings, soft trousers, or pajamas.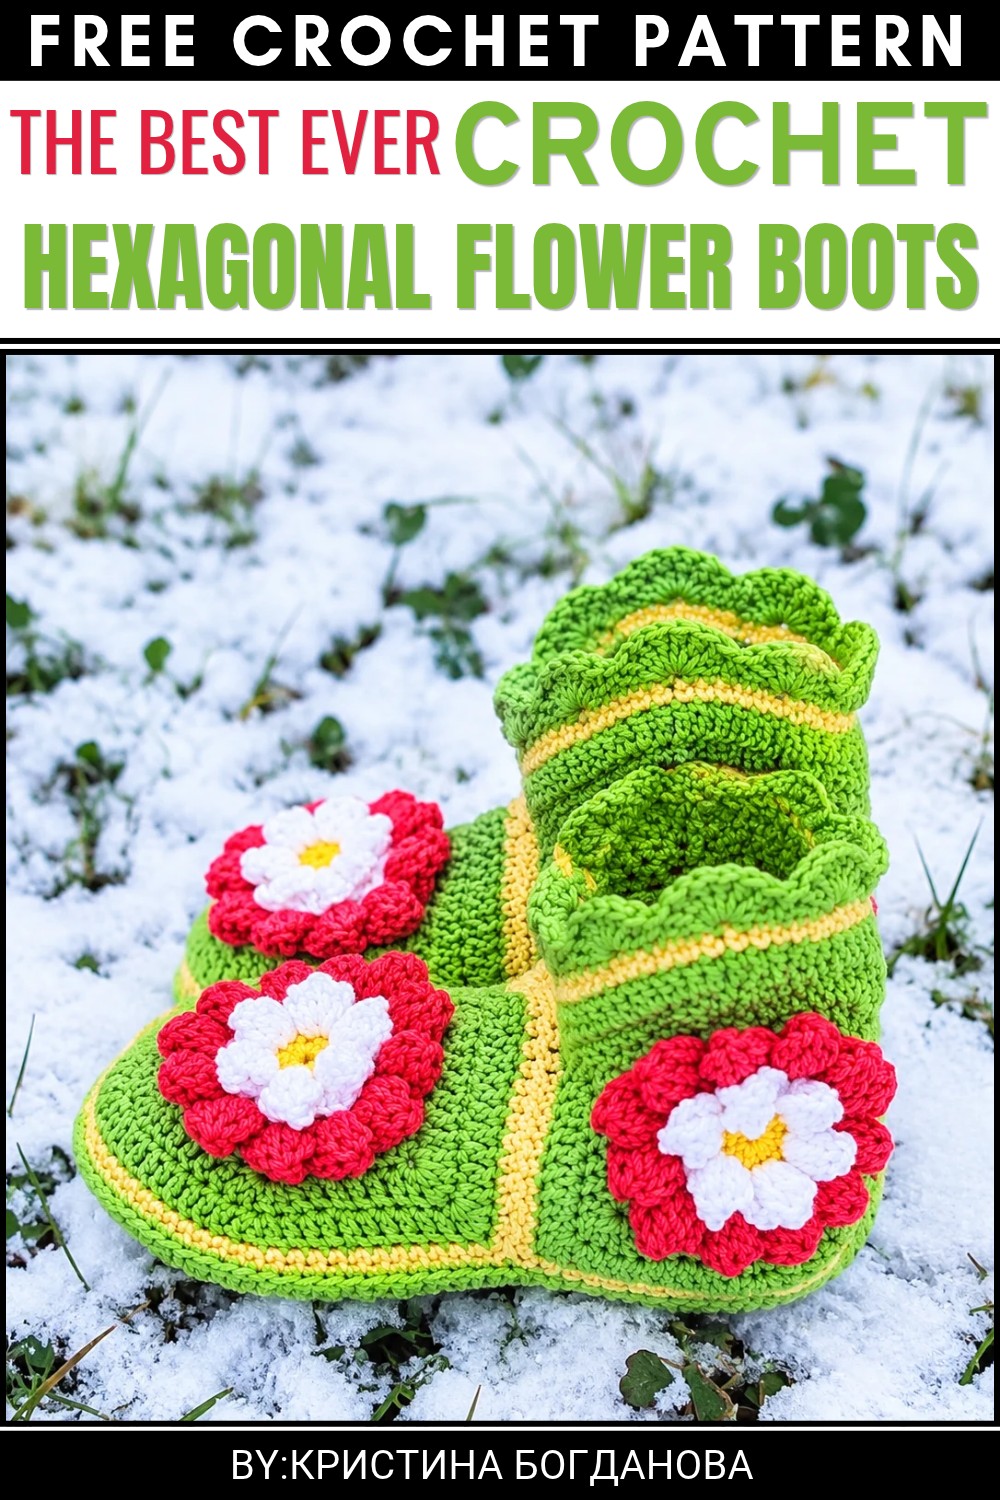 You can also prepare a pair as a handmade birthday or Christmas gift. Choosing the right size and a favorite color can help the person wear them often.
Another useful part of this project is working with separate crochet pieces and joining them into something wearable. Once finished, you will have a pair of floral boots that combines a pretty design with everyday indoor use.
Pattern Overview
This pattern creates a textured, multi-layered hexagonal motif ideal for use in crochet slippers or similar patchwork projects. Using color changes and working into the front and back loops creates a 3D floral effect at the center, framed by a sturdy hexagonal edge. The motif builds from a closed “heart” center, develops with two layers of flower petals, and is finished with a hexagonal border and neat edging.
Quick Details
- Motif Type: Hexagonal flower motif
- Use: Slipper construction, joining for blankets, bags, or decor
- Structure: Magic loop center, 3D flower layers, hexagonal shaping, single crochet edging
- Colorwork: Three or more colors for best effect
Important Tips
- Always join new colors in the back loops only to separate petal layers from the motif.
- Work all petals into the front loops or remaining back loops as instructed for layered effects.
- Keep your tension even, especially when making petal clusters and corners for a smooth hexagon.
- Block finished motifs to ensure flatness and precise shape before joining.
Skill Level
Intermediate Beginner: Includes magic ring, basic increases, working in front/back loops, multi-layer petals, and basic hexagon shaping.
Materials
- Yarn: At least three colors of medium-weight yarn.
- Hook Size: Suitable for your yarn (commonly 3.5–4 mm).
- Scissors
- Needle: For weaving in ends
Measurements
- Motif width: Based on yarn/hook, usually 10–13 cm point to point after blocking.
Gauge
- Gauge is not critical. Ensure consistent stitches, and that each motif matches in size for assembly.
Abbreviations
- ch – chain
- sc – single crochet
- dc – double crochet
- sl st – slip stitch
- BLO – back loop only
- FLO – front loop only
- yo – yarn over
- st(s) – stitch(es)
Special Stitches
- Magic loop/ring: Wrap yarn into a loop, draw up a loop, work first stitches into ring, then pull tail to close.
- Double Treble Crochet (dtr): As in the petal steps. “4 double crochet with two yarn overs” — yarn over twice, insert hook, yo, pull up loop, [yo, pull through two loops]*3.
- Petal Cluster (4 dtr cluster): Make 4 partly finished double treble crochet in same space (leave last loop of each on hook), then yo, draw through all 5 loops.
Step-by-Step Instructions
1. Core Heart (Motif Center)
Magic Ring:
- Make a magic loop.
- Round 1: Ch 3 (counts as dc), 11 dc into the ring.
- (Total: 12 dc)
- Gently pull the tail to close the ring.
- Join with sl st to the second dc (not the ch-3).
2. Second Flower Layer (First Petal Layer)
Base:
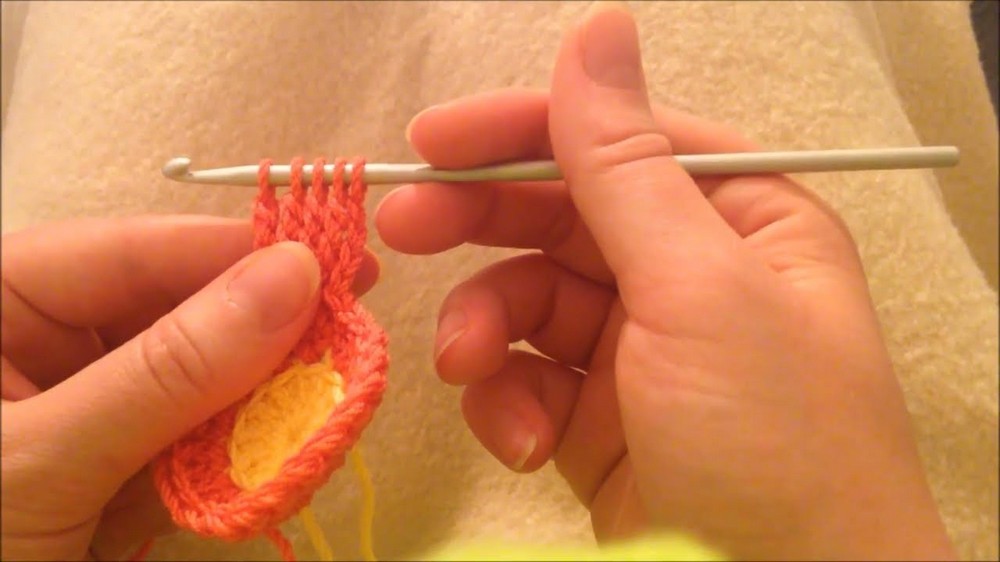
- Join a new color into BLO (back loops only) of any dc from previous round.
Round 2 (Base):
- Ch 3 (counts as dc), dc in same st, 2 dc in each st around. (Increase in every st.)
- (Total: 24 dc, all in BLO.)
- Join with sl st at end.
Petals:
- Return to unworked FLO of Round 1.
- [Ch 4, 4 double treble clusters in next loop, yo, draw through all; ch 4, sl st to next loop]
- Repeat for each of the 12 front loops (12 petals).
- Petal (How to):
- Ch 4
- In next FLO: [yo twice, insert hook, yo, pull up loop, yo, pull through 2, yo, pull through 2, leave last loop] x4
- After 4 partial stitches: yo, draw through all loops (petal closed).
- Ch 4, sl st to next FLO.
- Petal (How to):
- Continue until all 12 petals are worked.
3. Third Flower Layer (Second Petal Layer)
Base:
- Join the next color to remaining back loops of Round 1.
Petals:
- Petals are worked as above, but space out by working into every second back loop only (6 petals).
- For each petal:
- Ch 4, make a 4 dtr cluster into the next eligible back loop as for prior petal layer, ch 4, sl st to the next eligible loop.
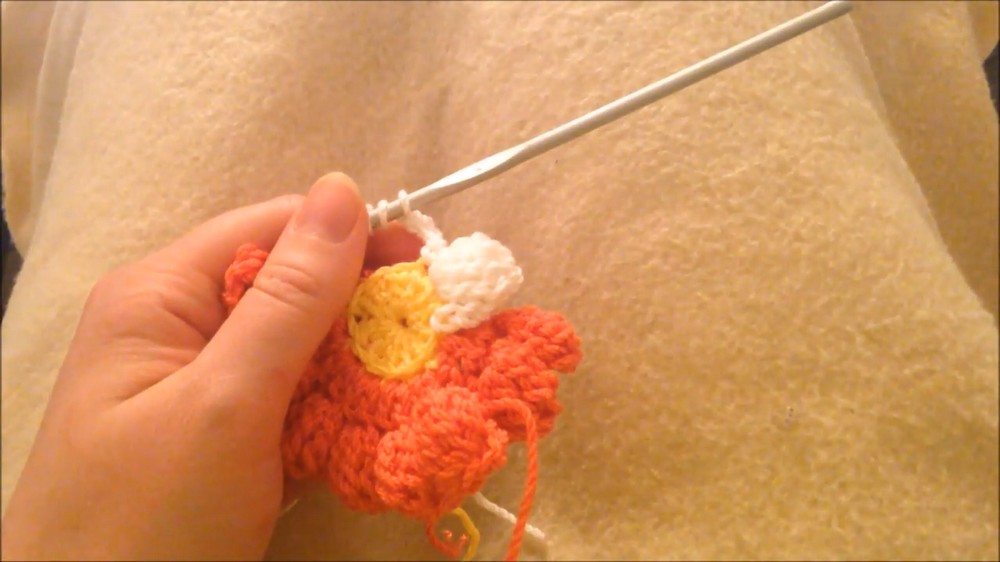
- Ch 4, make a 4 dtr cluster into the next eligible back loop as for prior petal layer, ch 4, sl st to the next eligible loop.
- Continue around until all 6 petals are formed, evenly spaced.
4. Forming the Hexagon
Row 1 (Corner Base):
- Join yarn to any st from the last base layer.
- There are 24 stitches (from increases in Round 2, 6 sides).
- Each side:
- Work 3 dc into every 4th stitch (these form the six corners).
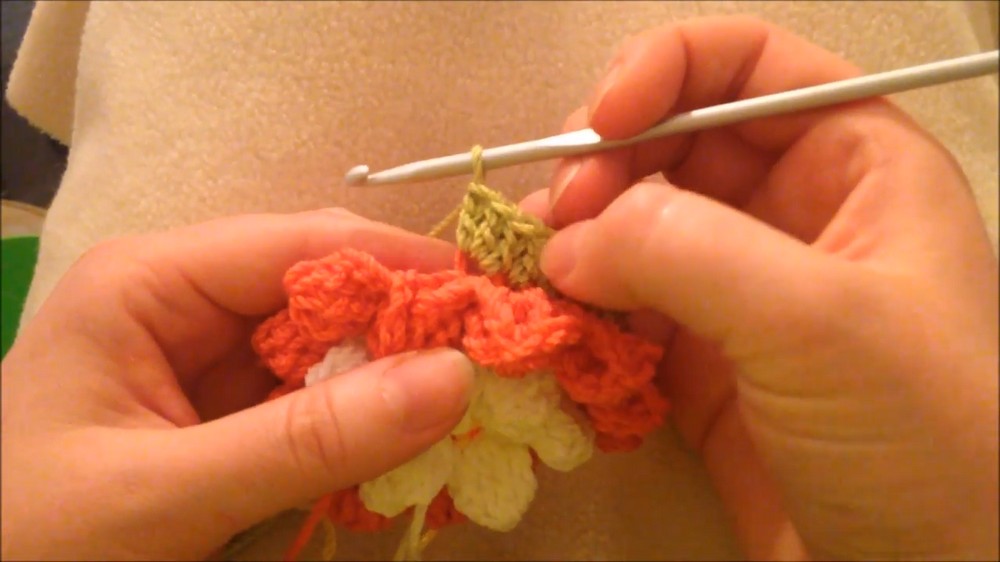
- Work 3 dc into every 4th stitch (these form the six corners).
- Continue around, ending with six “points” for the six sides.
Row 2 (Expanding Hexagon):
- At each corner: 5 dc into the central corner st below (to expand point).
- Sides: Work 5 dc stitches between corners.
- Continue around.
Row 3 (Final Hex Border):
- At each corner: 3 dc into the center dc of corner group below.
- Sides: Work 9 dc between corners.
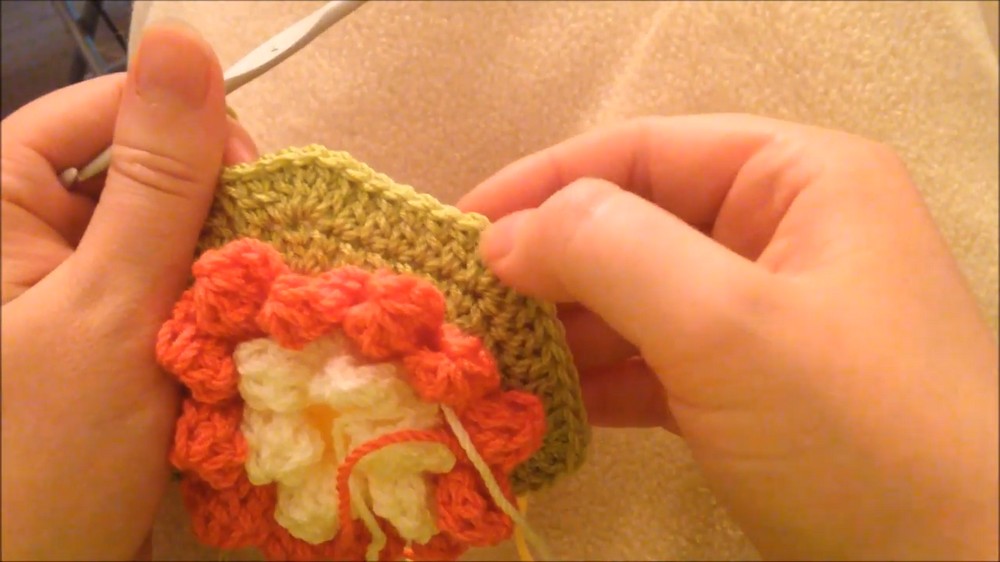
- Continue around the motif.
5. Final Edging
Edge:
- Work single crochet (sc) in every dc around the hexagon.
- In central stitch of each corner, work 2 sc to keep corners sharp and prevent rounding.
- Continue around, join with sl st to first sc. Fasten off and weave in all ends.
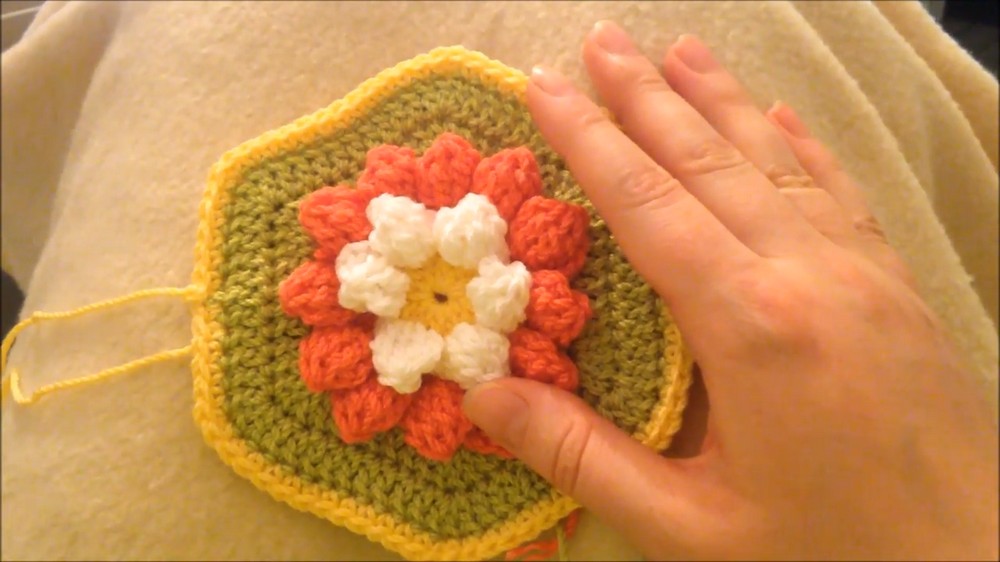
Assembly
- After creating enough hexagonal motifs, block for crisp shape.
- Whipstitch or slip-stitch motifs together at the sides to form slipper shapes or other projects as desired.
- The 3D flower should be at the top of the foot (for slippers).
- Weave in and trim all ends carefully.
Final Notes
This hexagonal motif combines classic and textured crochet techniques:
- Magic ring creates a firm center for stability.
- Petal layers add dimension with work in FLO/BLO.
- Hexagon shaping ensures motifs fit together without gaps.
- Final sc edgings anchor and finish the motif perfectly.
This design is ideal for slippers, bags, or joining for unique blankets and accessories. The carefully placed increases and corners keep the piece flat and geometric. Change yarn colors between layers for more dramatic, multi-dimensional flowers or keep it subtle with tone-on-tone.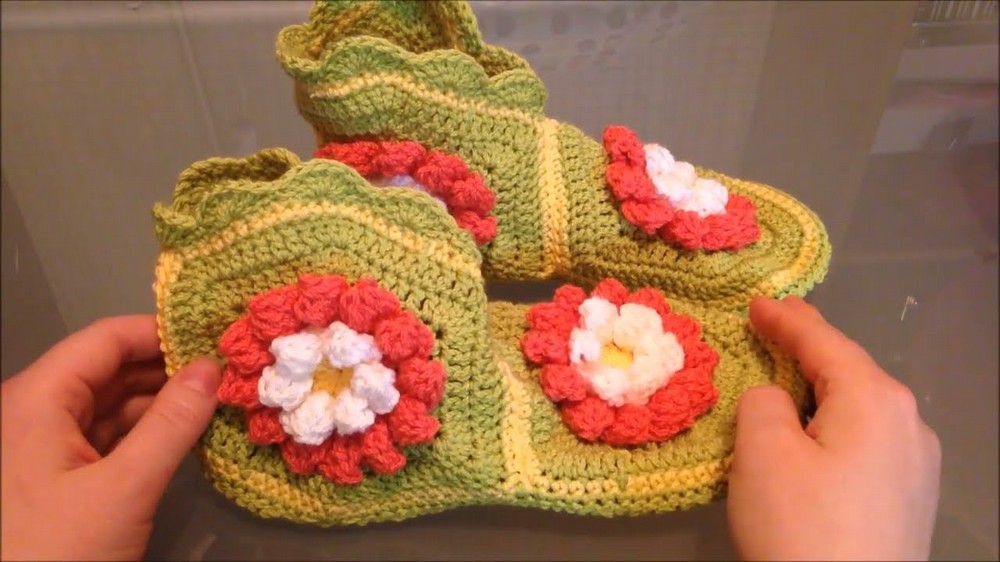
Tips to remember:
- Always join layers in the correct loop as instructed.
- Petal clusters must be closed together for a puffy effect.
- Work each row with count and placement mindful for a true hexagon.
- Finishing with sc supports seaming and stability.
- Block motifs before joining for the most professional finish.
With practice, these motifs can be worked quickly and combined in creative ways for stunning results in your crochet projects.
