
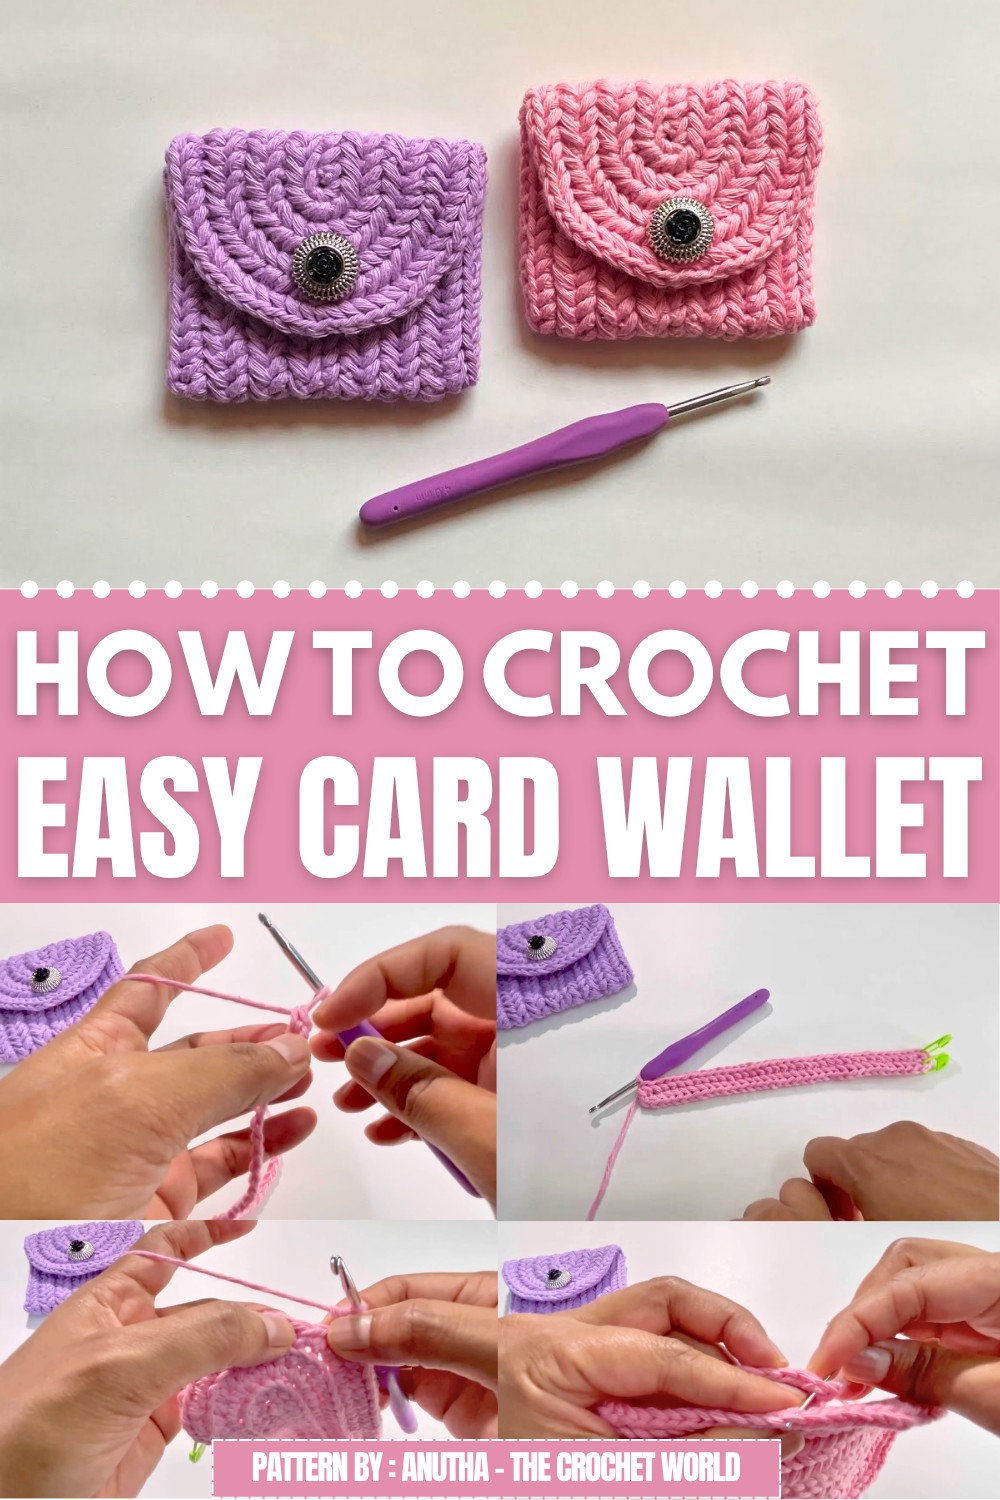
This card wallet is not just pretty but very practical. It helps to keep your cards, some cash, or IDs all in one place. Whether you take it to school, work, or when you go out with friends, it fits in easily and keeps your essentials safe.
People really love this kind of wallet because it makes daily life easier. It adds a cozy, handmade touch to your routine and keeps your things organized, so you don’t lose them. It’s a perfect little companion for anyone on the go.
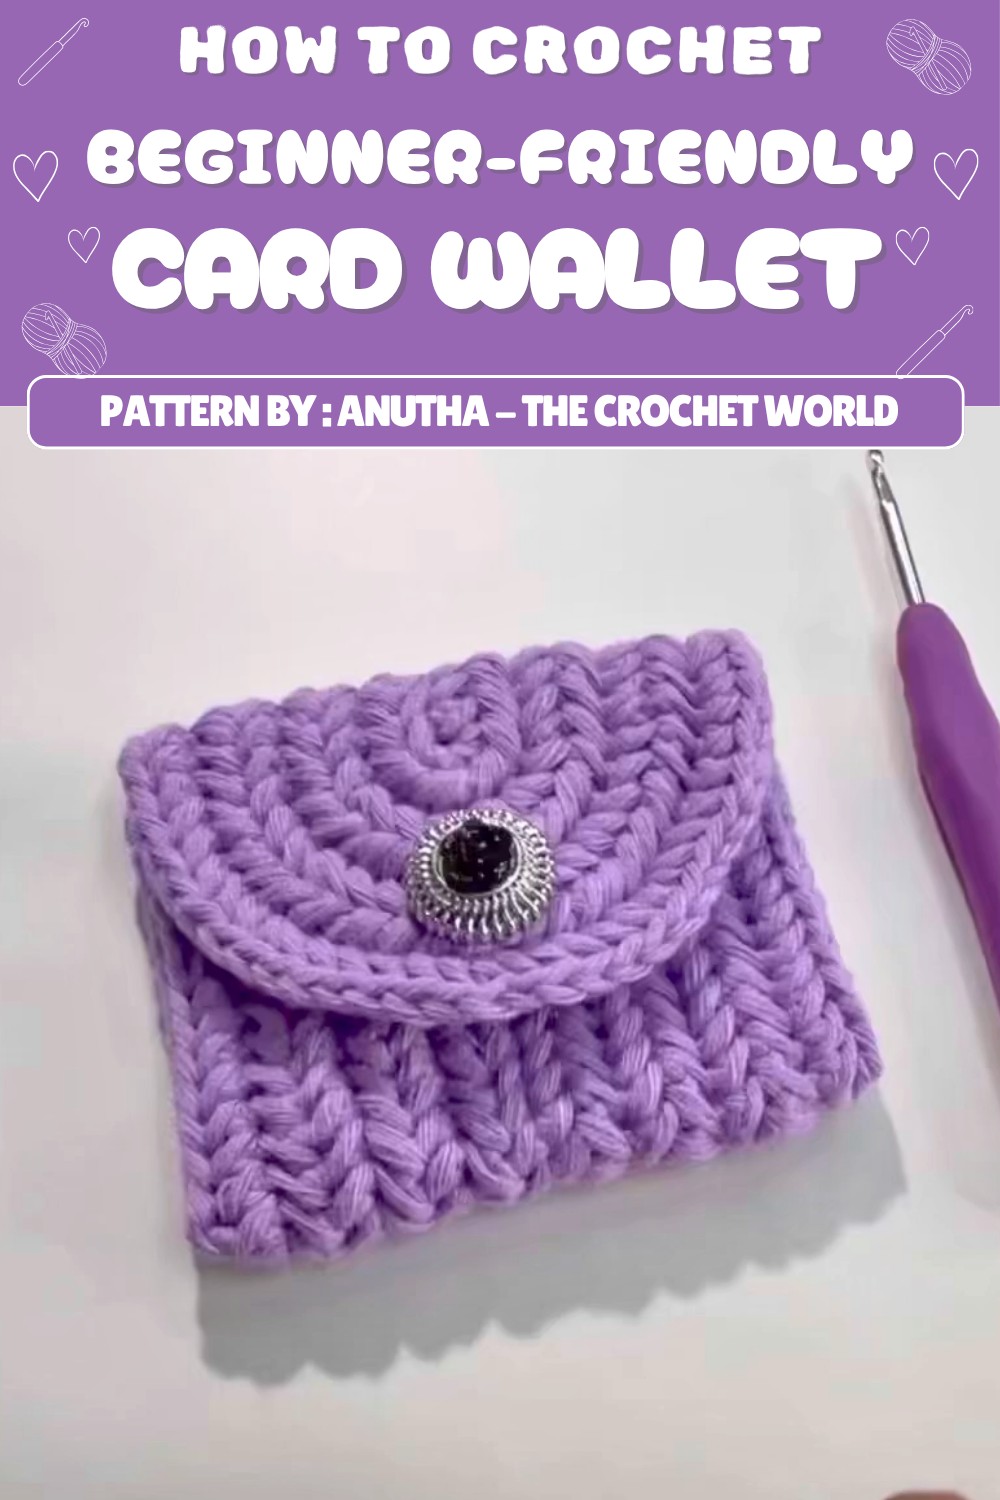
If you enjoy crocheting quick and helpful projects, you will like this one. Feel free to check out the free crochet card wallet pattern and start making your own charming wallet today!
Herringbone Single Crochet Card Wallet Pattern
This project teaches you how to crochet a sturdy and textured card wallet using the herringbone single crochet (hbsc) stitch. The wallet is made in rounds to build thickness and curves, then folded and sewn for a neat finish. Perfect for beginners familiar with basic stitches who want to try something new and practical.
Quick Overview
- Work around a foundation chain in the round.
- Use herringbone single crochet (hbsc) stitch for fabric.
- Curve edges increased gradually for smooth shaping.
- Finished by folding, sewing, and adding fasteners.
Materials Needed
- Medium weight yarn suitable for 4mm hook
- 4mm crochet hook
- Yarn needle
- Stitch marker (optional)
- Buttons or fasteners for closure
What You Will Learn
- How to make herringbone single crochet (hbsc) stitch (special stitch)
- Working in rounds around a chain foundation
- How to increase stitches to form curves
- Folding and sewing techniques for finishing
Abbreviations
| ABBR. | Stitch Name |
|---|---|
| ch | Chain |
| hbsc | Herringbone Single Crochet (see special stitch) |
| st | Stitch |
| sl st | Slip Stitch |
Special Stitch: Herringbone Single Crochet (hbsc)
- Insert your hook into the second vertical strand of the previous stitch (NOT the top loops).
- Insert the hook into the next stitch or chain.
- Yarn over and pull through both loops — you now have three loops on your hook.
- Yarn over and pull through all three loops to complete the hbsc.
This stitch produces a diagonal, ribbed texture that is thicker and more robust than a regular single crochet.
The Pattern: Step By Step
Round 1: Foundation Chain and First Round (Work Around Chain)
- Chain 37 stitches (this is your base width).
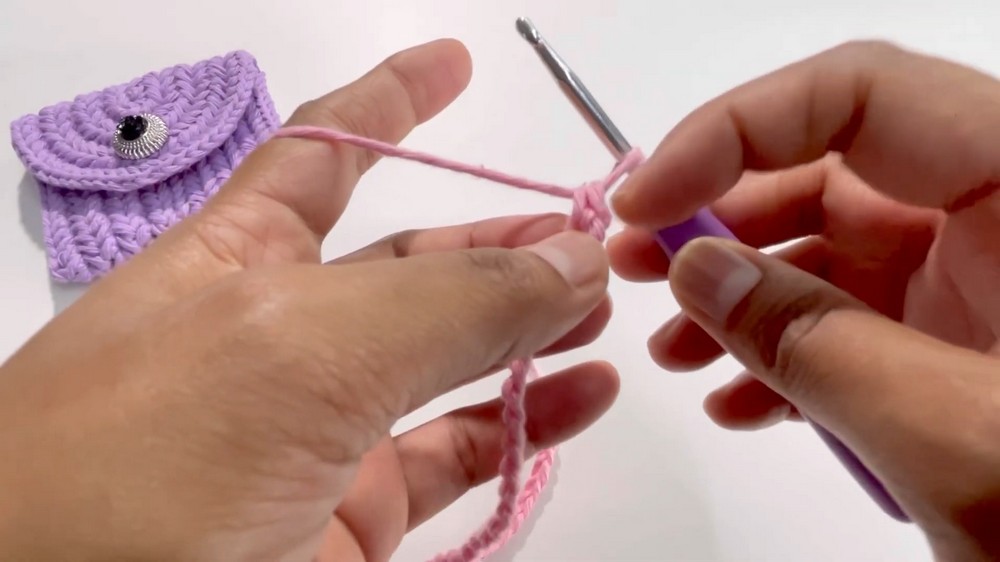
- Skip the first chain from the hook.
- Work your first hbsc into the back side (the horizontal bar on the back) of the second chain.
- Continue working hbsc into each chain along the row, by:
- Inserting hook into the second vertical strand of the previous stitch and next chain.
- Yarn over, pull through (three loops on hook).
- Yarn over, pull through all three loops to complete the stitch.
- When you reach the last chain, work 3 hbsc stitches into this single chain to create a curve.
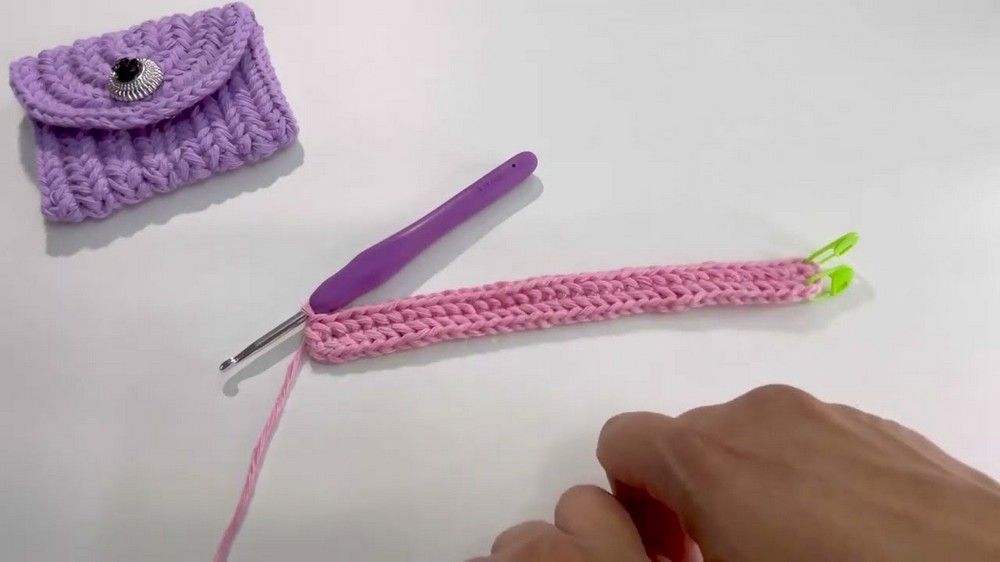
- Turn your work and work 35 hbsc stitches along the other side of the foundation chain.
- You should have a total of 74 stitches around.
Round 2: Working from the Back Side with Added Thickness
- Chain 1 and turn your work.
- Work hbsc from the back side of the stitches (working into inner loops).
- For extra thickness, include an additional yarn strand with each stitch by catching a strand along the edge or loop.
- When you reach curves, increase by doing 2 hbsc stitches into each stitch to expand the curve naturally.
- Total stitches in this round should be 78 stitches.
Round 3: Repeat Front Side Pattern with Curve Increases
- Chain 1, turn.
- Repeat the hbsc pattern used in Round 1 (working on the front).
- For curves, increase stitches by working 1 hbsc in one stitch, then 2 hbsc in the next stitch repeatedly.
- This will add a total of 12 stitches on the curve.
Round 4: Back Side Thickness with More Increases
- Chain 1, turn.
- Repeat Round 2’s back side hbsc pattern with the extra yarn strand for thickness.
- For curves, increase by working the pattern: 1 hbsc, 2 hbsc, then 1 hbsc repeatedly around curves.
- Total curve stitches: 16.
- Overall stitch count: 86 stitches.
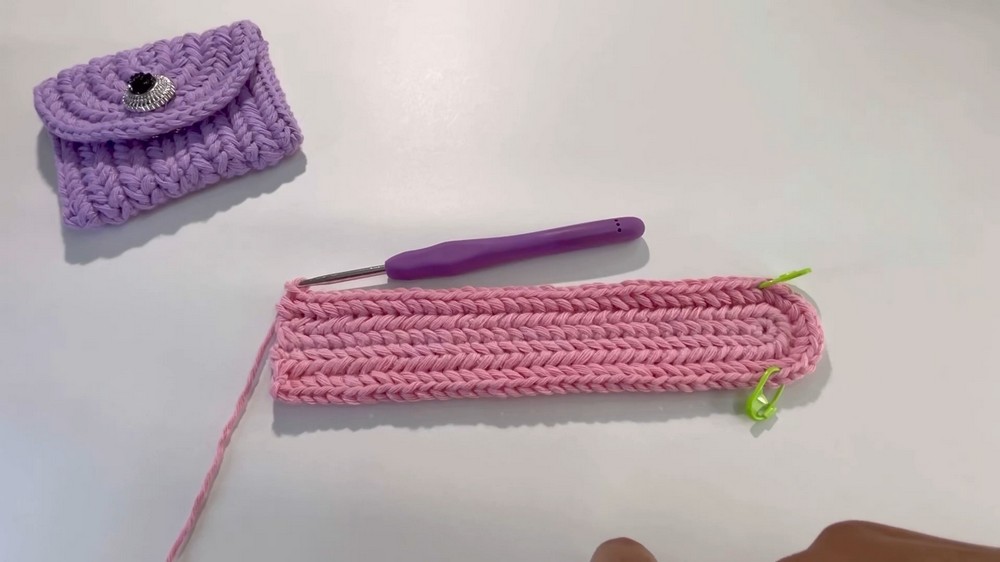
Round 5: Front Side Pattern with Curve Expansion
- Chain 1, turn.
- Repeat hbsc on front side like Round 1.
- Increase on curves by working 3 hbsc stitches, then 2 hbsc stitches in the fourth stitch repeatedly.
- Total curve stitches: 20.
- Total stitches: 90.
Round 6: Back Side Round with Thicker Fabric and Curves
- Chain 1, turn.
- Repeat back side hbsc work with additional yarn strand for extra thickness.
- Increase on curves by working 2 hbsc stitches, then 2 hbsc stitches in the third stitch, repeating around the curve.
- Curve stitch count: 24.
- Overall stitches: 94.
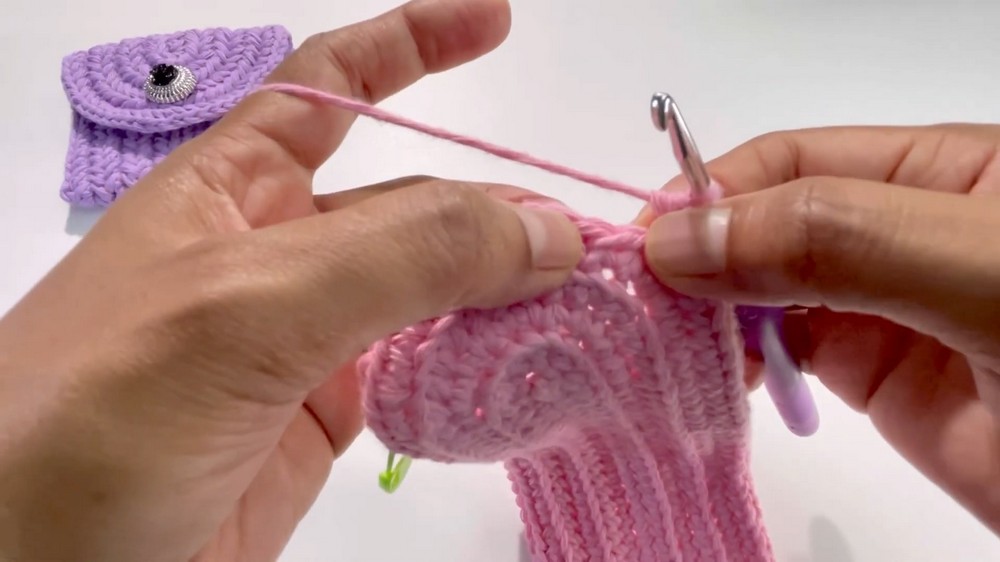
Round 7: Final Front Side Round and Curve Increase
- Chain 1, turn.
- Repeat the hbsc pattern on the front side.
- Increase on curves by working 5 hbsc stitches, then 2 hbsc stitches in the sixth stitch repeatedly.
- Curve stitch count: 28.
- Overall stitch count: 98.
Assembly and Finishing
- Fold the work into wallet shape by turning and folding after Round 7.
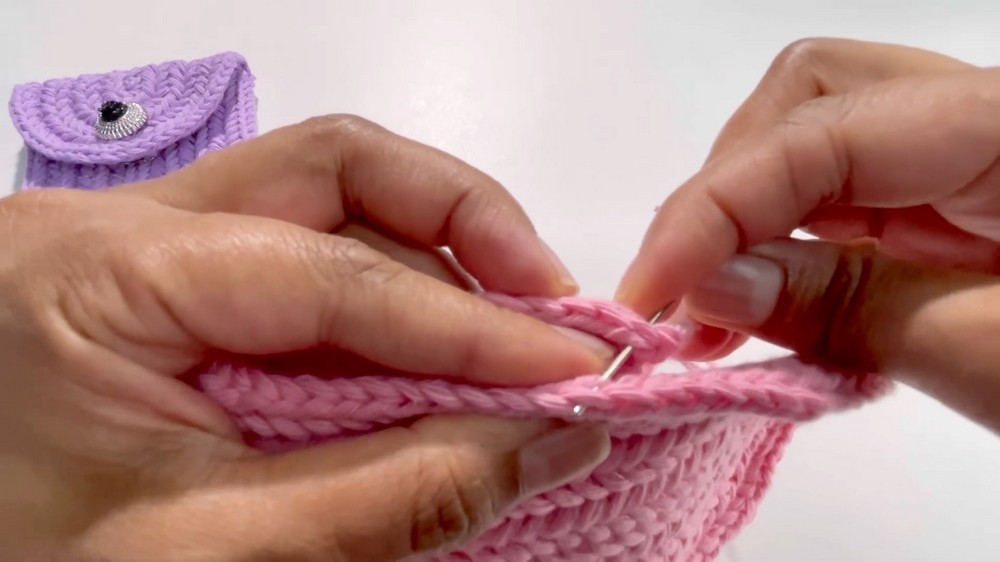
- Use stitch markers or count to find 5 stitches from the fold on both sides to align properly.
- With a yarn needle and matching yarn, sew the two folded sides together using the inner loops for a neat seam.
- Weave in all the yarn tails securely.
- Attach your choice of buttons or fasteners to close the wallet.
Finished Size
- Wallet measures approximately 12 cm (4.7 inches) width × 8 cm (3.1 inches) height.
- Thickness depends on yarn choice but provides a sturdy feel suitable for cards.
Conclusion
Congratulations on completing your herringbone single crochet card wallet! This pattern combines texture, structure, and shaping techniques to create a useful and beautiful accessory. Working with the herringbone stitch gives you a chance to learn a new stitch pattern while making a practical item.
