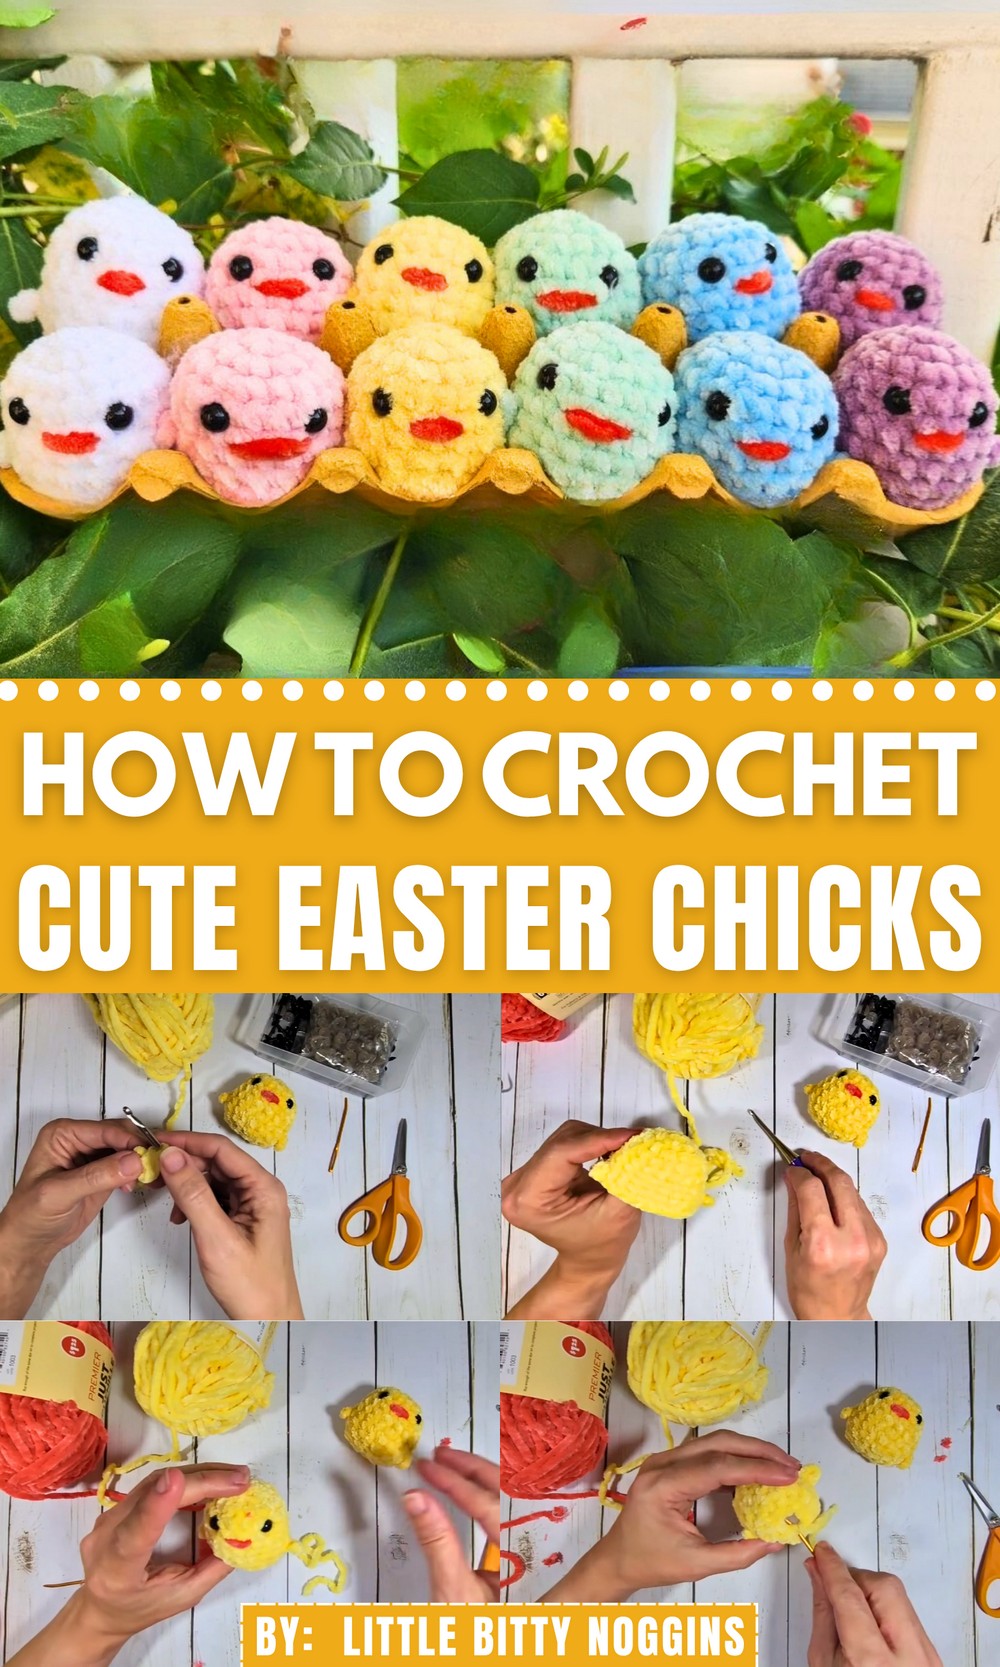
Style your spring with this Free Crochet Easter Chicks Pattern featuring soft, cheerful minis perfect for baskets, table accents, or gifting.
Each spring, tiny decorations begin to appear—nestled in baskets, perched on mantels, or tucked into gift bags—bringing soft cheer to the season. Among the most cherished are miniature chicks, symbols of renewal and gentle charm. A small project like this adds light-hearted detail to festive décor, makes thoughtful additions to Easter gifts, or brings whimsy to a child’s playtime collection. This Free Crochet Easter Chicks Pattern offers a sweet way to handmake those seasonal accents with your own personal touch.
Fresh Crochet Easter Chicks Pattern That Brings Smiles
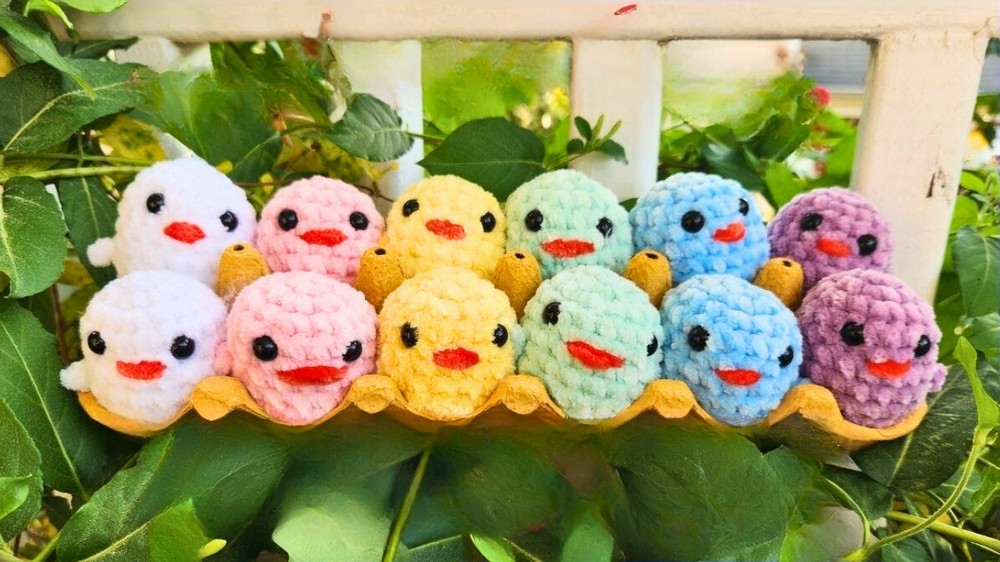
These little characters can be displayed on tiered trays, added to wreaths, or used as pocket-sized tokens during egg hunts. The size makes them quick to finish, yet their effect is lasting, bringing joy well beyond a single holiday. Their soft texture and bright colors also make them ideal as sensory toys or nursery shelf companions.
Whether gifted or kept, each chick brings warmth to any space and becomes a gentle reminder of cheerful times. With minimal materials and a handful of stitches, you can bring to life something tender, functional, and festive. Make more than one each with its own color twist and spread joy one chick at a time. This project proves that even the smallest creations can spark the biggest smiles.
Materials Required
- Yarn: Premier Just Chenille (Yellow for the body, Salmon for the beak)
- Crochet Hook: G/4mm
- Scissors
- Yarn Needle
- Safety Eyes: 8mm
- Polyfill: For stuffing the chick
Special Features of the Project
- Dollar Tree Yarn: Accessible and budget-friendly material.
- Soft and Squishy Texture: Perfect for playful and decorative use.
- Customizable Design: Can be adapted with different yarn colors and decorative features.
Step-by-Step Instructions
1. Creating the Magic Ring
- Start by making a slip knot on the crochet hook.
- Instead of a traditional magic ring (difficult with chenille yarn), create two slip stitches.
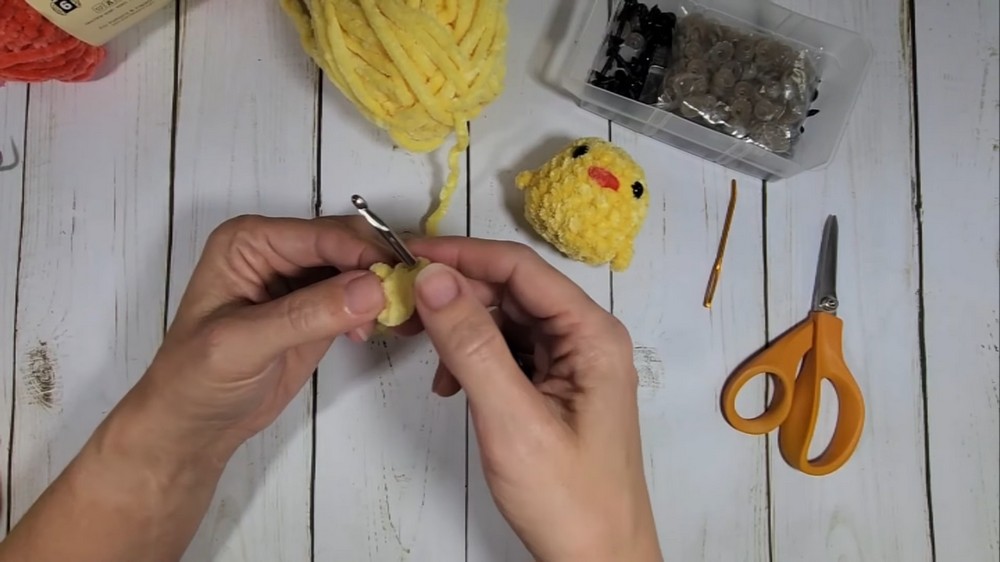
- Work six single crochets into the first stitch.
2. Expanding the Base
- Round 2 (Increase): Add two single crochets into each stitch from the previous round, resulting in 12 stitches.
- Round 3: Alternate between one single crochet and one increase, resulting in a total of 18 stitches.
- Rounds 4–6: Complete standard single crochets for three rounds (54 stitches in total).
3. Adding Wings
- Use chain stitches to create each wing. Chain 4, then slip stitch back to the first chain for the wing structure. Repeat this process on two sides of the chick.
- Continue crocheting around the main body while incorporating the wings seamlessly.
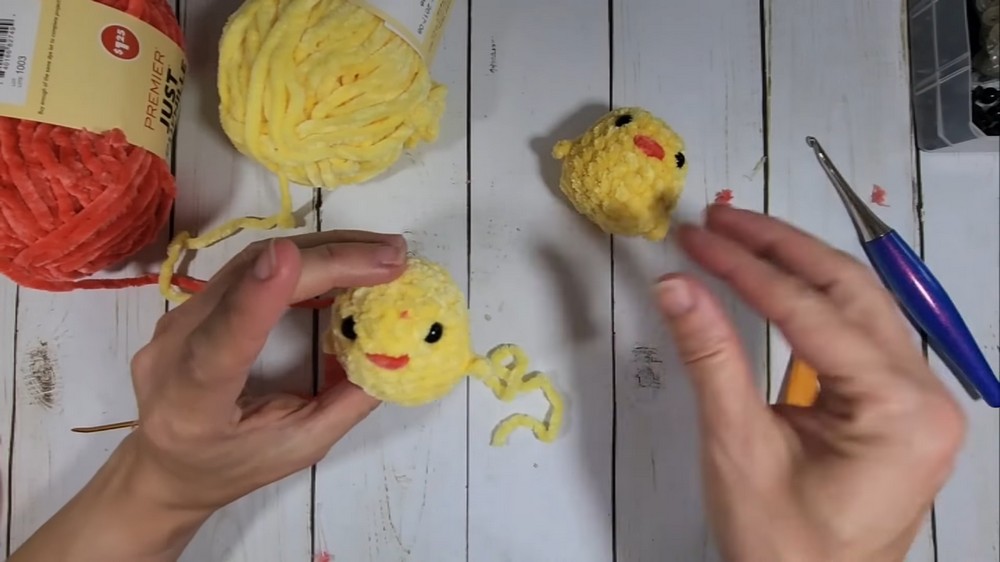
4. Placing the Eyes and Beak
- Safety Eyes: Insert between rounds four and five, spaced four stitches apart.
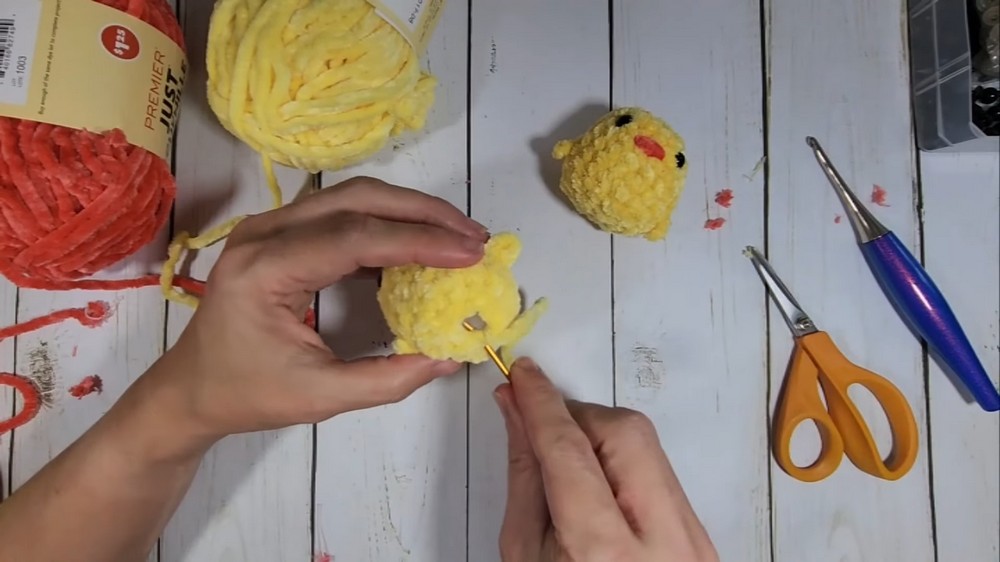
- Beak: Use salmon-colored yarn and a yarn needle to create a small triangular beak between rounds six and seven.
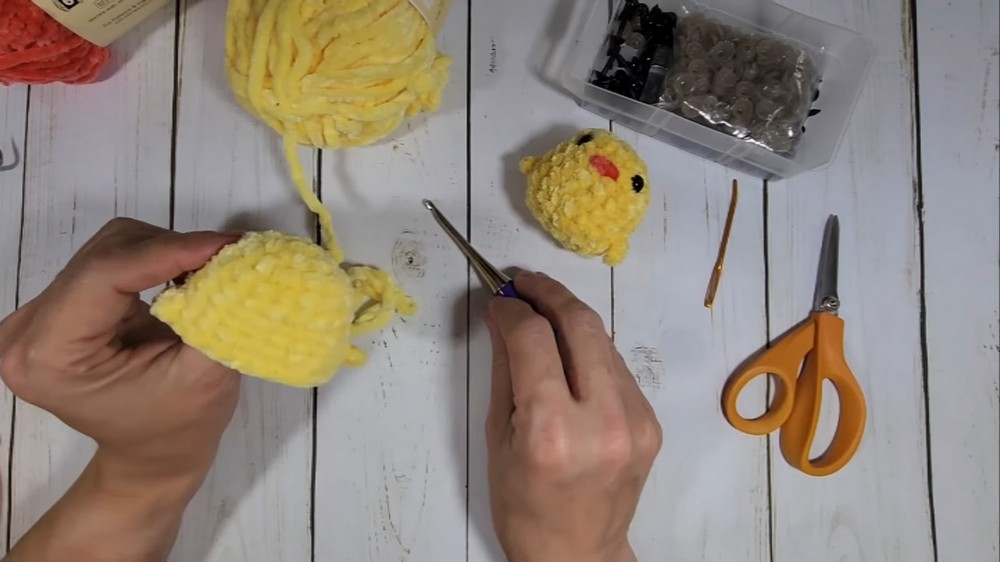
5. Stuff and Close
- Stuffing: Use polyfill to add fluff while being cautious not to overstuff or allow stuffing to poke through stitches.
- Decrease Stitches: Gradually decrease stitches to close the chick’s bottom. Weave the remaining thread through the final stitches like a drawstring and tie securely.
Tutor’s Suggestions
- Yarn: If Premier Just Chenille isn’t available, choose any soft bulky-weight yarn.
- Counting Stitches: This yarn can make stitches hard to see; rely on touch to find your placement.
- Beak and Wings: Adjust placement and size to personalize your chick.
Difficulty Level
This project is suited for beginner to intermediate crocheters. While the process is simple, handling the chenille yarn requires patience and attention to detail to ensure proper stitch placement.
Uses
- Easter basket fillers
- Front door wreath decorations
- Playroom decor or toys
- Seasonal gift ideas
Tip
For chenille yarn, tactile assistance while crocheting is invaluable. Since the stitches might seem less visible, regularly count stitches at the end of each round to ensure accuracy.
Conclusion
The tutorial provides clear instructions for crocheting a charming Easter chick that’s perfect for springtime festivities. With accessible materials, step-by-step guidance, and customization options, this project is an affordable and fun activity for both beginner and experienced crocheters.