Showcase your style with a stunning crochet off-shoulder top pattern, perfect for effortless summer vibes, beach outings, and chic everyday looks you’ll adore.
Nothing says effortless style like a breezy off-shoulder top on a sunny day. Whether you’re heading to brunch, the beach, or a casual outing with friends, crocheting your own off-shoulder top allows you to create a piece that’s uniquely yours. The crochet off-shoulders top pattern brings together comfort, elegance, and versatility, making it ideal for warm weather styling.
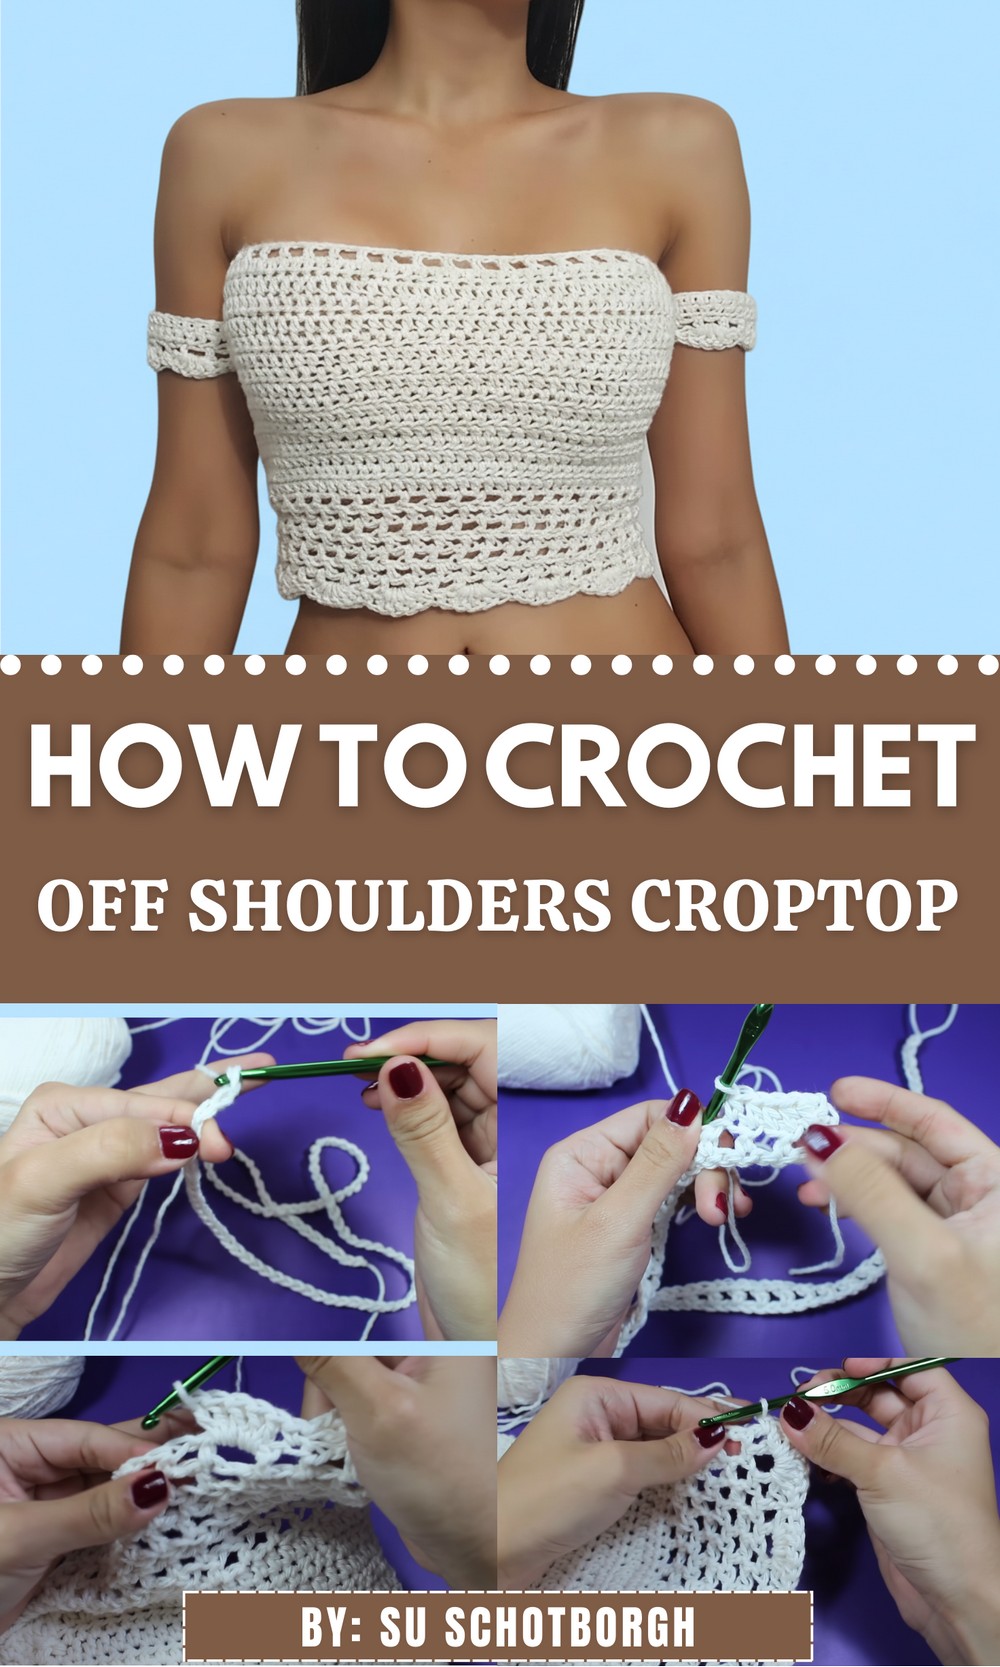
Fabulous Crochet Off-Shoulder Top for Warm Days Ahead
Pair it with high-waisted jeans for a chic look or layer it over a bikini for a vacation-ready outfit. Perfect for stepping up your summer wardrobe, this pattern is a joy to create with lightweight yarn and can be customized with your favorite colors. Beyond its stylish appeal, it’s a rewarding project that highlights your creativity while being fun and functional to wear.
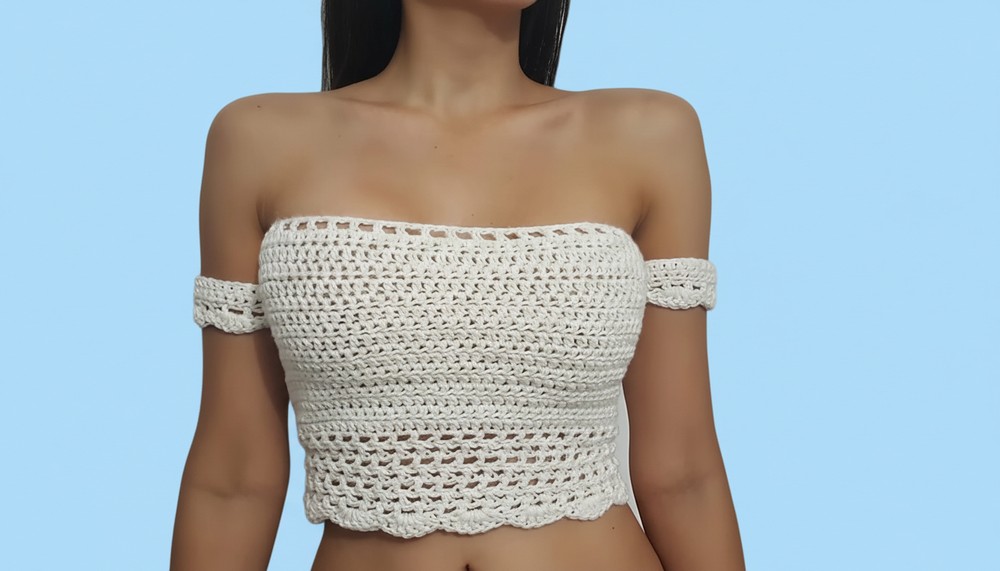
Crochet Off-the-Shoulder Crop Top Pattern
Gauge
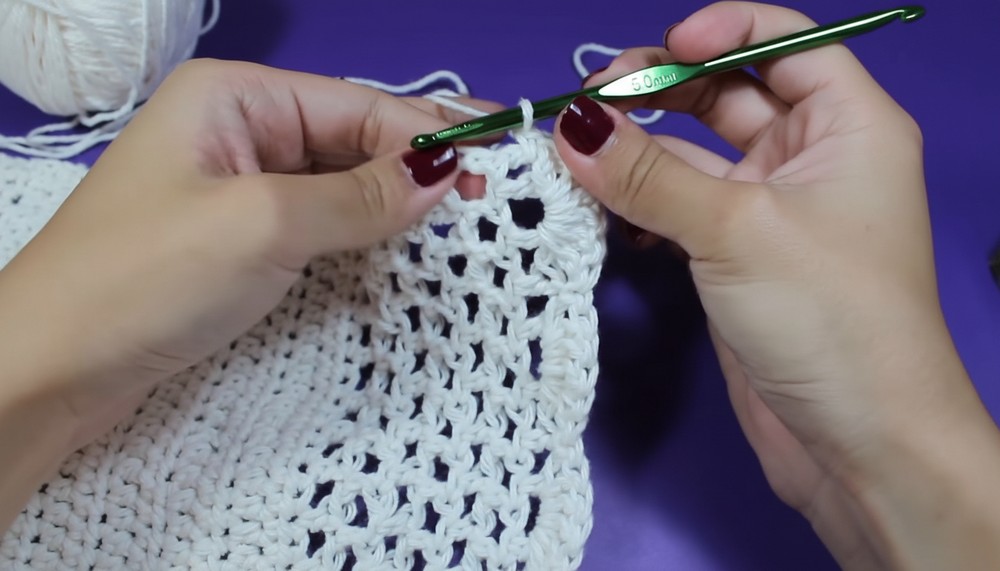
- Half-double crochet (hdc): 12 stitches x 8 rows = 4 inches (10 cm) with a 5 mm hook.
Ensure you check your gauge before starting for an accurate fit.
Necessary Materials
- Yarn: 100% cotton, aran weight. Suggested color: “Soft Ecru” or similar.
- Hook Size: 5 mm (or as specified by the yarn).
- Tape Measure: For accurate measurements.
- Stitch Markers: Optional, for marking rows and stitches.
- Scissors
- Large eye yarn needle: For weaving in ends.
Tips for Customization
- Adjusting the Length: Add or reduce rows of square stitches.
- Sleeve Design: Longer sleeves or sleeveless options can be created by modifying chain lengths and stitch rows.
- Accent Colors: Use a contrasting color for borders for added flair.
- Add-Ons: Attach a decorative ribbon or crochet flowers to elevate the design.
Special Techniques
- Half-Double Crochet (hdc): Yarn over, insert hook into stitch, yarn over, pull through, yarn over, pull through all three loops.
- Creating Squares: Alternate hdc stitches with chains, skipping stitches to create the “square” appearance.
- Fan-Shaped Border: Work multiple double crochets into a single stitch, anchoring with single crochet.
Pattern Instructions
Step 1: Measuring and Creating the Base Chain
- Measure the diameter of the breast. Subtract one-fifth of the measurement.
Example: For 90 cm, subtract 18 cm; your chain length will be approximately 72 cm.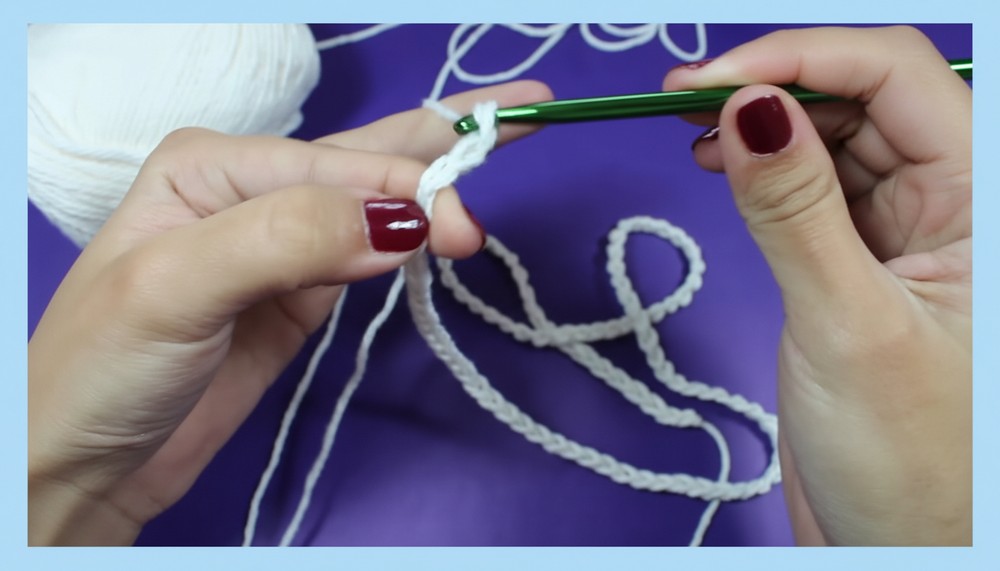
- Crochet chains until the count is multiple of 6 + 1. In this example, 91 chains.
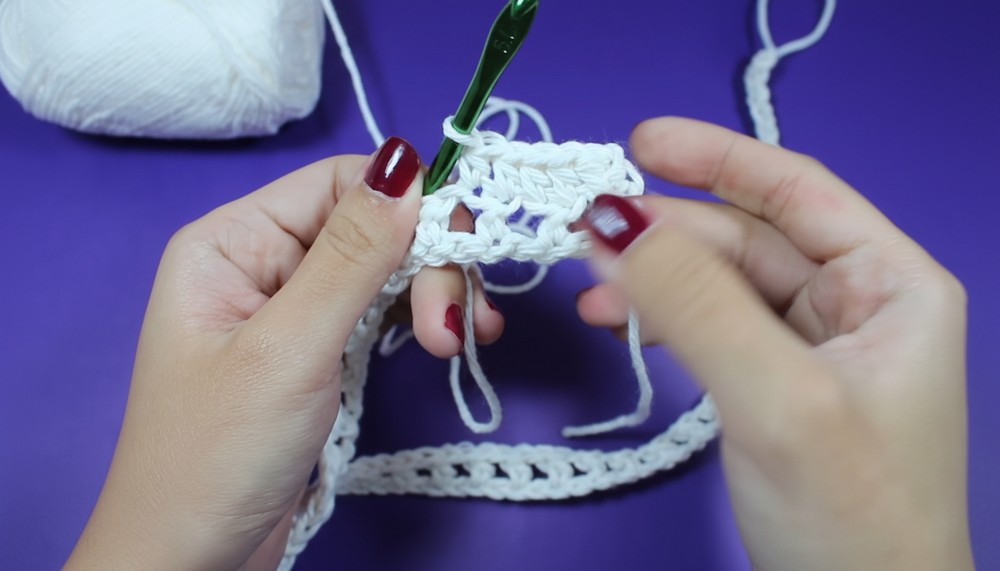
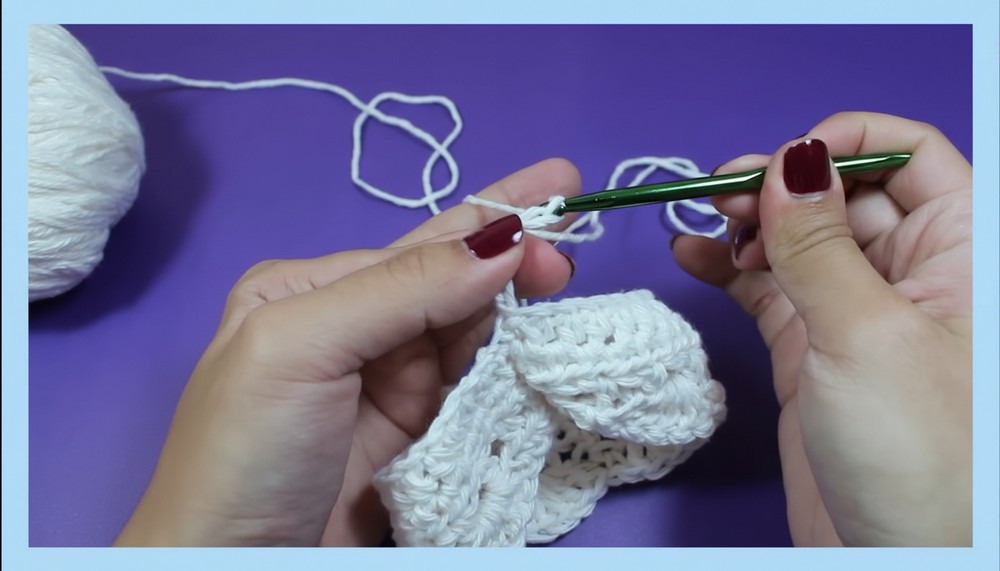
Step 2: Row 1 – Squares Setup
- Mark the last chain, then crochet two additional chains.
- Work one hdc in the marked chain.
- Chain one, skip two stitches, and place another hdc. Repeat until the chain is complete, forming squares. Ensure you don’t leave any extra stitches unused.
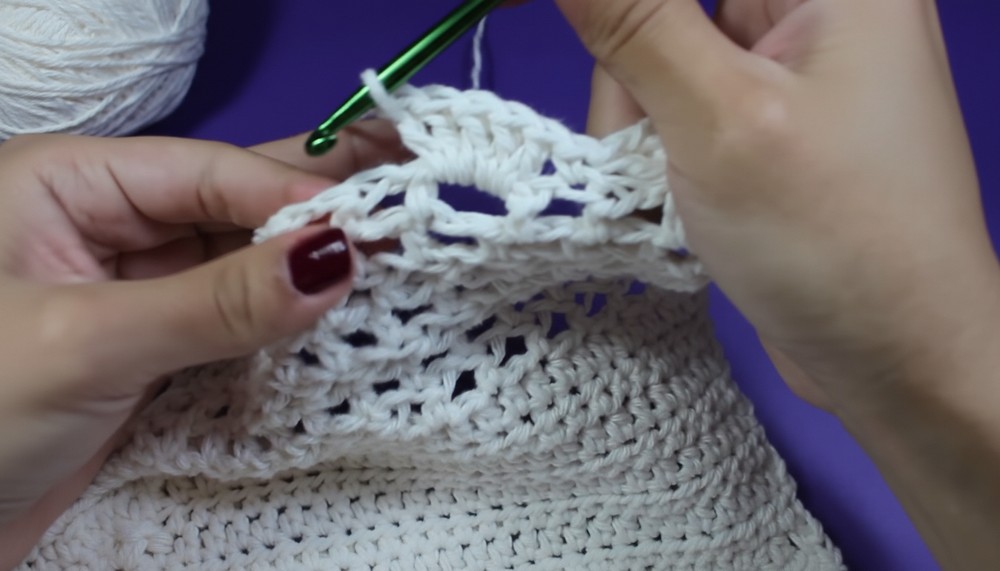
Step 3: Rows 2 – Keeping the Square Design
- Chain one. Turn your work. Place one hdc in each space created by the gaps (“yarn ears”).
- Repeat this design until it covers the breast area. For a 90 cm breast diameter, approximately 14 rows are required.
Step 4: Adding the Body Length
- Chain three, turn your work. Count two yarn ears and start creating squares again, alternating hdc and chains throughout the row.
- Add enough rows to create the desired crop top length. Seven rows were used in the example.
Step 5: Creating the Border (Fan Pattern)
- Start with a chain, skip the first square, and work five double crochets in the second square.
- Count three yarn ears and secure with a single crochet. Repeat across the row to create a fan-shaped border.
Step 6: Uniform Side Border
- Work single crochet stitches along the vertical sides of the top. Place two single crochets in each square.
- Tight parts may be tricky; work into visible spaces to maintain consistency.
Step 7: Adding Sleeves
- Measure the diameter of your arm. Create chains equal to this measurement (34 chains). Adjust based on arm size, using multiple of 6 + 1 (or multiple of 3 + 1) for flexibility.
- Crochet rows of hdc for the sleeve base (two rows).
- Create squares with the same alternation of hdc and chains for one row of the sleeve.
- Add a fan-shaped border by working five double crochets and securing with single crochet stitches across the sleeve edges.
- Join the two ends of the sleeve with slip stitches to create a circular design.
Step 8: Attaching Sleeves
- Measure 18.5 cm from the top’s side to locate the armhole.
- Attach the sleeves with slip stitches, then secure by working three or four extra slip stitches.
Step 9: Final Touch – Braided Tie
- Crochet a long chain (approximately 5 cm longer than the width of your back).
- Insert the chain through the sides of the crop top to create a tie for fastening and adjusting the fit.
Finished Size
The crop top can be customized to fit different sizes. The pattern instructions provided are based on a breast diameter of 90 cm, but you can easily adjust the chain length according to your measurements.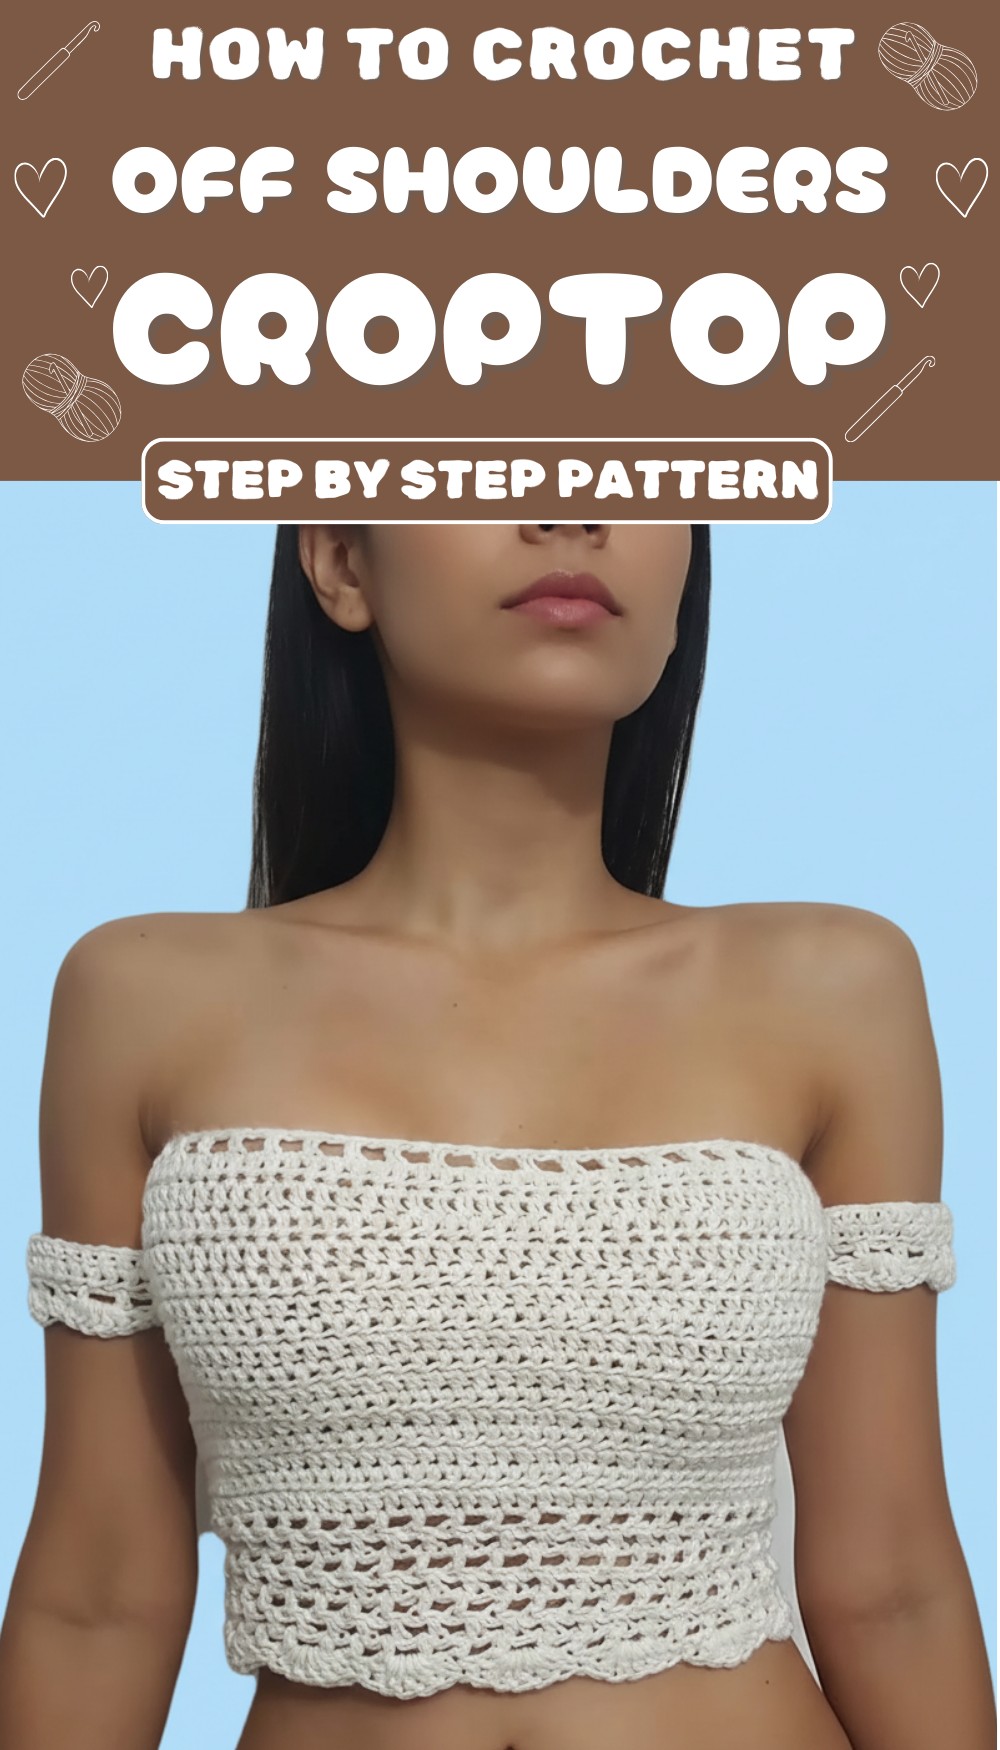
Optional Add-Ons
- Decorative Ribbon Tie: Replace the crocheted chain with a velvet or satin ribbon.
- Additional Borders: Add a second fan border in contrasting colors to both sleeves and top edges.
- Beads or Sequins: Include embellishments along the fan-shaped border for added sparkle.
Conclusion & Important Remarks
Your off-the-shoulder crop top is now complete! The combination of breathable squares, an elegant fan border, and cozy sleeves makes this piece perfect for layering or standalone wear. Feel free to tweak the pattern to accommodate different sizes, add accents, or vary the length. Always remember to weave in loose ends securely to ensure durability