Bloom brighter with charm using this Free Crochet Ruffles Flower Pattern that adds a playful pop to accessories, home accents, and thoughtful gifts.
The art of crochet holds an enduring ability to transform simple threads into captivating designs filled with intricate beauty and personality. Among its most stunning creations is the crochet ruffle flower, a symbol of elegance and charm. This particular crochet ruffle flower pattern stands apart with its bold design, layered texture, and three-dimensional appeal. Suitable for a variety of uses, from embellishing clothing and hats to decorating pillow covers or gift wraps, this versatile creation blends function with artistry. Each petal contributes to the flower’s striking fullness, making it an ideal choice for those who appreciate detailed yet graceful crochet work.
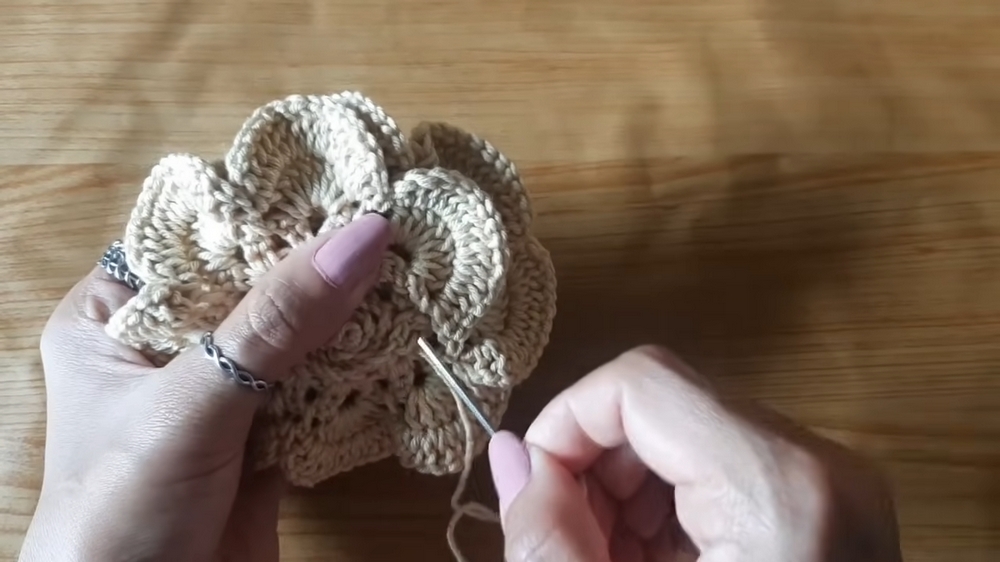
How to Crochet Ruffles Flowers with Volume in Every Stitch

Whether used to accentuate everyday fashion pieces or elevate décor items, it brings an effortless beauty that suits any occasion. Beyond its aesthetic appeal, working on this flower also helps hone fine crochet skills, from mastering tension in double crochets to understanding the importance of repetition in pattern building.
This crochet ruffle flower is more than just an accessory; it is a testament to creativity and patience. Perfect as a gift or personal project, this pattern is ideal for infusing life and texture into your world while offering a sense of accomplishment in its carefully crafted design.
Crochet Flower Pattern
Materials Needed
- Yarn: Amigurumi yarn (or thread of choice). Different textures will yield varied results; you can use leftover yarn like “Encanto” or “Charme” yarn.
- Crochet Hook: Size 3.0 mm hook.
- Scissors: Handy for snipping threads.
- Tapestry Needle: For sewing layers together.
- Optional: Pearl for embellishment (if desired).
Gauge
Gauge is not critical for this flower as size is adjustable based on yarn thickness and hook size used. Note that:
- Using thicker yarn will produce a larger, fuller flower.
- Thinner yarn or thread will result in a more delicate, smaller flower.
Finished Size
The size depends on the yarn and hook used. With medium-weight amigurumi yarn and the given hook, the flower measures approximately 4 inches (10 cm) in diameter, making it ideal for clothing decorations.
Pattern Instructions
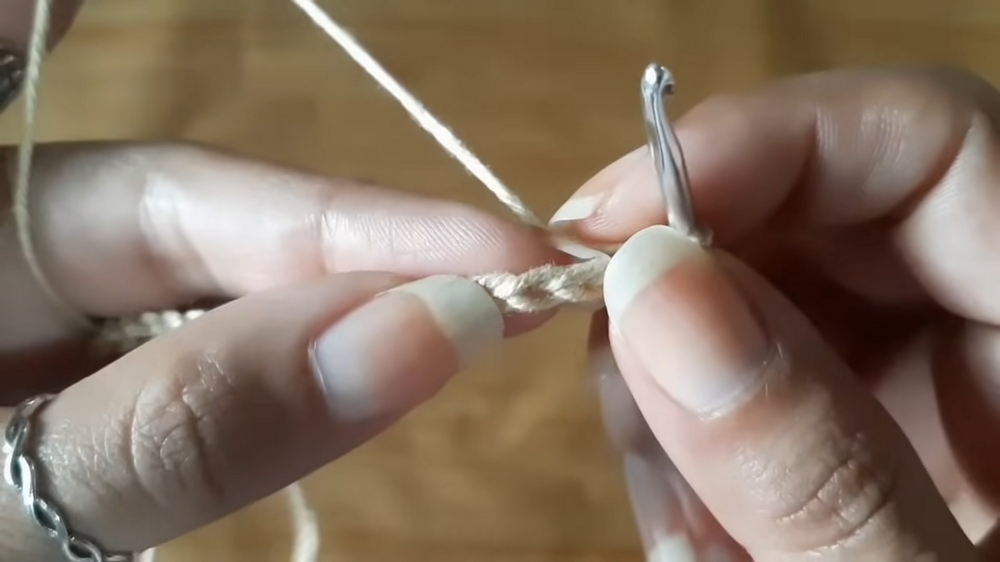
Step 1: Beginning the Chain
- Create an initial knot and begin working 63 chains. If you desire a smaller or larger flower, adjust the number of chains.
- Once your chains are complete, count down to the 4th chain from the hook. Insert the hook and work 1 double crochet (DC).
- Skip 2 chains, and work into the next chain:
- 1 DC, 1 chain, and 1 DC (all into the same chain space). This creates a “V-stitch.”
- Continue this V-stitch sequence along the chain:
- Skip 2 chains, then in the next chain: 1 DC, 1 chain, and 1 DC.
- Repeat until you reach the end of your chain, creating approximately 20 V-stitches.
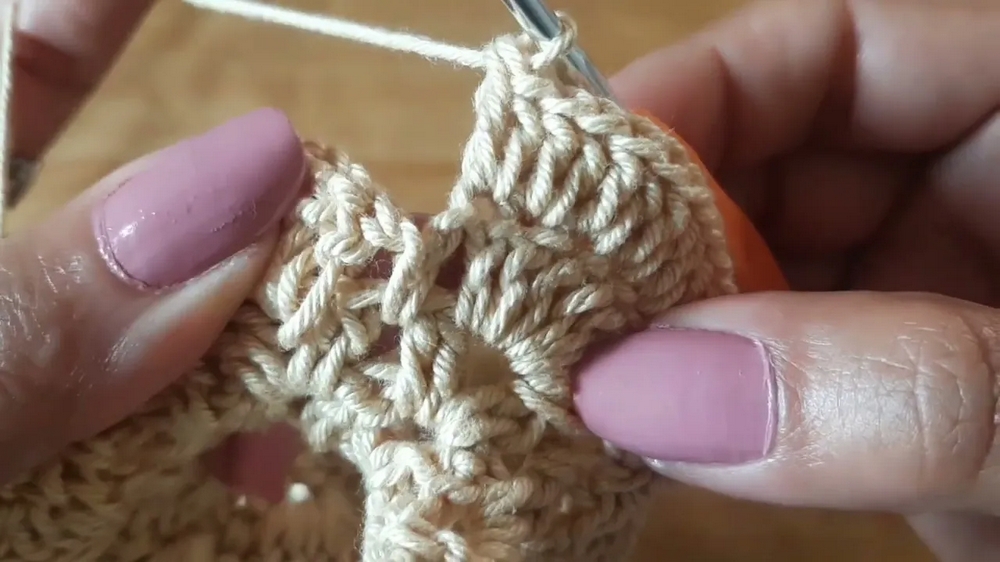
Step 2: Creating Fan Shapes
- Chain 3, turn your work, and into the space created by the V-stitches on the previous row:
- Work 2 DC, chain 2, and 2 DC. This creates a fan shape.
- Continue working this fan stitch within each V-stitch space across the row.
- At the end of the row, you will have 20 fan shapes.
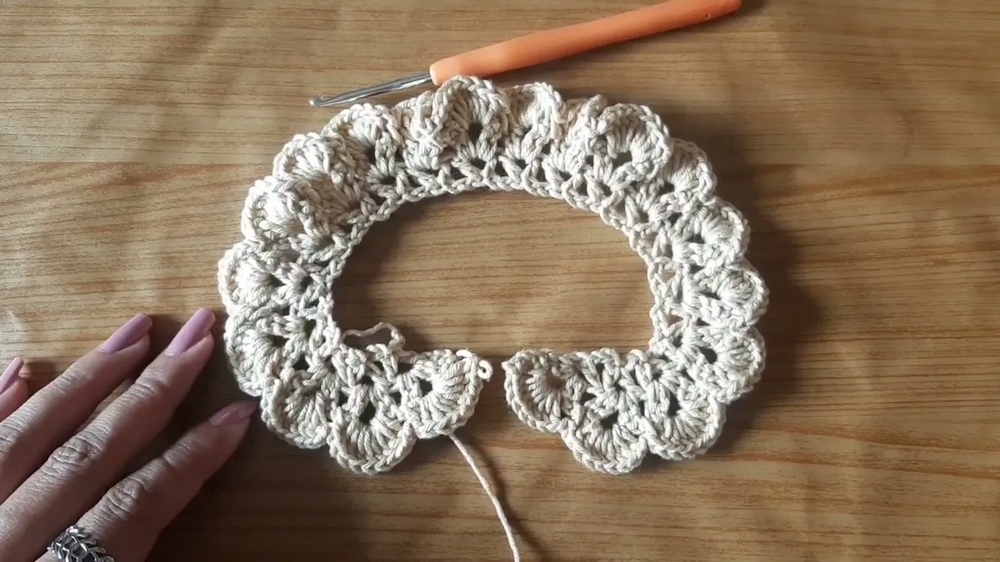
Step 3: Adding Frill (Petal Layers)
- Chain 1. Into the first fan-shaped space:
- Work 8 DC across the space.
- Chain 1 and insert into the middle of the next fan space with a slip stitch, securing.
- Repeat this across the row:
- For each fan, work 8 DC followed by a slip stitch in the adjacent space.
- This creates ruffled petals.
- Continue until all fans are worked. The layer will now have texture and form the basic flower shape.
Step 4: Enhancing Fullness
- Turn your work and add fullness to each petal:
- Into each DC of the petal, work 2 DC.
- This increases the petal size and adds volume to the flower.
- Secure with slip stitches into the base of the flower after completing each petal.
- After finishing all petals, the flower should look fuller and textured, resembling layered ruffles.
Step 5: Assembling the Flower
- Rolling the Flower: Begin rolling up the flower with the textured petals outward:
- Keep layers open and slightly loose as you roll for maximum floral effect.
- Avoid tightening the center excessively.
- Using a tapestry needle, sew the base layers together:
- Insert the needle through all layers in a circular motion a few times to ensure the flower remains secure.
- Knot the thread upon completion.
Customization Ideas
- Colors: Try multiple shades for an ombre effect (e.g., lighter shades toward the center, darker on the edges).
- Centerpiece: Add a pearl, button, or bead for an elegant finishing touch.
- Stitch Patterns: If you prefer more layers, add rounds with additional fan stitches before assembling.
- Size Adjustment: Increase the number of chain stitches or use thicker yarn for larger flowers.
Special Techniques
- V-Stitch:
- Work 1 DC, chain 1, and 1 DC into the same space.
- Fan Stitch:
- Work 2 DC, chain 2, and 2 DC in the same space.
- Layer Sewing:
- Take all layers together using a tapestry needle and ensure even sewing for balance.
Tips for a Better Crocheting Experience
- Choose the Right Yarn: Experiment with leftover yarns, but ensure consistency in texture for better layering.
- Keep Your Tension Consistent: This keeps all petals uniform.
- Use a Blocking Board: If the petals curl excessively, blocking will help flatten the flower.
- Plan Placement: Before attaching the flower, lay it against the garment to ensure balanced placement.
Conclusion
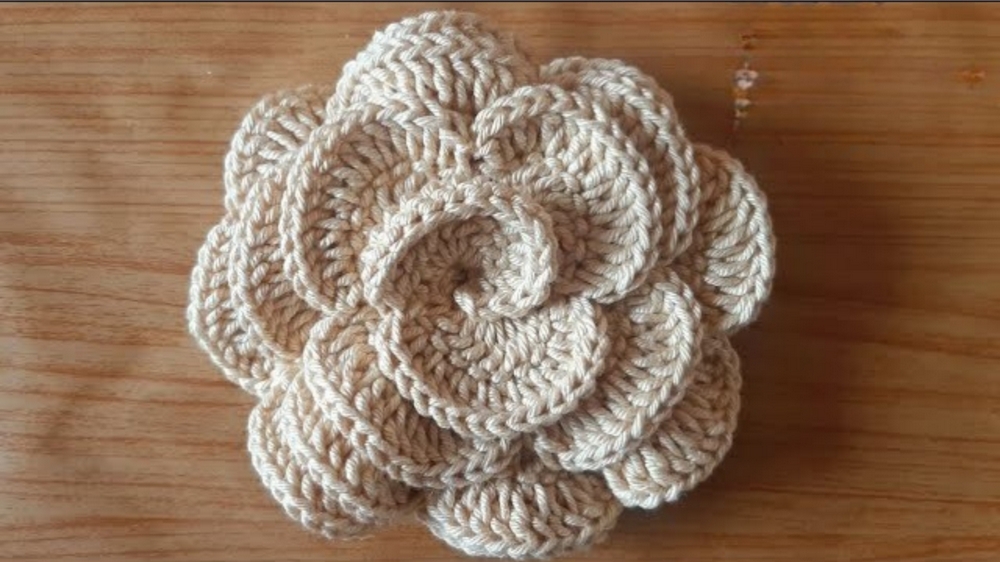
This crochet flower is a versatile and beautiful design to enhance clothing or other projects! It features layers of texture and fullness for a striking look. Whether used as an applique, brooch, or embellishment for bags or décor, this flower offers creative ways to personalize your craft.
Remarks on Final Look
- The finished flower features textured layers and prominent petals, creating a frilled and voluminous appearance. Ideal for red carpeting your wardrobe or artistic projects, its flat base makes it easy to attach and ensures it stays light and compact on garments.