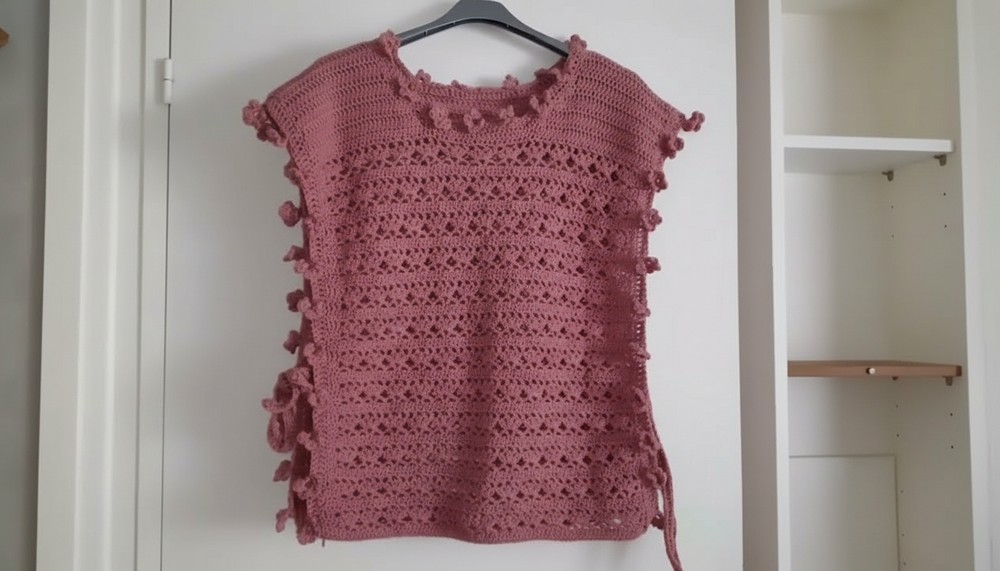
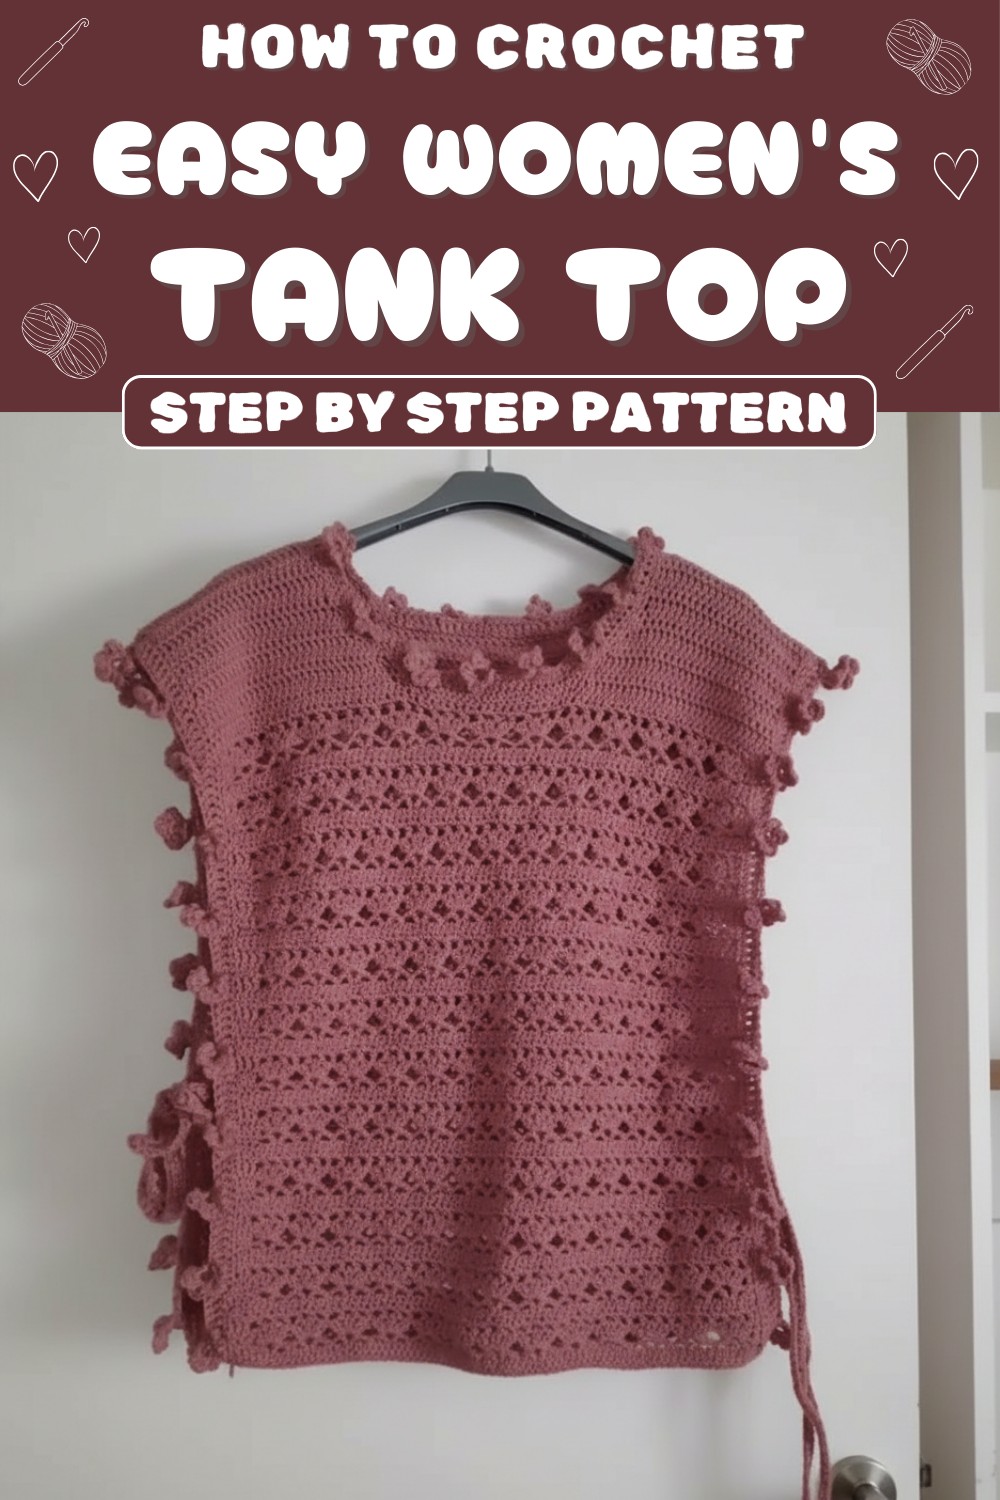
Wear lightweight and stylish crochet tank top Pattern that bring comfort and charm while adding a unique touch to your summer wardrobe effortlessly.
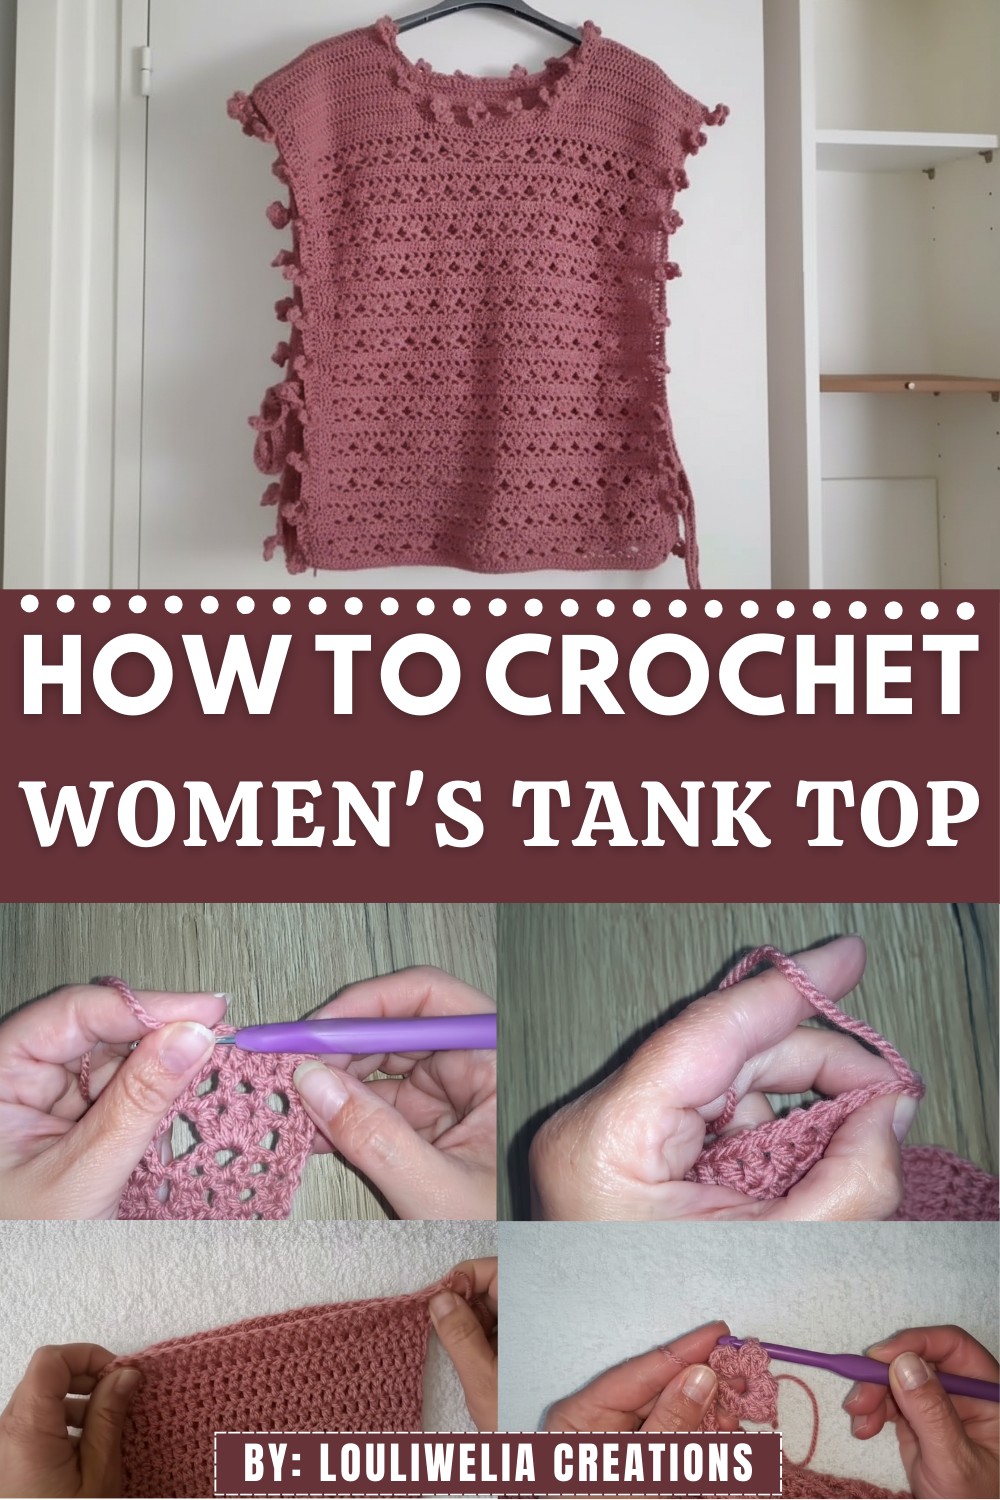
Stay cool and stylish with a touch of handmade charm! Crochet tank top patterns are perfect for creating lightweight, breathable tops that are both trendy and beautiful. These tops come in various colors and designs, adding a unique and personal flair to your summer wardrobe.
FREE Crochet Tank Top Pattern That Everyone Will Admire
They’re great for casual outings, beach days, or even layering over outfits for a chic look. The soft crochet texture feels gentle on the skin, while the patterns make them stand out as one-of-a-kind creations. Whether for yourself or as a thoughtful gift, these tank tops bring comfort, style, and creativity together effortlessly.
Materials Needed:
- Yarn: 100% acrylic yarn recommended:
- For size S/M: 400g (approximately 1000m)
- For size L/XL: 450g (approximately 1250m)
- For size 2XL/3XL: 500g (approximately 1500m)
- Hook: US Size H/8 (5.0mm) or I/9 (5.5mm) crochet hook
- Additional Supplies:
- Scissors
- Tapestry needle
- Measuring tape
Pattern Instructions
Step 1: Foundation Chain
Size S/M:
- Foundation Row:
- Ch 82, or adjust based on your size.
Size L/XL:
- Foundation Row:
- Ch 90, or adjust based on your size.
Size 2XL/3XL:
- Foundation Row:
- Ch 102, or adjust based on your size.
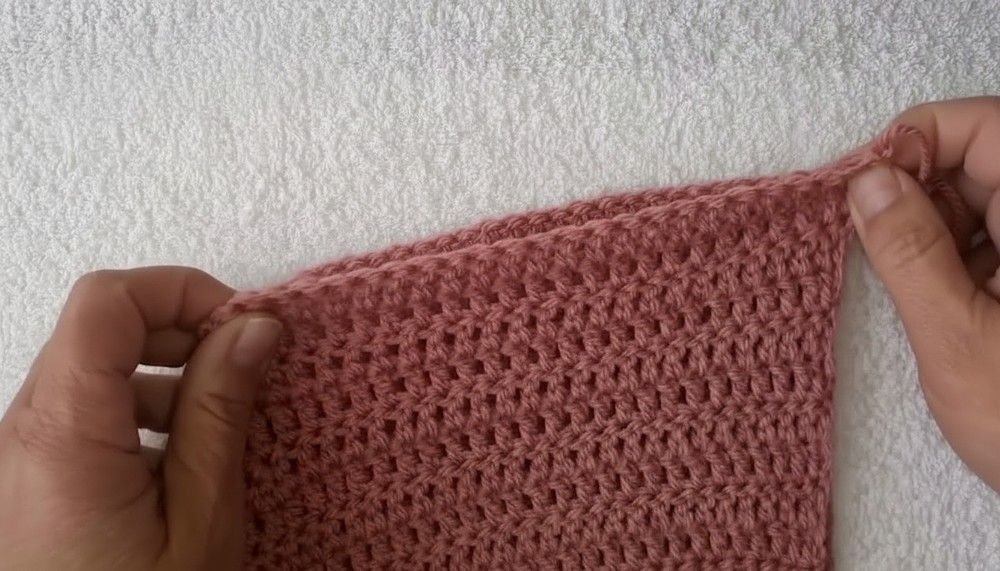
Step 2: Tank Top Body
Row 1:
- Starting in the 2nd ch from the hook, dc across.
- Ch 1, turn your work.
Rows 2-7:
- Dc across each row.
- Ch 1 at the end of each row, turn.
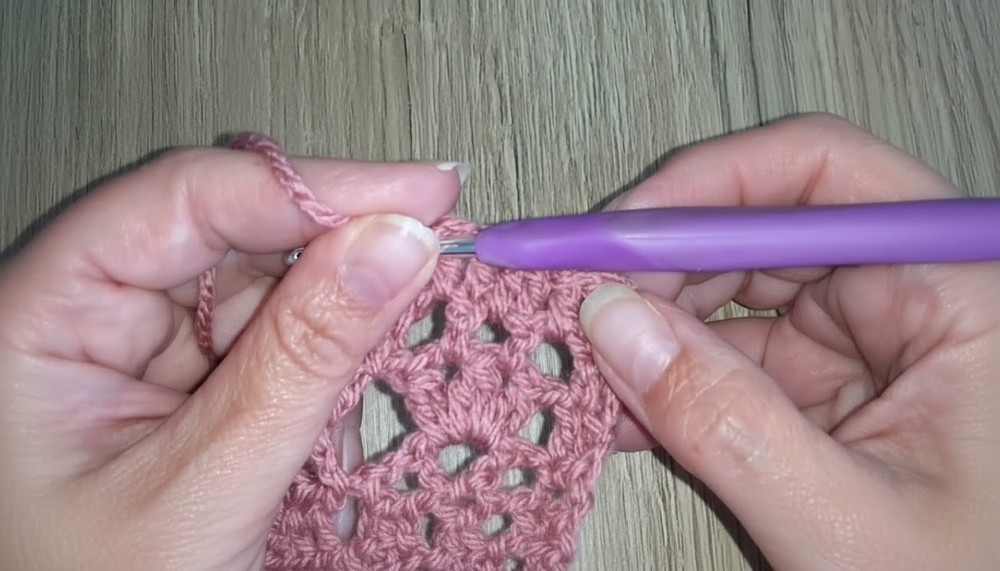
Step 3: Fancy V-Stitch Pattern
Row 3:
- Ch 3, turn.
- Work 3 dc.
- Ch 2, skip 2 sts, dc in the next st, ch 2, dc in the same st.
- Ch 2, skip 2 sts, sc in the next st.*
- Repeat from * to * across the row.
- End with 3 sc.
Row 4:
- Ch 3, turn.
- 2 dc.
- In the V from the previous row, work the following:
- 2 dc2tog, ch 2, 2 dc2tog, ch 2, 2 dc2tog, 1 ch.
- Repeat across.
- End the row with 3 dc.
Row 5:
- Ch 3, turn.
- Dc in first st, ch 1.
- Work the following into each V-stitch from the previous row:
- Dc in the first st, ch 1, dc in the second st, ch 1, dc in the third st, 1 ch.
- Repeat across.
- End with 2 dc in the final two sts.
Row 6:
- Ch 3, turn.
- Dc in the first st, ch 1.
- Work a dc into each st and bridge. Ensure you:
- Dc in each dc, each bridge, each ch space across the row.
- End adjusting for 82 sts.
Step 4: Repeating the Pattern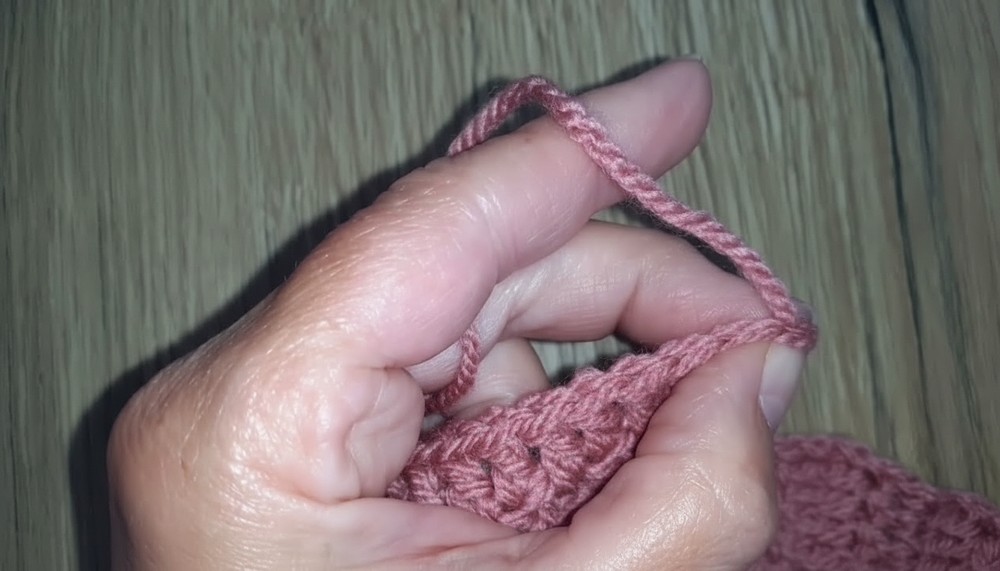
Continue alternation of Rows 3-6 until tank reaches the desired length:
- For S/M: 51cm
- For L/XL: 53cm
- For 2XL/3XL: 55cm.
Step 5: Neck and Shoulder Shaping (Front)
Row 1 for Front Shoulder:
- Ch 31 for S/M sizes, 35 for L/XL, 41 for 2XL/3XL:
- Dc across, ch 1, turn.
Next Rows for Shaping:
- Reductions:
- Decrease by 2 dc2tog at the start of the row, continuing the previous pattern or dc as needed.
- Continue as per step 4 in this direction up to neckline reduction in number of st as per Row pattern.
- Decrease by 2 dc2tog at the start of the row, continuing the previous pattern or dc as needed.
Step 6: Back Panel
- Complete same as for the front, using same stitch patterns, adjusting neckline shaping as needed at same rates as front based on chart pattern reductions.
Step 7: Assembly and Finishing
Seaming Sides:
- Use Slip Stitch/sewing or your preferred method to seam shoulders together.
- Add ties at sides to secure, crochet a chain tie, attach at intervals.
Step 8: Edging
- Decorative Flower Edging:
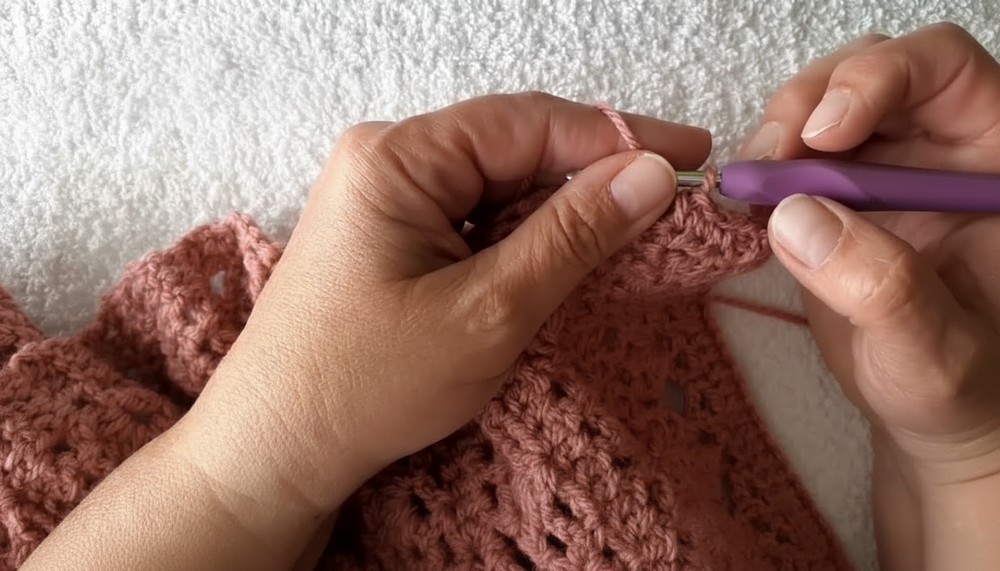
- *Optional work sc around neckline, adding decorative pieces or small crochet flowers around neckline for design.
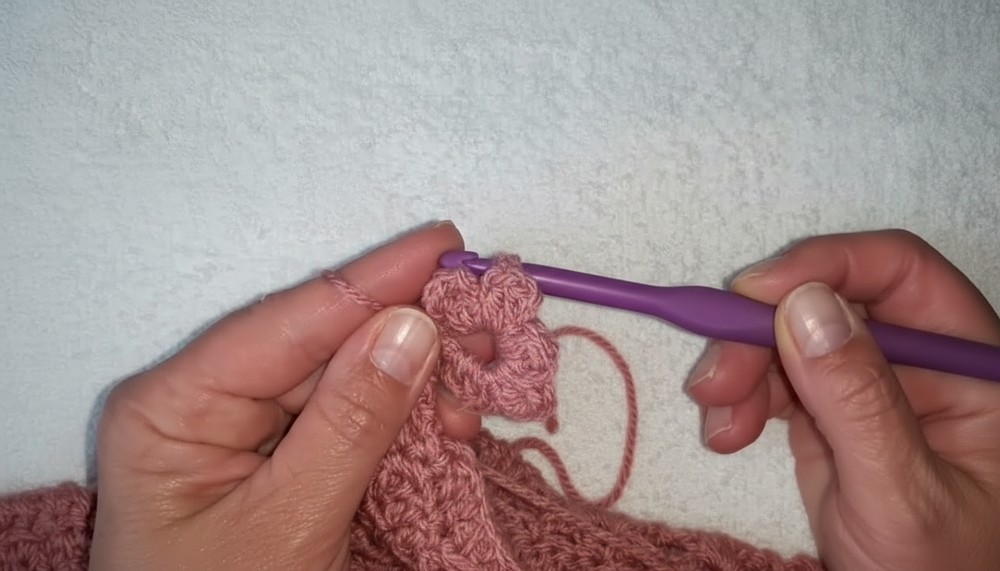
- *Optional work sc around neckline, adding decorative pieces or small crochet flowers around neckline for design.
Conclusion:
Your crochet winter tank top is now complete! This versatile, loose-fitting cozy garment works perfectly over long-sleeve shirts or blouses. Enjoy the intricate design combination of simplicity and elegance with this oversized handcrafted top. Make sure to customize with colors and tie designs.
Special Notes:
- Gauge and Sizing: Ensure you check the gauge and adjust hook size if necessary.
- Construction: The tank top is worked flat from the bottom up with side ties and decorative edges.
- Adjustments: Adjust yarn amounts according to your specific stitch patterns or modifications.
Corrections and Tips:
- Ensure chain counts accurately, adjust where necessary.
- Round out seams indicating clear shapes, easier shaping.
- Block the finished tank top for even stitches if needed.