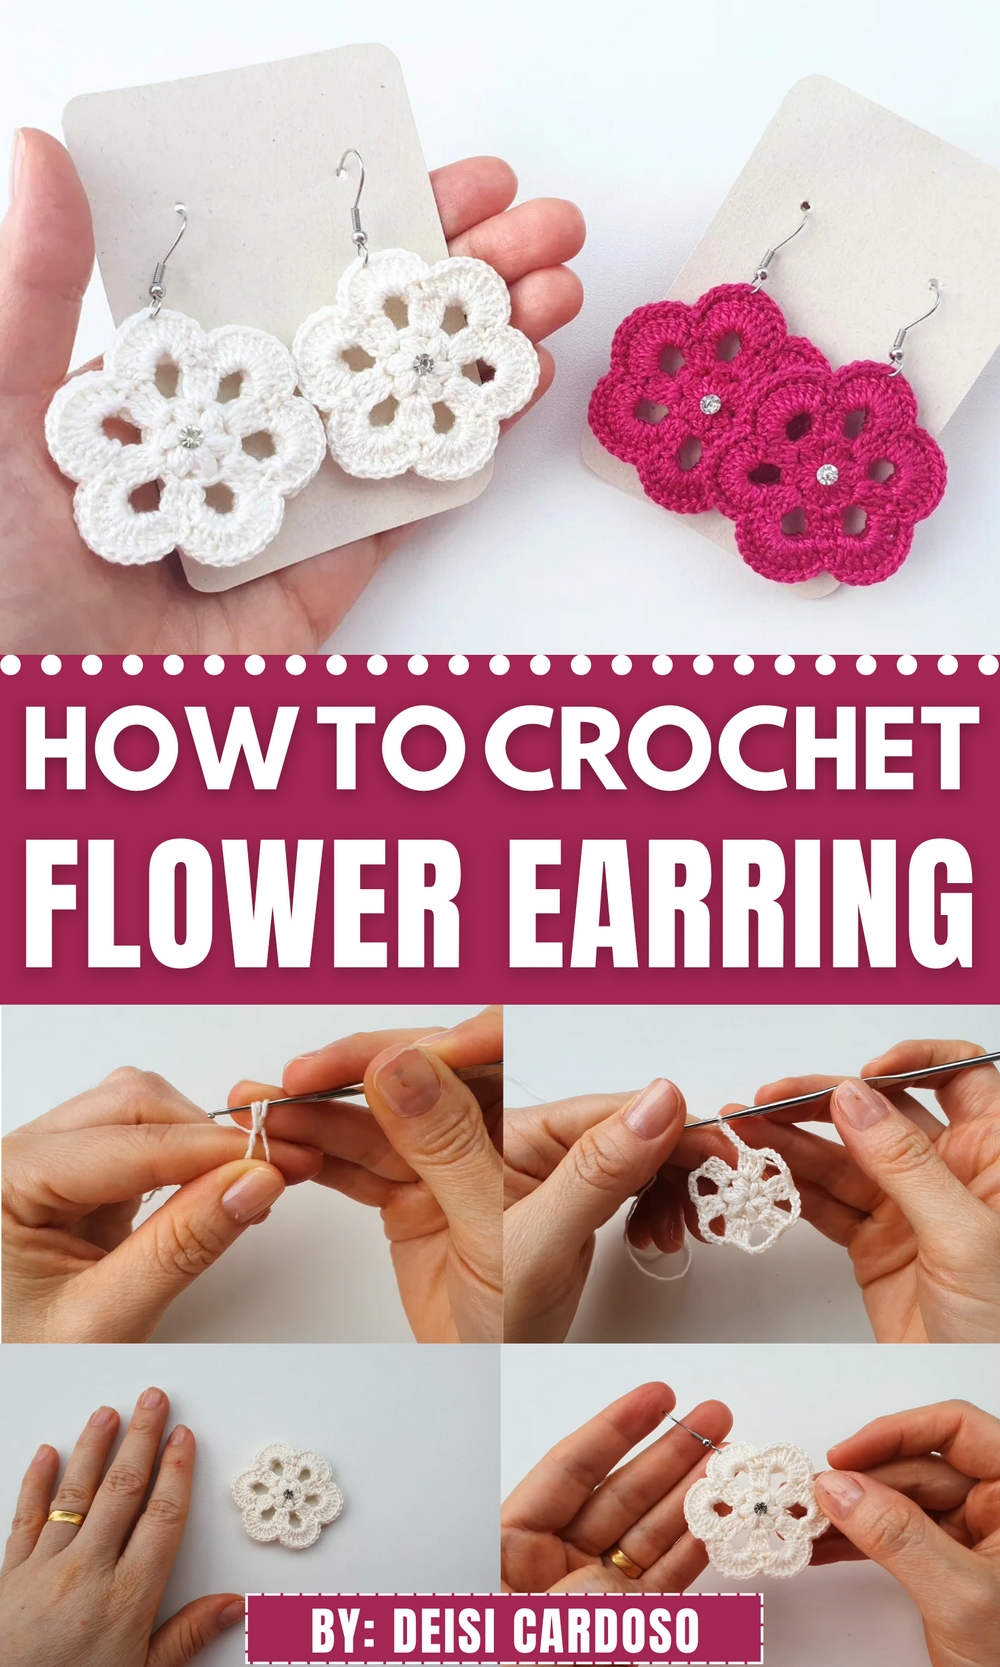
Bring delicate charm to your accessories with this Free Crochet Flower Earring Pattern that’s perfect for brightening everyday looks with handmade elegance.
Amidst the wave of fast fashion trends, the charm of handmade accessories exudes timeless elegance. Crochet flower earrings represent more than just an accessory; they symbolize patience, artistry, and individuality. Ideal for any occasion, these lightweight and intricate pieces brighten casual outfits while complementing formal ensembles with a touch of sophistication. Furthermore, their versatility is matched by their eco-friendly aspect, as they encourage sustainable practices, an increasingly vital choice in today’s world.
How to Crochet Flower Earring Pattern Step By Step
This stunning accessory has widespread uses beyond its mere beauty. Aside from adorning outfits, these earrings make thoughtful, heartwarming gifts, expressing sentiments of care and creativity. They are also a testament to personal style, allowing wearers to select colors and textures that align with their unique personalities. Their lightweight nature ensures day-long comfort, making them perfect for celebrations, workdays, or casual outings alike.
Crochet flower earrings showcase the delicate interplay between functionality and artistry. They offer more than visually appealing ornaments, they reflect the dedication and skill behind each stitch. Additionally, these earrings align with the growing appreciation for slow fashion, emphasizing the value of sustainable and conscious choices. Whether worn or gifted, they carry the beauty of mindful creation, offering a fresh breath of individuality to anyone who embraces them.
Crochet Flower Earrings Pattern
Materials
- Thread: Cléia crochet thread (or similar fine crochet thread).
- Crochet Hook: 1.30mm hook.
- Glue: Silicone glue and, optionally, Bond glue for rhinestones.
- Rhinestones: Optional, approximately 6mm in size.
- Earring Base: Hook-style base (with pliers for assembly).
- Tapestry Needle: To weave in ends and secure threads.
- Scissors: To trim extra thread.
Gauge
Gauge is not crucial for this project. To achieve consistency, maintain even tension throughout.
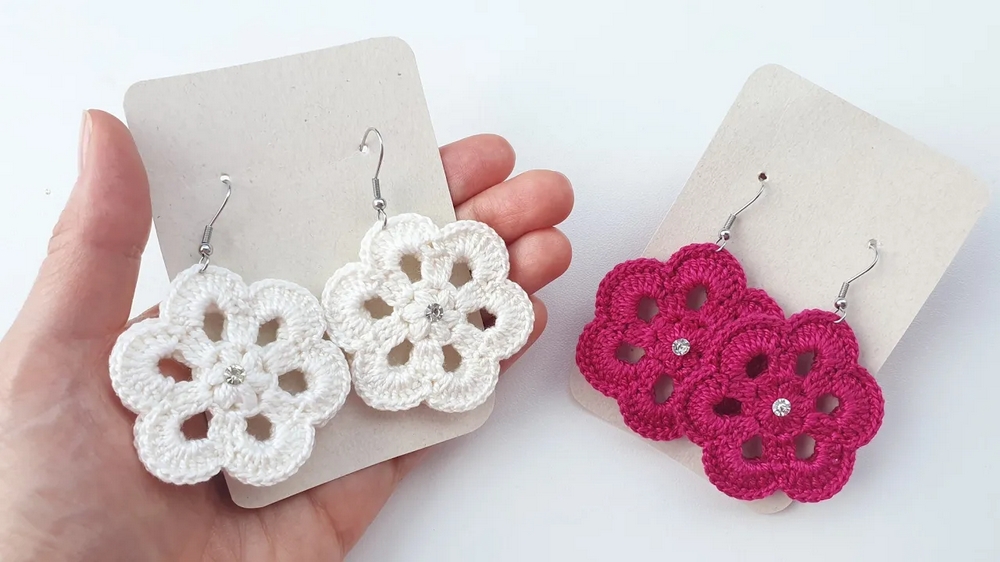
Finished Size
The finished flower earrings are approximately 3–4 cm in diameter, depending on your thread weight and tension.
Step-by-Step Instructions
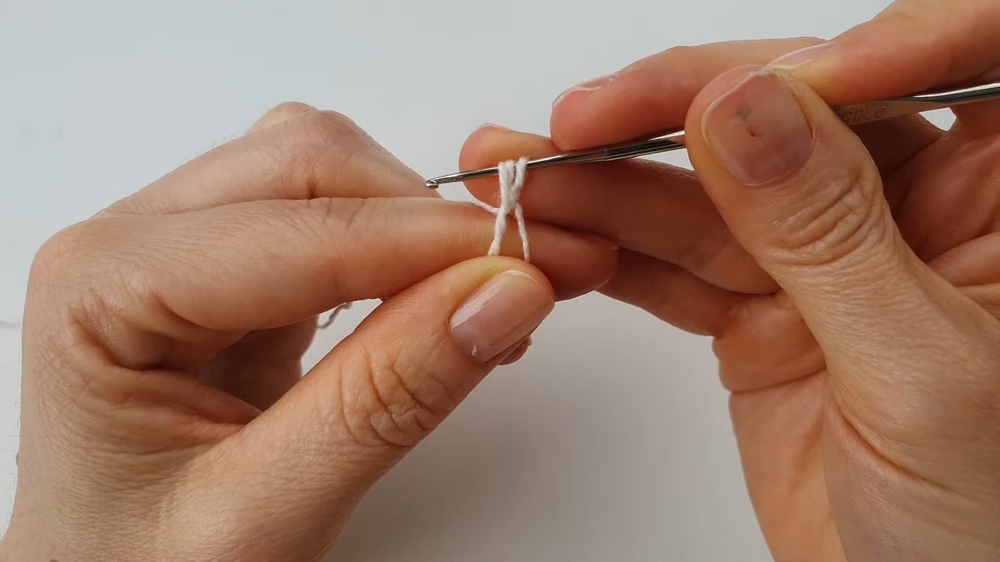
ROW 1: Magic Ring Foundation
- Create a Magic Ring:
- Make a magic ring and chain 1 to secure.
- Loosen the loop slightly for ease of working.
- Prepare the Petal Base:
- Yarn over, insert the hook into the center of the ring, and pull up a loop. Repeat this step 3 times, keeping all loops at a uniform height.
- Yarn over and pull through all 4 loops on the hook.
- Chain 2 to secure the first petal base.
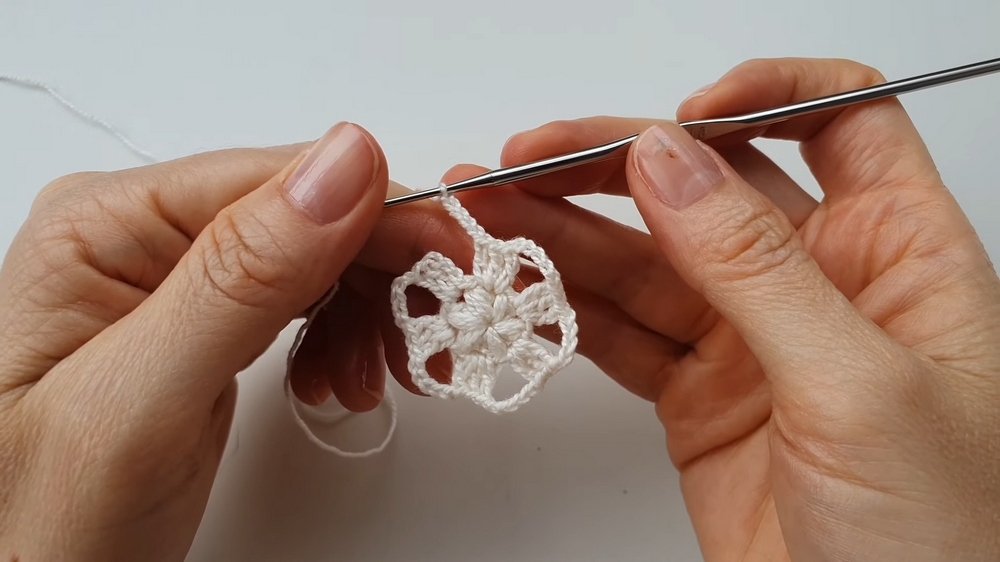
- Repeat for All Petal Bases:
- Repeat the above process to form 6 petal bases evenly around the magic ring.
- Pull the thread tight to close the magic ring completely.
ROW 2: Closing the Foundation Round
- Close the Round:
- Slip stitch into the top of the first stitch that started the round.
- Insert the hook into the next space, chain 1, and make a single crochet.
ROW 3: Working the Petals
- Inside Each Space:
- Yarn over and make 10 double crochet stitches inside the first petal space.
- Move Between Petal Bases:
- Move to the next middle space of the petal base and make 1 single crochet.
- Repeat for All Petals:
- Continue this pattern: 10 double crochets in each space, followed by 1 single crochet on the petal base, until all 6 petals are formed.
ROW 4: Final Round and Finishing
- Complete All Petals:
- When the final petal is complete, slip stitch into the first single crochet stitch of the round.
- Fasten off and cut the thread, leaving a small tail.
- Secure the Thread:
- Use a tapestry needle to pull the thread to the back of the flower and weave it neatly.

Assembly
Step 1: Creating Two Flowers
- Follow the above steps to create 2 identical flower pieces.
Step 2: Joining Flowers
- Apply silicone glue to the entire back of one flower.
- Press the second flower firmly over it, joining them wrong sides together, ensuring full alignment.
Step 3: Adding Decorative Rhinestones (Optional)
- Use strong Bond glue to secure rhinestones or beads in the flower’s center.
- Allow adequate drying time for a neat and stable finish.
Step 4: Attaching the Earring Base
- Choose one petal midway along the edge of the flower.
- Use pliers to open the loop of the earring base slightly.
- Insert the base through the middle stitch of the selected petal.
- Close the loop securely with pliers.

Customization Ideas
- Color Ideas: Single-tone earrings create a classic look; multi-colored petals add vibrancy.
- Different Centers: Experiment with pearls, small buttons, or glass beads for creative flair.
- Thread Variation: Use metallic or ombré threads for updated aesthetics.
- Size Alteration: Select thicker yarn and a larger hook for bigger flowers, or finer yarn for smaller earrings.
Tips
- Maintain even tension for uniform petal shapes.
- Complete glue drying is vital to ensure stability.
- Block the finished flower gently if it curls during assembly.
Conclusion
The crochet flower earrings are a stunning and customizable project for all skill levels. Each piece reflects the special touch of handmade artistry. Wear them to add charm to casual outfits or elevate party attire with their detailed petals and sparkling embellishments. Experiment with different colors, textures, and decorations to make them truly unique.
Important Note: Always allow ample drying time after attaching glue and rhinestones to ensure firmness. Store earrings in a protective box to maintain their shape and avoid bending over time.