Freshen up your accessories with this Free Crochet Coin Purse Pattern that adds charm, function, and handmade flair to your everyday essentials.
A small yet delightful crochet accessory can do wonders in adding charm to your everyday life while keeping things practical. The crochet coin purse, known for its quaint elegance and functional appeal, is a perfect example. Whether used to safely store coins, tiny treasures, or as a thoughtful handmade gift for loved ones, this little creation combines utility with simple beauty.
Fresh Pick Crochet Coin Purse Pattern That Feels Handmade
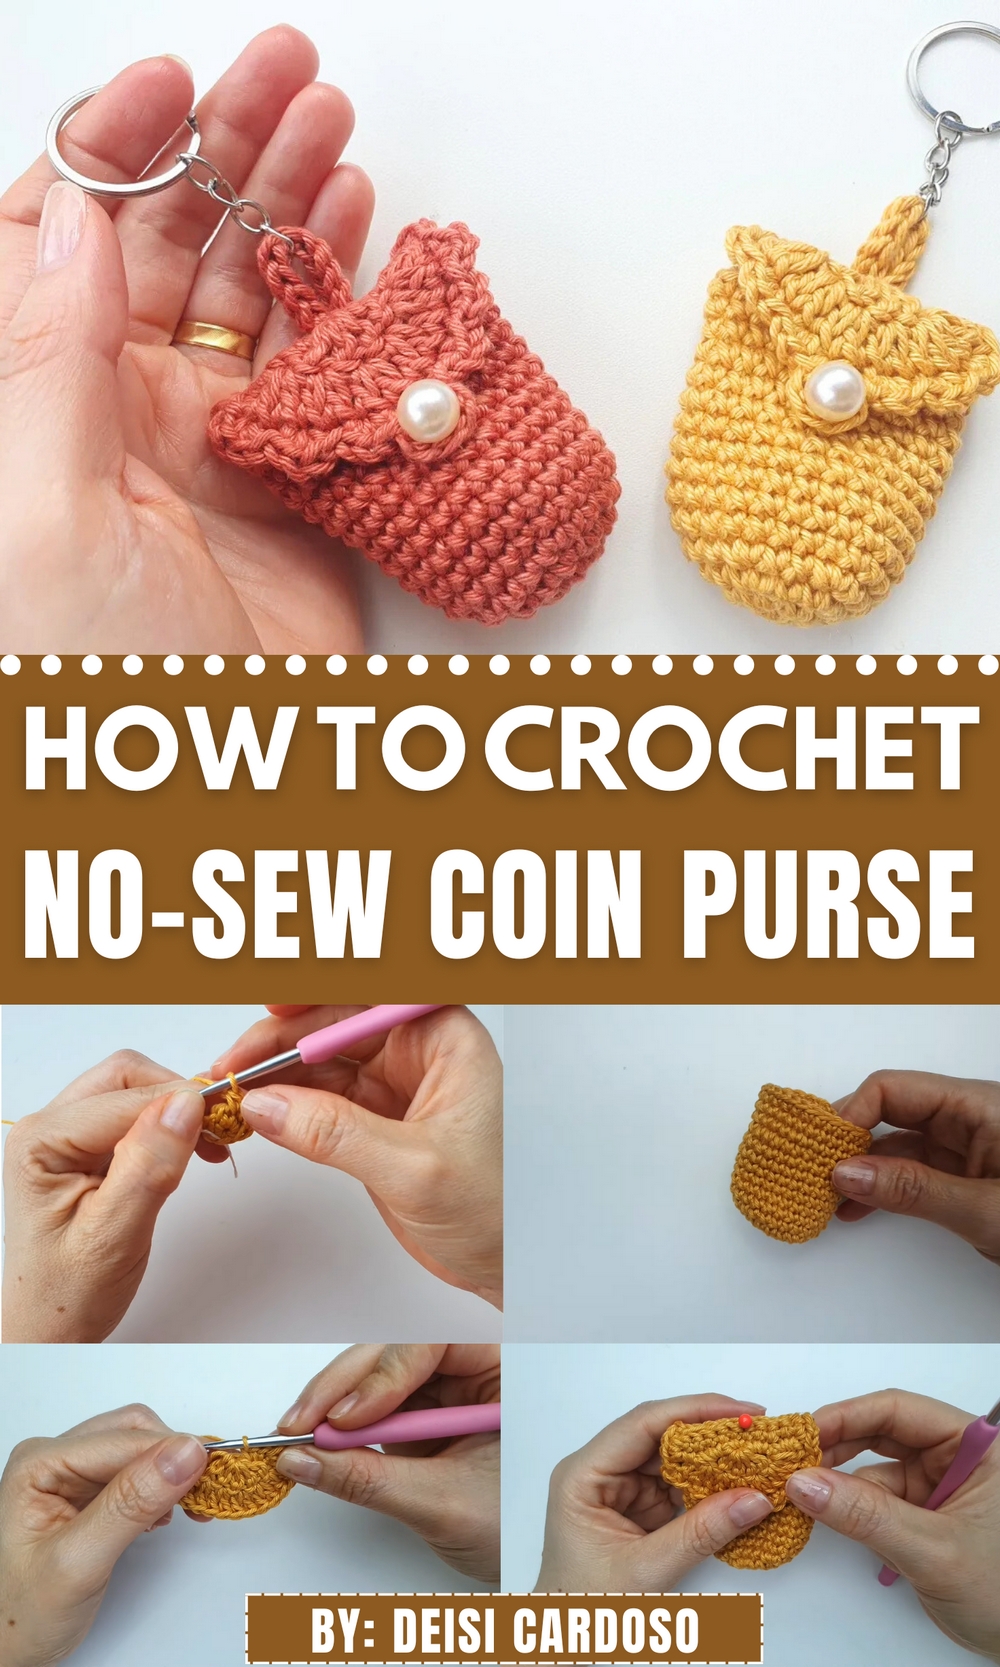
Its compact size, adorned with a meticulously finished flap and a handle, reflects creativity and attention to detail, qualities that make it an ideal accessory to carry or even sell as a unique keepsake. Its potential to be personalized in any color enhances its versatility, offering a way to match your own sense of style or bring a smile to someone’s face.
This crochet coin purse is more than just a convenient way to hold loose change, it’s a reflection of thoughtful handwork and timeless charm. Its versatility as a functional accessory or a heartfelt gift gives it a special place in the lives of those who treasure handmade creations.
Crochet Coin Purse Pattern
Materials
- Yarn:
- Recommended: Amigurumi yarn or any fine weight yarn suitable for small accessories.
- Example Colors: Mustard for the body and secondary color for detailing.
- Note: Other yarn types can be substituted, but gauge may vary.
- Crochet Hook: Size 3.0 mm (adjust based on yarn).
- Stitch Marker: For marking the start of rounds.
- Button or Bead: Used for flap closure.
- Optional Key Ring: To attach a keychain handle.
- Scissors: For trimming yarn.
- Tapestry Needle: For finishing.
Skill Level
Beginner to Intermediate
Key Abbreviations (US Terminology)
- ch: Chain
- sc: Single Crochet
- sl st: Slip Stitch
- dc: Double Crochet
- hdc: Half Double Crochet
- st(s): Stitch(es)
- inc: Increase (2 sc in one stitch)
Special Notes
- This pattern is worked in continuous rounds to avoid seams. Use a stitch marker to track the beginning of each round.
- Test button size before creating the flap’s button loop; adjust chain count if necessary.
- For larger purses, increase the base diameter by adding more rounds with consistent increases.
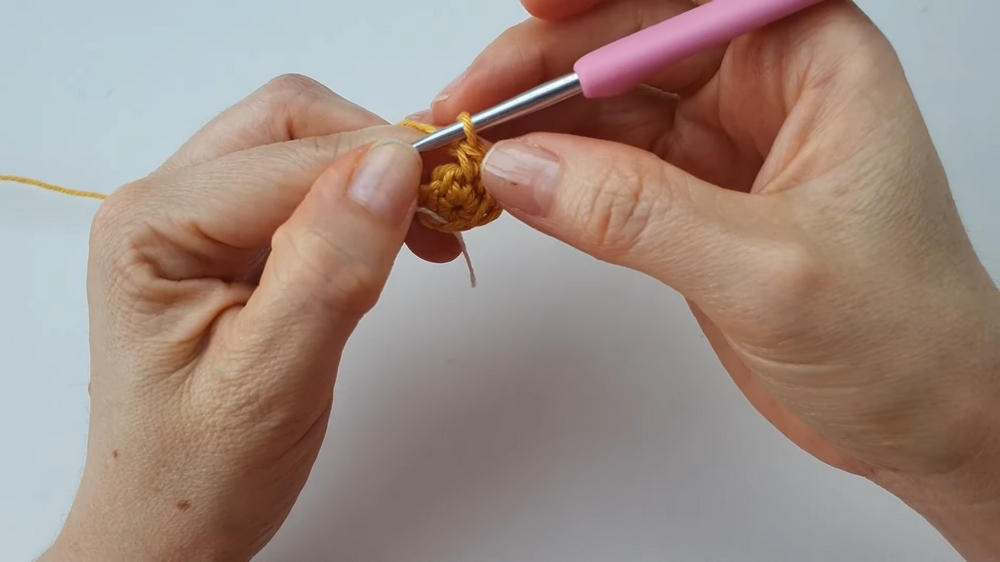
Pattern Instructions
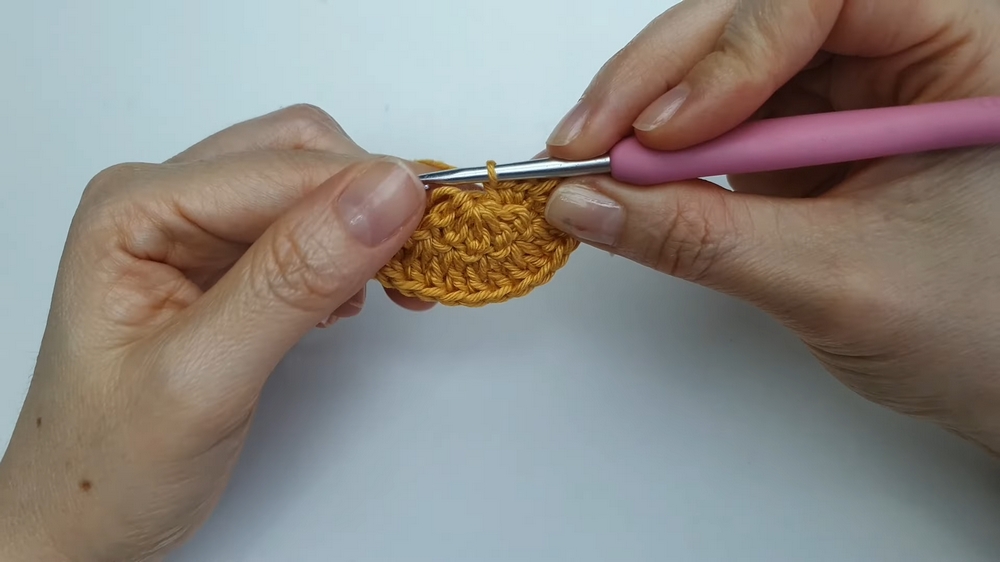
Step 1: Coin Purse Base (Body)
Round 1:
- Start with a magic ring.
- Ch 1, work 6 sc into the ring.
- Pull the tail to close the ring tightly. Place a stitch marker in the last sc.
Round 2:
- Work 2 sc in each st around (12 sc total).
Round 3:
- [1 sc, inc]; repeat around (18 sc total).
Round 4:
- [2 sc, inc]; repeat around (24 sc total).
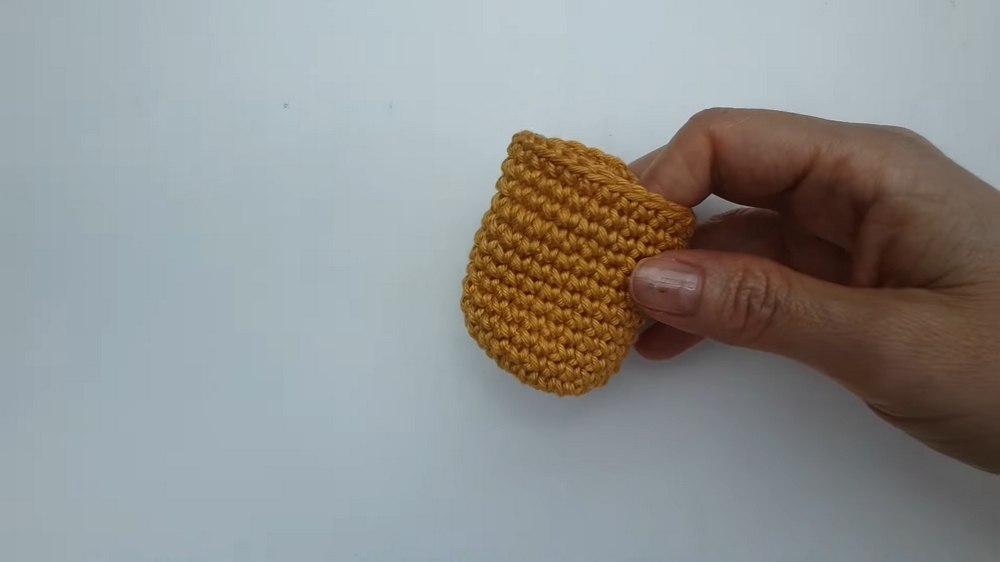
Rounds 5–15:
- Work 1 sc in each st with no increases (24 sc per round).
Finishing the Body:
- After completing Round 15, sl st into the next st.
- Cut the yarn, leaving a 6-inch tail, and pull through.
- Use a tapestry needle to neatly weave the tail into the inside stitches.
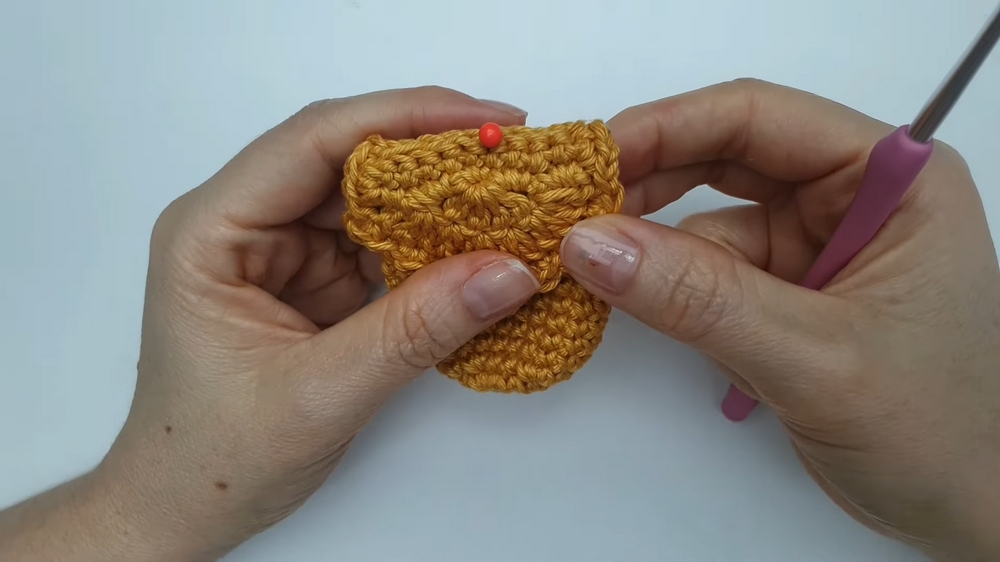
Step 2: Flap
Round 1:
- Create a magic ring.
- Ch 3 (counts as dc). Work 5 dc into the ring (6 dc total).
Round 2:
- Ch 3. Work 2 dc in each st around, including the initial ch 3 (12 dc total).
Round 3:
- Ch 3. [1 dc, inc]; repeat around (18 dc total).
Round 4:
- Turn your work and work 10 sc evenly across the curved edge.
- At the center point, place 5 chain stitches to form the loop for the button closure (adjust chain count based on button size).
Finishing the Flap:
- Cut the yarn and secure the tail as outlined earlier, ensuring neatness, as the flap will be visible.
Step 3: Handle (Optional)
Step 3.1: Create the Handle
- From any edge of the purse, attach the yarn.
- Work 10 chain stitches to form the handle.
- Sl st into the next sc on the body to secure.
Step 3.2: Strengthening the Handle
- Turn, and work 1 sc in each chain st for added durability.
- Secure with sl st, fasten off, and weave in the ends.
Step 4: Assembly
- Attaching the Flap:
- Using the tapestry needle and body-color yarn, sew the flap securely to the top back edge of the purse.
- Ensure the flap curves neatly over the purse opening.
- Securing the Button:
- Position the button or bead where the loop rests naturally.
- Sew the button securely to the front of the purse using matching thread or yarn.
- Optional Key Ring: Attach the handle to a key ring with a sturdy sl st or knot.
Conclusion
This crochet coin purse is a delightful project that is both practical and aesthetic. Without requiring a sewing machine, its construction leverages simple techniques for a seamless, polished finish. Whether you create one for a gift, sell them at craft markets, or use them for yourself, this little piece can be personalized with colors and embellishments.
Pattern Corrections
- Ensure stitch counts align precisely to avoid uneven shaping.
- Button placement can be adjusted based on loop size.
Tips
- Use contrasting colors for the flap and body for a bolder look.
- Test the stiffness of the final product with different yarn types; cotton or blended fibers work best for maintaining shape.
- Stuff the purse lightly with tissue to keep its clarity during storage or gifting.