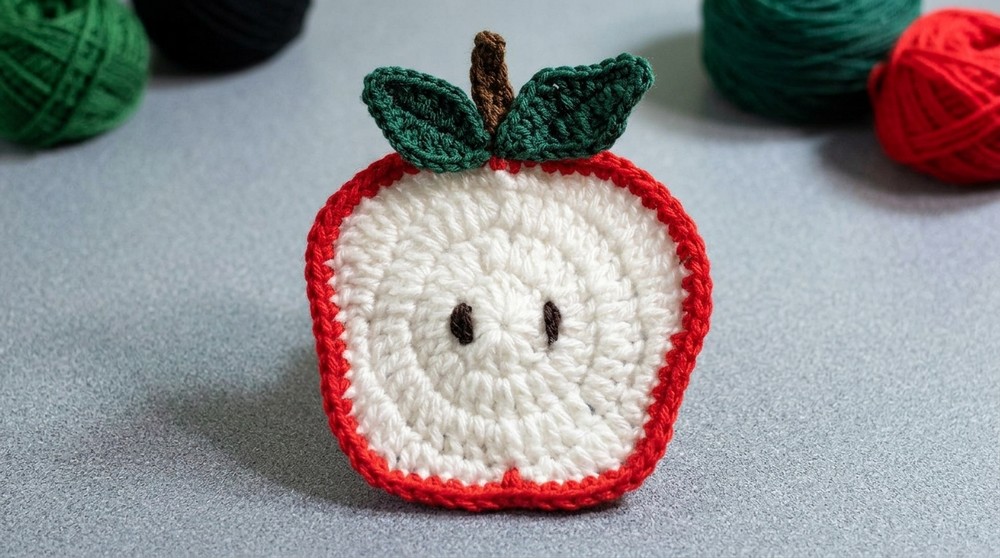
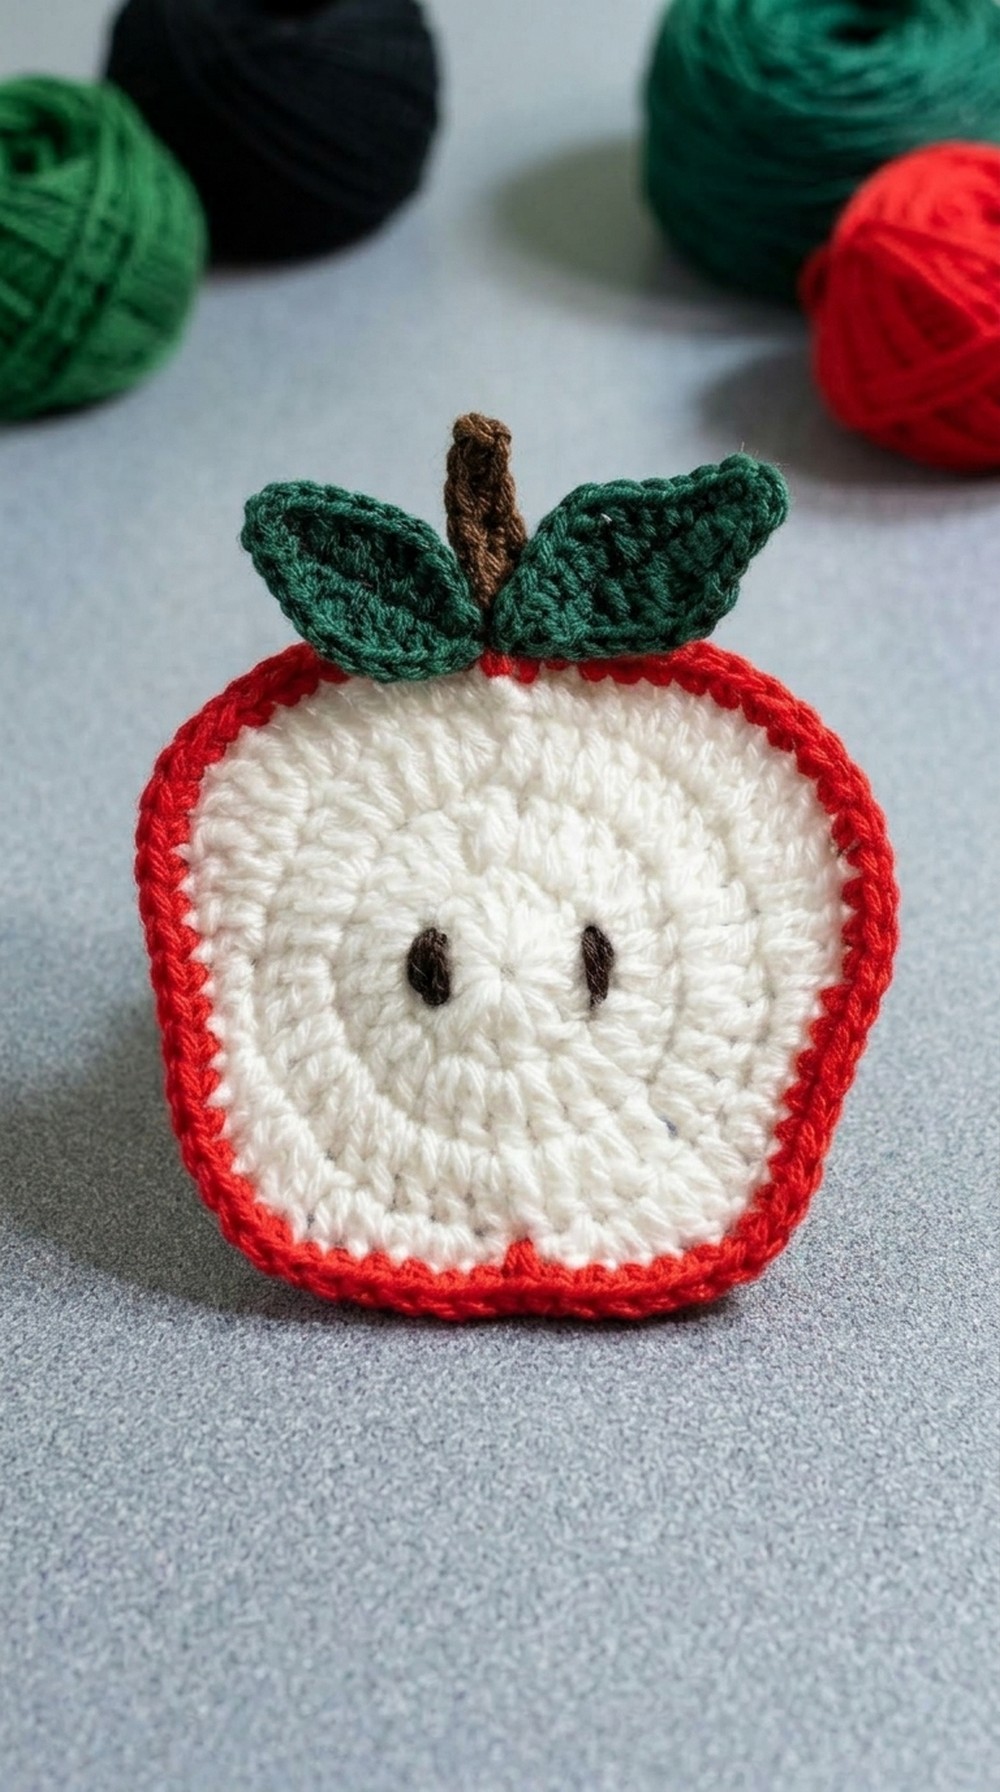
Enjoy this sweet free crochet apple coaster pattern and protect your tables with a charming, handmade touch that’s perfect for any season.
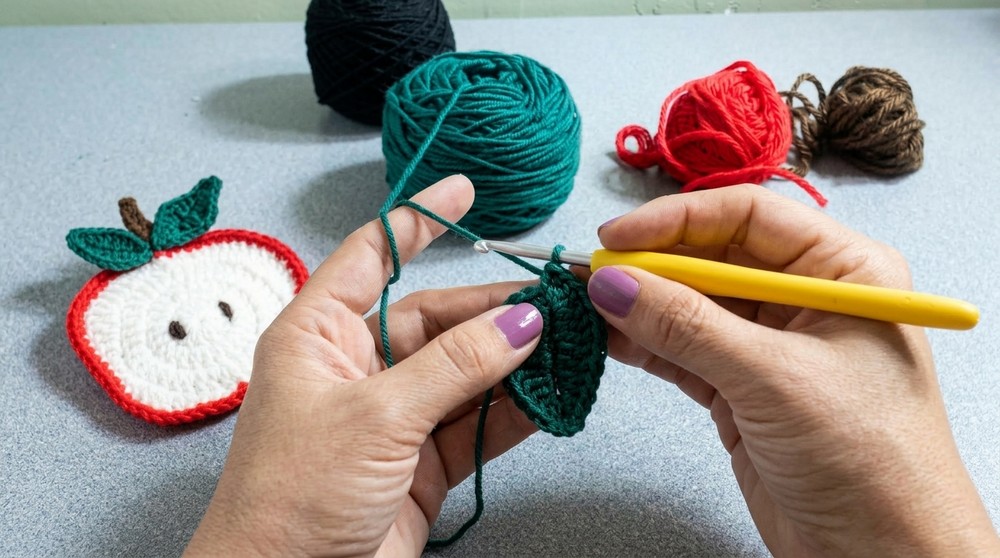
Nothing brightens up a table like a cute little coaster shaped like an apple. This free crochet apple coaster pattern is a wonderful way to add charm and practicality to your home. Its vibrant design, with a touch of red and green, instantly catches the eye and brings a fresh, cheerful vibe to any room. Whether you’re protecting furniture from coffee cups, tea mugs, or even cold glasses, this apple coaster does the job while looking absolutely adorable.
Cute Free Crochet Apple Coaster Pattern for Drink Lovers
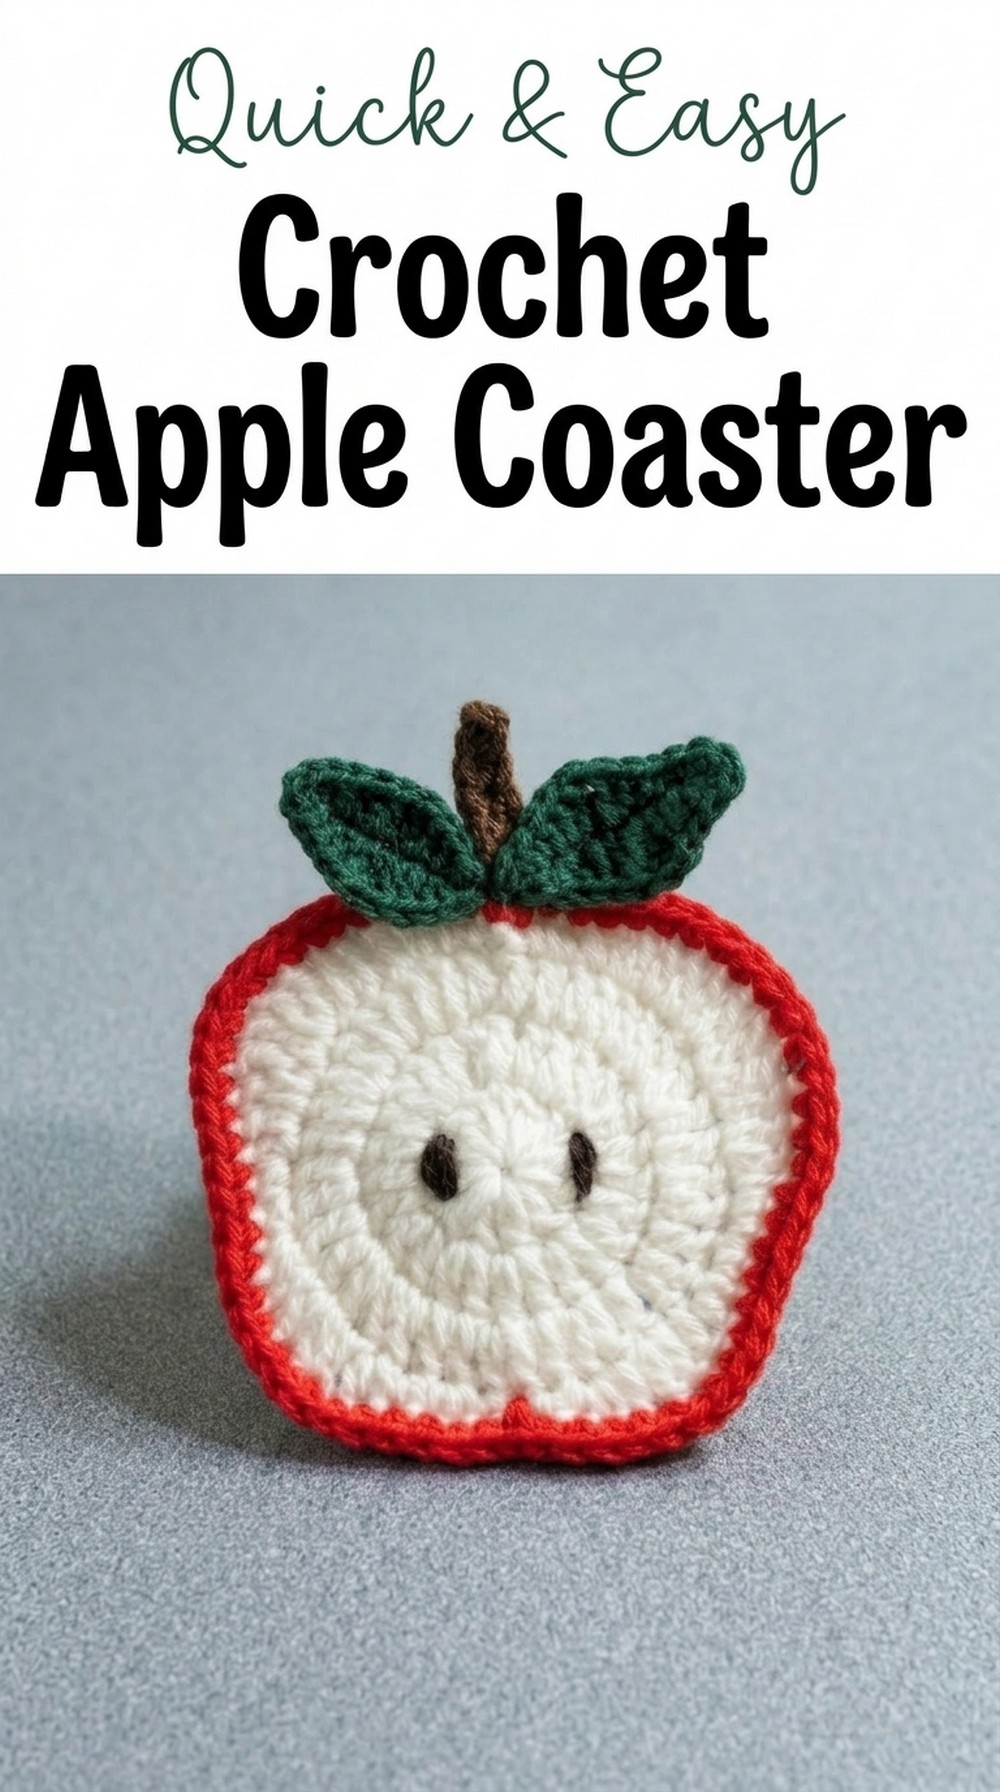
Made with soft yarn, it provides a sturdy but gentle base for all your drinks. The simple stitches and clear steps make it a fun and relaxing project to work on, even if you’re not that experienced in crochet. Its playful design doesn’t just serve a purpose; it also becomes a small decoration piece that can bring a touch of warmth and creativity to your table setting.
Skill Level
- Beginner-Friendly
Materials
- Yarn:
- Cotton yarn or any sturdy DK-weight yarn, in red (or your preferred apple shade), green (for the leaf), brown (or honeycomb for the stem), and black (optional for seeds).
- Crochet Hook:
- 4.0mm hook (or size suited for your yarn).
- Scissors:
- For cutting yarn neatly.
- Tapestry Needle:
- For weaving in ends and attaching details (leaf, stem, seeds).
Stitch Key
- Ch: Chain
- Sc: Single Crochet
- Hdc: Half Double Crochet
- Dc: Double Crochet
- Tr: Treble Crochet
- Sl st: Slip Stitch
- Magic Ring: A ring commonly used to begin crocheted circles.
Size
- Finished apple coaster: Approximately 5 inches across (customizable).
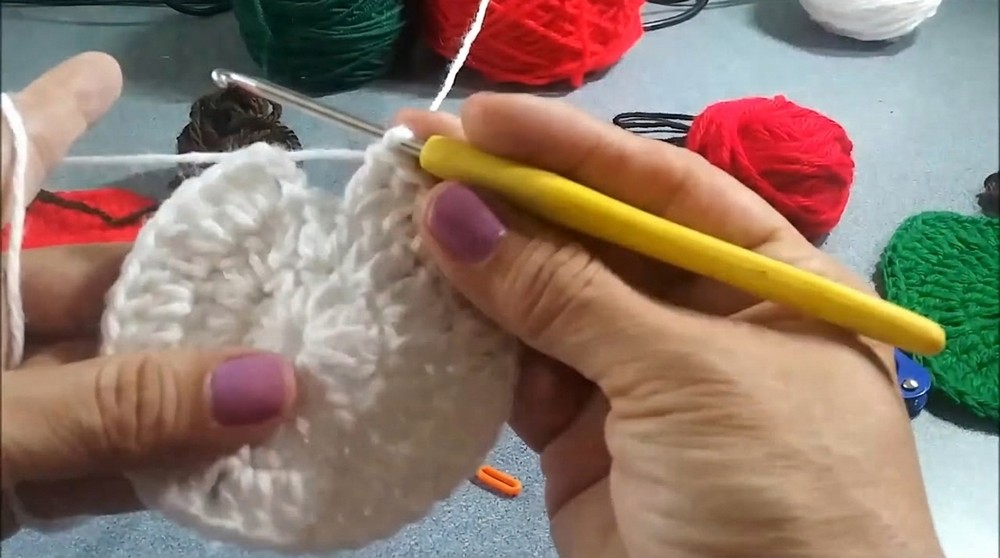
Pattern Instructions
Step 1: Begin with the Magic Ring
- Creating the Magic Ring:
- Using yarn, form a magic ring. (If unfamiliar, you can start with a chain loop and work into it.)
- Round 1:
- Work 12 double crochet (dc) into the magic ring.
- Pull the tail of the magic ring to tighten the circle.
- Close the round with a sl st into the top of the first dc.
Step 2: Grow the Base Circle
- Round 2:
- Ch 3 (counts as the first dc).
- Work 2 dc into each stitch around (creating an increase in every stitch).
- Close the round with a sl st into the top of the ch-3.
- Total stitches: 24 dc.

- Round 3:
- Ch 3 (counts as the first dc).
- Alternate pattern:
- 2 dc into the next stitch, 1 dc into the following stitch.
- Repeat the sequence (2 dc, 1 dc) around the circle.
- Close the round with a sl st.
- Total stitches: 36 dc.
Step 3: Shaping the Apple
- Begin Shaping Curves:
- Continue working around the base circle using alternating stitches:
- Work sc, hdc, dc, 2 dc, and tr to heighten the curve.
- Use Hdc decrease and sc stitches as you begin to round out the edges.
- Continue working around the base circle using alternating stitches:
- Creating a Plumped Apple Shape:
- Follow this stitch pattern (as described in the video transcription):
- Sc, hdc, 2 dc, tr, 2 dc, hdc, sc for one side.
- Repeat mirrored stitches on the other side to visually form the apple curves.
- Adjust stitches as needed for symmetry.
- Follow this stitch pattern (as described in the video transcription):
- Finish the Round:
- Close with sl st into the first sc for a neat finish.
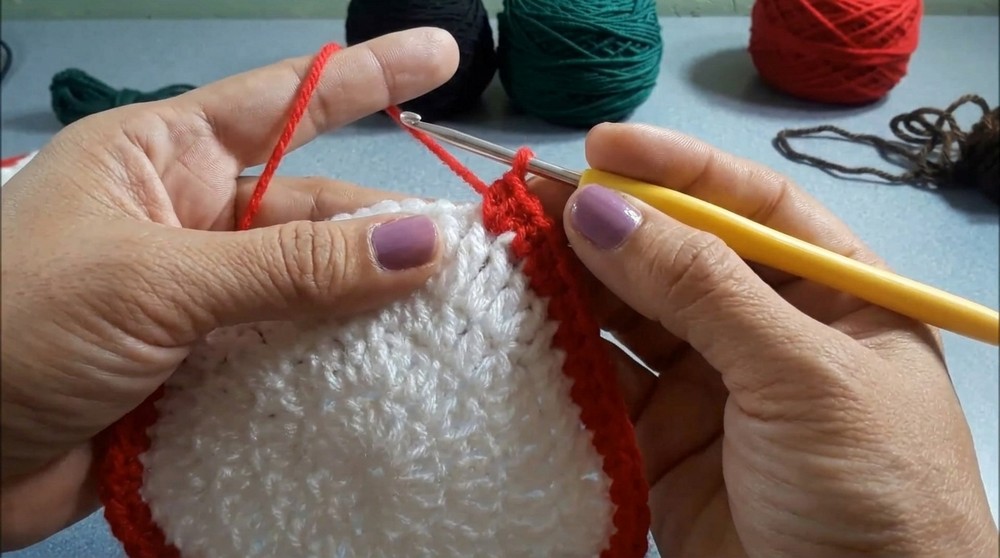
Step 4: Edging the Apple
- Apply the Decorative Edge:
- Attach red yarn again (or the same yarn from the base if uncut).
- Work sc stitches into every stitch around the apple to create a clean edge.
- Close with sl st and FO (fasten off).
Step 5: Add the Leaf
- Leaf Foundation:
- Using green yarn, ch 10 (for leaf length).
- Turn and begin working stitches along the chain.
- Shaping the Leaf:
- Work 1 sc into the first chain, 1 hdc into the next, 2 dc into the next.
- Work 2 tr stitches into the next chain to make the widest point of the leaf.
- Mirror this setup along the other side of the chain:
- 2 tr, 2 dc, 1 hdc, and sc into the last chain.
- FO and leave a tail for attaching.
Step 6: Add the Stem
- Stem Foundation:
- Using brown yarn, ch 7.
- Turn and work sc into each chain, creating a slim rectangle.
- FO and leave a tail for sewing the stem onto the apple.
Step 7: Add Seeds (Optional)
- Seed Embroidery:
- Using black yarn, use a tapestry needle to embroider small horizontal “dashes” representing seeds onto the apple surface.
- Place 2-4 seeds evenly distributed for visual balance (optional).
Assembly
- Positioning the Leaf and Stem:
- Attach the stem at the center top of the apple using a tapestry needle.
- Place the leaf slightly tilted next to the stem for a natural look.
- Securing the Pieces:
- Use tail ends from the leaf and stem to sew securely into the apple base.
- Weave in all loose ends.
Finishing
- Block the Apple Coaster (Optional):
- Lightly dampen the project and apply flat blocking techniques to smooth the apple shape.
- Optional Variations:
- Experiment with yarn colors to create realistic green apples, yellow apples, or unique color combinations.
- Experiment with yarn colors to create realistic green apples, yellow apples, or unique color combinations.
Customization Suggestions
- Adjust Sizes:
- For smaller apples, reduce the number of increases.
- For larger coasters, increase the number of rounds and add edge rows.
- Decorative Additions:
- Embroider names, initials, or patterns on the apple for a personal touch.
- Add a hint of glitter yarn for festive appeal.
- Set Ideas:
- Create a matching fruit-inspired coaster set (e.g., pears, berries, oranges).
Final Words and Maintenance Tips
Congratulations! You’ve completed your apple-shaped coaster, a fun and practical project perfect for home décor or gifting. This simple yet attractive pattern is easy to replicate and customize for different colors or styles.
Tips for Care:
- Wash gently by hand or machine on a delicate cycle.
- Lay flat to dry to maintain shape and durability.