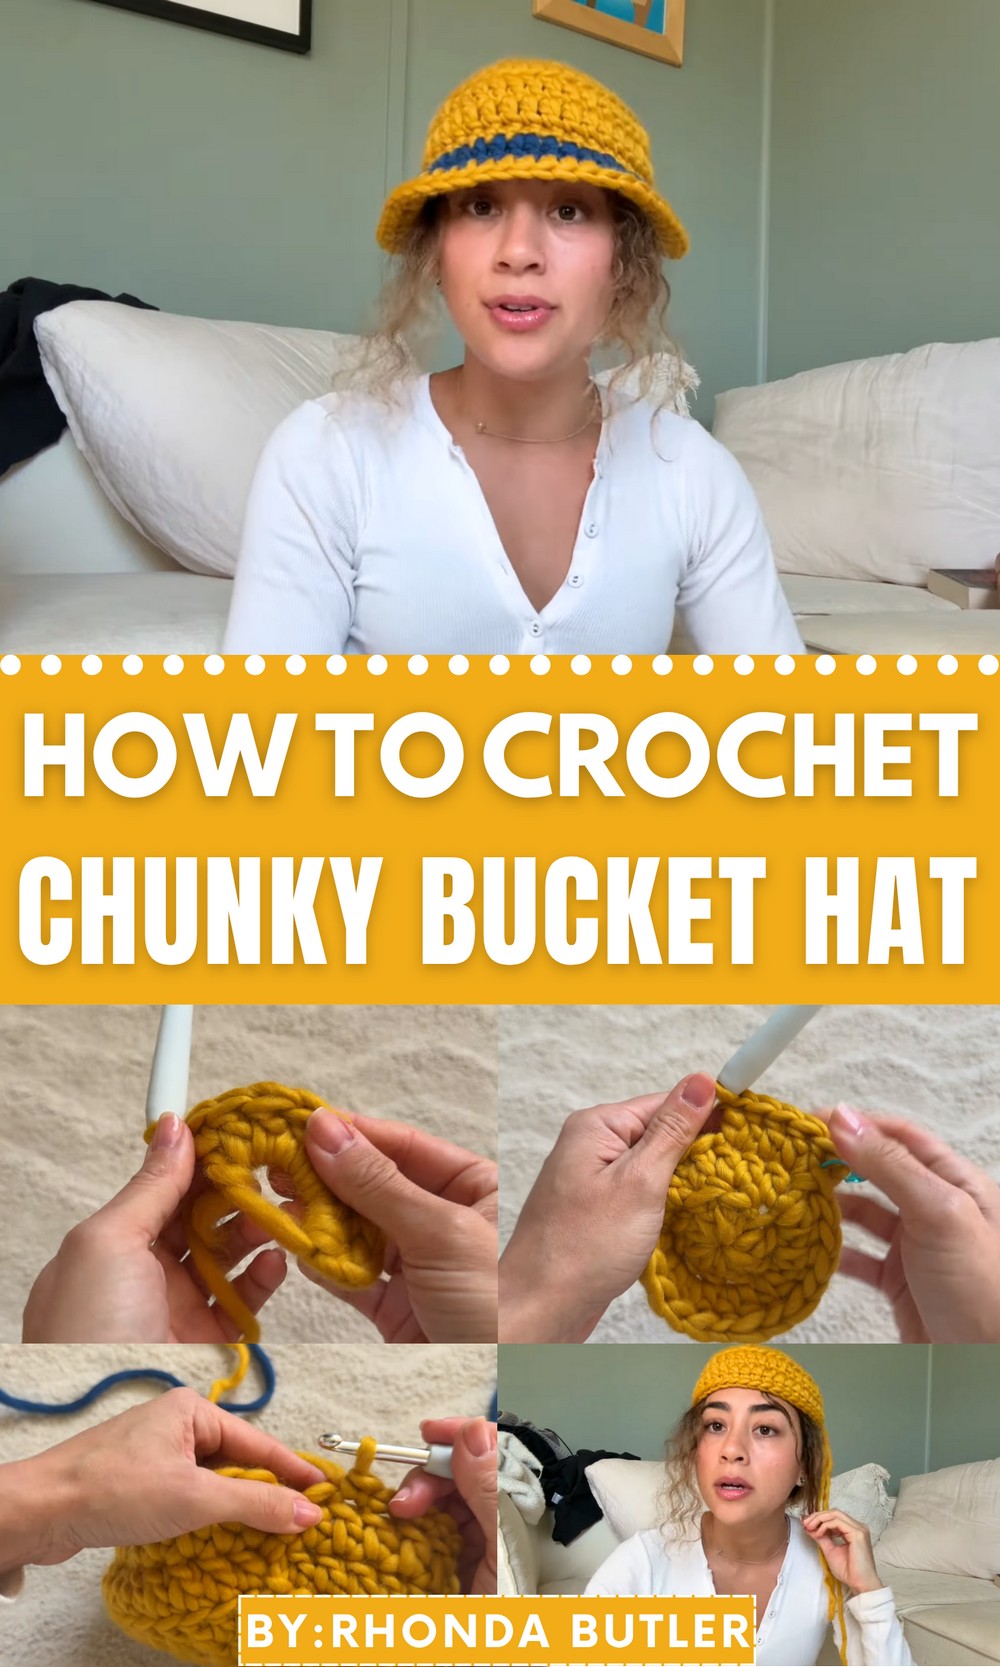
Top off your style with the Free Crochet Chunky Bucket Hat Pattern, a trendy creation that adds cozy texture and modern flair to any outfit.
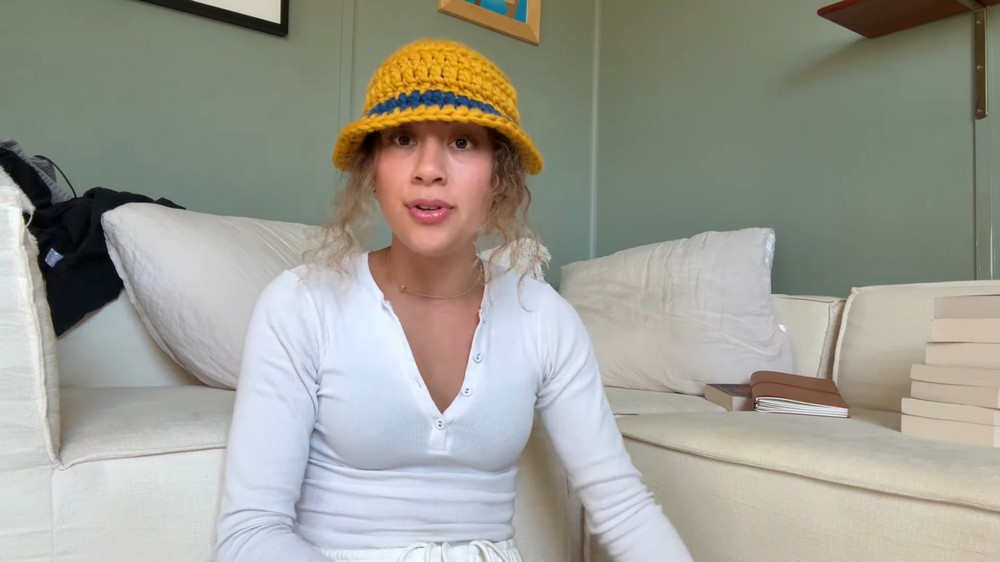
Nothing turns an ordinary outfit into a statement quite like a bold and cozy accessory. The Free Crochet Chunky Bucket Hat Pattern captures that effortless charm, bringing together comfort, texture, and style in one delightful piece. With its thick, plush stitches and soft shape, this hat offers both warmth and character, making it a perfect companion for chilly mornings or breezy afternoons. .
Urban Cool Crochet Chunky Bucket Hat Pattern for Modern Looks
Its modern bucket silhouette complements a wide range of looks from relaxed weekend wear to trendy street style adding personality with every outfit. More than a fashionable accent, the Free Crochet Chunky Bucket Hat Pattern offers relaxation through rhythmic stitching, encouraging calm focus while shaping something both practical and beautiful. Its structure holds form perfectly, while the softness of the yarn ensures lasting comfort during daily wear.
Lightweight yet insulating, it adapts easily to different seasons, proving that style and function can exist in perfect balance. Completing this hat brings a rewarding sense of satisfaction and joy, transforming a simple idea into something wearable and timeless. The making of this piece is as fulfilling as the final result, turning quiet moments into a celebration of warmth, self-expression, and modern handmade fashion
Gather Your Materials
- Yarn: Abbey Road Born to Be Wool from Spotlight (yellow for the base, blue for the stripe, or other colors of your choice).
- Crochet Hook: 7 mm crochet hook recommended for the specified yarn.
- Stitch Marker: To keep track of rows and stitches.
- Scissors: For trimming yarn ends.
Optional items: Bobby pins or scrap thread as placeholders for stitch markers, and a tapestry needle for finishing touches.
2. Create the Magic Circle
- Wrap the yarn over your fingers to form a loop.
- Insert your crochet hook into the loop and pull the yarn to create a slip knot on the hook.
- Chain 2 (acts as the first double crochet).
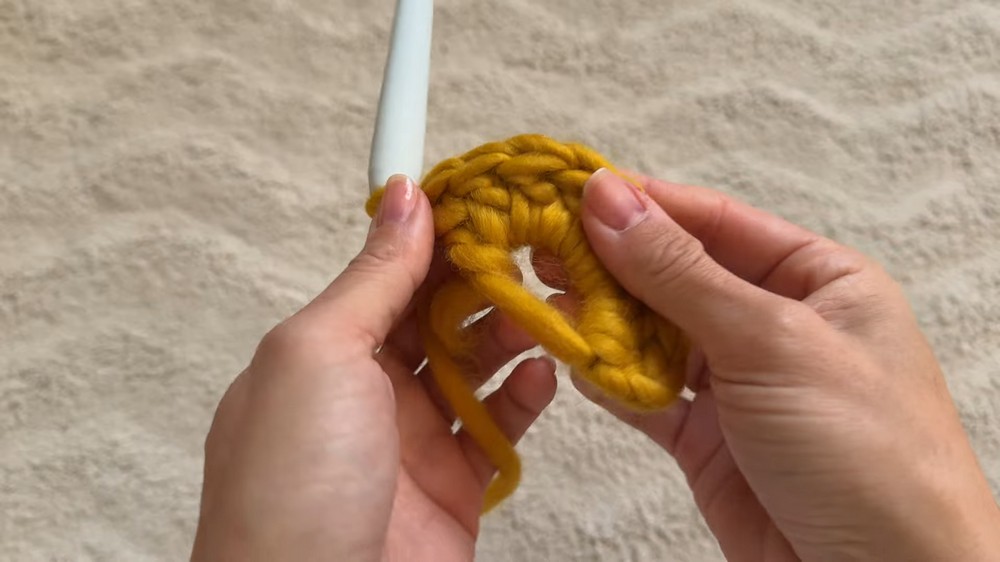
3. Work the Base of the Hat
- Round 1: Make 9 double crochets into the magic circle for a total of 10 stitches (including the initial chain 2 from the start).
- Close the circle tightly by pulling the tail end of the yarn.
- Slip stitch into the first stitch to complete the round.
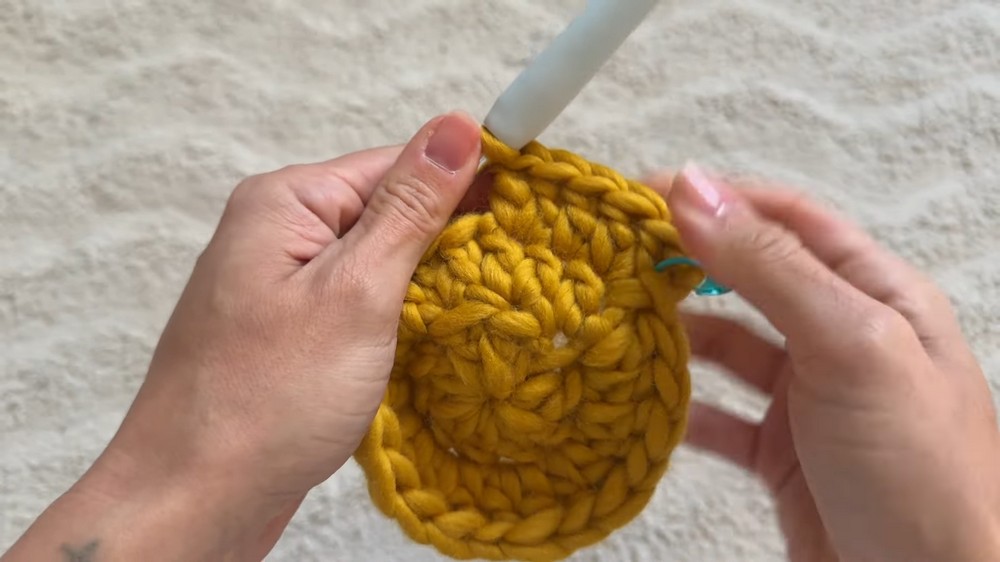
- Round 2: Chain 2 (acts as your first double crochet). Place a stitch marker in the beginning stitch. Work 2 double crochets (increases) into each stitch until you reach the end of the round.
- Round 3: Add one double crochet in the first stitch, followed by an increase in the next stitch (2 double crochets in the same stitch). Repeat this pattern until the round is finished (increase every second stitch).
- Subsequent Rounds: For each successive row, space your increases further apart. For example:
- Round 4: Increase every third stitch.
- Round 5: Increase every fourth stitch. Continue this pattern as needed until your base reaches the desired width.
4. Transition to the Crown
Once the base of the hat is complete, stop increasing and work regular double crochets into each stitch of the next few rounds. Repeat until the desired height of the hat is achieved. Test the fit frequently to ensure it sits comfortably on the head.
5. Create Ridges for the Hat Brim
To begin forming the brim:
- Work into the back loop only of the stitches to create a subtle ridge, which causes the fabric to flare out.
- Crochet one row using this back-loop technique.
- After finishing the ridge row, return to working through both loops in the next row and begin increasing again.

6. Customize with Color Changes (Optional)
If desired, add a stripe or contrasting color to create unique details:
- To change colors, loosen the last slip stitch slightly, and tie off the new color to the previous color’s yarn.
- Work single crochets into the front loop only in this row for a textured stripe.
- Switch back to double crochets for the following row and use your main yarn color to continue with the brim.
This method keeps the color transitions clean and adds creative flair to the hat’s design.
7. Shape and Complete the Brim
To finish the brim:
- Increase evenly across rows to create a slightly flared shape. For example, add one double crochet, then increase every third stitch (as done earlier for the base).
- Adjust the number of stitches or rows if you want a smaller or wider brim.
End the brim with a careful slip stitch row to secure the shape and edges.
8. Finishing the Hat
- Weave in the loose ends using a tapestry needle.
- Trim the leftover yarn and smooth any bumps or uneven edges.
- Lightly flatten the hat with your hands to even out stitches and shape.
Special Features of the Hat
- Beginner-Friendly Design: Simple stitches make this project ideal for learners.
- Customizable Convenience: Multiple optional color changes and adjustable brim width provide endless possibilities for creative expression.
- Practical Use: Perfect for sunny days, gifting, or adding a charming touch to your outfit.
Tutor’s Suggestions
- Frequently test the size of the hat while crocheting to ensure a comfortable fit.
- Use stitch markers to keep track of each row’s beginning and end point.
Pro Tip
For a sturdier, more structured hat, consider using wool or acrylic-blend yarn and avoid overstretching the fabric while crocheting.
Conclusion
This crochet sunflower-inspired bucket hat combines style and functionality, making it the perfect accessory for anyone seeking a handmade, cheerful addition to their wardrobe. Follow the full video tutorial to complete your very own vibrant bucket hat today!