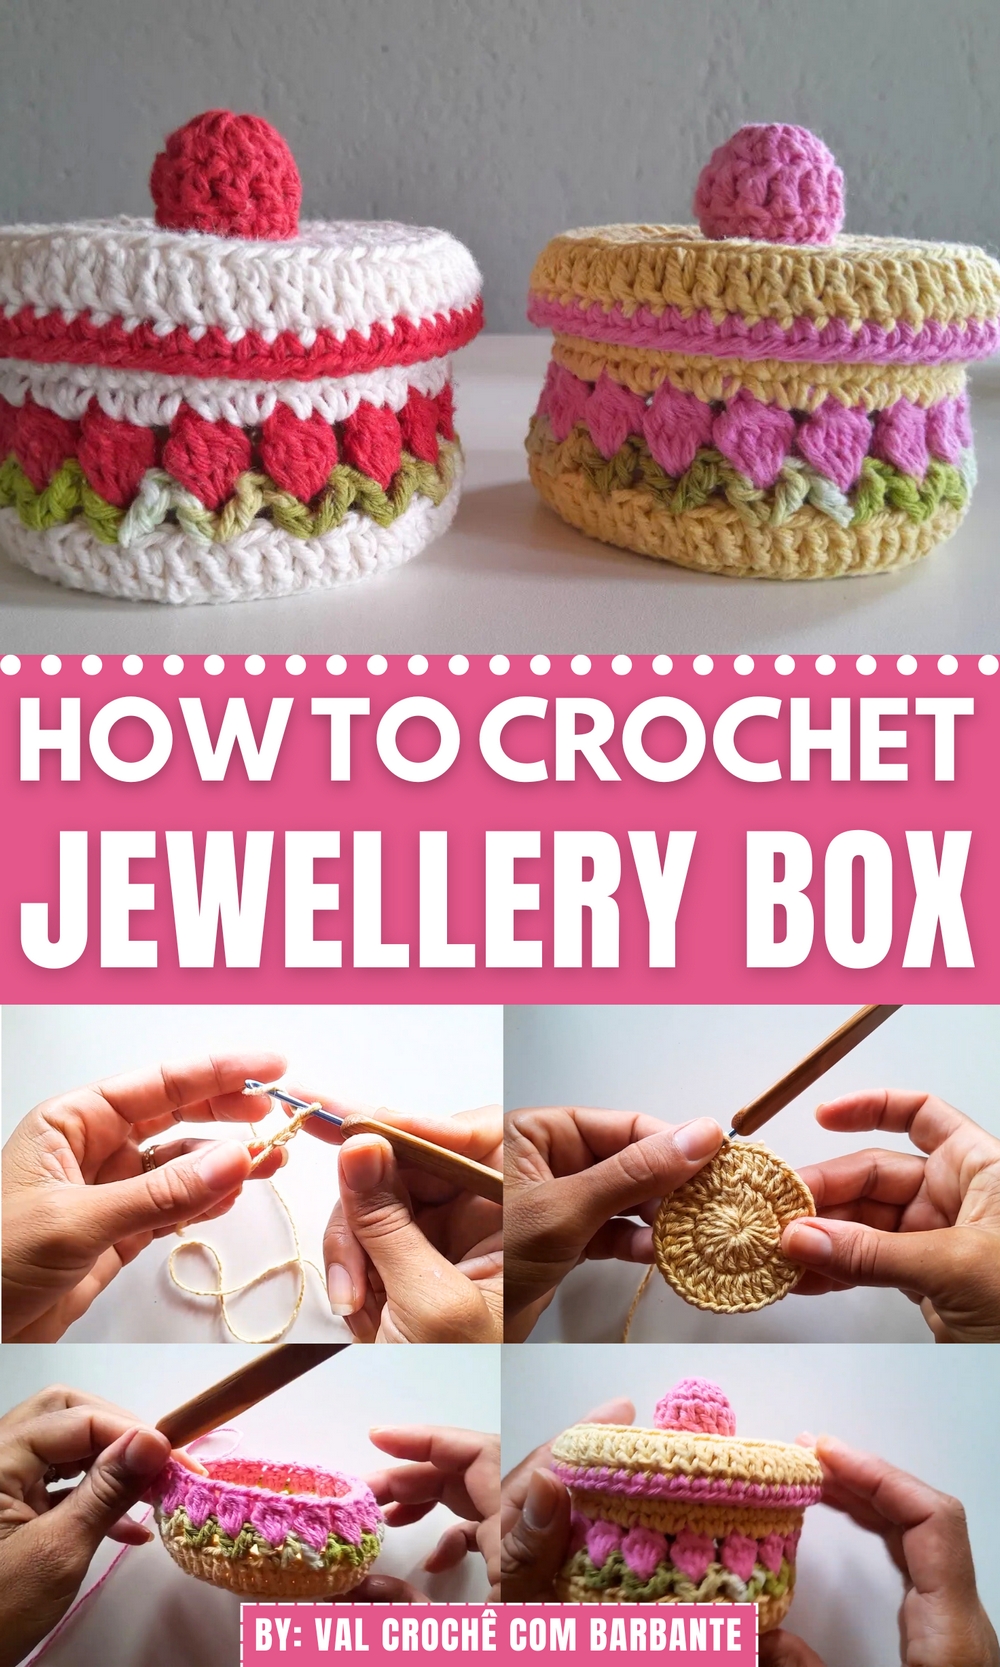
Organize your treasures in style with this Free Crochet Jewellery Box Pattern offering a charming way to protect rings, earrings, or keepsakes with ease.
A small trinket passed down through generations often holds more than just shine, it carries memories, meaning, and the quiet charm of personal care. That sentiment comes to life beautifully through this project, where utility meets elegance in the most thoughtful way. The free crochet jewellery box pattern brings a soft and timeless solution to organizing your precious keepsakes. Whether placed on a dresser or tucked inside a travel bag, this box offers both function and visual delight. The sturdy texture ensures your rings, earrings, or even heirloom brooches stay safe and separated, avoiding tangles or scratches.
How to Use Crochet Jewellery Box Pattern for Makeup Too

Using soft yarn in your choice of shades, the structure forms naturally with defined shaping and a fitted lid, giving it the appeal of classic storage with a cozy twist. This isn’t just storage, it’s a meaningful item in itself. Use it as a gift container, a bridal accessory holder, or a charming accent on your vanity.
It also doubles as a thoughtful handmade gift that reflects attention to detail and a personal touch. The free crochet jewellery box pattern allows you to shape something useful and beautiful at once, something that holds more than just accessories but also a touch of sentiment and intention.
Special Features of the Jewelry Box
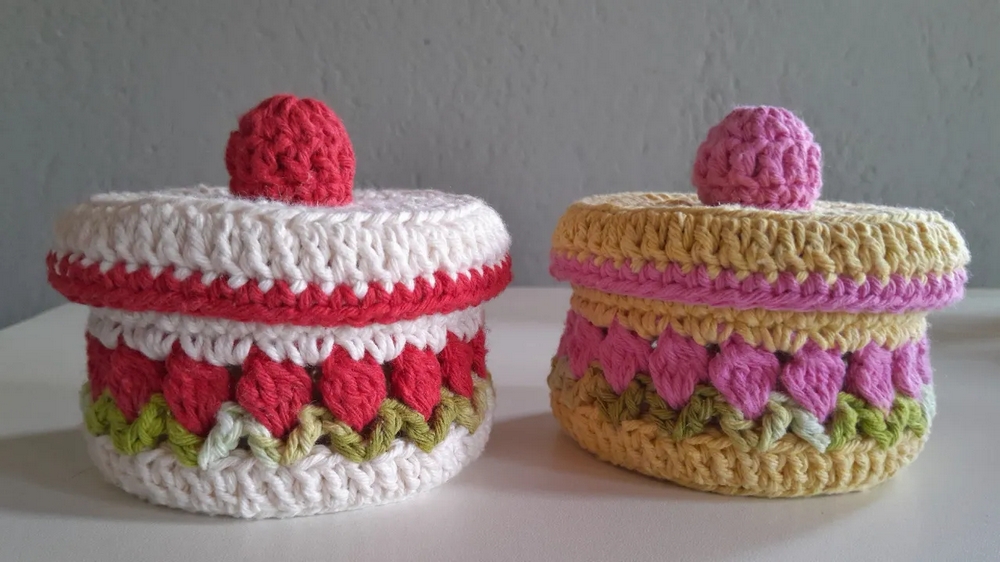
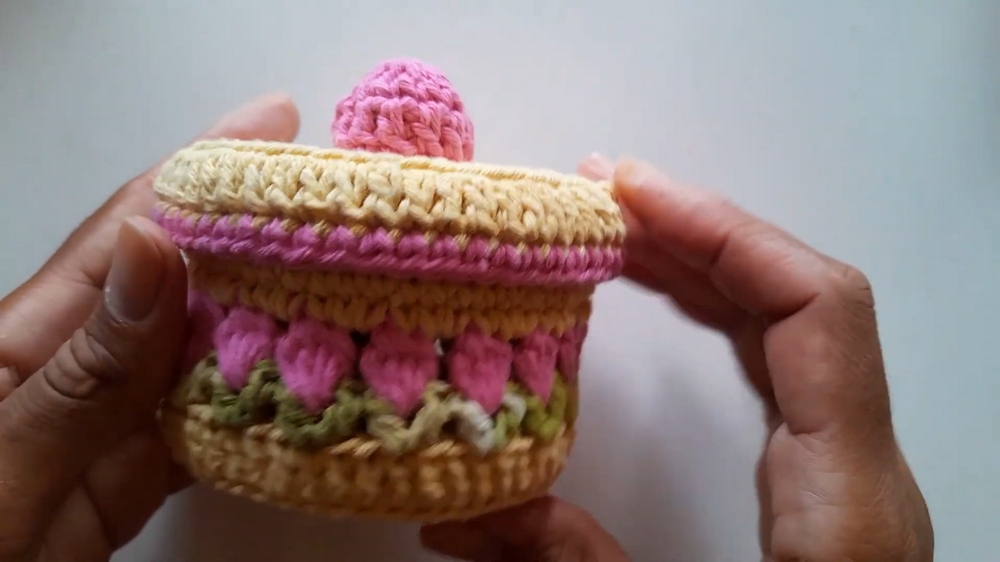
- Elegant Tulip Flower Design: The tulip flowers on the box lid add a delicate and unique touch, making this handmade item aesthetically pleasing.
- Multi-Purpose Use: The box can be used for jewelry storage, gifting (paired with chocolates, soap, etc.), or simply as decor.
- Minimal Material Requirement: The tutorial emphasizes using very little material, making this project simple and cost-effective.
- Personalization: The choice of colors allows flexibility for creating personalized themes or matching decor.
Level of Difficulty
The project is described as simple and easy to follow, catering especially to beginners. The tutor takes a step-by-step approach and suggests ways to improve finishing touches. The techniques used, such as the magic ring and tulip flower creation, ensure minimal complexity.
Tutor’s Suggestions
- Needle Size: The tutor recommends using a size 3 crochet needle but mentions that a 3.5 needle may work depending on personal preference and stitch firmness.
- Finishing Techniques:
- To avoid visible holes while closing rounds, the tutor offers an alternative finishing method for double-crochets using slip stitches more effectively.
- Silicone glue and hot glue are suggested for tidying loose ends and attaching components securely.
- Experiment with Colors: While the tutorial uses pink, yellow, and green, the tutor encourages experimenting with solid or alternative colors for customization.
Materials Needed
- Crochet thread in three colors (e.g., pink, yellow, and green).
- Crochet needle (size 3 or 3.5).
- Scissors.
- A small amount of stuffing (for the lid’s button).
- Silicone glue and hot glue (for finishing).
Step-by-Step Instructions
Base of the Jewelry Box
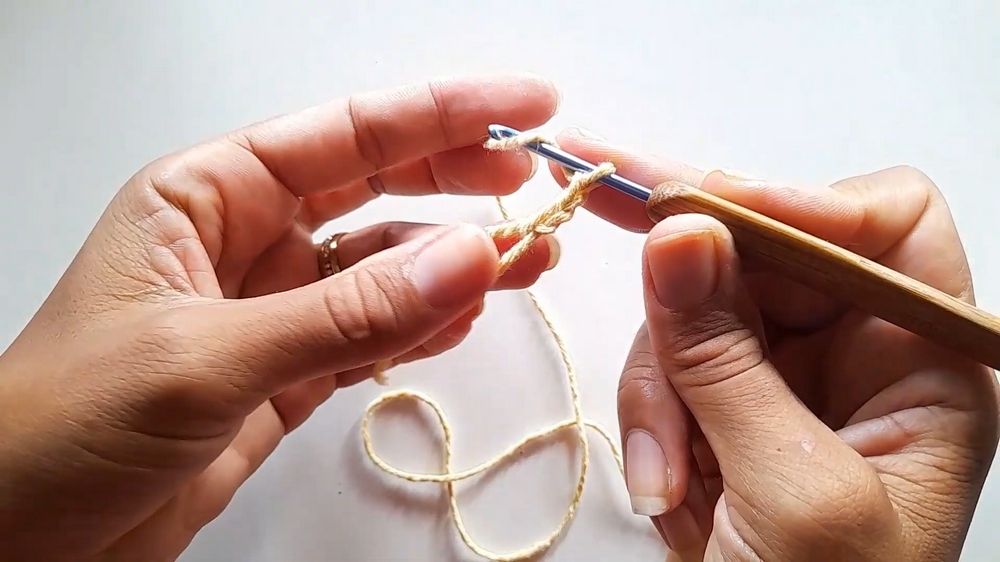
- Magic Ring or Chain Base:
- Create a magic ring or use 5–6 chains to form the base.
- Work 18 double crochet stitches into the ring.
 Row 2:
- Make three chains for height and work two double crochets in each base stitch to add increases.
- Row 3:
- Alternate between one double crochet in a base stitch and two double crochets (increase).

- Alternate between one double crochet in a base stitch and two double crochets (increase).
- Row of Loops:
- Work one row of double crochet stitches, picking up only one loop of each stitch for texture.
- Green Border for Box Structure:
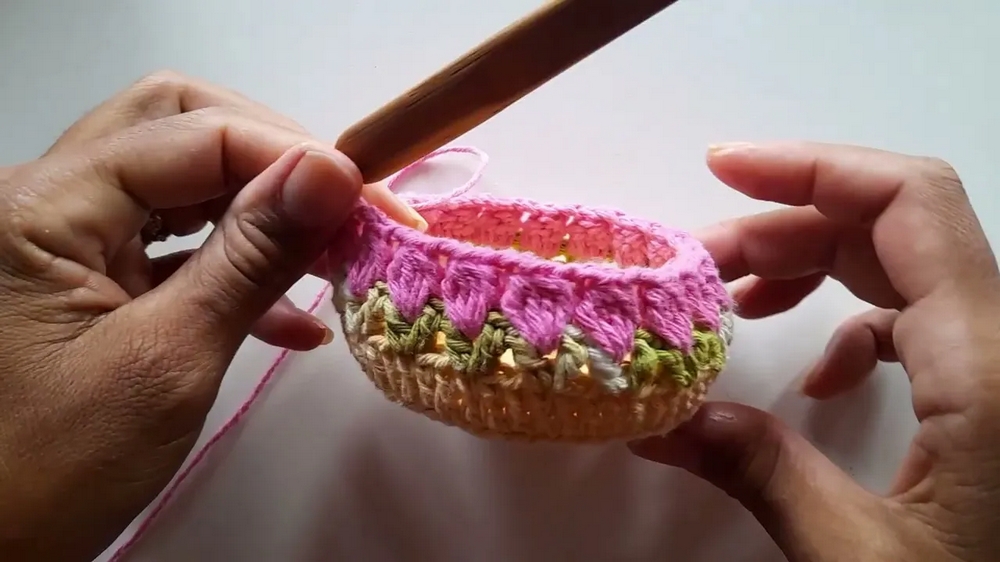
- Using green thread, create V-stitches (two double crochets with one chain in the same stitch) spaced by skipping two base stitches.
- Add a row of tulip flowers.
Decorative Tulip Flowers
- Switch to the pink thread.
- In each V-stitch space, work four double crochet stitches, closed together to form petals.
- Separate petals with two chains between each.
Top Border
- Work three to four rows of single crochet. Alternate colors as desired for creative designs.
Creating the Lid
- Follow the same steps as the base (magic ring, increasing rounds).
- Add one row of single crochet over an offset-loop row for fitting into the box.
- Make the button (magic ring with single crochet rounds stuffed with filling) and attach it to the lid using silicone glue or hot glue.
Uses
- Jewelry Storage: Perfect for safe and decorative storage of small trinkets.
- Gifting: Ideal for holding chocolates, soaps, or other small items as a thoughtful present.
- Decor Item: Stylish and handmade, this jewelry box can enhance the aesthetics of any space.
Additional Tip
Ensure all loose threads are secured and glued properly for a neat finish. Using contrasting colors for the flowers and base adds more visual appeal!
Conclusion
This jewelry box pattern is an easy-to-follow guide for creating a beautiful and multifunctional handmade item. With minimal materials and time investment, you can produce a personalized and practical product suitable for personal use or gifting. The detailed steps ensure beginners can master the technique while exploring creativity through colors and patterns.