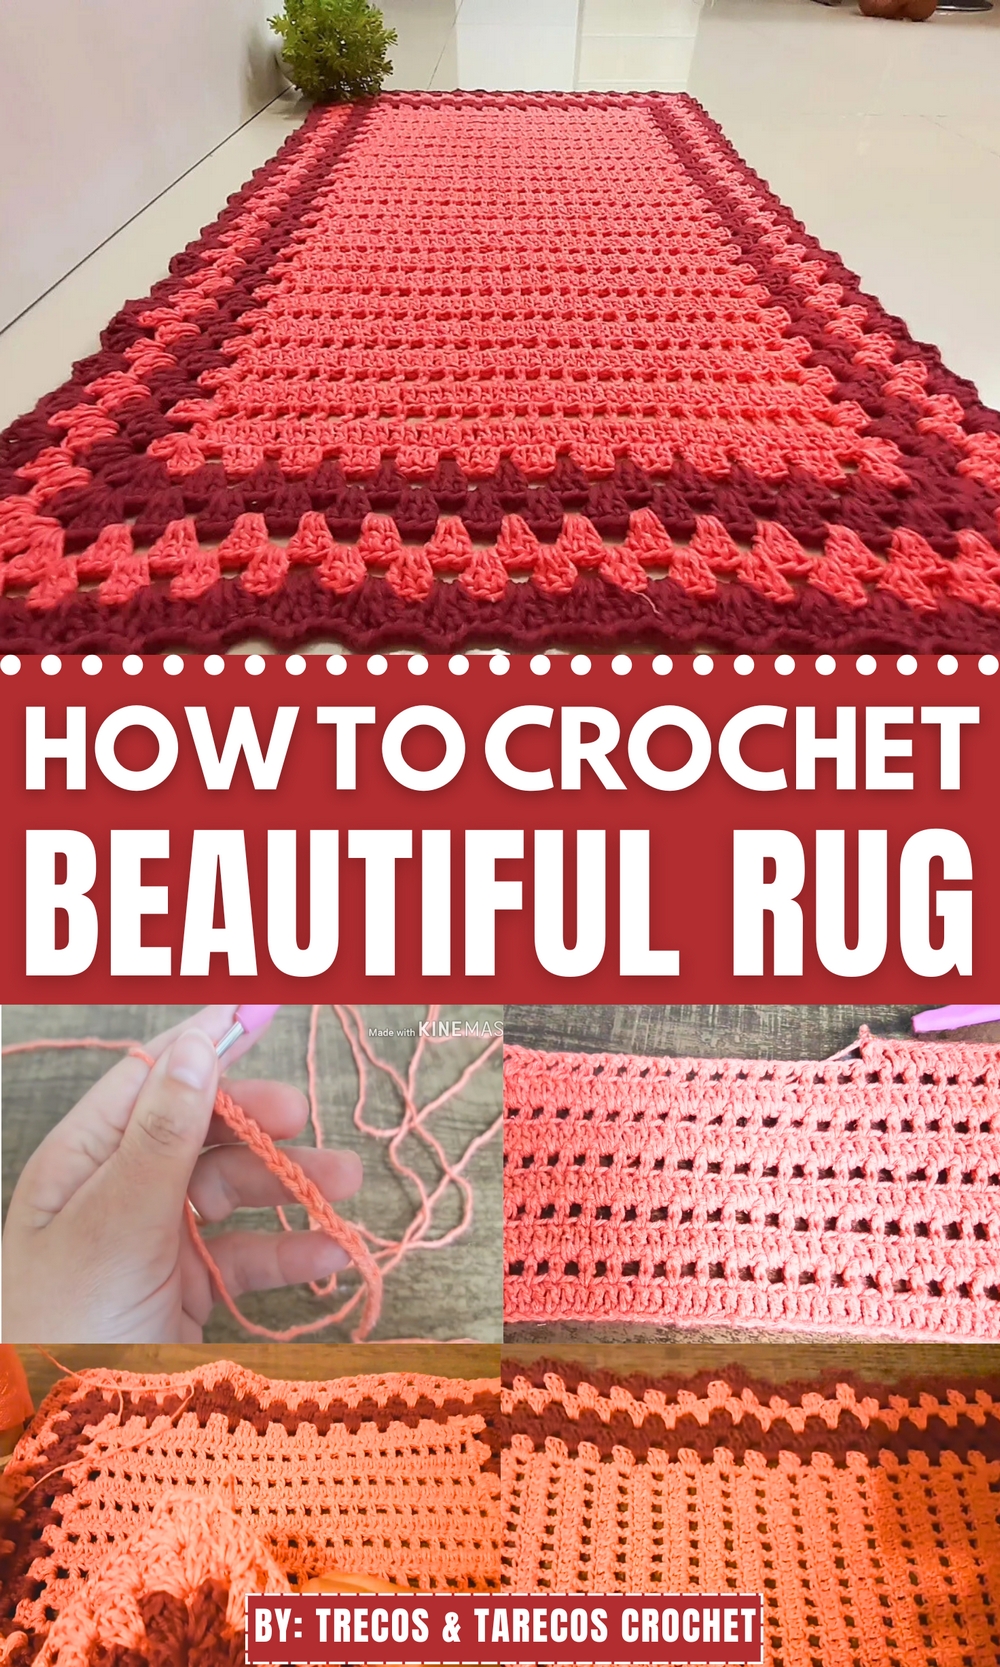
Grace your floors with charm using this Free Crochet RUG Pattern that adds warmth, texture, and a welcoming touch to any corner of your home.
A well-placed rug has the power to transform any living space, offering not only warmth but also an inviting touch of elegance that ties the room together. Crochet rugs, in particular, stand out for their intricate charm and the personal touch they add, making them an appealing alternative to mass-produced options. Beyond their aesthetic value, crochet rugs are practical, versatile, and perfect for creating cozy nooks, enhancing bare floors, or adding a unique statement piece to your decor.
How to Crochet a Cozy Rug That Instantly Warms Up Any Space
Once finished, this crochet rug shines as a durable and stylish home accessory. Its timeless appeal and functionality make it incredibly versatile ideal as a cozy underfoot layer in bedrooms, a decorative accent in living rooms, or even a thoughtful handmade gift. Combining creativity, usability, and sustainability, this piece adds warmth and individuality to any space, leaving a lasting impression of both beauty and utility.

Crochet Rug Pattern: Elegant and Economical
Skill Level
Beginner to Intermediate
This pattern focuses on repetitively building stitch rows and corners, forming a rectangular rug using simple techniques like double crochet (dc), chains, and creating corners.
Finished Size
- The width and length of the rug depend on the number of chains and rows you decide to create.
- Instructions below are for the size in the transcript: approximately 52 chains wide and 39 rows, but it can be customized to extend the width/length of the piece by adding or reducing chains and rounds.
Materials
- Yarn:
- Size 6 yarn (Bulky/Chunky). Approx. 300 grams for the described size. You may need more for a larger size.
- Recommended brands include Barroco Max Color (Color 7136 mentioned) or similar.
- Crochet Hook:
- 3.5mm hook (or size appropriate for your chosen yarn).
- For looser, less tight chains during the foundation, a 4mm hook is suggested.
- Optional:
- Scissors to cut off thread ends.
- Tapestry needle if you’d like to weave in loose ends.
- Additional yarn colors for alternating rows, if desired.
Key Abbreviations (US Terminology)
| Abbreviation | Definition |
|---|---|
| ch | Chain |
| sl st | Slip Stitch |
| sc | Single Crochet |
| dc | Double Crochet |
| st | Stitch |
| sk | Skip |
Special Notes:
- Adjustable Size: The foundation chain is created in a multiple of 2 chains to allow for easy width customization.
- Lightly loosen your tension to improve the flexibility and final look of the piece.
- For adding/removing rows, repeat the stitch pattern as desired.
Pattern Instructions
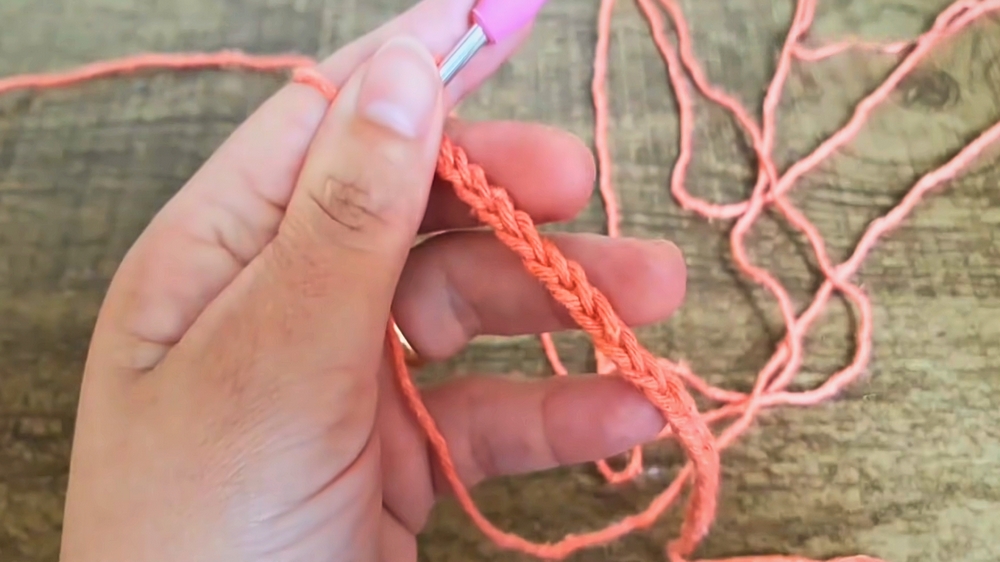
Foundation Row:
- Chain 52. (For a wider rug, chain any multiple of 2).
- Ensure the tension of the chains is not too tight. If needed, use a 4mm hook for chaining and switch back to 3.5mm hook for regular stitches.
- Ensure the tension of the chains is not too tight. If needed, use a 4mm hook for chaining and switch back to 3.5mm hook for regular stitches.
Row 1 – High Stitches:
- Starting from the 5th chain from the hook, work 1 dc.
- Work dc into each chain across the row. (Total: 49 dc).
- Turn your work, complete the row with 3 ch stitches, which will count as the first dc in Row 2.
Row 2 – Alternating Double Crochets:
- Chain 4 (counts as 1 dc + 1 ch spacer).
- Skip the first stitch, and in the next stitch, work 1 dc.
- Chain 1, skip 1 st, and work dc into the next stitch.
- Continue this pattern (dc + chain 1) across the row.
- End the row by making 1 dc into the top of the turning ch from the previous row.
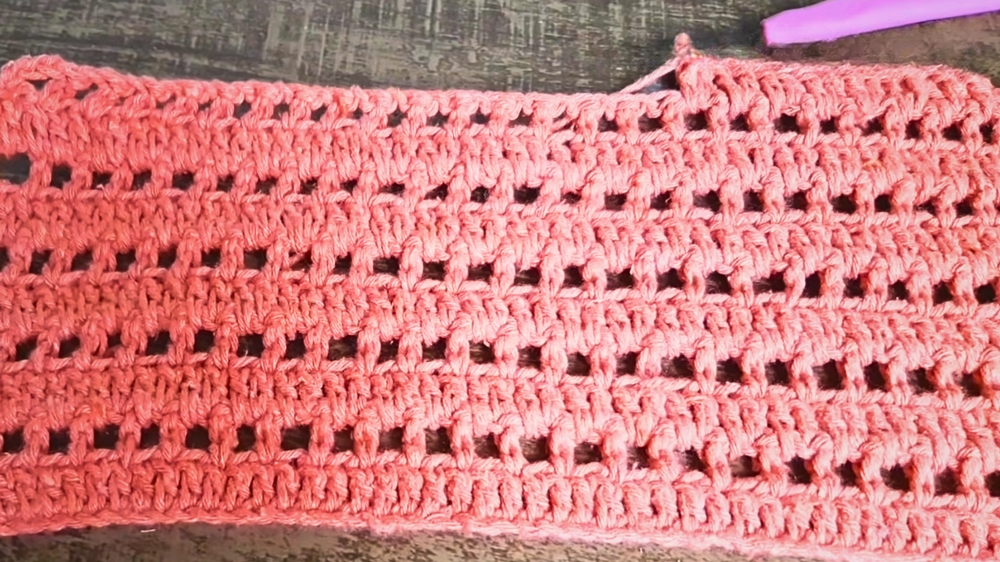
Row 3 – Build Blocks:
- Chain 3 for the turning stitch.
- Work 1 dc into the chain space from the previous row.
- Work 1 dc into the top of the previous row’s dc, followed by 1 dc into each subsequent space.
- Alternate between chain spaces and dc until the end.
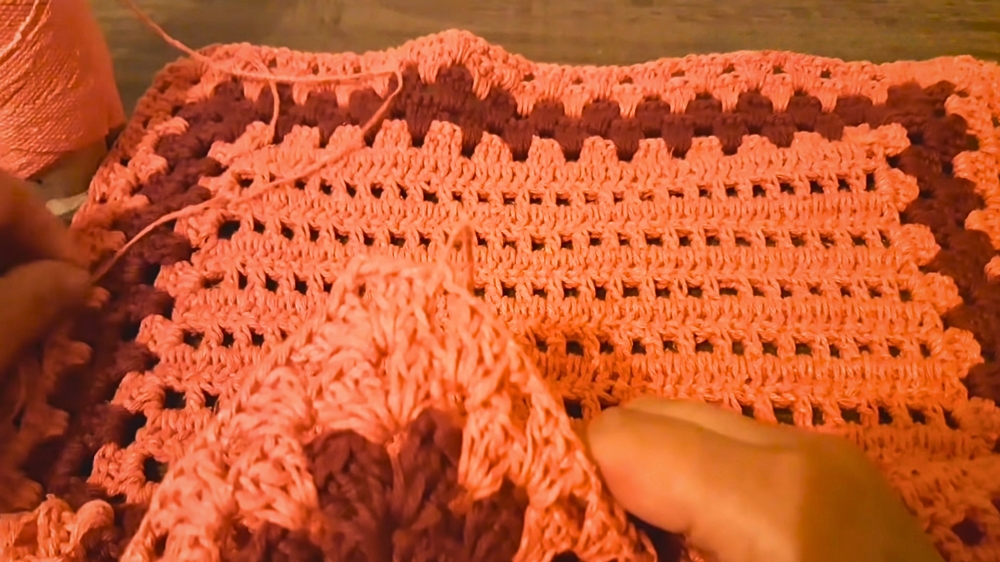
Row 4 – Corner Formation:
Setup for the Corners:
- Begin the row by working 3 dc into the same corner stitch,
- Chain 2, then work 3 dc into the same corner space (this forms your first corner fan).
- Chain 1, and move along the row.
- In each chain space, work 3 dc, followed by a chain 1 space.
- When you reach the next corner, repeat: (3 dc, 2 ch, 3 dc) in the corner space.
- Continue working blocks (3 dc + 1 ch between blocks) up the long edges.
- Close the round with a sl st into the beginning chain.
Row 5 and Beyond – Pattern Expansion:
- Subsequent rows follow the same pattern:
- For the corners, always use (3 dc, 2 ch, 3 dc) in each corner space.
- Along the sides, continue working 3 dc blocks into each chain space, with 1 chain separating each block.
- Customizing Length:
- To expand the rug further, continue repeating the rows of dc blocks separated by chains until your desired length or width is reached.
Final Edging:
Use the following suggestion to finish with a decorative touch:
- Add chains between corner dc fans and between regular blocks for a spaced-out look.
- If preferred, use contrasting yarn to create a visual border.
- The border stitches could be slip stitches or small single crochet picots for a textured edge.
Pattern Tips and Corrections
Corrections:
- In Row 4, ensure to skip only 1 base stitch in each block to maintain proper alignment. Skipping 2 stitches can cause tightness or unevenness along the edges.
- Ensure chains at the end of rows are accounted for (important for proper row height alignment).
Helpful Tips:
- Measure Regularly: Take measurements as you crochet to ensure it fits the desired dimensions.
- Consistent Tension: To ensure an even final result, try to keep your stitches and chains consistent in size.
- Block the Finished Rug: Wet block the rug carefully to relax the yarn, even out edges, and smooth the surface.
Conclusion
This quick and economical crochet rug is an excellent addition to any home. It incorporates repetitive stitches (dc, ch spaces, and corner fans) that are beginner-friendly yet visually appealing. By adjusting the chains and rows, you can easily customize the dimensions to create anything from a small mat to a long table runner.
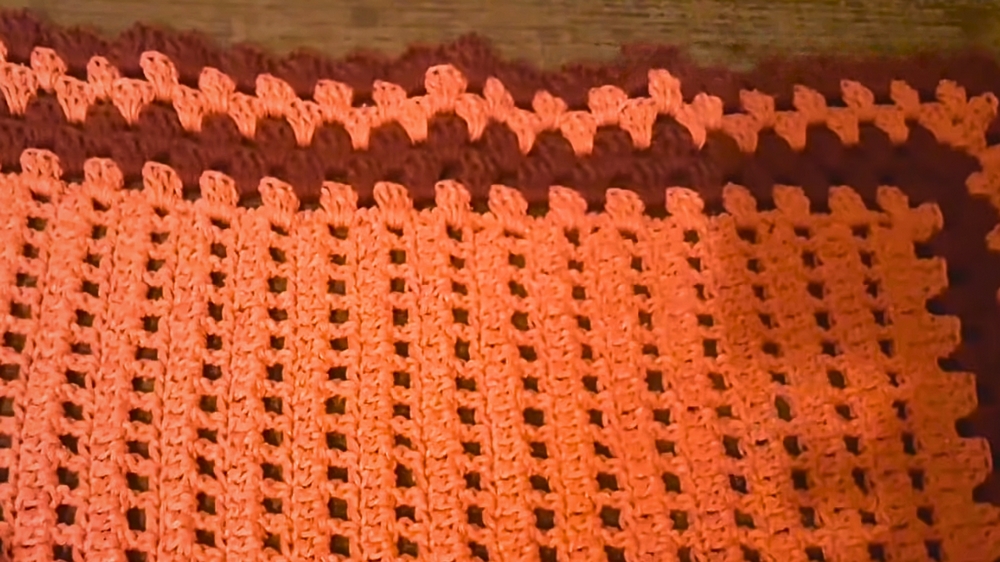
Final Look
The finished rug features a sturdy texture, dynamic color options, and decorative blocks surrounded by fan corners. Its simplicity and practicality make it suitable for gifting, selling, or personal use.