Freshen warm days with the Free crochet summer bag Pattern for light, handmade carryalls that add charm, comfort, and easy style everywhere.
Perfect for warm days and relaxed outings, a crochet summer bag adds both charm and purpose to everyday life. Its handmade texture and soft structure make it comfortable to carry while still offering enough space for daily essentials. Whether used for a casual walk, shopping trip, or beach outing, this type of bag brings a calm, natural look that pairs well with summer outfits.
Bright Crochet Summer Bag Pattern That Feels Effortless

A crochet summer bag pattern is designed with practicality in mind. It often uses breathable stitches such as single crochet, half double crochet, or open mesh styles that allow airflow while keeping items secure.
Step-by-Step Crochet Tote Bag Pattern
Materials Needed
- Yarn: Cotton cord, 3mm without a core (approximately 200 meters).
- Hook: 5mm crochet hook (use a hook size suitable for the cord’s tension).
- Scissors: For cutting yarn.
- Stitch Markers: To mark the edges, key points, and starting stitches.
- Lighter: For sealing the cord ends to prevent fraying (optional).
Gauge
Not crucial for this project, but approximately:
- 4 double crochet (DC) stitches = 1 inch
Finished Size
- Width: ~30 cm (11.8 inches)
- Height: ~34 cm (13.3 inches)
Note: Measurements may vary slightly based on tension and yarn.
Skill Level
Intermediate – Knowledge of double crochet (DC), single crochet (SC), and starting with a chain stitch foundation is required.
Key Abbreviations (US Terminology)
- CH: Chain
- DC: Double Crochet
- SC: Single Crochet
- SS: Slip Stitch
- YO: Yarn Over
Pattern Customization Ideas
- Change the Yarn: Use other sturdy materials like jute for a natural look or polyester cord for a glossy finish.
- Add a Lining: Sew a fabric lining to strengthen the bag for carrying heavier items.
- Adjust Size: Modify the foundation chain for a smaller or larger bag. Keep the chain count in multiples of 3 (e.g., 27, 36, etc.).
- Decorate: Add tassels, buttons, or patches for additional flair.
Pattern Instructions
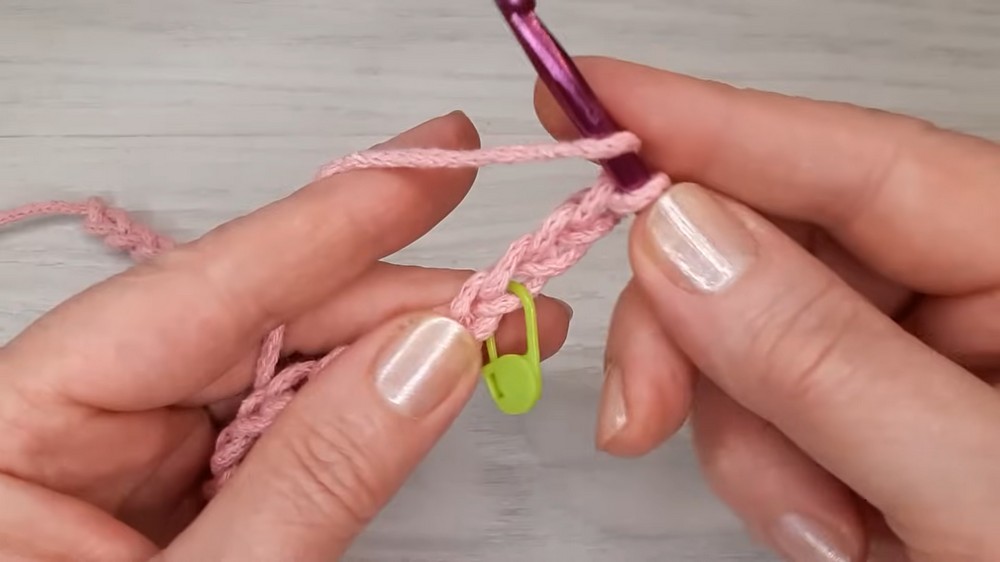
Step 1: Foundation Chain and Setup
- CH 30 (multiples of 3 for symmetry).
- Mark the last chain stitch (30th stitch) with a stitch marker.
Step 2: Bottom of the Bag
This section establishes the oval base for the tote.
Row 1:
- DC into the 4th CH from the hook. Work DC in each chain across the row.
- When you reach the last CH, work 3 DC into the same CH (corner curve).
Row 2:
- Continue working along the bottom side of the chain. Insert the hook into the first CH on the opposite side of the foundation chain, creating a curve.
- Work DC in each chain across.
- Add 3 DC into the last stitch (corner curve).
Row 3:
- SS into the first DC to close the round.
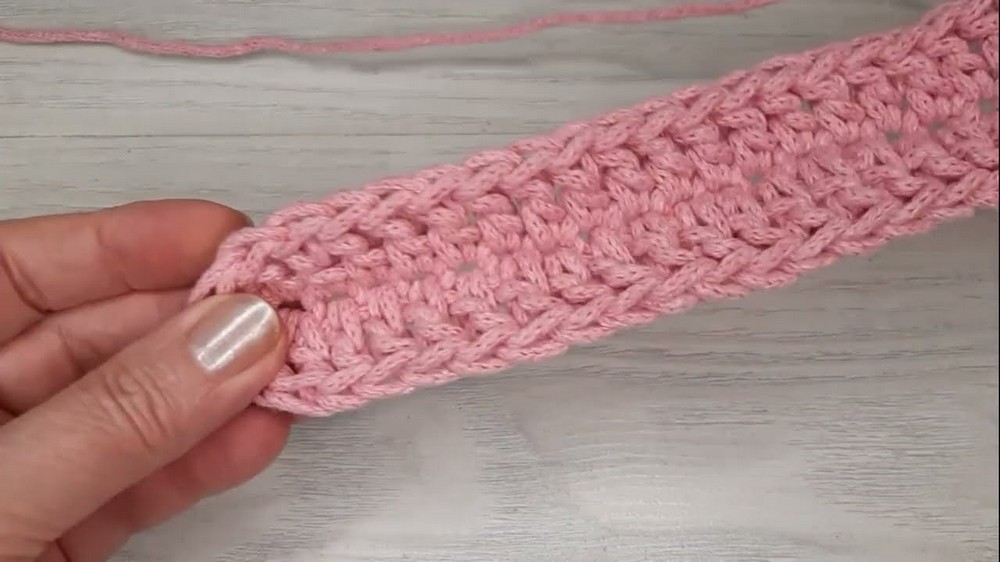
Step 3: Building the Bag Body
Body Rows:
After completing the oval base, continue working in continuous rounds to make the tote body.
- Chain 3 (counts as a DC) at the start.
- Work 1 DC in each stitch around.
- End each round with a Slip Stitch (SS) to the beginning CH-3 of the round.
- Repeat this process for 4 rows.
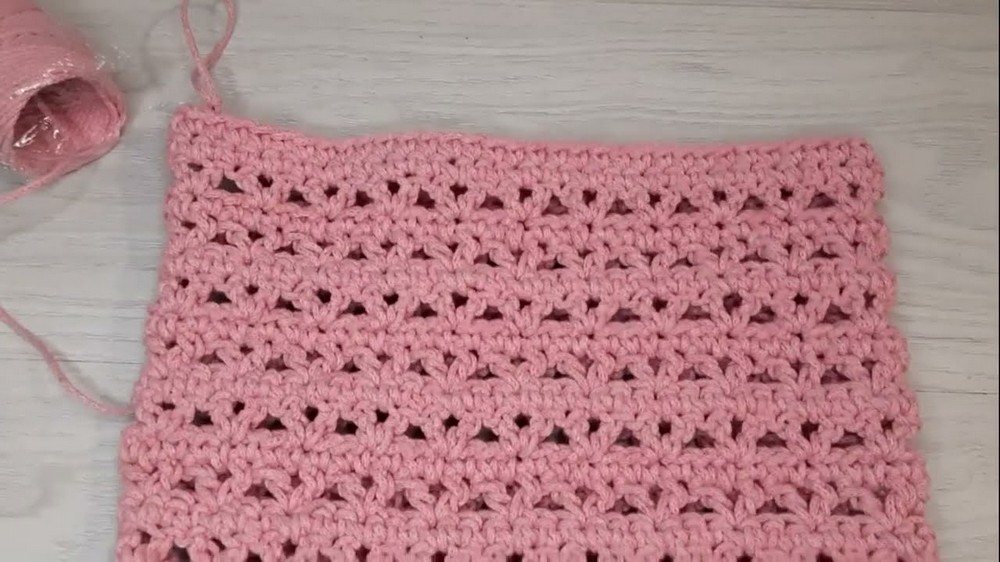
Step 4: Decorative Element
To add texture and visual interest, incorporate a decorative round.
Decorative Round:
- CH 4, then, into the same stitch:
- YO and DC (with 2 loops), creating a “V-stitch” shape.
- Skip 2 stitches, and into the 3rd stitch:
- Work 1 DC, CH 1, and 1 DC into the same stitch.
- Repeat this pattern (V-Stitch) around the row.

- Join with a SS into the beginning CH stitch.
Single Crochet Rows Post-Decorative Rounds:
- Work 1 round of SC into each stitch (including the spaces within the V-stitches).
- Join with a SS to finish the row.
Step 5: Bag Handles
Placing Handle Markers:
- Fold the bag flat, ensuring even alignment.
- Mark Handle Positions:
- Place stitch markers at the center of both wide sides.
- Count 9 stitches to the left and right from the center markers and mark these points as the edge of where each handle should attach.
Handle Chains:
- Work SC stitches to the first marker.
- CH 35 (for the handle). Skip the next 18 stitches, attach the chain to the next marker with a SC.
- Repeat for the second handle.
Reinforcing the Handles:
- Work 1 round of SC around the handle chains:
- Insert the hook into the CH loops and work SC into each chain loop, creating a sturdy handle.
- Attach the chains to the bag with additional SC at the base of the handle to secure them.
- Repeat this for the second handle.
Step 6: Edging and Finishing
- Complete one final row of SC stitches around the edges of the bag and handles. Ensure neat, even stitching.
- Cut the cord and weave in any loose ends securely. Seal the ends with a lighter to prevent fraying.
Final Steps
- Steam the Bag: Gently steam/iron the bag to shape it and ensure the bottom lies flat.
- Inspect: Check that all seams and handles are secure. If necessary, add extra rows for reinforcement.
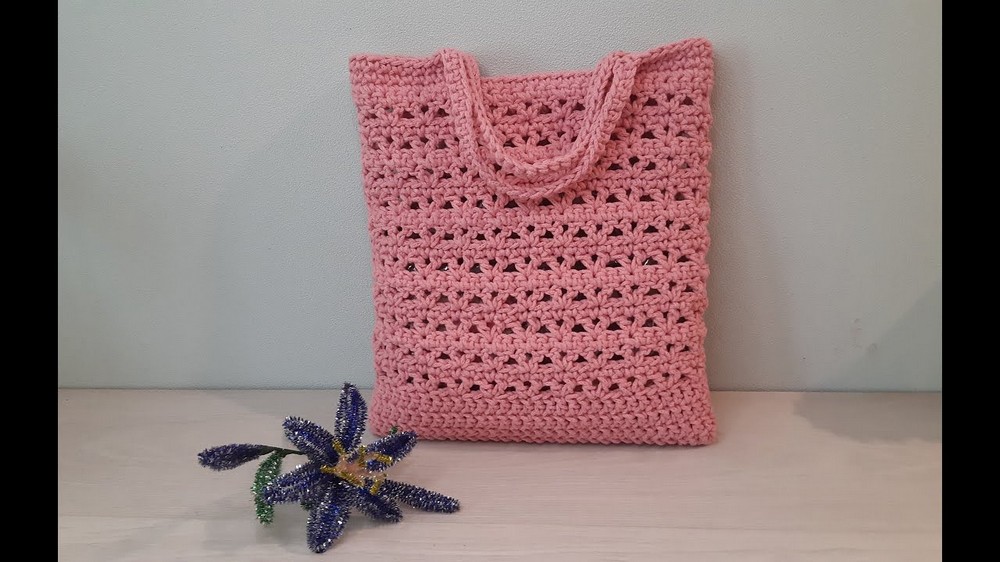
Finished Look
This tote bag boasts clean edges, sturdy handles, and a spacious interior that stretches slightly for added capacity. Its decorative rounds add a touch of elegance, making it ideal for casual or everyday use.
Conclusion and Tips
Congratulations on completing your crochet tote bag! This adaptable pattern allows for alterations in size, material, or design to suit various personal needs.
Tips to Maintain Your Handbag:
- Cleaning: Spot-clean with warm soapy water. Avoid machine washing to maintain structure.
- Shaping: Store flat or stuffed with paper to maintain form during storage.
- Longevity: Add a fabric lining for durability, especially if used to carry heavier items.