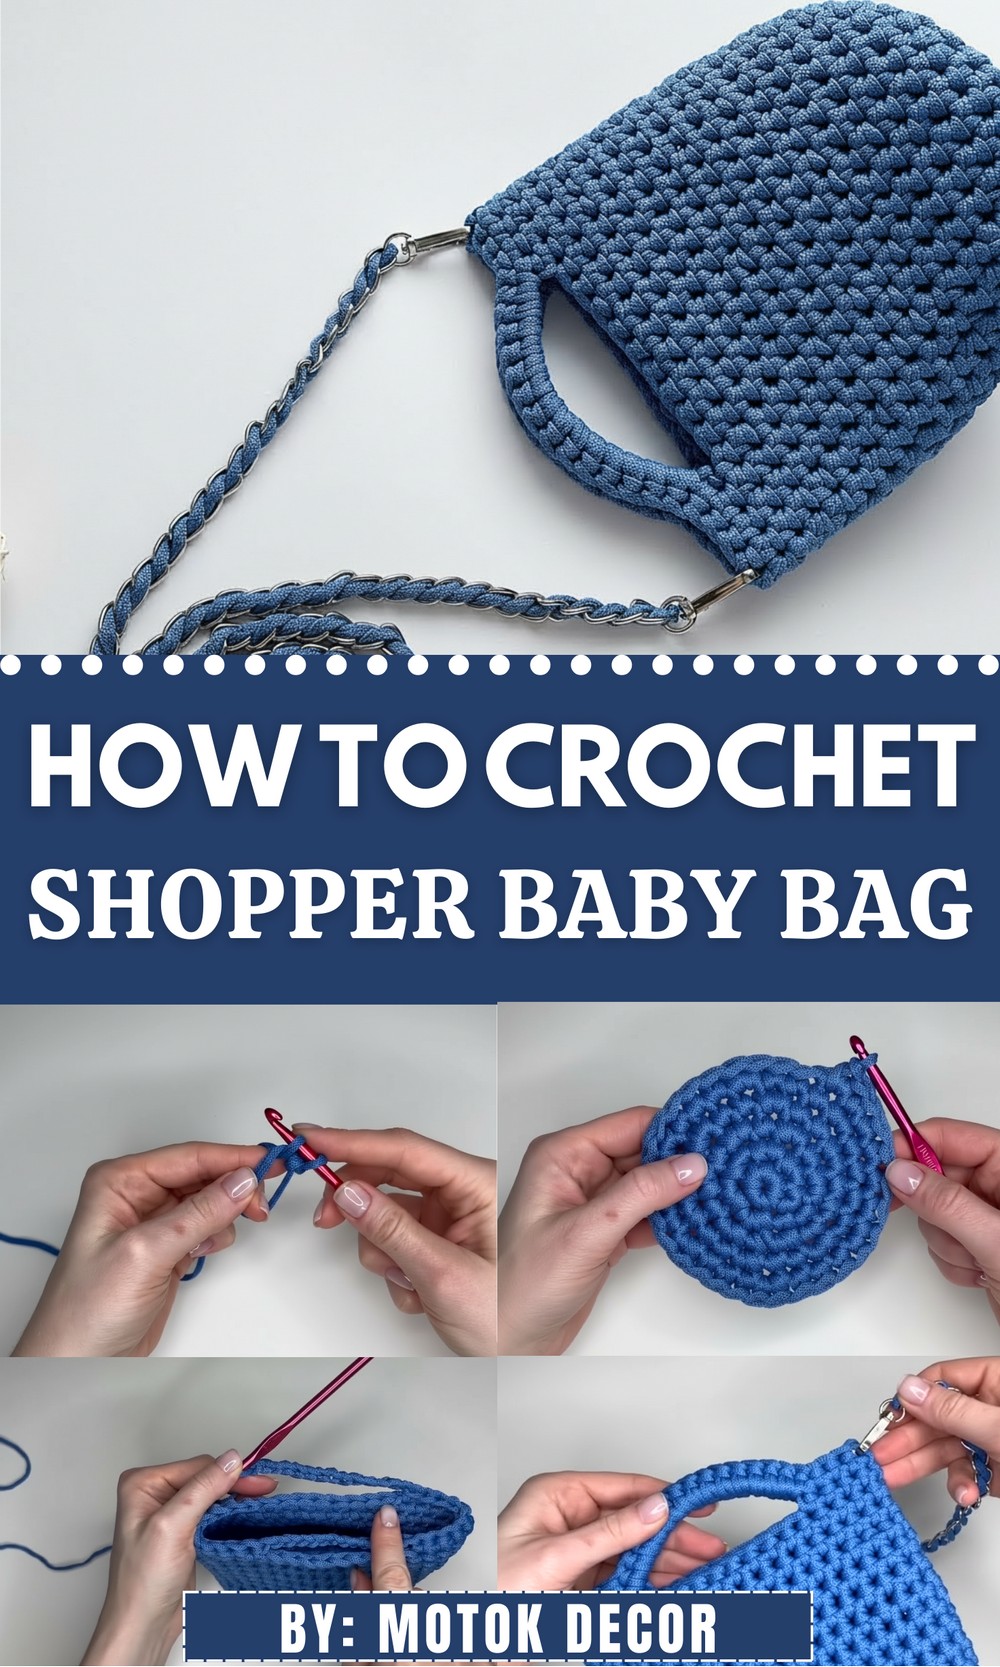
Carry style with the Free crochet Shopper Baby Bag Pattern for roomy, handmade bags that add charm, practicality, and a fun touch to daily errands.
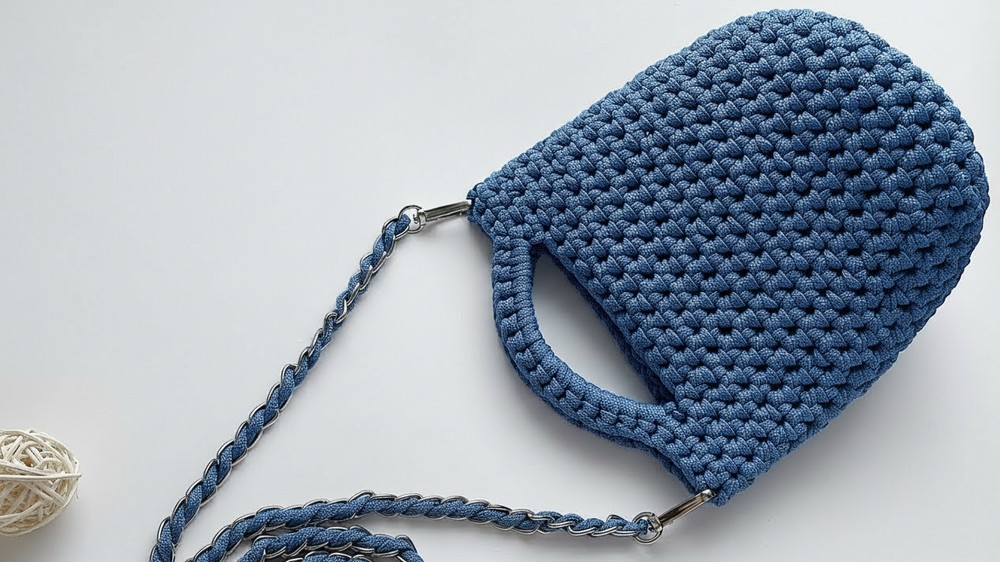
Perfect for parents on the go, this handmade bag combines practicality with style, making it easy to carry all your little one’s essentials. Its soft texture, roomy interior, and sturdy construction allow you to store diapers, wipes, toys, snacks, and more without worrying about bulk or discomfort.
Playful Crochet Shopper Baby Bag Pattern Perfect for Outings
Beyond functionality, the bag’s charming handmade look adds a personal touch that stands out in everyday life. Combining practicality, beauty, and handmade charm, this pattern creates a functional accessory that’s perfect for modern parenting, daily outings, and stylish organization.
Crochet Pattern for a Miniature Handbag
Materials List
- Cord: 5mm thick polyester cord (Azure color; approximately 75 meters, or adjust for different colors/sizes).
- Hook: Size 6mm crochet hook.
- Chain: 120cm chain with carabiners for attaching to the bag.
- Tapestry Needle: With a large eye for sewing and weaving ends.
- Scissors: For cutting the cord.
- Lighter: For sealing cord ends to prevent fraying.
- Stitch Marker: To keep track of rows.
Skill Level
Intermediate – Requires basic knowledge of crochet stitches and working with thick cord.
Bag Dimensions
- Height: ~17–19 cm
- Width: ~10 cm diameter
Abbreviations (US Terminology)
- CH: Chain
- SC: Single Crochet
- INC: Increase (2 SC in the same stitch)
- SS: Slip Stitch
- YO: Yarn Over
Special Notes
- The bag is worked in continuous rounds for the base and sides with no joining, except where specified.
- Stitch markers are essential to maintaining correct stitch counts.
- The bag’s dimensions can be adjusted by increasing the base size or modifying the height.
Pattern Instructions
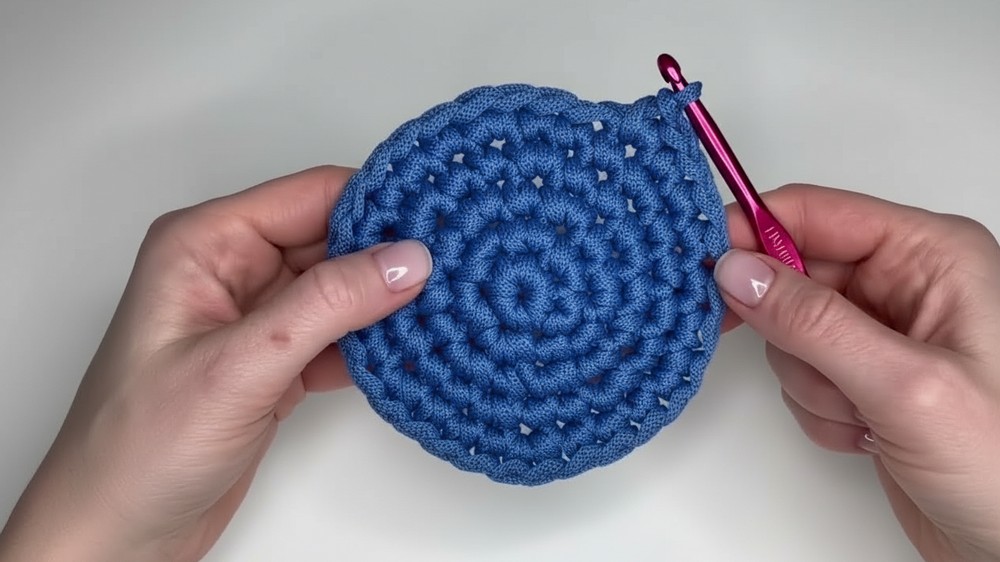
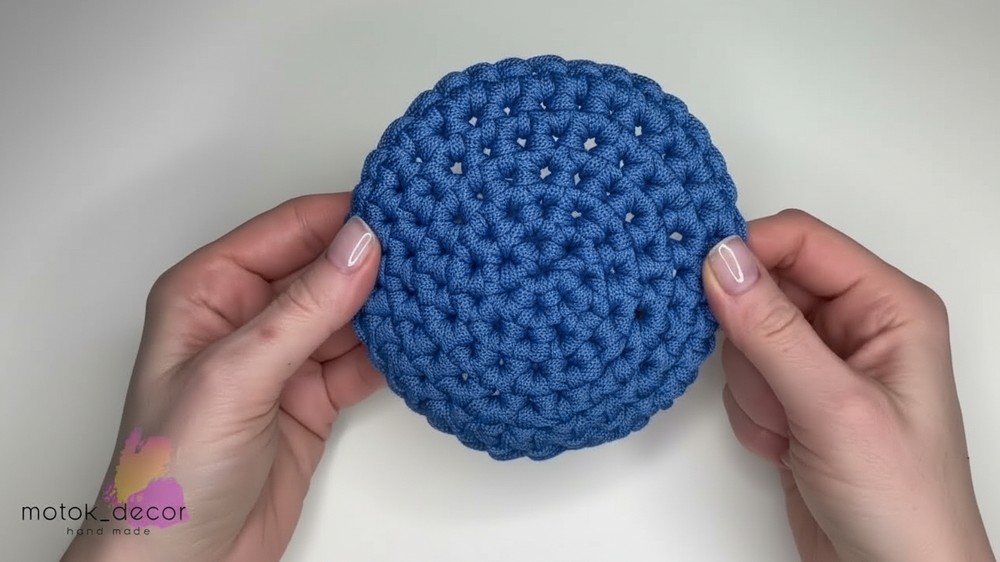
Step 1: Bottom Base
Row 1: Magic Ring
- Make a magic ring:
- Wrap the cord around two fingers to form a loop, cross the working thread over itself, and hold in place.
- Insert the hook into the loop, YO, and pull a loop through. YO again and pull through the loop on the hook to secure the ring.
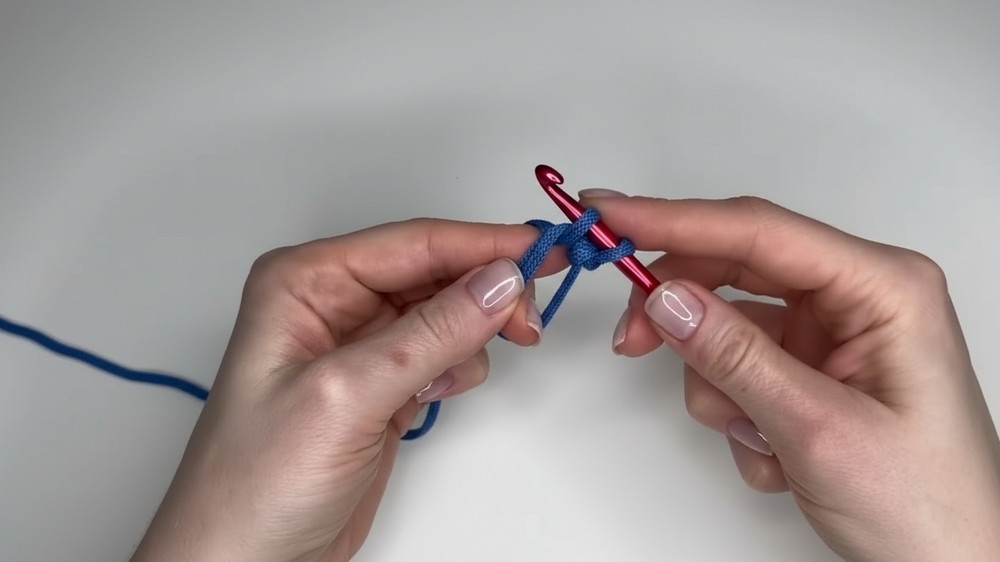
- Work 6 SC into the magic ring.
- At the same time, crochet over the tail to hide it.
- Pull the tail tightly to close the magic ring.
Row 2: Increase in Each Stitch
- Work 2 SC in each stitch of Row 1 (INC in every stitch).
- Total: 12 stitches.
- Place a marker in the first stitch for reference.
Row 3: 1 SC, 1 INC
- Repeat the following pattern around the row: 1 SC, INC.
- Total: 18 stitches.
Row 4: 2 SC, 1 INC
- Repeat the following pattern: 2 SC, 1 INC.
- Total: 24 stitches.
- Total: 24 stitches.
Row 5: 3 SC, 1 INC
- Repeat the following pattern: 3 SC, 1 INC.
- Total: 30 stitches.
Row 6: 4 SC, 1 INC
- Repeat the following pattern: 4 SC, 1 INC.
- Total: 36 stitches.
Note: If you’d like to make a larger bag, continue increasing the base by following the same pattern: 5 SC, 1 INC; 6 SC, 1 INC, and so on.
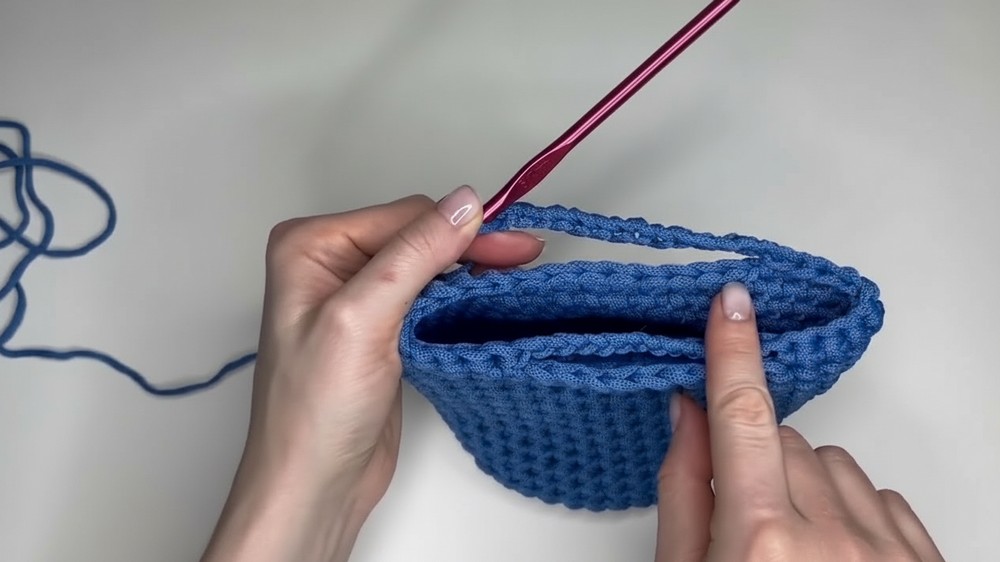
Step 2: Sides of the Bag
- After completing the last increase round of the base, begin working the sides without increases.
- Work SC in every stitch (36 SC per round).
- Use a stitch marker to mark the beginning of each round.
- Repeat 14 rounds to build the side walls.
- Adjust the number of rounds to change the bag’s height.
- Adjust the number of rounds to change the bag’s height.
Step 3: Bag Handles
Creating Handle Loops
- Start the next round by crocheting 4 SC.
- CH 14 to form the handle, then skip the next 9 stitches.
- SS into the 10th stitch to attach the handle loop.
- Work 8 SC along the next section of the bag.
- For the second handle, CH 14. Skip 9 stitches and SS into the 10th stitch to attach the handle.
- Work the remaining 9 SC along the bag edge.
Edging Handles
- Work SC stitches into each chain stitch of the first handle (15 SC across entire chain).
- Insert the hook into the fabric at the base of the handle to secure it with 1 SC.
- Repeat this process for the second handle: Work 15 SC across the chain, then secure the handle to the bag with a single SC.
- Complete the round by working SC into the remaining stitches.
Step 4: Finishing Touches
- Work a round of SS to give the edge a neat finish.
- Fasten off the cord, leaving a small tail.
- Weave in the tail: Use the tapestry needle to hide the end under the loops of adjacent stitches securely. Trim excess cord.
- Use the lighter to carefully seal any cut ends, preventing fraying.
Step 5: Attach the Chain Handle
- Fold the leftover 2.5-meter cord in half to find the midpoint.
- Slide the midpoint through the carabiner end of the chain, centering the cord evenly.
- Using a tapestry needle, weave one end of the cord “zigzag style” up and down through each chain link.
- Repeat for the second end of the cord, weaving it through the opposite side of the chain.
- Once both ends meet at the carabiner, sew them securely together using the tapestry needle. Trim excess and seal with a lighter.
Conclusion and Finishing Tips
Congratulations! You have now completed your miniature crochet handbag with a decorative cord and chain handle. This accessory is perfect for casual outings, adding a unique handmade touch to your wardrobe.
Suggestions and Customizations
- Bag Size: To create a larger or smaller bag, adjust the number of increase rounds for the base or the height of the side walls.
- Magnetic Closure: Add a magnetic clasp for better security.
- Alternate Handles: Use leather straps or premade purse handles for a different look.
Maintenance Tips
- Spot-clean with mild soap and warm water. Do not machine wash.
- Store the bag flat to maintain its shape.