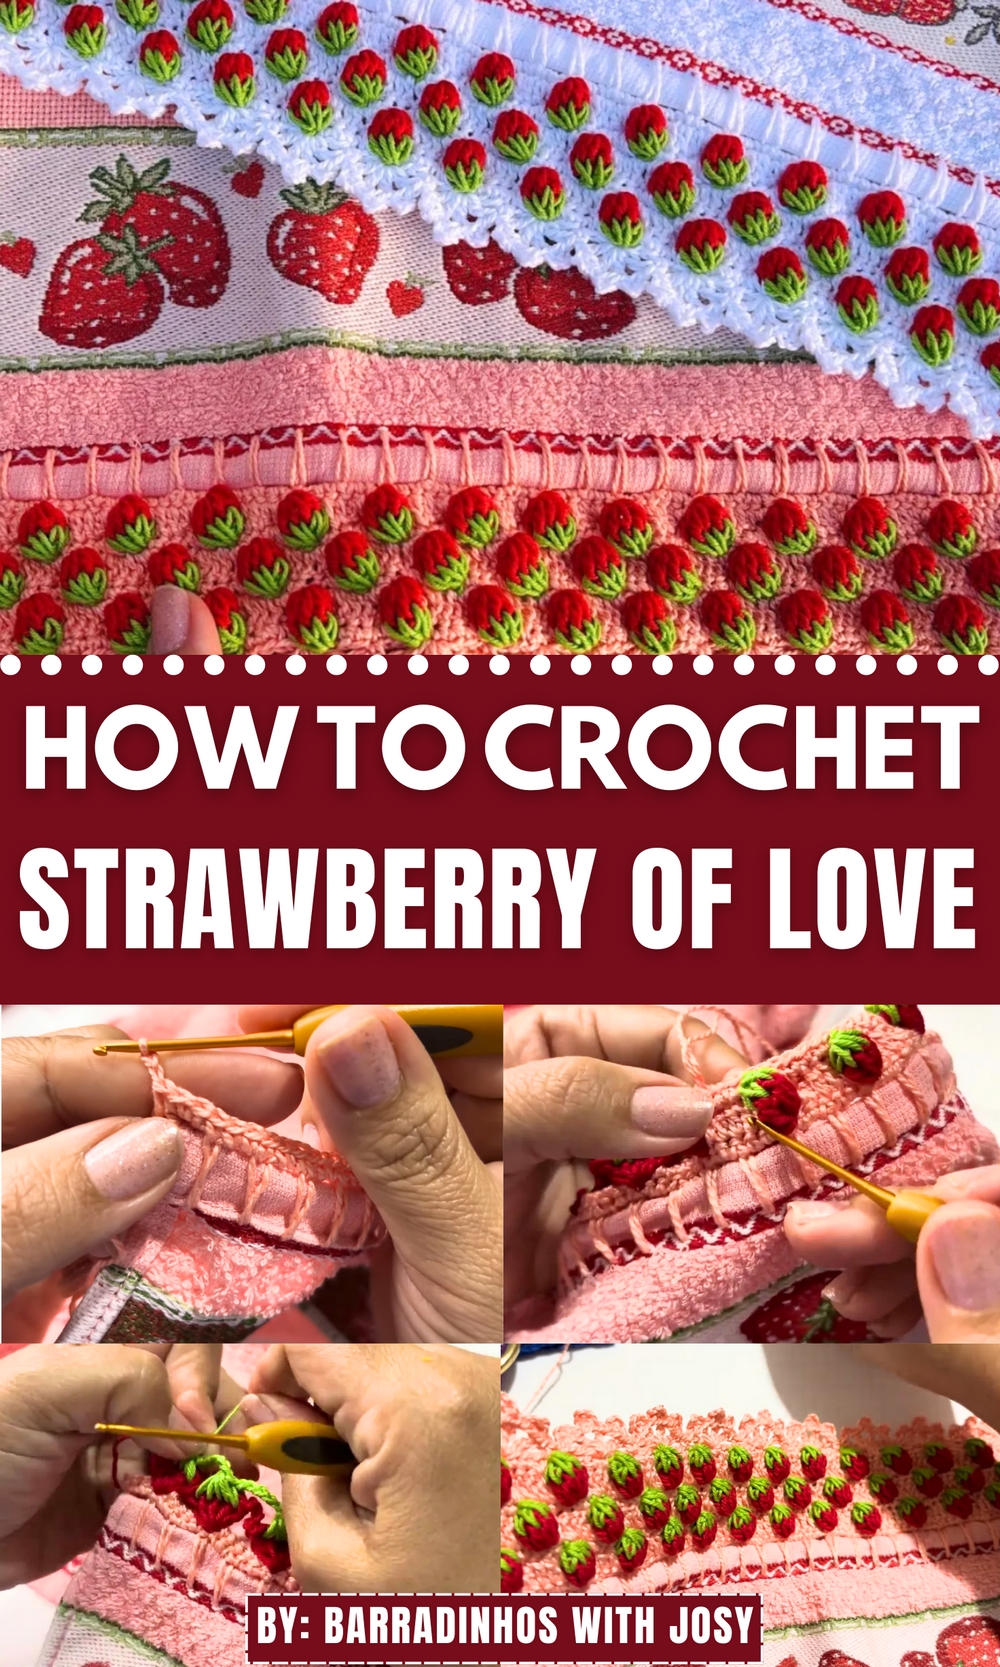
Sweeten your day with the Free Crochet Barred Strawberry Pattern, bringing a playful and charming touch to your handmade décor or thoughtful gifts.
Strawberries have long symbolized vitality, sweetness, and the beauty of nature. The “Barred Strawberry Crochet Pattern” embodies these elements through an intricate and appealing design that transforms everyday household items into visually compelling works of art. This crochet pattern is not simply decorative; it combines charm and practicality, enhancing not just the aesthetics but the functionality of linens like dish towels, table runners, and pillowcases. With carefully arranged crochet techniques, this pattern brings a delightful 3D effect to your projects, making it stand out as a unique embellishment for various uses.
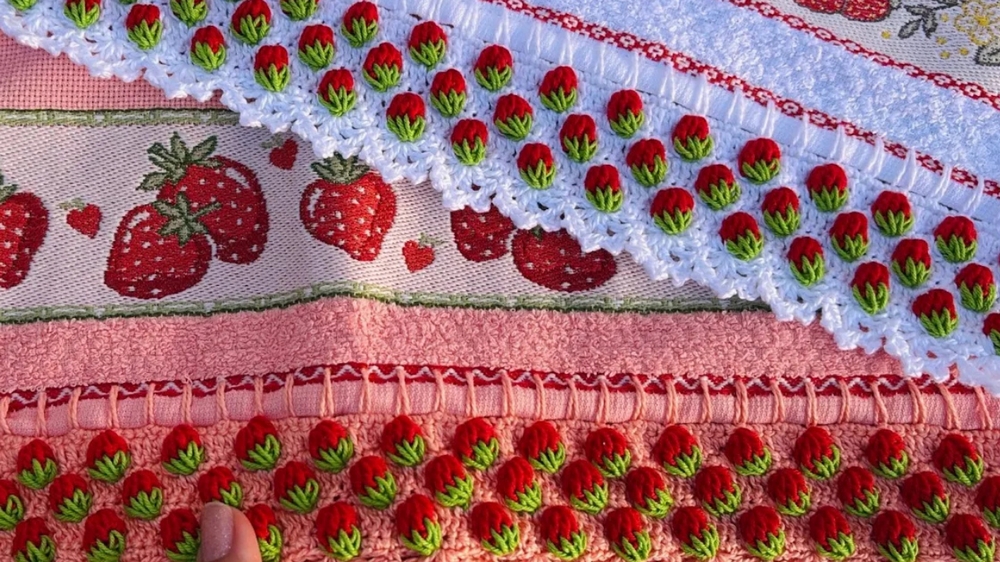
Garden Glow Crochet Barred Strawberry Pattern with Unique Detailing
The Barred Strawberry Crochet Pattern is a versatile addition to home décor, providing an artistic touch to table linens or even small wall hangings. Beyond its aesthetic appeal, it also offers the benefit of being a great project to refine crochet skills, especially in forming 3D designs.
Whether used for personal embellishments or as part of handmade gifts, the pattern’s combination of beauty and utility makes it an excellent choice for those seeking to enhance textile items in a unique way. It celebrates artistry and functionality in one delightful creation.
The pattern is structured around a foundation of 40 buttonholes, allowing for a versatile and easily adjustable setup. These buttonholes provide the framework for repeating the stitch pattern in multiples of two, making customization simple for projects of different sizes. The initial rows establish a sturdy base using a combination of single and double crochet stitches that provide both stability and depth to the overall design.
Crochet 3D Strawberry Border Pattern
Finished Size
The border is customizable and can be adjusted to the width of your dish towel or other fabric. The size depends on the number of buttonholes (spaces), which are multiples of 2.
Materials
To recreate the 3D strawberry border, you will need:
- Yarn:
- Red acrylic thread (for strawberries, recommended: Cléa Double or Anne yarn).
- Green acrylic thread (for strawberry stems, recommended: Cléa Double yarn).
- Salmon or white acrylic thread (for single crochet rows).
- Crochet Hook: Size 1.5mm to 1.75mm depending on your yarn.
- Scissors: For trimming loose threads.
- Tapestry Needle: For weaving in ends and finishing.
Special Techniques Used
- Single Crochet (SC): Insert hook into stitch, yarn over, pull up a loop, yarn over, pull through both loops.
- Double Crochet (DC): Yarn over, insert hook, yarn over, pull up a loop (3 loops on hook), yarn over, pull through 2 loops, yarn over, pull through remaining 2 loops.
- Picot Stitch: Chain 3, insert hook into the base of the chain and close with a slip stitch (Sl St).
- Popcorn Stitch: Worked by stacking multiple double crochet stitches into the same stitch and pulling them tightly to create texture and density.
- Slip Stitch (Sl St): Insert hook, yarn over, pull through the stitch and the loop on your hook.
Pattern Instructions
Step 1: Foundation Row
- Create Buttonholes:
- Chain a foundation row with multiples of 2 spaces across the width of your fabric.
- For example: Chain 40 buttonholes. Each buttonhole consists of 2 chain stitches in the sequence with a single crochet stitch securing it to the fabric.
- Ensure buttonholes extend evenly across the towel edge.
- First Single Crochet Row:
- Start by securing yarn into the first chain space.
- Work 2 single crochet (SC) stitches inside each chain space and 1 single crochet stitch on top of each buttonhole stitch.
- Repeat until the end of the row.
Step 2: Row of Double Crochet
- Start with Salmon Thread (or white yarn):
- After completing the first single crochet row, chain 2 stitches to act as the first double crochet (DC).
- Turn your work and start working double crochet stitches.
- Double Crochet Pattern:
- Work 5 double crochet stitches, then chain 1.
- Skip 1 stitch and repeat 5 double crochet stitches until the last stitch.
- At the edges, only 3 double crochet stitches will remain for symmetry.

- Cut Thread:
- After completing the row, secure with a chain stitch and cut the yarn, leaving space for finishing.
Step 3: Creating the Strawberries
- Use Red Yarn:
- Begin by adding a new piece of red yarn with 2 loops on the hook.
- Insert hook into the space after skipping 1 stitch.
- Fold the points down for easier stitching.
- Popcorn Strawberry Stitch:
- Work 6 double crochet stitches into the same space.
- Keep the loops tight to avoid gaps.
- Chain 5 stitches, then move to the next space.
- Repeat this process for each set of skipped stitches across the row.
- Create the Strawberry Shape:
- Push back the strawberries lightly to ensure they puff out evenly.
- Secure the yarn with a chain stitch at the end of the row.
Step 4: Adding Green Stems
- Switch to Green Yarn:
- Form 2 loops on the hook and secure the yarn into the first space between double crochet stitches.
- Pull a loop through each space, leaving 5 loops on the hook.
- Yarn over and pull through all loops at once to close, then chain 1.

- Work Across the Row:
- After closing the stitch, chain 5 stitches and move to the next strawberry section.
- Repeat the process, ensuring consistent tension for neat stems.
- Finalizing the Stem Details:
- After completing the stems along the row, secure and cut the thread.
Step 5: Single Crochet Row Above Strawberries
- Switch Back to Salmon/White Yarn:
- Work 1 SC into each of the 5 stem stitches.
- To close the strawberry shape:
- Insert hook between stacked double crochet stitches.
- Pull a loop through and secure with a single crochet stitch.
- Repeat Above Each Strawberry:
- Continue working single crochet stitches across the row for consistency.
- End the Row:
- Secure your yarn with a chain stitch.

- Secure your yarn with a chain stitch.
Step 6: Fans
- Final Decorating Row in Salmon Yarn:
- Work fans formed by 4 double crochet stitches separated by picots:
- Work 1 double crochet (DC). Chain 3, close as a picot, and repeat this process for the next 3 stitches.
- Add a 4th DC without a picot, forming the fan shape.
- Work fans formed by 4 double crochet stitches separated by picots:
- Spacing Between Fans:
- Space fans out by working 1 single crochet stitch every 4 stitches across the row.
Finishing
- Weaving Ends:
- Use a tapestry needle to weave loose threads into stitches on the back of the row. Ensure knots and ends are hidden evenly.
- Final Adjustment:
- Lightly pull or shape the strawberries and fans to ensure the border lies flat against the fabric.

- Lightly pull or shape the strawberries and fans to ensure the border lies flat against the fabric.
Tips for Success
- Stitch Tension: Avoid making puff stitches or popcorn stitches too loose to maintain a clean finish.
- Color Coordination: Experiment with different color combinations for strawberries and stems. You can use pink or pastel shades for a subtle effect.
- Durability: If creating the border for fabric frequently used or washed, select durable crochet thread like mercerized cotton.
Final Words
Congratulations on completing your 3D strawberry border! This luxurious design featuring layered textures and intricate stitches makes a wonderful addition to dish towels or decorative edges. Whether for personal use or intended for sale, this project adds cheerful elegance to any space.