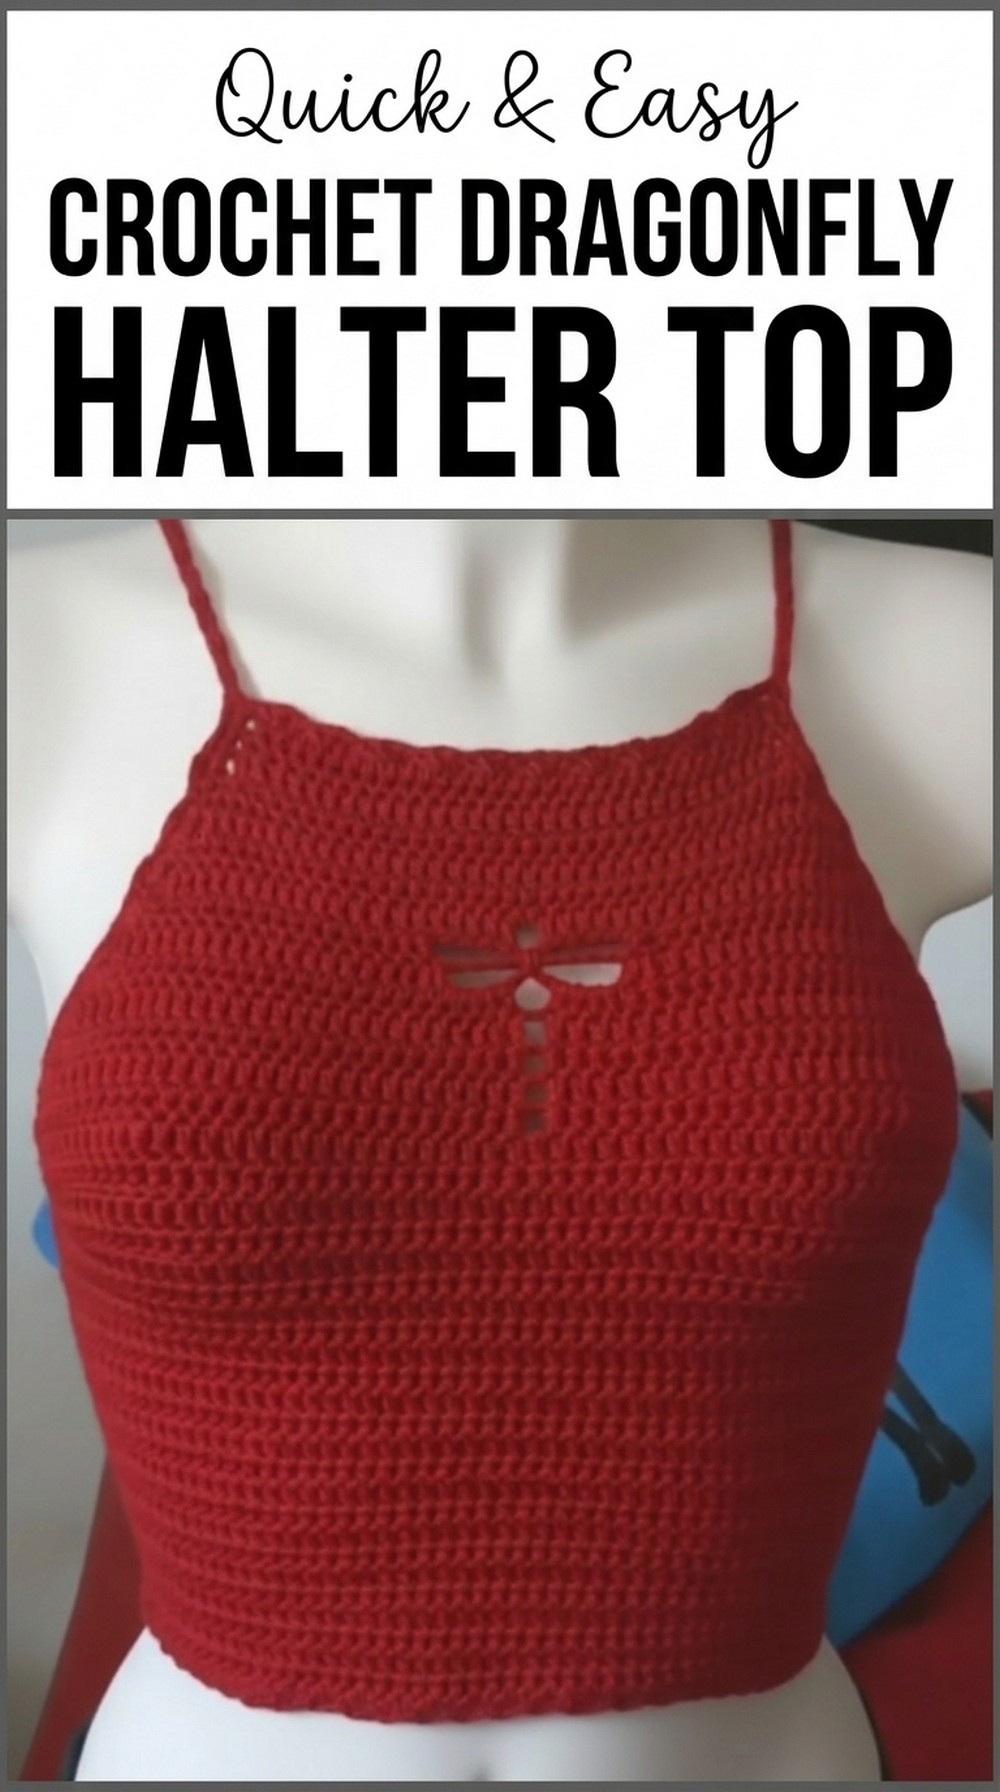
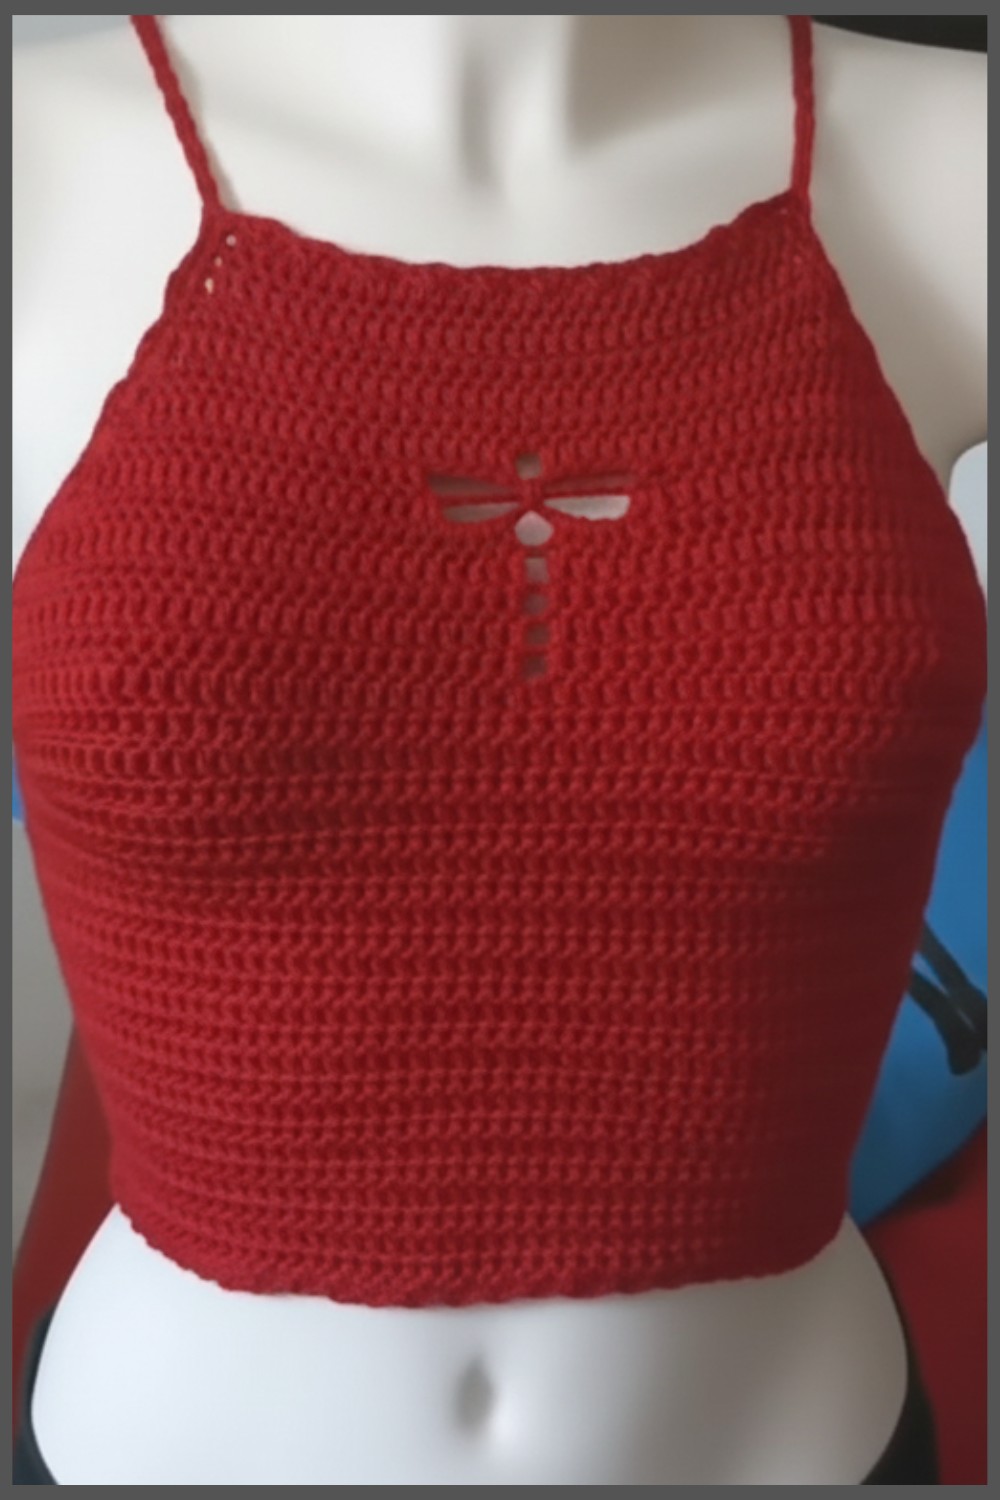
Enjoy the amazing Free Crochet Dragonfly Halter Top that is simple to make, featuring a stylish dragonfly look, an open-back design, and comfy crisscross ties.
Creating a stunning summer top that’s both fashionable and fun to make. This crochet pattern features a delicate dragonfly design on the front, giving it a unique and eye-catching touch. With an open-back style and adjustable crisscross laces, it offers a trendy and comfortable fit for all occasions.
Easy Free Crochet Dragonfly Halter Top Pattern
The lightweight yarn and soft texture make it perfect for warm days, while the pretty fan-stitch edging adds a charming and elegant detail. You can choose any color to make it truly your own, making this project full of creative possibilities. Crocheting this halter top is easy and enjoyable, giving you a chance to create something that’s not only beautiful but also wearable. This handmade masterpiece is a perfect way to show off your creativity and love for crocheting.
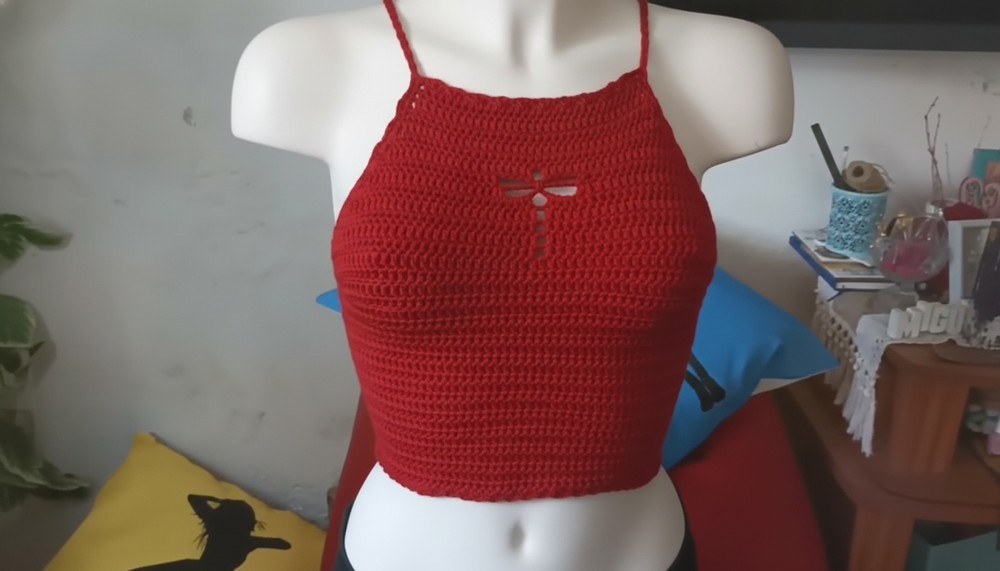
Free Crochet Dragonfly Halter Top
Materials Needed
- Yarn: 100% acrylic yarn in your preferred color (lightweight for a summer-friendly top).
- Example: One skein of yellow yarn was used for this project.
- Crochet Hook: Size 2.5 mm hook for a clean and delicate finish.
- Tapestry Needle: For sewing ends and attaching details.
- Stitch Markers: To mark key points for increases or pattern changes.
- Measuring Tape: To ensure accurate lengths and widths.
- Scissors: For cutting yarn.
Gauge
To ensure the correct size, make a practice square using double crochet (dc) stitches:
- 10 cm x 10 cm swatch:
- X stitches = 10 cm
- X rows = 10 cm
- Adjust your hook size to match the required gauge for better results.
Finished Size
- Blouse Length: Approximately 32 cm, including edge finishing (can be adjusted).
- Blouse Width (Size M): Designed for a 15 cm base width for one side of the blouse, with increases to fit the bust area.
- Adjustments for Sizes:
- Smaller Sizes: Subtract 1 cm from the base chain length.
- Larger Sizes: Add 1 cm to the base chain length.
Special Techniques
- Slip Knot: A basic loop to start your chain stitches.
- Chain Stitch (ch): Loop the yarn over the hook and draw it through the previous loop.
- Double Crochet (dc): Yarn over, insert into the stitch, pull up a loop (3 loops on hook), yarn over, and pull through 2 loops, yarn over again and pull through the remaining 2 loops.
- Single Crochet (sc): Insert hook, pull up a loop (2 loops on hook), yarn over, and pull through both loops.
- Fan Stitch: A decorative pattern of 3 double crochets grouped together with spaces in between.
- Increasing Stitches: Work two double crochets in the same stitch to widen the project evenly.
- Dragonfly Pattern: A design element created by strategic chains and skipped stitches.
Pattern Instructions
1. Starting the Blouse (Base)
- Slip Knot and Foundation Chain:
- Start with a slip knot and create a chain of 15 cm (approximately 32 chains for Size M). Ensure the chain length aligns with the desired size (adjust chains as needed).
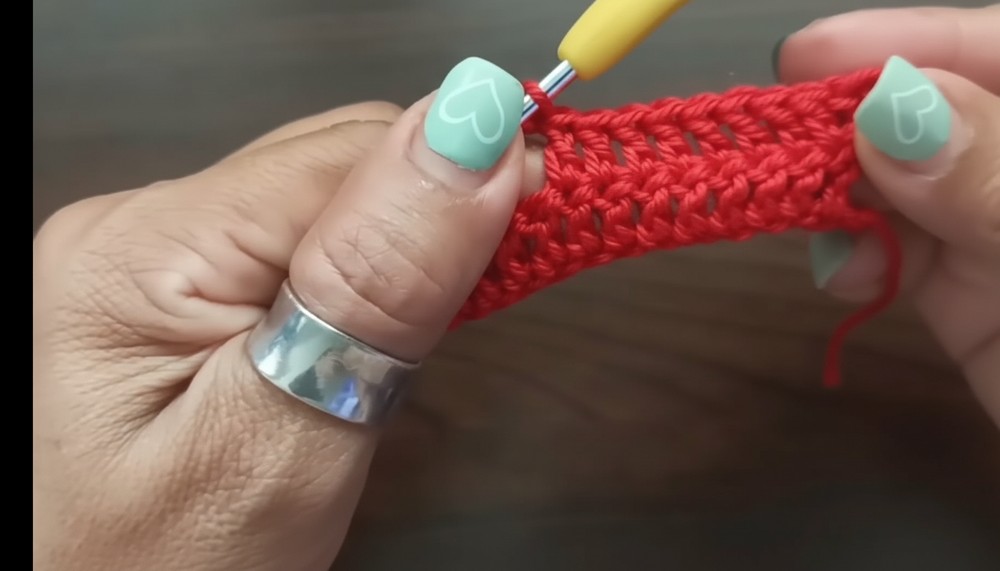
- Row 1: Double Crochet (dc):
- Add 3 chains for height (counts as the first dc).
- Yarn over and insert the hook in the 4th chain from the hook. Work one double crochet in each chain across.
- Total: 33 dc stitches (including the turning chain).
- Row 2: Begin Increases (dc):
- Chain 3 turning chains (acts as the first dc). Turn your work.
- Increase: In the same stitch as the turning chain, make 1 additional dc.
- Work 1 dc in every stitch across. Near the end, make 1 additional dc in the last stitch.
- Total: 2 increases per row (at the beginning and end).
- Repeat:
- Continue working increases at the start and end of each row for 5 rows.
- After 5 rows, you will have a total of 41 stitches.
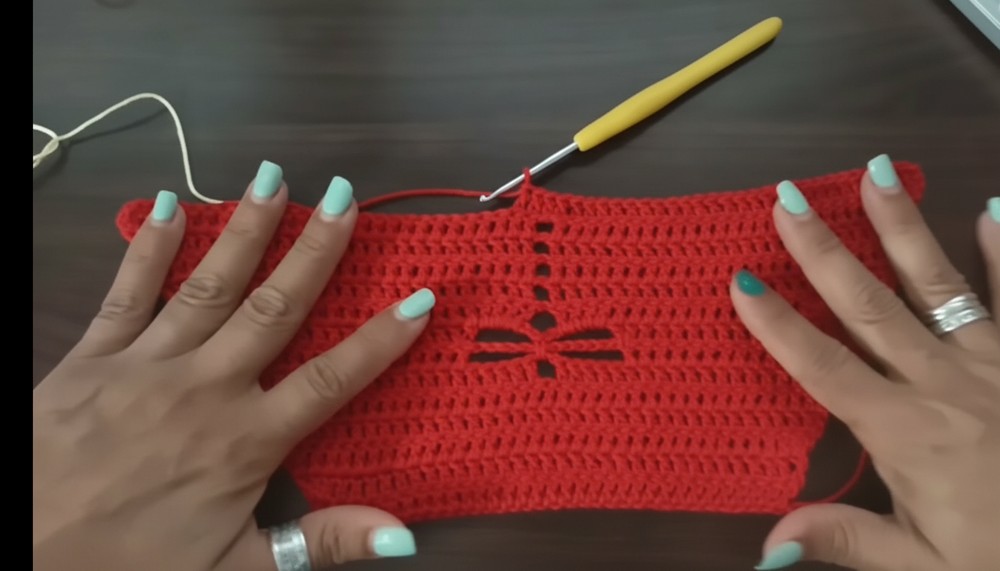
2. Creating the Dragonfly Design
- Mark the Center Point:
- Count 20 stitches and place a stitch marker at the midpoint, leaving 21 stitches on the opposite side.
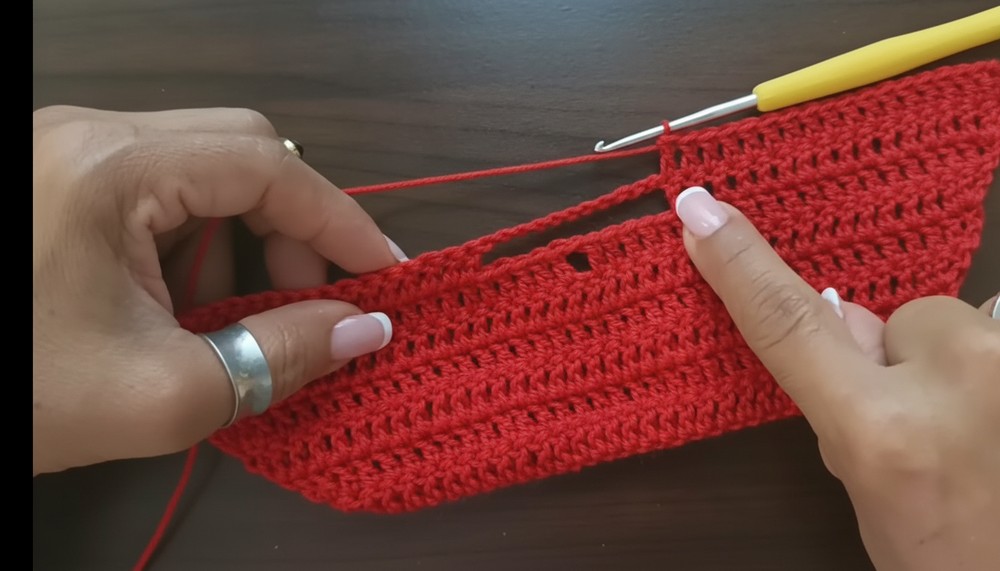
- Creating the Gap for the Dragonfly:
- Work the row as usual but stop 1 stitch before the marker. Chain 1 and skip the marked stitch to leave a small gap. Continue crocheting dc in each remaining stitch.
- Rows with Dragonfly Chains:
- For the next row, stop 5 stitches before the gap and chain 11.
- Skip 5 stitches on the other side of the gap and continue with dc stitches. This creates the dragonfly opening beneath the previous chain gap.
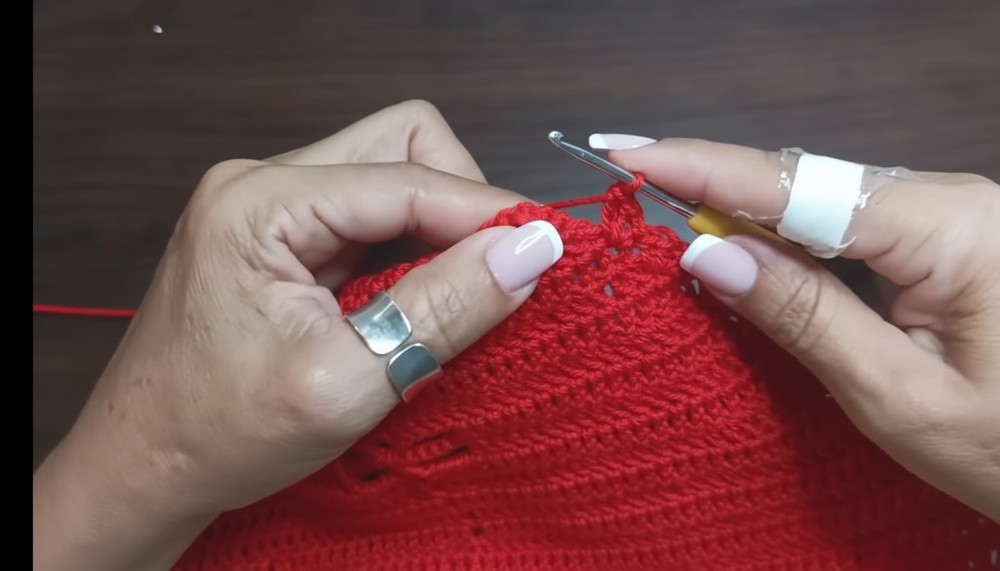
- Adding the Dragonfly Wings:
- In the following row, work 4 dc into the chain space, chain 1, and work another 4 dc into the same space. This creates the wings of the dragonfly.
- Continue dc stitches on the rest of the row.
- Repeat this method until you have 4 rows of the dragonfly design, always leaving the chain spaces in the same area.
3. Completing the Bust Area
- Return to Full Rows (No Dragonfly Gaps):
- Once the dragonfly design is complete, return to normal rows of dc without leaving gaps.
- Continue increasing at the start and end of each row to ensure the blouse expands to fit the bust area.
- Double Increases for Larger Sizes:
- If coverage is insufficient after the dragonfly rows, work 2 increases at the start and end of 2 rows.
- Return to 1 increase at the start and end for subsequent rows.
- Length of Blouse:
- Continue working until the total length of the blouse is around 32-35 cm (or your preferred length).
- Adjust as per your body measurements.
4. Adding Fan Stitch Border
- Start at the Bottom Edge:
- Chain 3, work 2 dc in the same stitch, and skip 1 stitch at the base.
- In the next stitch, work 1 sc, then chain 1, and repeat 2 dc stitches in the same space.
- This creates the decorative fan stitch.
- Work Around the Entire Blouse Edge:
- Continue the fan stitch around the bottom and up the sides.
- Leave space for the straps at the corners by working 5 sc stitches where the straps attach.
- Continue the fan stitch around the bottom and up the sides.
5. Creating and Attaching Straps
- Make the Straps:
- From the edge, work chains for 30-35 cm (or your desired strap length).
- Work sc stitches back along the chains for a sturdy strap.
- Attach Straps:
- Securely sew the straps to the back and front according to desired placement, ensuring a snug fit.
6. Customizing the Drawstring Back
- Create the Drawstring:
- Chain enough to create a lace long enough to cross the open back.
- Weave the drawstring through small gaps in the fan stitch (2 gaps apart) to achieve the crossed back pattern.
Conclusion
Your dragonfly summer blouse is now complete with carefully crafted details, adjustable straps, and a decorative finish. This blouse is perfect for summer outings or as a unique handmade gift. Personalize it further with beads, decorative buttons, or color choices to make it truly your own. The fan stitch edges and dragonfly design make it a standout piece in any summer wardrobe.