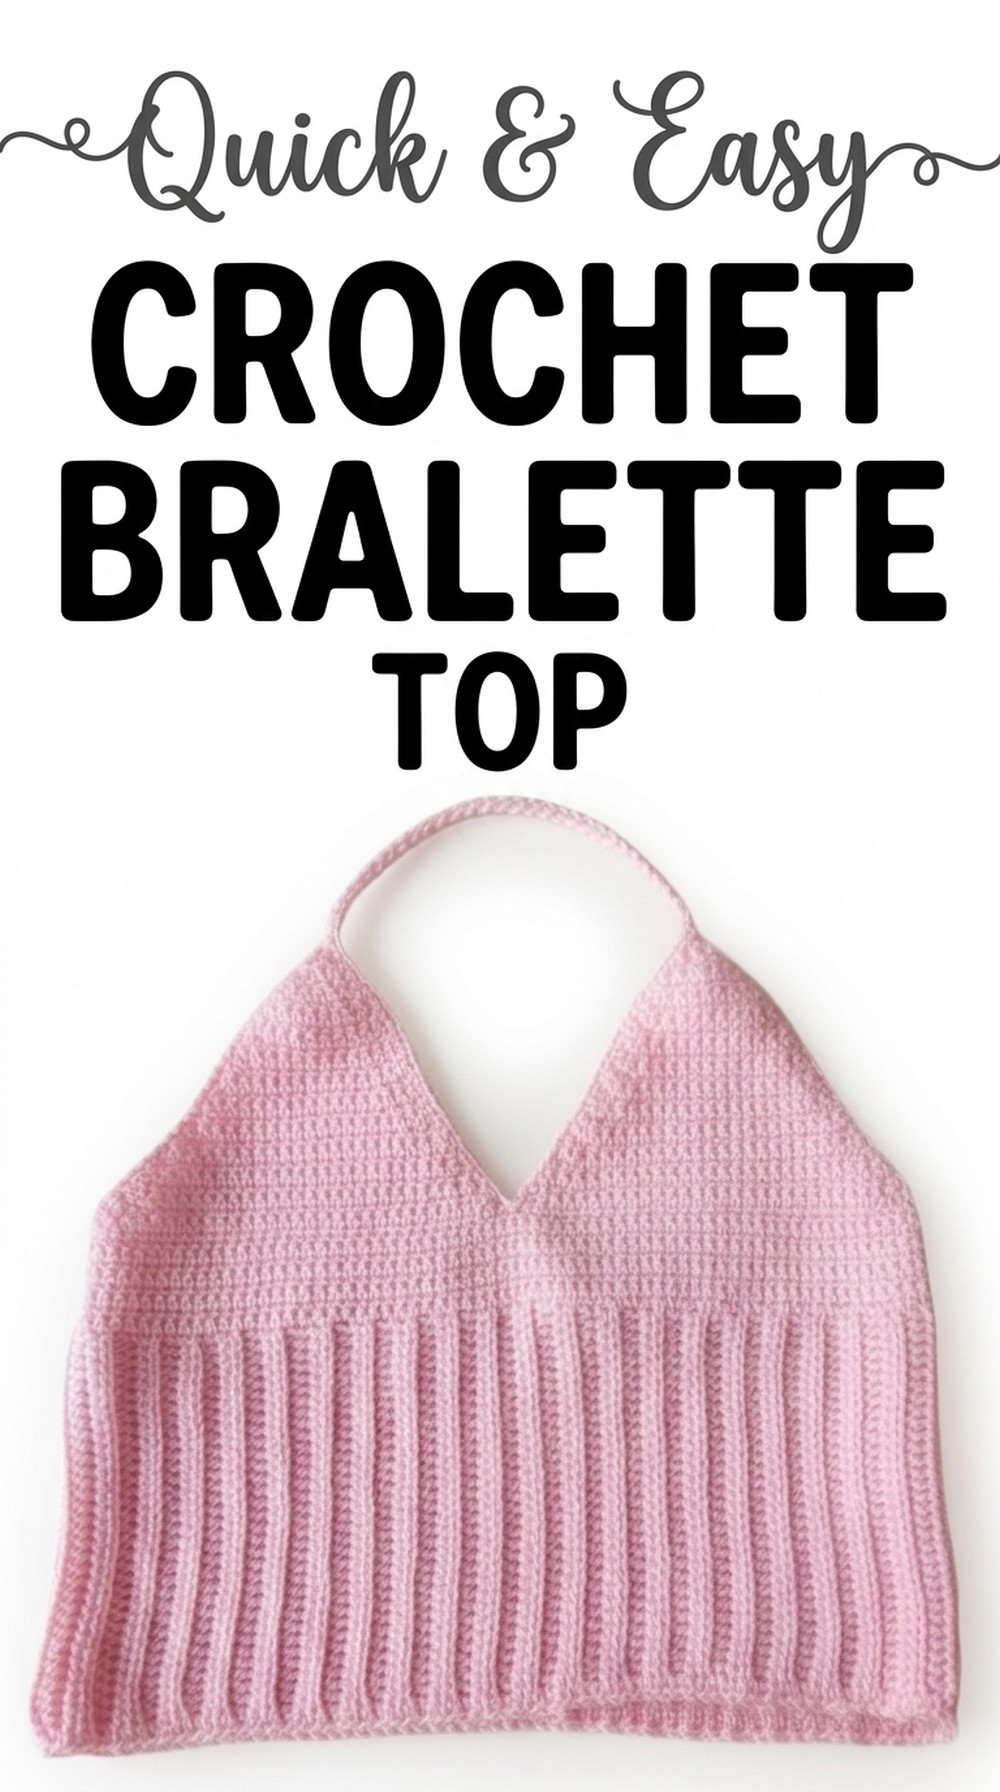
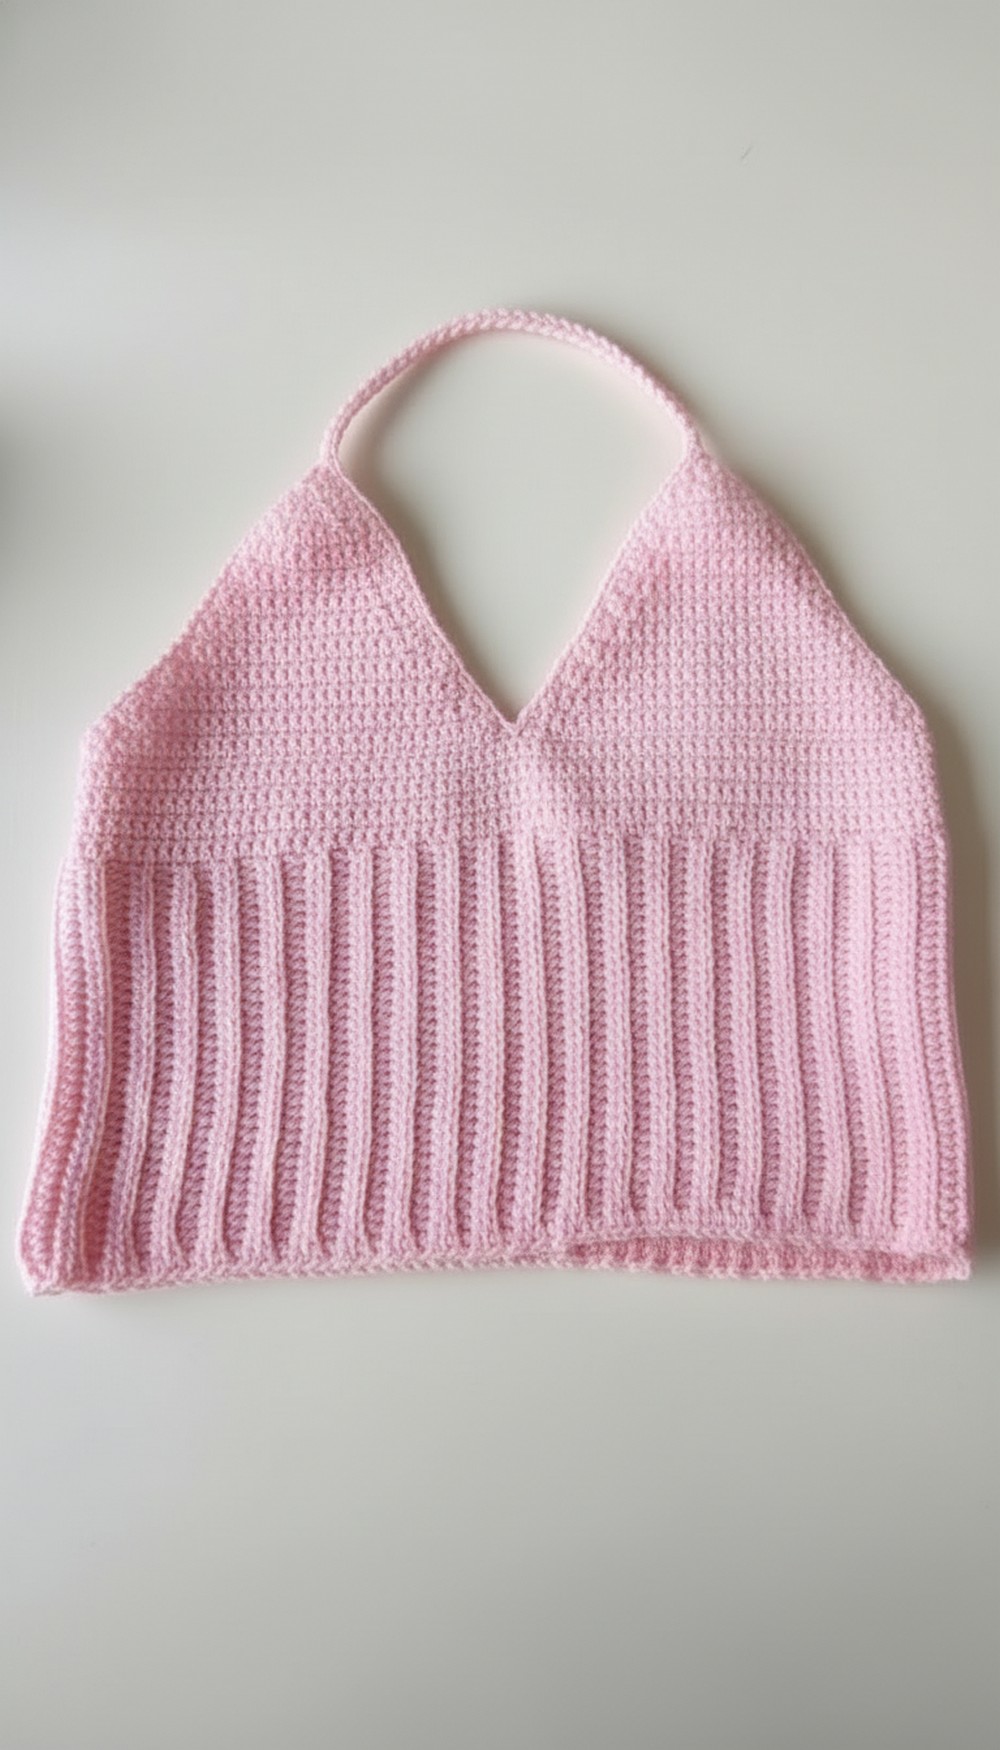
Style your comfort from this handmade crochet bralette top that showcasing intricate designs, perfect for trendy, lightweight, and breathable summer wear.
Looking for a fun and creative way to make your wardrobe pop? A free crochet bralette top pattern is just what you need. Imagine making your very own stylish top with soft yarn, cool designs, and all your favorite colors. It’s cute, comfy, and perfect for sunny days or hanging out with friends.
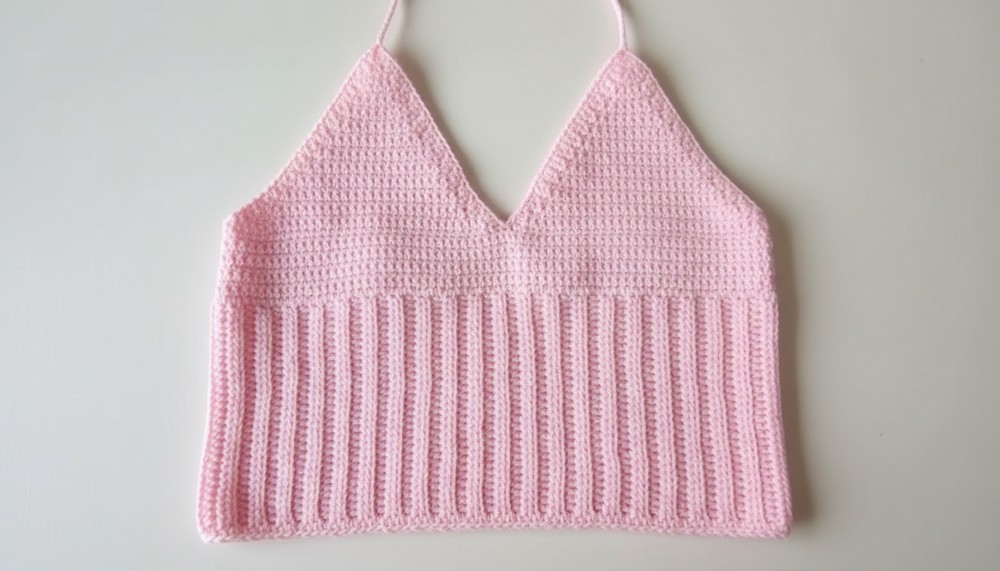
Handmade Crochet Bralette Designs for Fashion Lovers
The best part? You made it yourself! With simple stitches, delicate straps, and pretty edges, this bralette is not only trendy but also feels amazing to wear. Customize it any way you like and add your own personality to it. Whether you wear it to the beach, layer it under a jacket, or give it as a gift, this crochet bralette will steal the show. Crochet is fun, easy to learn, and a perfect excuse to make something beautiful all by yourself.
Free Crochet Bralette Top Pattern With Detailed Instructions
Materials Needed
- Yarn: Lightweight or sport-weight yarn in your desired color.
- Crochet Hook: Size 3.5 mm crochet hook.
- Tapestry Needle: For sewing and weaving in ends.
- Scissors: To cut yarn.
- Measuring Tape: To ensure the correct sizing.
- Stitch Markers: To mark key points in the pattern (e.g., decreases, midpoints).
Gauge
- Use a 10 cm x 10 cm swatch of the main stitch to check your gauge:
- X stitches = 10 cm.
- X rows = 10 cm.
- Adjust hook size if required to maintain measurements.
Finished Size Example (Size M)
- Bust circumference: 90 cm.
- Adjust around +/- 5 cm for smaller or larger sizes by altering the initial chain count or row count.
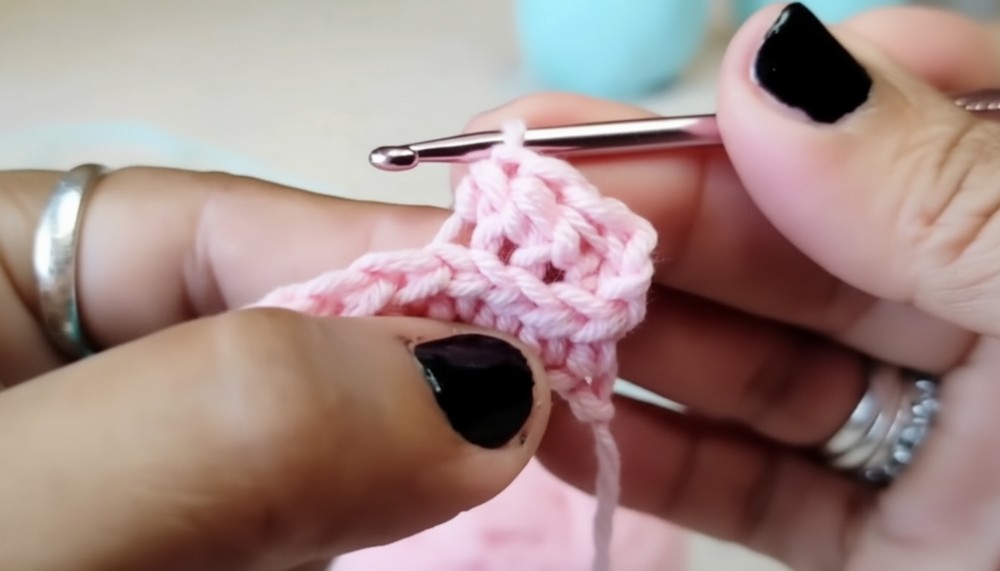
Special Techniques
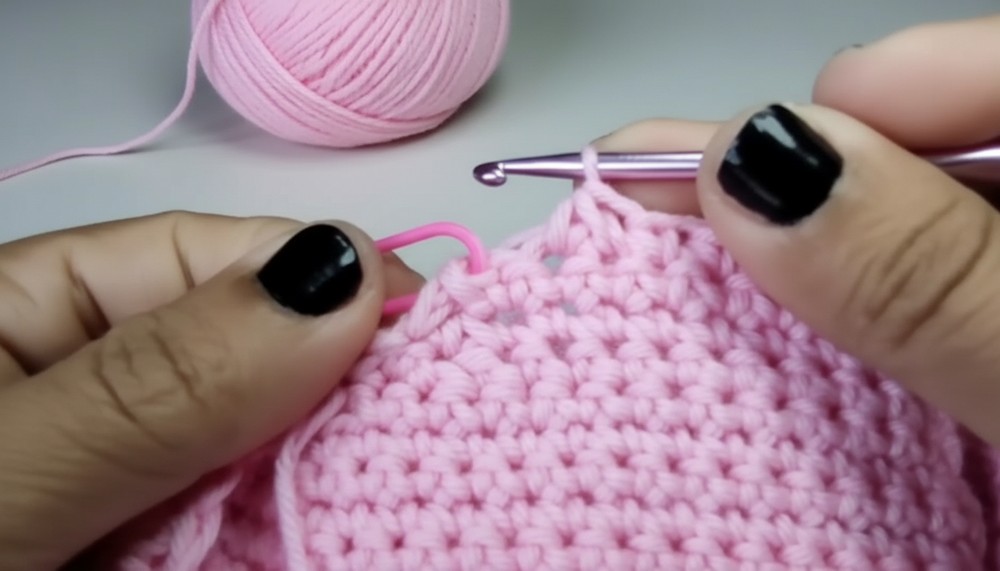
- Half-Double Crochet (hdc): Yarn over, insert hook, pull up a loop (3 loops on the hook), yarn over, pull through all loops.
- Back Loop Only (BLO): Work into the back loop of each stitch to create ribbing.
- Single Crochet (sc): Insert hook, pull up a loop (2 loops on the hook), yarn over, and pull through both loops.
- Slip Stitch (sl st): Insert hook, pull up a loop, and pull it through the loop on the hook.
- Picot Stitch: Chain 3, insert hook into the first chain, and sl st.
Pattern Instructions
This top is constructed in three sections: the body, the cups, and finishing touches.
Section 1: Body
- Starting Chain
- Make a slip knot and chain 15 cm (approximately 45-50 chains, depending on your gauge).
- Add 2 additional chains (this counts as your turning chain).
- Row 1: Half-Double Crochet (hdc)
- Yarn over, insert your hook into the third chain from the hook.
- Pull up a loop (3 loops on your hook), yarn over, and pull through all loops to complete the hdc.
- Repeat this hdc stitch across the row.
- At the end of the row, chain 2 to turn your work.
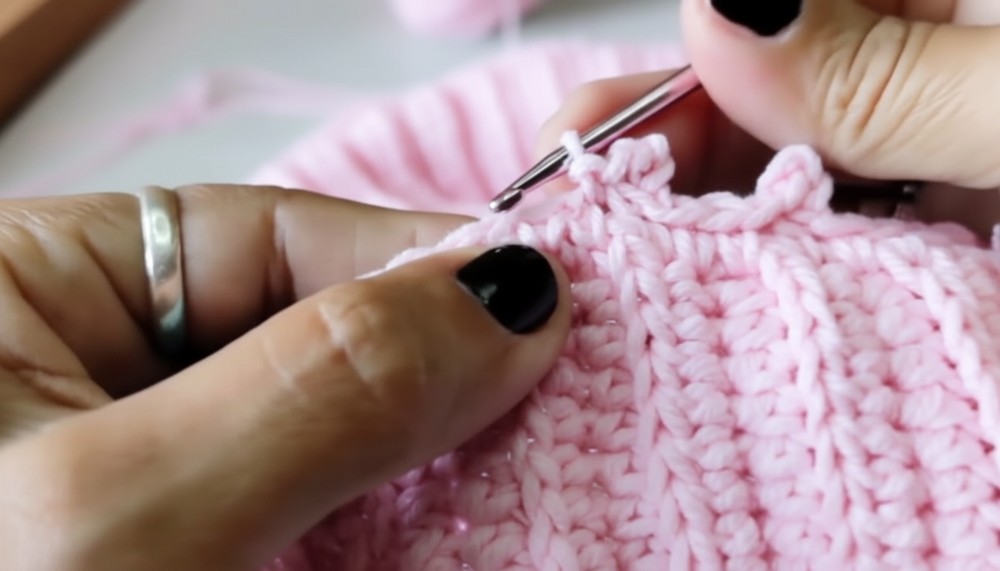
- Row 2: Back Loop Only (BLO)
- Work hdc stitches into the back loop of each stitch across.
- At the end of the row, chain 2 to turn.
- Continue Repeating Rows
- Repeat Row 2, working in the back loop only, until the piece measures 90 cm in width (Size M).

- Border Around Edges (Optional)
- Work single crochet (sc) stitches evenly around the sides of the body panel for a polished edge.
- Work single crochet (sc) stitches evenly around the sides of the body panel for a polished edge.
Section 2: Cups
- Marking and Dividing
- Fold your body panel in half across the width and mark the midpoint with a stitch marker.
- First Cup
- Attach yarn to the side where the cup begins (near the armpit area).
- Row 1: Work sc stitches from the side to the midpoint (where the marker is placed). At the midpoint, make a decrease:
- Insert hook, pull up a loop, insert the hook into the next stitch, pull up a loop, and yarn over to pull through all loops.
- Chain 1 to turn.
- Subsequent Rows with Decreases
- Row 2: Work one sc at the start, then make a decrease, and continue with sc stitches to the end.
- Always decrease at both the start and the end of the row.
- Row Without Decrease
- After 2 rows of decreases, work 1 row of sc without any decreases.
- Pattern for Cups
- Alternate: 2 Rows (with decreases), then 1 Row (without decreases).
- Continue until the cup measures 20 rows.
- Creating the Strap
- When the cup narrows to 3 stitches, chain 1 and work sc stitches back and forth for a 30 cm strap.
- Tie off the yarn and weave in the ends.
- Repeat for the Second Cup
- Repeat the same pattern for the second cup, starting from the midpoint.
Section 3: Finishing Touches
- Attach Straps
- Use stitch markers to determine where the straps should attach at the back for proper fit.
- Sew or securely attach the straps to the top.
- Edge Finish for Cups and Straps
- Work sc stitches evenly along the edges of the cups and straps for a clean border.
- Decorative Bottom Edge with Picots
- Slip Stitch Edge: Work 3 slip stitches (sl st) into the bottom edge.
- After every 3 slip stitches:
- Make a Picot Stitch: Chain 3, insert into the first chain, and sl st.
- Continue this pattern along the entire bottom edge for a decorative touch.
Customization Ideas
- Measurements: Adjust the number of chains for smaller or larger sizes. Measure the bust circumference to ensure proper fit.
- Colors: Add a splash of creativity by using multicolor yarn or alternating colors for straps or edges.
- Decorative Elements: Attach beads, small crocheted flowers, or add fringe at the center bottom edge.
Row Breakdown for Cups
Below is a summary of the row alternations for the cups:
| Row | Type | Action |
|---|---|---|
| 1 | Decrease Row | Decrease at both ends, sc into all other stitches. |
| 2 | Decrease Row | Decrease at both ends, sc into all other stitches. |
| 3 | Non-Decrease Row | Work sc across with no decreases. |
| 4 | Decrease Row | Decrease at both ends, sc into all other stitches. |
| 5 | Decrease Row | Decrease at both ends, sc into all other stitches. |
| 6 | Non-Decrease Row | Work sc across with no decreases. |
| 7-20 | Repeat Rows 1-6 Alternations | Continue alternating 2 Decrease Rows followed by 1 Non-Decrease Row. |
Tips for Success
- Gauge First: Ensuring your gauge matches is vital to achieving the right size.
- Use Stitch Markers Frequently: Mark key areas like midpoints, beginning of straps, and edges to track your progress.
- Traditional Fit Checks: Try on the top as you proceed, ensuring the cups and straps align perfectly.
Conclusion
By following this detailed guide, you’ve now created a custom, handmade crochet top that’s functional, fashionable, and entirely customizable to your preferences. The decorative picot edge adds a unique finishing element, and the alternation of stitches ensures a solid yet flexible fit.